Django is a high-level, open-source web framework in Python that encourages rapid development and clean, pragmatic design. It follows the model-view-controller (MVC) architectural pattern, but it is commonly called the model-view-template (MVT) pattern in Django. Django’s primary goal is to make it easier for developers to build web applications by providing tools and conventions for everyday tasks.
In this blog post, we’ll guide you through creating a Django app with a database connection.
Step 1 – Install Python
Django is a Python-based application framework, so you will need to install Python and other required dependencies on your server. You can install all of them with the following command.
apt install -y python3 python3-pip build-essential libssl-dev libffi-dev python3-dev python3-venv pkg-config
Once all the packages are installed, you can proceed to the next step.
Step 2 – Install and Configure MySQL
Next, install the MySQL server and other dependencies using the following command.
apt install mysql-server libmysqlclient-dev default-libmysqlclient-dev
Once the MySQL server is installed, connect to the MySQL shell with the following command.
mysql
Once connected, create a database and user with the following command.
CREATE DATABASE app_data;
CREATE USER 'djangouser'@'localhost' IDENTIFIED WITH mysql_native_password BY 'password';
Next, grant all the privileges to the app_data database.
GRANT ALL ON app_data.* TO 'djangouser'@'localhost';
Next, flush the privileges and exit from MySQL using the following command.
FLUSH PRIVILEGES;
EXIT;
Next, edit the MySQL configuration file and define your database credentials.
nano /etc/mysql/my.cnf
Add the following lines:
[client]
database = app_data
user = djangouser
password = password
default-character-set = utf8
Save and close the file, reload the systemd daemon, and restart the MySQL service with the following command.
systemctl daemon-reload
systemctl restart mysql
Step 3 – Install and Configure Django
In this section, we will create a Django app with a database connection.
First, create a Django app directory.
mkdir my_django_app
Next, navigate inside the created directory and create a Python virtual environment.
cd my_django_app
python3 -m venv env
Next, activate the virtual environment.
. env/bin/activate
Next, install Django using the pip command.
pip install django
Next, create a Django project with the following command.
django-admin startproject myapp
Then, change the directory to myapp directory and install the required dependencies.
cd myapp
pip install wheel
pip install mysqlclient
Next, edit the Django setup file.
nano ~/my_django_app/myapp/myapp/settings.py
Define your server IP address and timezone:
ALLOWED_HOSTS = ['your_server_IP_address']

TIME_ZONE = 'America/New_York'
Find the following lines:
import os
from pathlib import Path
Add the following lines above the above line:
STATIC_URL = '/static/'
STATIC_ROOT = os.path.join(BASE_DIR, 'static')
Next, find the following lines:
DATABASES = {
	'default': {
    	'ENGINE': 'django.db.backends.sqlite3',
    	'NAME': BASE_DIR / 'db.sqlite3',
	}
}
And replace them with the following lines:
DATABASES = {
	'default': {
    	'ENGINE': 'django.db.backends.mysql',
    	'OPTIONS': {
        	'read_default_file': '/etc/mysql/my.cnf',
    	},
	}
}
Save and close the file, then apply the database settings using the following command.
python manage.py makemigrations
python manage.py migrate
Next, create a super user for the Django app.
python manage.py createsuperuser
Define your admin username, email, and password as shown below:
Username (leave blank to use 'root'): admin
Email address: [email protected]
Password:
Password (again):
Superuser created successfully.
Step 4 – Verify MySQL COnnection to the Django Application
At this point, your Django application is installed and configured.
Now, navigate inside your application directory and run your application using the following command.
cd ~/my_django_app/myapp/
python manage.py runserver your-server-ip:8000
You will see the following output.
Watching for file changes with StatReloader
Performing system checks...

System check identified no issues (0 silenced).
December 20, 2023 - 05:18:10
Django version 5.0, using settings 'myapp.settings'
Starting development server at http://104.219.54.140:8000/
Quit the server with CONTROL-C.
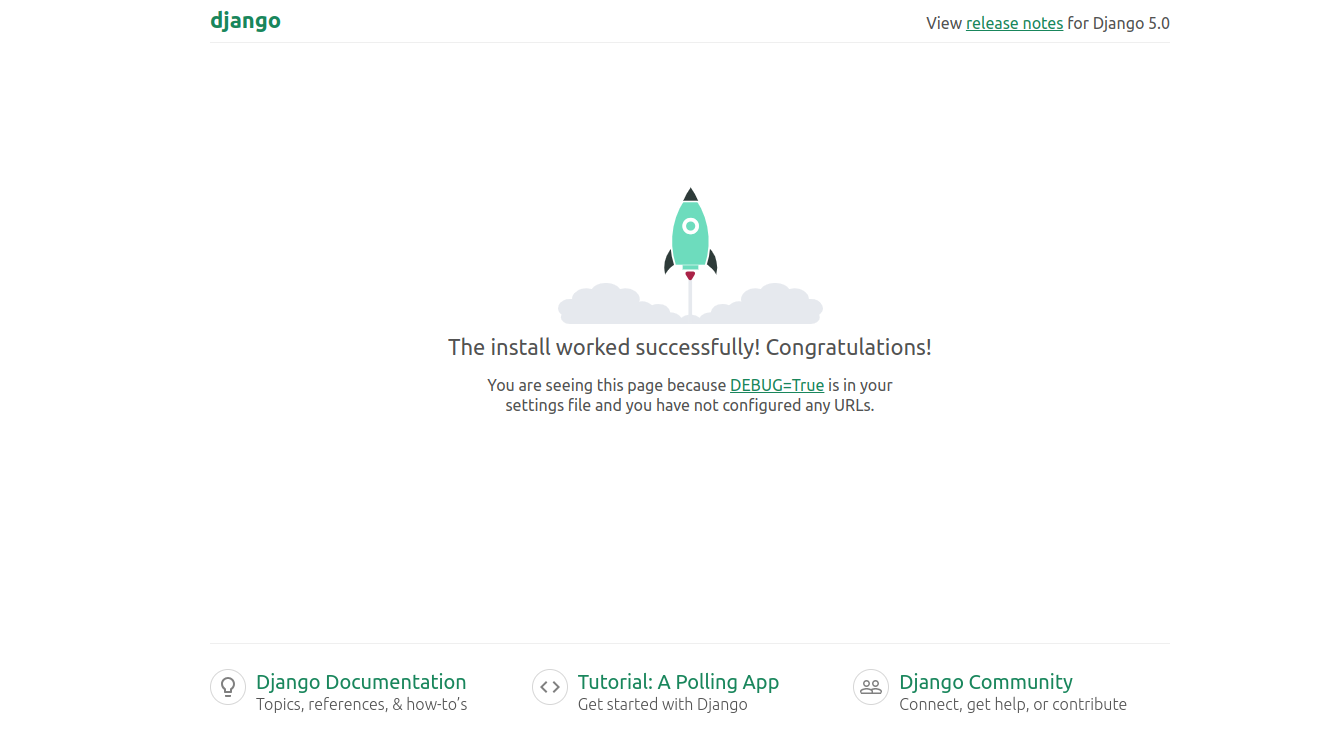
Then, open your web browser and access your Django application using the URL http://your-server-ip:8000. You will see the following screen.
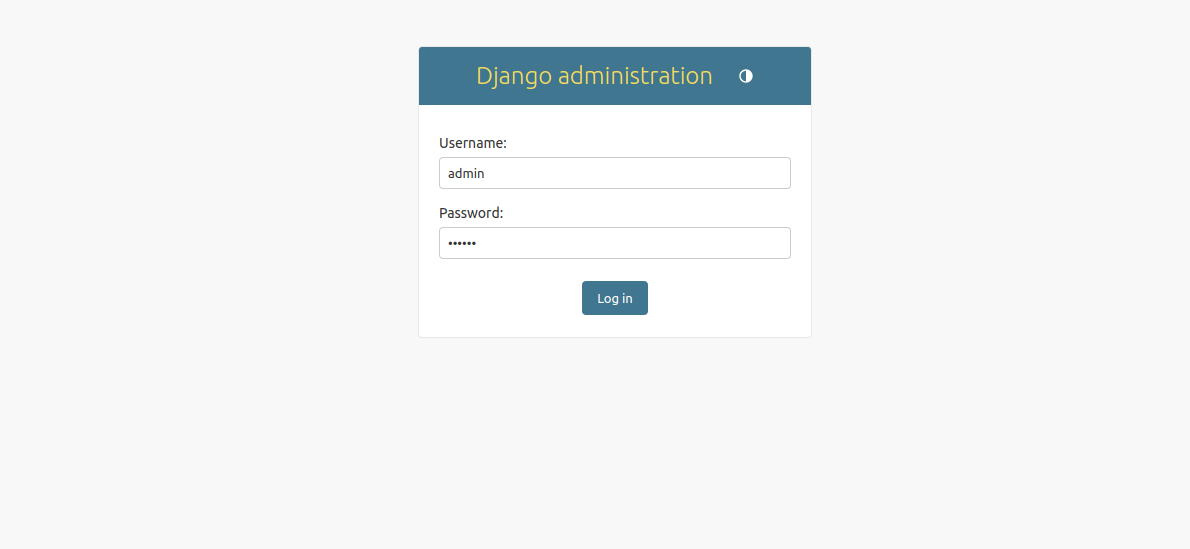
You can also access your Django admin interface using the URL http://your-server-ip:8000/admin. You will see the Django login screen.
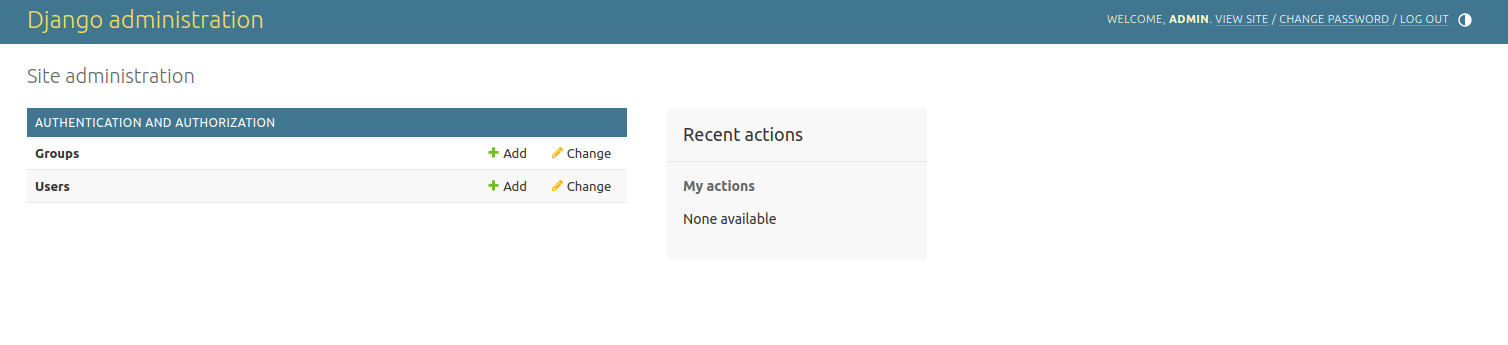
Provide your admin username and password and click on Log in. You will see the Django admin dashboard on the following screen.
Conclusion
Congratulations! You’ve successfully created a Django app with a database connection. Django’s powerful ORM and built-in development server make it easy to build feature-rich, data-driven web applications. This is just the beginning – as you explore Django further, you’ll discover its vast ecosystem and capabilities for building scalable and maintainable web projects. You can try deploying Django on dedicated server hosting from Atlantic.Net!
* This post is for informational purposes only and does not constitute professional, legal, financial, or technical advice. Each situation is unique and may require guidance from a qualified professional.
Readers should conduct their own due diligence before making any decisions.