Table of Contents
Apache Guacamole is an open-source remote desktop gateway that allows users to access their desktop environments and applications from anywhere using just a web browser. It supports standard protocols such as VNC, RDP, and SSH, allowing users to securely connect to remote desktops and servers. It provides a cost-effective, flexible solution for remote access to desktop environments and applications.
In this tutorial, we will show you how to install the Apache Guacamole remote desktop gateway on Ubuntu 24.04.
Step 1 – Install Docker and Docker Compose
By default, the latest version of Docker is not included in the Ubuntu main repository, so you will need to install it from Docker’s official repository.
First, install all required dependencies using the following command:
apt-get install curl git build-essential apt-transport-https ca-certificates software-properties-common -y
Next, import the Docker GPG key.
curl -fsSL https://download.docker.com/linux/ubuntu/gpg | gpg --dearmor -o /usr/share/keyrings/docker-archive-keyring.gpg
Then, add the Docker repository to the APT source file.
echo "deb [arch=$(dpkg --print-architecture) signed-by=/usr/share/keyrings/docker-archive-keyring.gpg] https://download.docker.com/linux/ubuntu $(lsb_release -cs) stable" | tee /etc/apt/sources.list.d/docker.list > /dev/null
Next, update the repository and install Docker and Docker Compose using the following command:
apt update -y
apt install docker-ce docker-compose-plugin -y
After the installation, you can verify the Docker Compose version using the following command:
docker compose version
Output:
Docker Compose version v2.35.1
Step 2 – Download Apache Guacamole Server and Client Images
First, download the Apache Guacamole server image from the DockerHub registry.
docker pull guacamole/guacd
Output:
Using default tag: latest
latest: Pulling from guacamole/guacd
619be1103602: Pull complete
3c5b89584531: Pull complete
0019d47ab527: Pull complete
b98fd7159241: Pull complete
4b51f493a70a: Pull complete
Digest: sha256:2cfbd230c979d3fd7187e1aa3a7284be22d389f3fde3d18c27179403138bd696
Status: Downloaded newer image for guacamole/guacd:latest
docker.io/guacamole/guacd:latest
Next, download the Guacamole client image using the following command:
docker pull guacamole/guacamole
Output:
Using default tag: latest
latest: Pulling from guacamole/guacamole
23828d760c7b: Pull complete
8069355d5739: Pull complete
c0818127cd97: Pull complete
db15aff3aedb: Pull complete
2d8727e407d8: Pull complete
9074748e27d0: Pull complete
14b694a905ac: Pull complete
4e01fc5ea163: Pull complete
523f95617476: Pull complete
fa289bf4ec66: Pull complete
197a4d4370e2: Pull complete
3fb5c1264eef: Pull complete
09f8140b30df: Pull complete
Digest: sha256:53de0a604daa61aac98aad7764d5f9a6e7d1154a0a5e6b4952aa0d14a107eb80
Status: Downloaded newer image for guacamole/guacamole:latest
docker.io/guacamole/guacamole:latest
You can now verify both downloaded images using the following command:
docker images
Output:
REPOSITORY                    TAG       IMAGE ID       CREATED          SIZE
guacamole/guacamole           latest    275783b15e55   44 minutes ago   496MB
guacamole/guacd               latest    dfa65bda7349   24 hours ago     149MB
Step 3 – Start Apache Guacamole MySQL Container
You will also need a MySQL database container to authenticate Apache Guacamole. Let’s create a new MySQL container using the following command:
docker run --name guacamoledb -e MYSQL_ROOT_PASSWORD=password -e MYSQL_DATABASE=guacdb -d mysql/mysql-server
Next, create a directory to store the MySQL database.
mkdir -p /opt/guacamole/mysql
Then, generate MySQL initialization script.
docker run --rm guacamole/guacamole /opt/guacamole/bin/initdb.sh --mysql > /opt/guacamole/mysql/01-initdb.sql
Next, copy the MySQL script to the MySQL container.
docker cp /opt/guacamole/mysql/01-initdb.sql guacamoledb:/docker-entrypoint-initdb.d
Next, connect to the MySQL container using the docker exec command:
docker exec -it guacamoledb bash
Next, verify the MySQL initialization script.
cd /docker-entrypoint-initdb.d/
ls
Output:
01-initdb.sql
Next, connect to the MySQL shell.
mysql -u root -p
Then, switch the database to guacd and initialize the Guacamole database:
use guacdb;
source 01-initdb.sql;
You can now verify all tables using the following command:
show tables;
Output:
+---------------------------------------+
| Tables_in_guacdb                      |
+---------------------------------------+
| guacamole_connection                  |
| guacamole_connection_attribute        |
| guacamole_connection_group            |
| guacamole_connection_group_attribute  |
| guacamole_connection_group_permission |
| guacamole_connection_history          |
| guacamole_connection_parameter        |
| guacamole_connection_permission       |
| guacamole_entity                      |
| guacamole_sharing_profile             |
| guacamole_sharing_profile_attribute   |
| guacamole_sharing_profile_parameter   |
| guacamole_sharing_profile_permission  |
| guacamole_system_permission           |
| guacamole_user                        |
| guacamole_user_attribute              |
| guacamole_user_group                  |
| guacamole_user_group_attribute        |
| guacamole_user_group_member           |
| guacamole_user_group_permission       |
| guacamole_user_history                |
| guacamole_user_password_history       |
| guacamole_user_permission             |
+---------------------------------------+
23 rows in set (0.00 sec)
Next, create a database and user for Guacamole.
create user guacadmin@'%' identified by 'password';
grant SELECT,UPDATE,INSERT,DELETE on guacdb.* to guacadmin@'%';
Then, flush the privileges and exit from the MySQL shell.
flush privileges;
exit;
Also, exit from the MySQL container using the following command:
exit
Step 4 – Launch Guacamole Server Container
You can start the Apache Guacamole server container using the following command:
docker run --name guacamole-server -d guacamole/guacd
Next, verify the container log using the following command:
docker logs --tail 10 guacamole-server
Output.
guacd[1]: INFO:	Guacamole proxy daemon (guacd) version 1.5.5 started
guacd[1]: INFO:	Listening on host 0.0.0.0, port 4822
To check the container status, run the following command:
docker ps
Output:
CONTAINER ID   IMAGE                COMMAND                  CREATED          STATUS                             PORTS                       NAMES
5d35d837635b   guacamole/guacd      "/bin/sh -c '/opt/gu…"   23 seconds ago   Up 22 seconds (health: starting)   4822/tcp                    guacamole-server
e2b20f4860af   mysql/mysql-server   "/entrypoint.sh mysq…"   2 minutes ago    Up 2 minutes (healthy)             3306/tcp, 33060-33061/tcp   guacamoledb
Step 5 – Launch Guacamole Client Container
To create an Apache Guacamole client container, run the following command:
docker run --name guacamole-client --link guacamole-server:guacd --link guacamoledb:mysql -e MYSQL_DATABASE=guacdb -e MYSQL_USER=guacadmin -e MYSQL_PASSWORD=password -d -p 80:8080 guacamole/guacamole
You can now check the status of the Apache Guacamole client container using the following command:
docker ps
Output:
CONTAINER ID   IMAGE                 COMMAND                  CREATED          STATUS                             PORTS                                   NAMES
56d69250007f   guacamole/guacamole   "/opt/guacamole/bin/…"   7 seconds ago    Up 6 seconds                       0.0.0.0:80->8080/tcp, :::80->8080/tcp   guacamole-client
5d35d837635b   guacamole/guacd       "/bin/sh -c '/opt/gu…"   41 seconds ago   Up 40 seconds (health: starting)   4822/tcp                                guacamole-server
e2b20f4860af   mysql/mysql-server    "/entrypoint.sh mysq…"   3 minutes ago    Up 2 minutes (healthy)             3306/tcp, 33060-33061/tcp               guacamoledb
Step 6 – Access Apache Guacamole Dashboard
Now, open your web browser and access the Apache Guacamole web interface using the URL http://your-server-ip/guacamole. You will see the Apache Guacamole web interface login page.
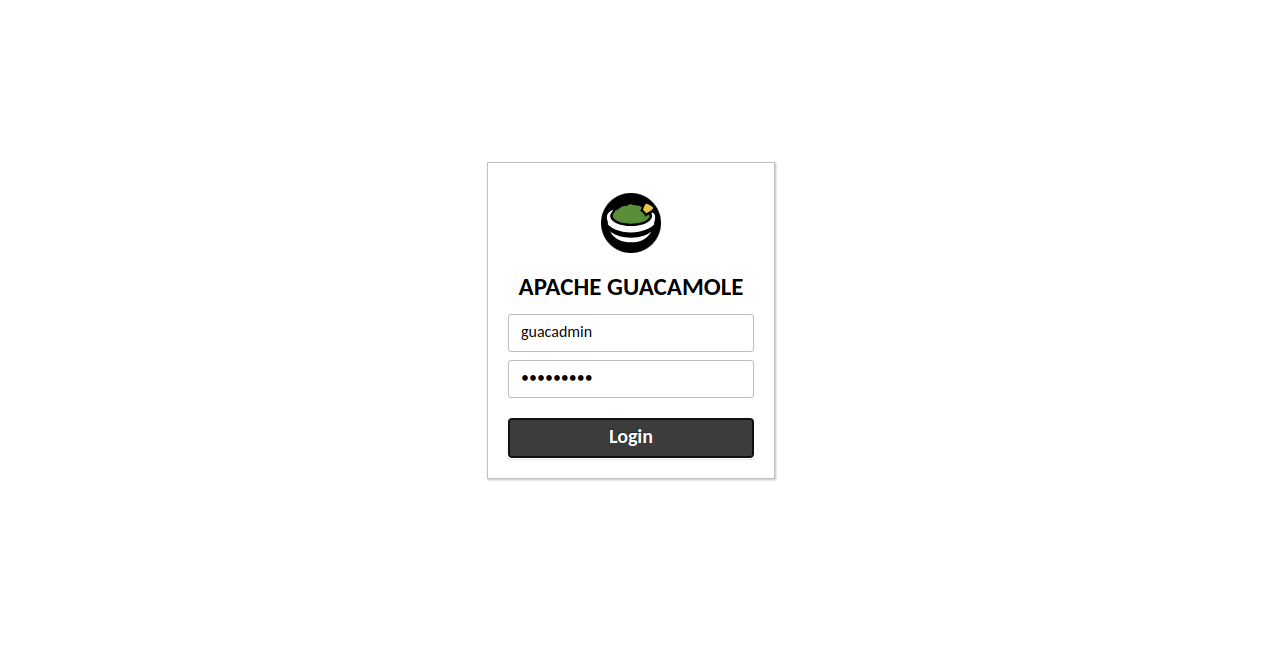
Provide default admin username as guacadmin and password as guacadmin, then click on the Login button. You will see the Apache Guacamole dashboard.
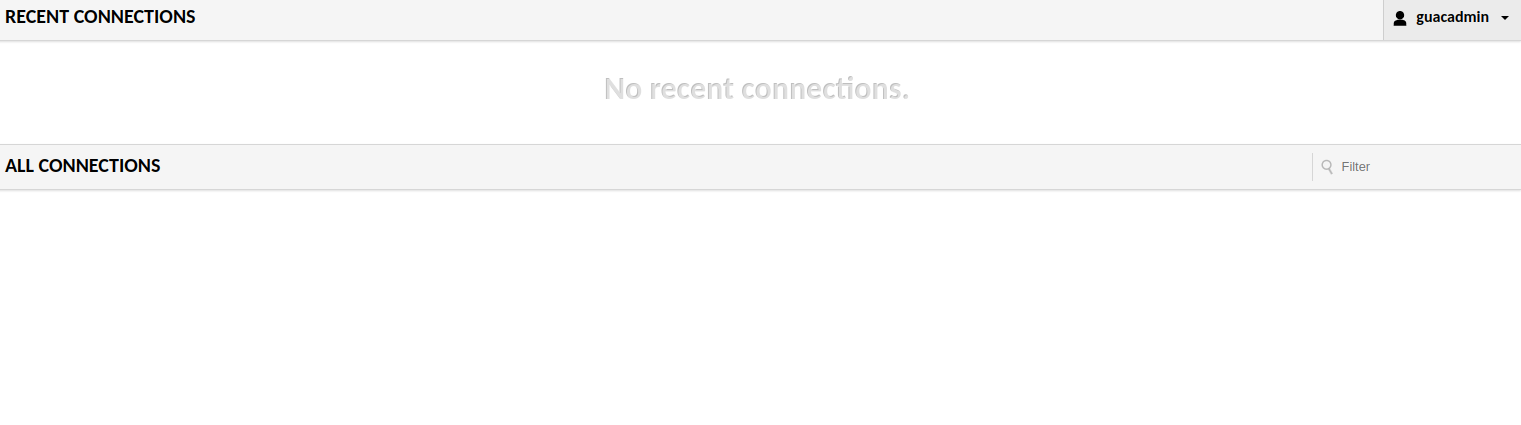
Next, click on guacaadmin => Settings => Connections. You will see the following page.
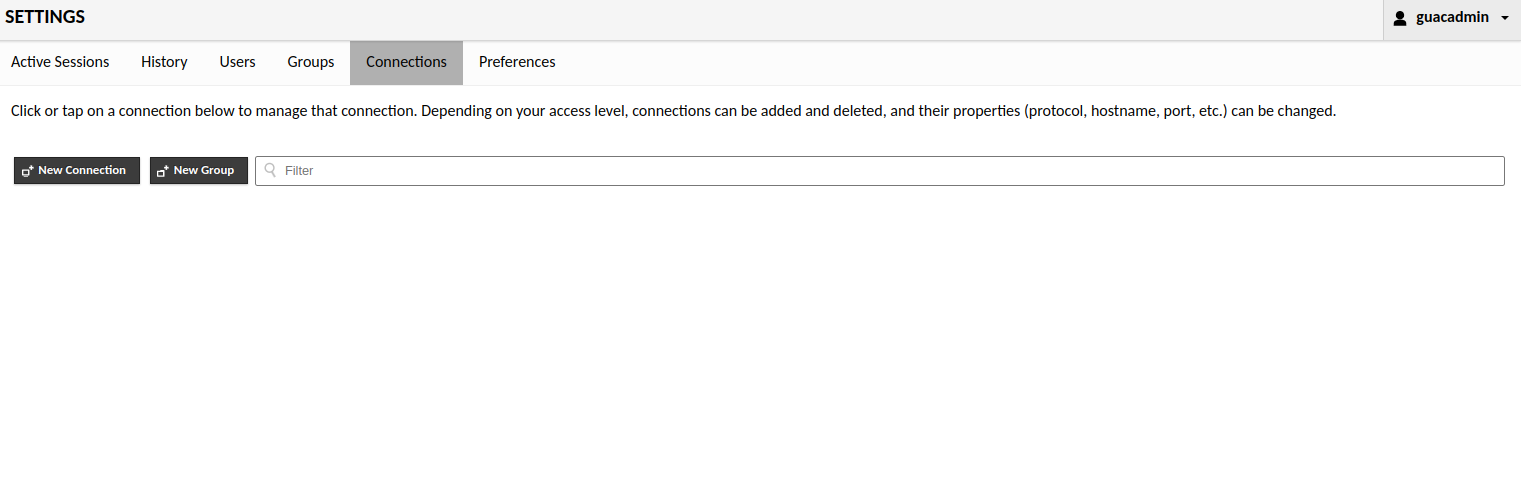
Click on New Connection. You will see the connection information page.
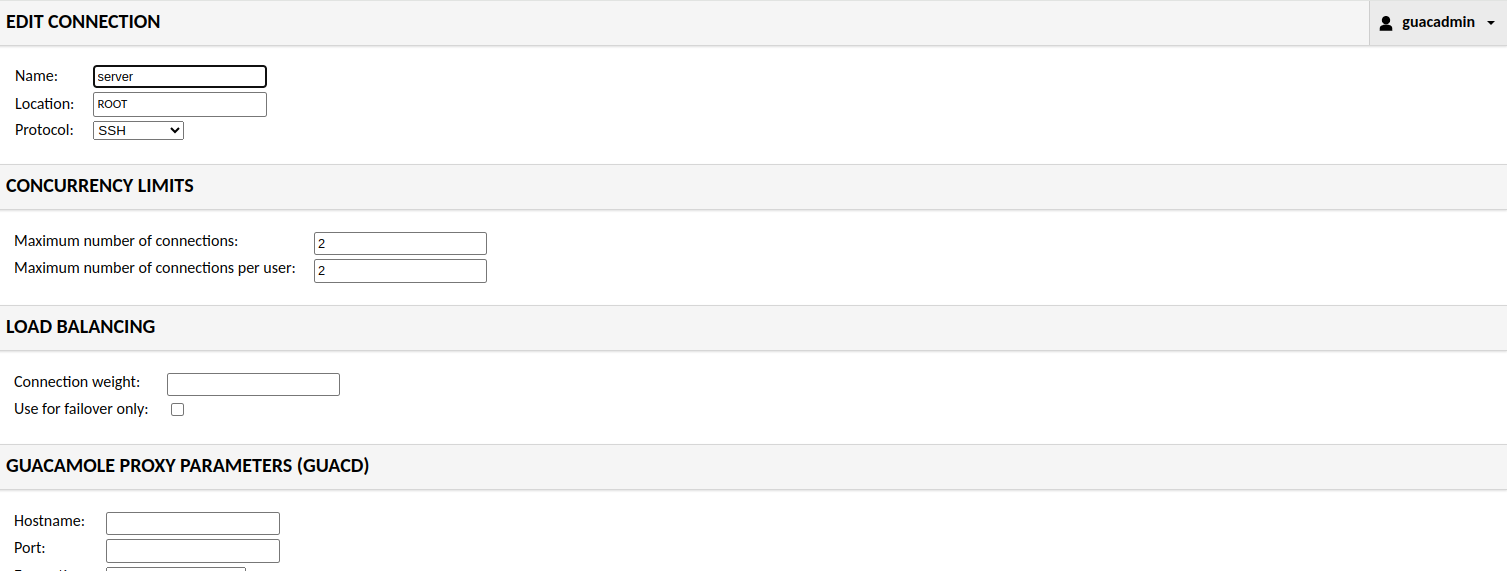
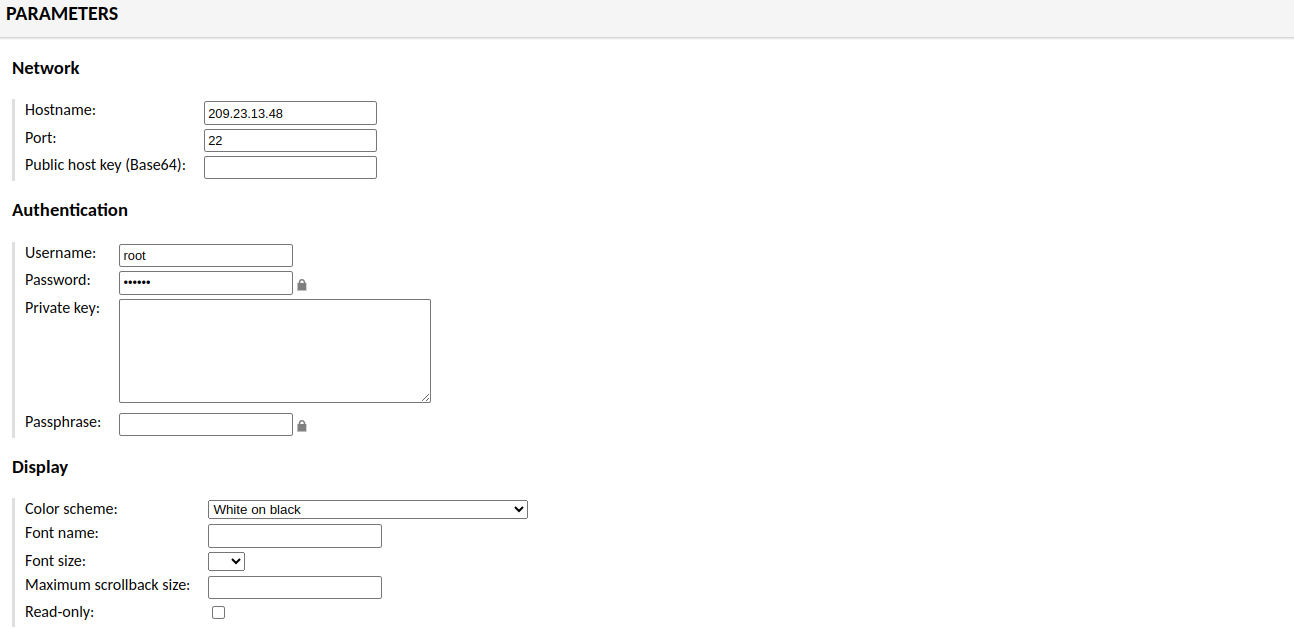
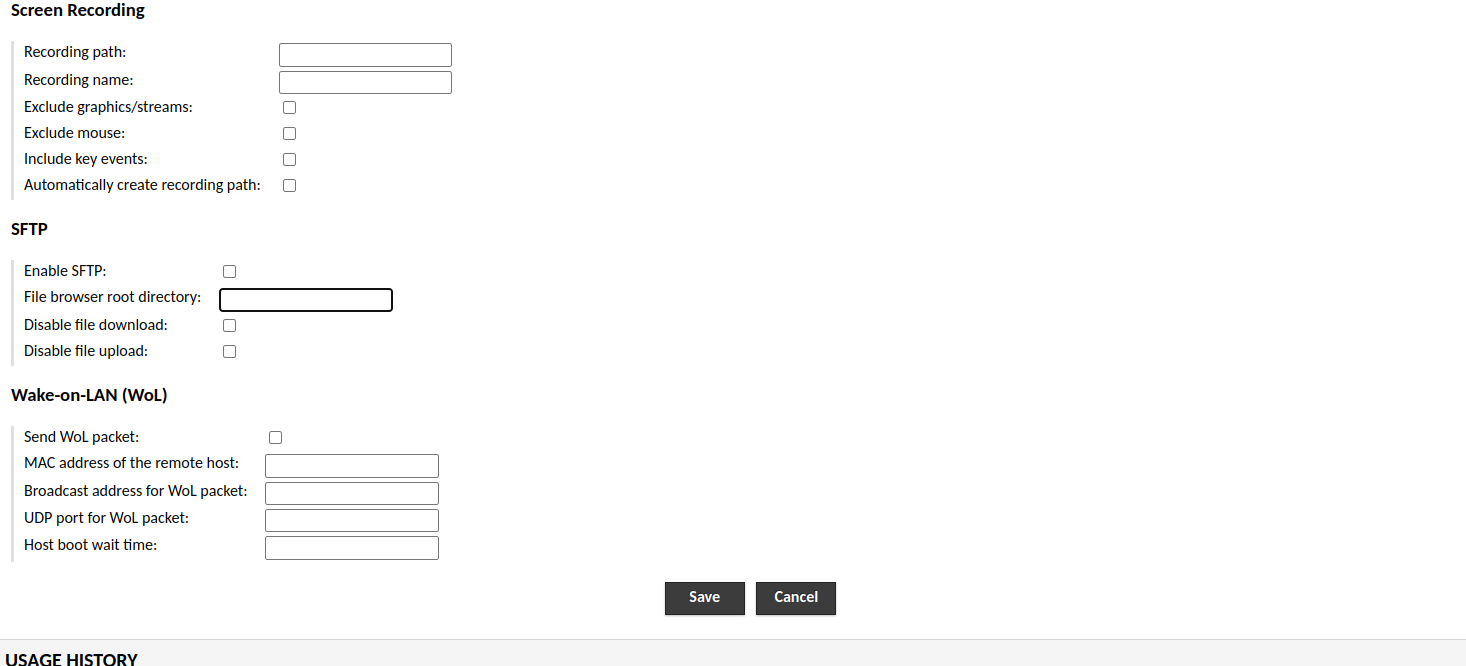
Provide your servername, protocol, IP address, port, username, and password, then click on the Save button to save the connection. You will see the following page.

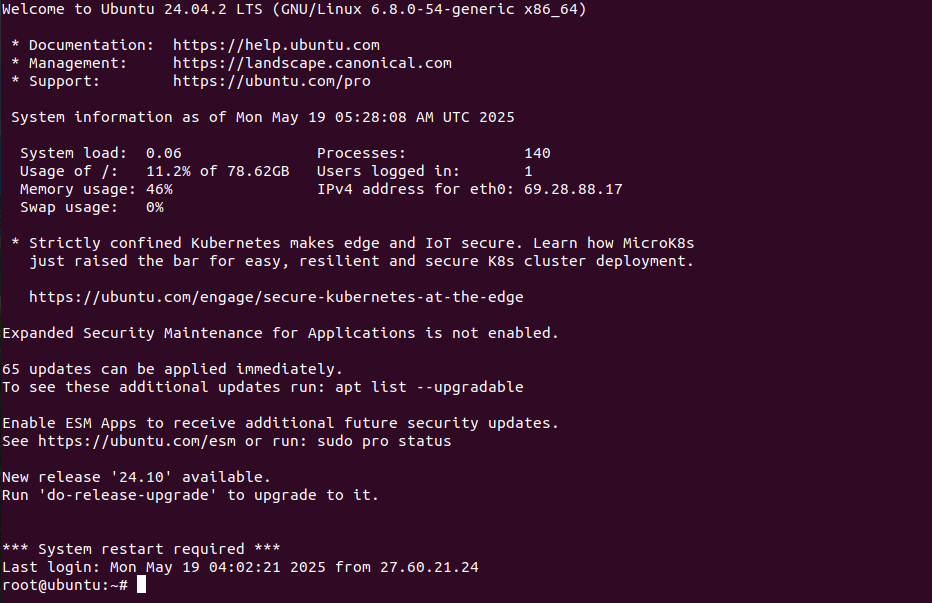
Now, go back to home page and click on your server connection. Once you are connected to your server, you will see the following screen.
Conclusion
Following the step-by-step installation guide outlined in this article, users can quickly deploy Guacamole on their Ubuntu servers and benefit from its rich feature set and ease of use. Overall, Apache Guacamole empowers users to provide seamless remote access to their systems and applications, enhancing productivity and enabling flexible work environments while maintaining security and compliance requirements. You can use Apache Guacamole to manage multiple remote connections on dedicated server hosting from Atlantic.Net!
* This post is for informational purposes only and does not constitute professional, legal, financial, or technical advice. Each situation is unique and may require guidance from a qualified professional.
Readers should conduct their own due diligence before making any decisions.