NestJS is a progressive Node.js framework for building efficient, reliable, and scalable server-side applications. It leverages TypeScript to bring robust type-checking and enhanced developer productivity to the Node.js ecosystem. Angular’s architecture inspires NestJS and uses similar concepts such as modules, controllers, services, and decorators, making it familiar to developers with experience in Angular or similar frameworks.
In this tutorial, we will show you how to deploy NestJS on Ubuntu 24.04.
Step 1 – Install Node.js
First, install the necessary dependencies using the following command.
apt-get install -y ca-certificates curl gnupg
Next, download the Node.js GPG key.
mkdir -p /etc/apt/keyrings
curl -fsSL https://deb.nodesource.com/gpgkey/nodesource-repo.gpg.key | gpg --dearmor -o /etc/apt/keyrings/nodesource.gpg
Next, add the NodeSource repo to the APT source list.
echo "deb [signed-by=/etc/apt/keyrings/nodesource.gpg] https://deb.nodesource.com/node_22.x nodistro main" | tee /etc/apt/sources.list.d/nodesource.list
Then, update the repository index and install Node.js with the following command.
apt update
apt-get install -y nodejs
Next, verify the Node.js version using the following command.
node -v
Output.
v22.15.1
Step 2 – Install NestJS
You can use the NPM to install the Nest CLI easily.
npm i -g @nestjs/cli
Next, create a project for NestJS using the following command:
nest new project
Select the NPM package manager and press the Enter key to create a project.
⚡  We will scaffold your app in a few seconds..

? Which package manager would you ❤️  to use? (Use arrow keys)
❯ npm
  yarn
  pnpm
? Which package manager would you ❤️  to use? npm
CREATE project/.eslintrc.js (663 bytes)
CREATE project/.prettierrc (51 bytes)
CREATE project/README.md (3340 bytes)
CREATE project/nest-cli.json (171 bytes)
CREATE project/package.json (1946 bytes)
CREATE project/tsconfig.build.json (97 bytes)
CREATE project/tsconfig.json (546 bytes)
CREATE project/src/app.controller.ts (274 bytes)
CREATE project/src/app.module.ts (249 bytes)
CREATE project/src/app.service.ts (142 bytes)
CREATE project/src/main.ts (208 bytes)
CREATE project/src/app.controller.spec.ts (617 bytes)
CREATE project/test/jest-e2e.json (183 bytes)
CREATE project/test/app.e2e-spec.ts (630 bytes)

✔ Installation in progress... ☕

🚀  Successfully created project project
👉  Get started with the following commands:

$ cd project
$ npm run start


                          Thanks for installing Nest 🙏
                 Please consider donating to our open collective
                        to help us maintain this package.


               🍷  Donate: https://opencollective.com/nest
Next, change the directory to the project and download the typescript.
cd project
git clone https://github.com/nestjs/typescript-starter.git
Then, install all the required dependencies.
npm install
Next, start your application.
npm run start
You will see the following output:
[Nest] 185741  - 03/14/2025, 3:17:45 PM     LOG [NestFactory] Starting Nest application...
[Nest] 185741  - 03/14/2025, 3:17:45 PM     LOG [InstanceLoader] AppModule dependencies initialized +15ms
[Nest] 185741  - 03/14/2025, 3:17:45 PM     LOG [RoutesResolver] AppController {/}: +40ms
[Nest] 185741  - 03/14/2025, 3:17:45 PM     LOG [RouterExplorer] Mapped {/, GET} route +3ms
[Nest] 185741  - 03/14/2025, 3:17:45 PM     LOG [NestApplication] Nest application successfully started +2ms
Press the CTRL + C to stop the application.
You can also test your application using the following command:
npm run test
You will see the following output:
> project@0.0.1 test
> jest

 PASS  src/app.controller.spec.ts (5.578 s)
  AppController
    root
      ✓ should return "Hello World!" (16 ms)

Test Suites: 1 passed, 1 total
Tests:       1 passed, 1 total
Snapshots:   0 total
Time:        5.679 s
Ran all test suites.
Step 3 – Use PM2 to Manage the NestJS Application
First, install PM2 using the following command:
npm install -g pm2
Next, start your NestJS application using the following command:
pm2 start dist/src/main.js --name "nestjs.example.com"
Next, run the following command to start your application at system startup.
pm2 startup
Now, save your service configuration using the following command:
pm2 save
Step 4 – Configure Nginx for NestJS
First, install the Nginx server using the following command:
apt install nginx -y
Next, create an Nginx virtual host for NestJS.
nano /etc/nginx/conf.d/nestjs.conf
Add the following configuration:
server {
    listen 80;
    server_name nestjs.example.com;

    location / {
        proxy_pass http://127.0.0.1:3000;
        proxy_http_version 1.1;
        proxy_set_header Upgrade $http_upgrade;
        proxy_set_header Host $host;
        proxy_cache_bypass $http_upgrade;
    }
}
Save the file, then edit the Nginx main configuration file.
nano /etc/nginx/nginx.conf
Add the following line after the file http {:
server_names_hash_bucket_size 64;
Finally, restart the Nginx service to apply the changes.
systemctl restart nginx
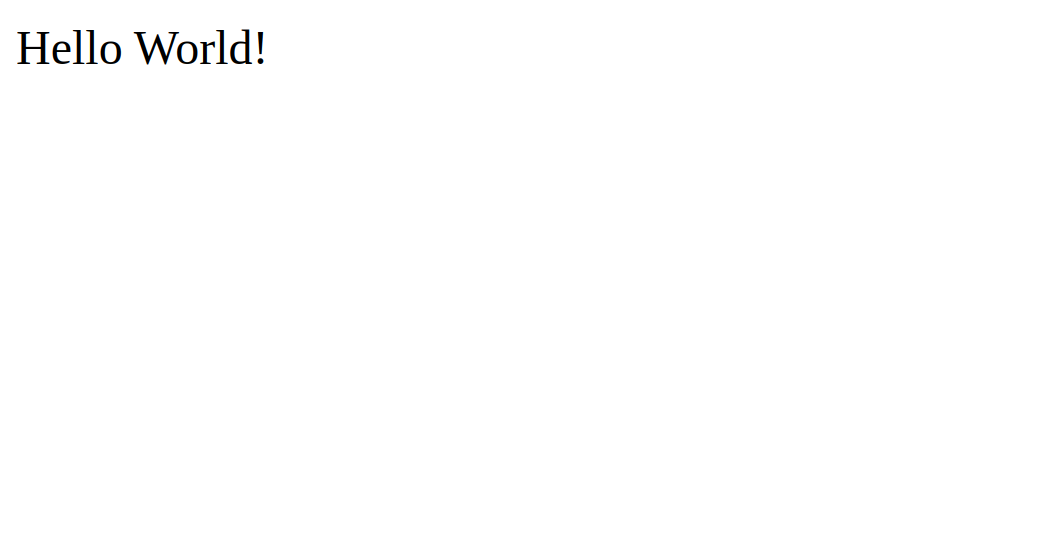
Step 5 – Access the NestJS Application
At this point, your NestJS application is created with Nginx as a reverse proxy. You can now access it using the URL http://nestjs.example.com. You will see the NestJS application on the following page.
Conclusion
NestJS provides developers with a streamlined pathway to harnessing the power of this modern Node.js framework for building efficient and scalable server-side applications. By following the step-by-step guide outlined in this article, users can quickly set up NestJS on their Ubuntu systems, leveraging its robust features and architectural patterns to accelerate development workflows. You can now use the NestJS framework on dedicated server hosting from Atlantic.Net!
* This post is for informational purposes only and does not constitute professional, legal, financial, or technical advice. Each situation is unique and may require guidance from a qualified professional.
Readers should conduct their own due diligence before making any decisions.