Whether you’re managing data for a small business, a large enterprise, or personal projects, a reliable object storage system is essential. MinIO, an open-source object storage server, provides a solution that is not only powerful but also easy to deploy and manage.
In this guide, we’ll walk you through the process of installing MinIO on Ubuntu 22.04.
Step 1 – Install MinIO
First, visit the MinIO server download page and download the latest deb file.
https://min.io/download#/linux
wget https://dl.min.io/server/minio/release/linux-amd64/minio_20240501011110.0.0_amd64.debOnce the package is downloaded, run the pkg command to install it on your server.
dpkg -i minio_20240501011110.0.0_amd64.debStep 2 – Configure MinIO
Next, create a user and group for MinIO:
groupadd -r minio-user
useradd -M -r -g minio-user minio-user
Next, create a data directory for MinIO:
mkdir /mnt/dataThen, change the ownership of the data directory.
chown -R minio-user:minio-user /mnt/Next, edit the MinIO configuration file:
nano /etc/default/minioChange the following lines:
MINIO_VOLUMES="/mnt/data"

MINIO_OPTS="--console-address :9001"

MINIO_ROOT_USER=minioadmin

MINIO_ROOT_PASSWORD=minioadminpassword
Save and close the file then start the MinIO service:
systemctl start minio
You can check the MinIO status using the following command:
systemctl status minioOutput:
● minio.service - MinIO
     Loaded: loaded (/lib/systemd/system/minio.service; disabled; vendor preset: enabled)
     Active: active (running) since Fri 2024-05-03 06:06:06 UTC; 26s ago
       Docs: https://docs.min.io
   Main PID: 82819 (minio)
      Tasks: 9
        CPU: 688ms
     CGroup: /system.slice/minio.service
             └─82819 /usr/local/bin/minio server --console-address :9001 /mnt/data

May 03 06:06:06 ubuntu22 minio[82819]: MinIO Object Storage Server
May 03 06:06:06 ubuntu22 minio[82819]: Copyright: 2015-2024 MinIO, Inc.
May 03 06:06:06 ubuntu22 minio[82819]: License: GNU AGPLv3 <https://www.gnu.org/licenses/agpl-3.0.html>
May 03 06:06:06 ubuntu22 minio[82819]: Version: RELEASE.2024-05-01T01-11-10Z (go1.21.9 linux/amd64)
May 03 06:06:06 ubuntu22 minio[82819]: API: http://69.28.85.92:9000  http://127.0.0.1:9000
May 03 06:06:06 ubuntu22 minio[82819]: WebUI: http://69.28.85.92:9001 http://127.0.0.1:9001
May 03 06:06:06 ubuntu22 minio[82819]: Docs: https://min.io/docs/minio/linux/index.html
May 03 06:06:06 ubuntu22 minio[82819]: Status:         1 Online, 0 Offline.
May 03 06:06:06 ubuntu22 minio[82819]: STARTUP WARNINGS:
Step 3 – Access MinIO Web UI
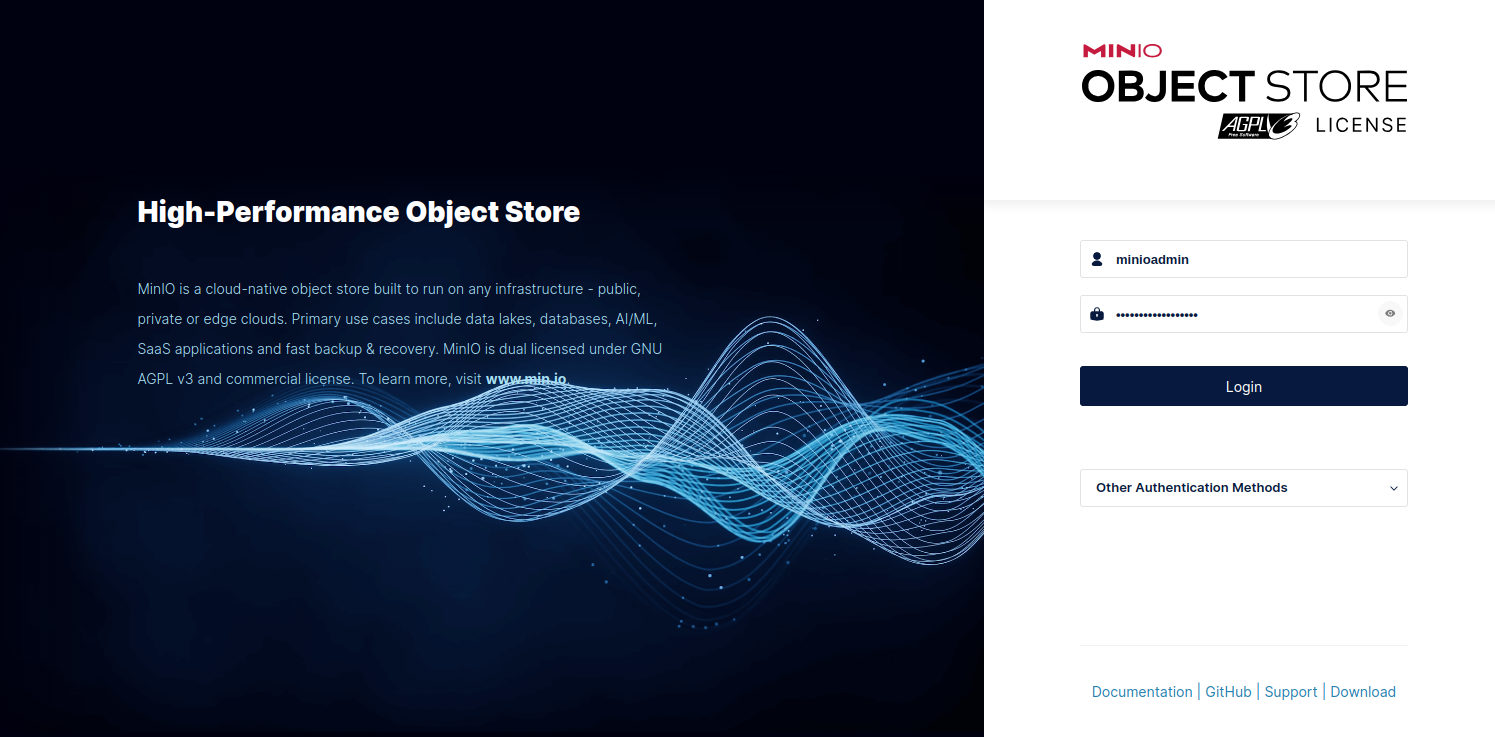
Now, open your web browser and access the MinIO web UI using the URL http://your-server-ip:9000. You will see the MinIO login page:
Provide your admin username and password and click on Login. You will see the following page:
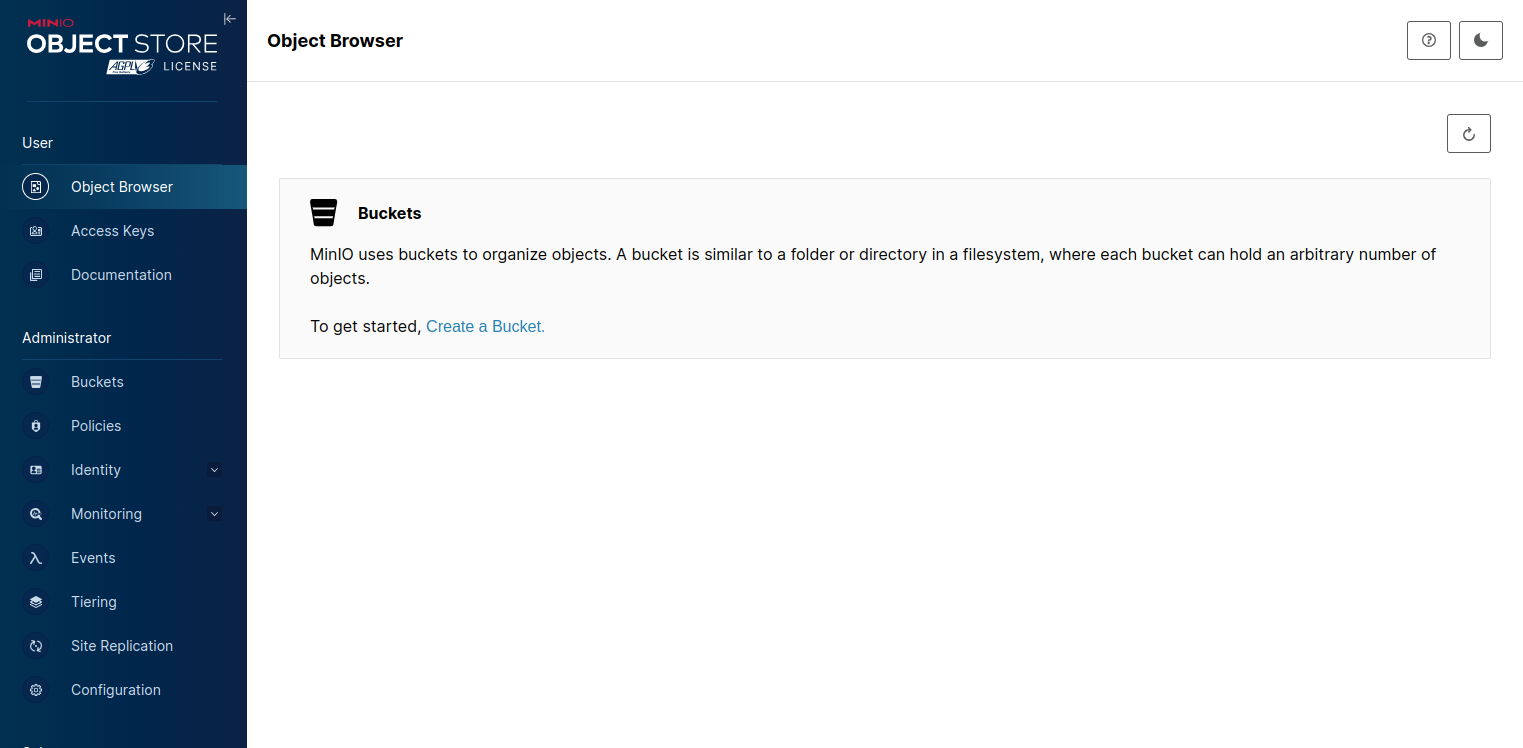
Click on the Buckets in the left pane and click on Create a Bucket. You will see the following page:
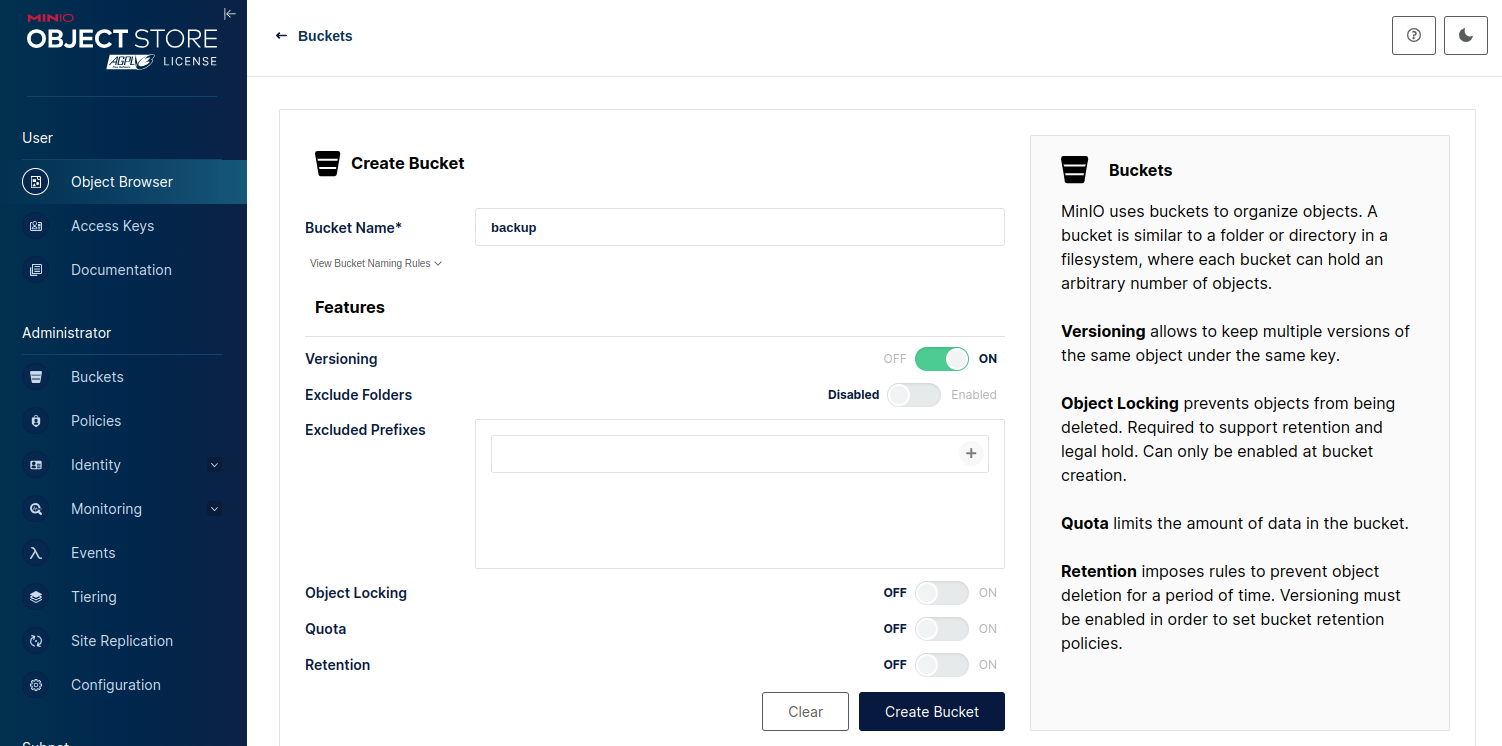
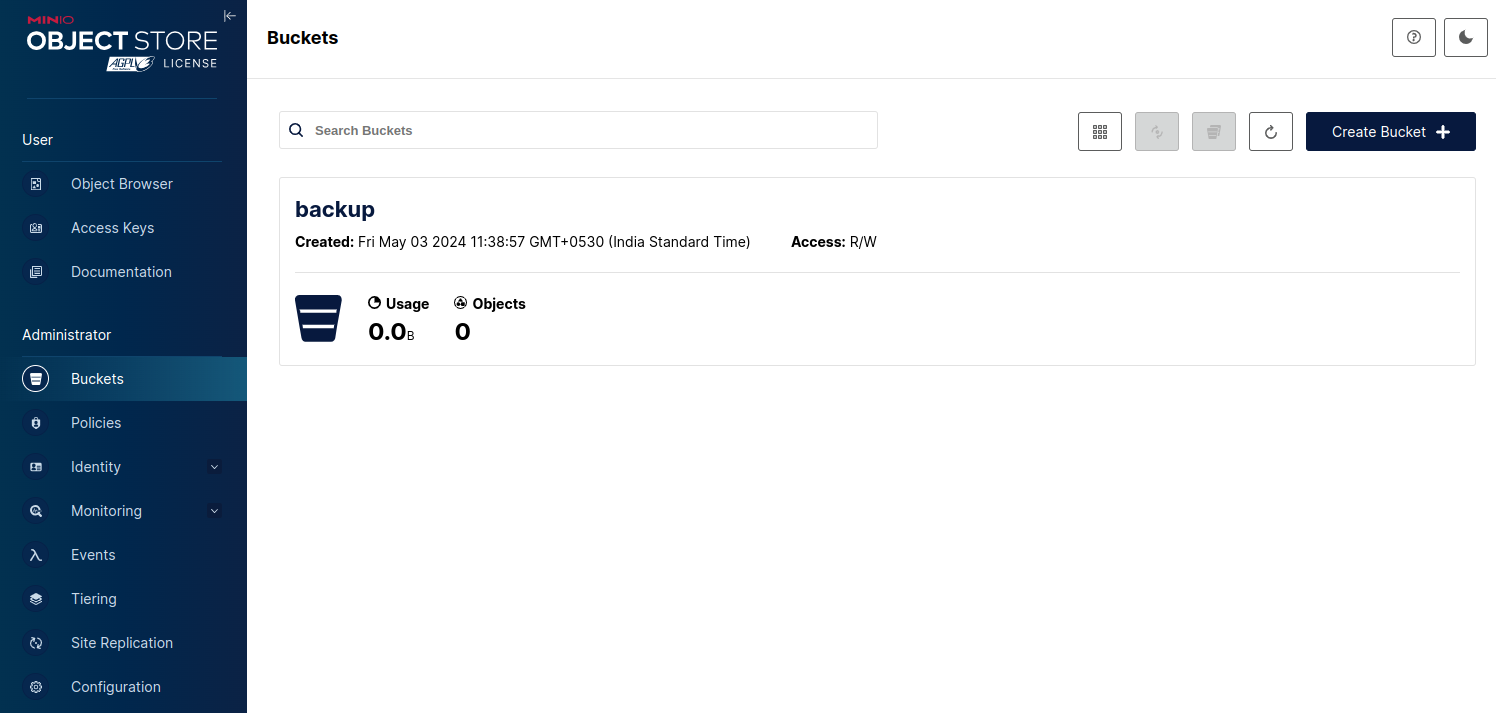
Define your bucket name and click on Create Bucket. You will see your bucket on the following page.
Conclusion
By following the steps outlined in this guide, you can quickly deploy MinIO on your Ubuntu server and start reaping the benefits of a modern, flexible, and efficient object storage system. Whether you’re building a cloud-native application, managing backups, or simply looking for a reliable storage solution, MinIO offers a versatile and scalable platform that can meet your requirements. With its easy installation process, robust features, and compatibility with the Amazon S3 API, MinIO empowers users to take control of their data without the complexity and cost associated with proprietary solutions. You can now deploy your own online storage using MinIO on dedicated server hosting from Atlantic.Net!