Deploying .NET Core applications on Linux offers several compelling use cases and advantages, even though .NET Core is a Microsoft technology traditionally associated with Windows environments. Here are some key reasons why deploying .NET Core applications on Linux can be beneficial:
- Cross-Platform Compatibility
- Cost Efficiency
- Performance and Scalability
- Containerization and Orchestration
- Open-Source Ecosystem
- Security and Stability
In this tutorial, we will explain how to install the .NET Core Application on Ubuntu 24.04.
Step 1 – Install .NET SDK
Before starting, you will need a .NET SDK for development purposes. Follow the below steps to install it.
First, install the SNAP package manager.
apt install snap
Next, install the .NET SDK version 8 using the following command.
snap install dotnet-sdk --classic --channel=8.0
Next, create a symbolic link to .NET SDK.
ln -s /snap/bin/dotnet-sdk.dotnet /usr/bin/dotnet
You can now verify the .NET version using the following command.
dotnet --version
Output:
8.0.407
Step 2 – Create an Application Using .NET
First, create a new application named MyApp using the following command:
dotnet new webapp -o MyApp --no-https
Next, navigate inside the MyApp directory and build the application using the following command:
cd MyApp
dotnet build
Output:
MSBuild version 17.9.6+a4ecab324 for .NET
  Determining projects to restore...
  All projects are up-to-date for restore.
  MyApp -> /root/MyApp/bin/Debug/net8.0/MyApp.dll

Build succeeded.
    0 Warning(s)
    0 Error(s)

Time Elapsed 00:00:05.98
Next, publish a .NET application for production using the following command:
dotnet publish -c Release -o /var/www/ --runtime linux-x64
It will publish your .NET application with the Release configuration, targeting the Linux x64 runtime, and output the published files to the /var/www/ directory.
Step 3 – Create a Systemd File for .NET Application
Next, you will need to create a systemd file to manage your .NET application. You can create it using the following command:
nano /etc/systemd/system/app.service
Add the following configuration:
[Unit]
Description=My .NET Core Application

[Service]
WorkingDirectory=/var/www/
ExecStart=/usr/bin/dotnet /var/www/MyApp.dll
Restart=always
# Restart service after 10 seconds if the dotnet service crashes:
RestartSec=10
KillSignal=SIGINT
SyslogIdentifier=dotnet-example
User=root
Environment=ASPNETCORE_ENVIRONMENT=Production

[Install]
WantedBy=multi-user.target
Save and close the file, then reload the systemd daemon to apply the changes.
systemctl daemon-reload
Next, start your .NET application service using the following command:
systemctl start app
You can check the status of your application using the following command:
systemctl status app
Output:
● app.service - My .NET Core Application
     Loaded: loaded (/etc/systemd/system/app.service; disabled; preset: enabled)
     Active: active (running) since Mon 2025-05-12 05:48:35 UTC; 3s ago
   Main PID: 33371 (dotnet)
      Tasks: 0 (limit: 4609)
     Memory: 36.0K (peak: 8.9M)
        CPU: 37ms
     CGroup: /system.slice/app.service
             ‣ 33371 /snap/dotnet-sdk/256/dotnet /var/www/MyApp.dll

May 12 05:48:35 ubuntu systemd[1]: Started app.service - My .NET Core Application.
Step 4 – Configure Nginx for the .NET Application
Next, you will need to configure Nginx as a reverse proxy to expose your application on port 80.
First, install the Nginx web server.
apt install nginx
Next, create an Nginx virtual host configuration file.
nano /etc/nginx/conf.d/app.conf
Add the following configuration:
server {
    listen 80;
    server_name app.example.com;

    location / {
        proxy_pass http://localhost:5000;
        proxy_http_version 1.1;
        proxy_set_header Upgrade $http_upgrade;
        proxy_set_header Connection keep-alive;
        proxy_set_header Host $host;
        proxy_cache_bypass $http_upgrade;
    }
}
Save and close the file, then edit the Nginx main configuration:
nano /etc/nginx/nginx.conf
Add the following lines below the line http{:
server_names_hash_bucket_size 64;
client_max_body_size 20M;
Save the file, then restart the Nginx service to apply the changes.
systemctl restart nginx
Step 5 – Access .NET Application
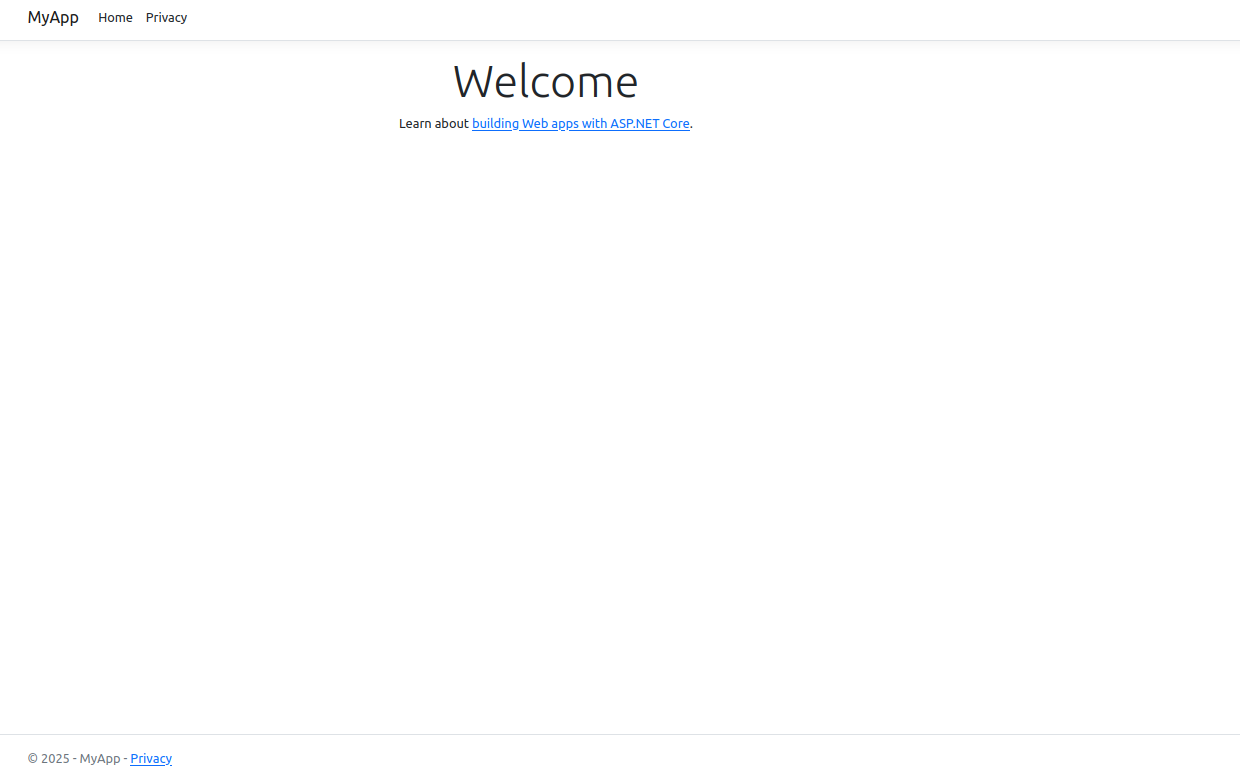
At this point, your .NET application is created with Nginx as a reverse proxy. You can now access it using the URL http://app.example.com.
Conclusion
In this tutorial, we explained how to deploy a .NET application on Ubuntu 24.04. By embracing Linux as a deployment platform for .NET Core applications, organizations can achieve greater flexibility, efficiency, and innovation in their software development and deployment processes. Try to deploy your .NET application on dedicated server hosting from Atlantic.Net!
* This post is for informational purposes only and does not constitute professional, legal, financial, or technical advice. Each situation is unique and may require guidance from a qualified professional.
Readers should conduct their own due diligence before making any decisions.