Adminer is an open-source tool for managing multiple databases via a web-based interface. It is an alternative to phpMyAdmin and supports several databases such as MariaDB, MySQL, SQLite, Oracle, PostgreSQL, MongoDB, and Elasticsearch. It is lightweight, user-friendly, and has a clean interface that makes it easy to use and learn.
Step 1 – Install Apache and PHP
First, you will need a web server installed on your server. You can install the Apache server with PHP packages using the following command.
apt install apache2 php php-fpm php-curl libapache2-mod-php php-cli php-mysql php-gd -y
Once the Apache package is installed, start and enable the Apache service using the following command.
systemctl enable --now apache2
You can verify the status of the Apache using the following command.
systemctl status apache2
Output.
● apache2.service - The Apache HTTP Server
     Loaded: loaded (/usr/lib/systemd/system/apache2.service; enabled; preset: enabled)
     Active: active (running) since Sat 2025-05-24 06:38:56 AST; 13s ago
       Docs: https://httpd.apache.org/docs/2.4/
   Main PID: 502048 (apache2)
      Tasks: 6 (limit: 4609)
     Memory: 12.8M (peak: 13.0M)
        CPU: 125ms
     CGroup: /system.slice/apache2.service
             ├─502048 /usr/sbin/apache2 -k start
             ├─502052 /usr/sbin/apache2 -k start
             ├─502053 /usr/sbin/apache2 -k start
             ├─502054 /usr/sbin/apache2 -k start
             ├─502055 /usr/sbin/apache2 -k start
             └─502056 /usr/sbin/apache2 -k start
Step 2 – Install MySQL Server
You will also need a database server to test the Adminer. Let’s install the MySQL server package with the following command.
apt install mysql-server -y
Once the MySQL server is installed, run the mysql_secure_installation script to secure the installation.
mysql_secure_installation
Answer all the questions as shown below:
Enter current password for root (enter for none):
Switch to unix_socket authentication [Y/n] Y
Change the root password? [Y/n] Y //Enter the password you want to set for MySQL root user
Remove anonymous users? [Y/n] Y
Disallow root login remotely? [Y/n] Y
Remove test database and access to it? [Y/n] Y
Next, log in to the MySQL server.
mysql
Then, set the MySQL root password.
ALTER USER 'root'@'localhost' IDENTIFIED BY 'securepassword';
Next, create a sample database and user.
CREATE DATABASE adminerdb;
CREATE USER 'adminer'@'%' IDENTIFIED WITH mysql_native_password BY 'password';
GRANT ALL ON adminerdb.* TO 'adminer'@'%';
Next, flush the privileges to reload the changes.
FLUSH PRIVILEGES;
Finally, exit from the MySQL shell.
EXIT;
Step 3 – Install Adminer
By default, the Adminer package is included in the Ubuntu default repository. You can install it using the following command.
apt install adminer -y
Once the Adminer is installed, enable the Adminer configuration file with the following command.
a2enconf php*-fpm
a2enconf adminer
Next, restart the Apache service to apply the changes.
systemctl restart apache2
Step 4 – Access Adminer Web UI
Now, open your web browser and access the Adminer web UI using the URL http://your-server-ip/adminer. You will see the Adminer web interface.
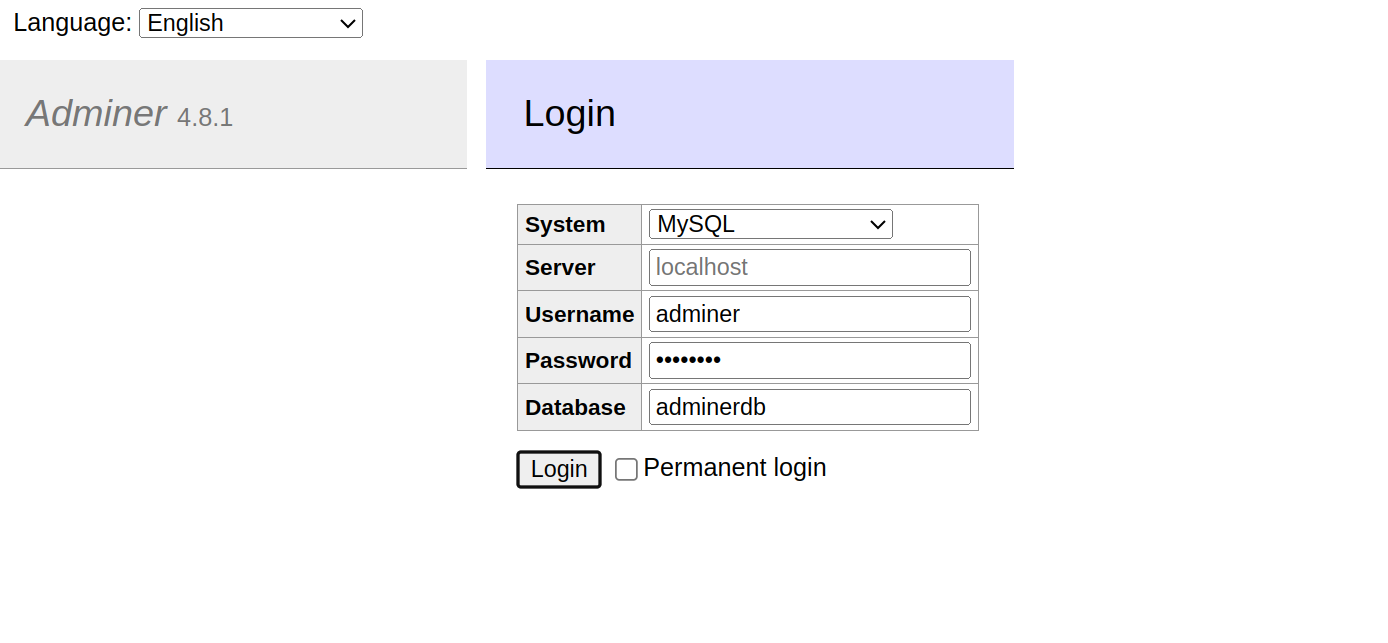
Provide your database username, password, and database, and click on the connect button. You will see the following screen.
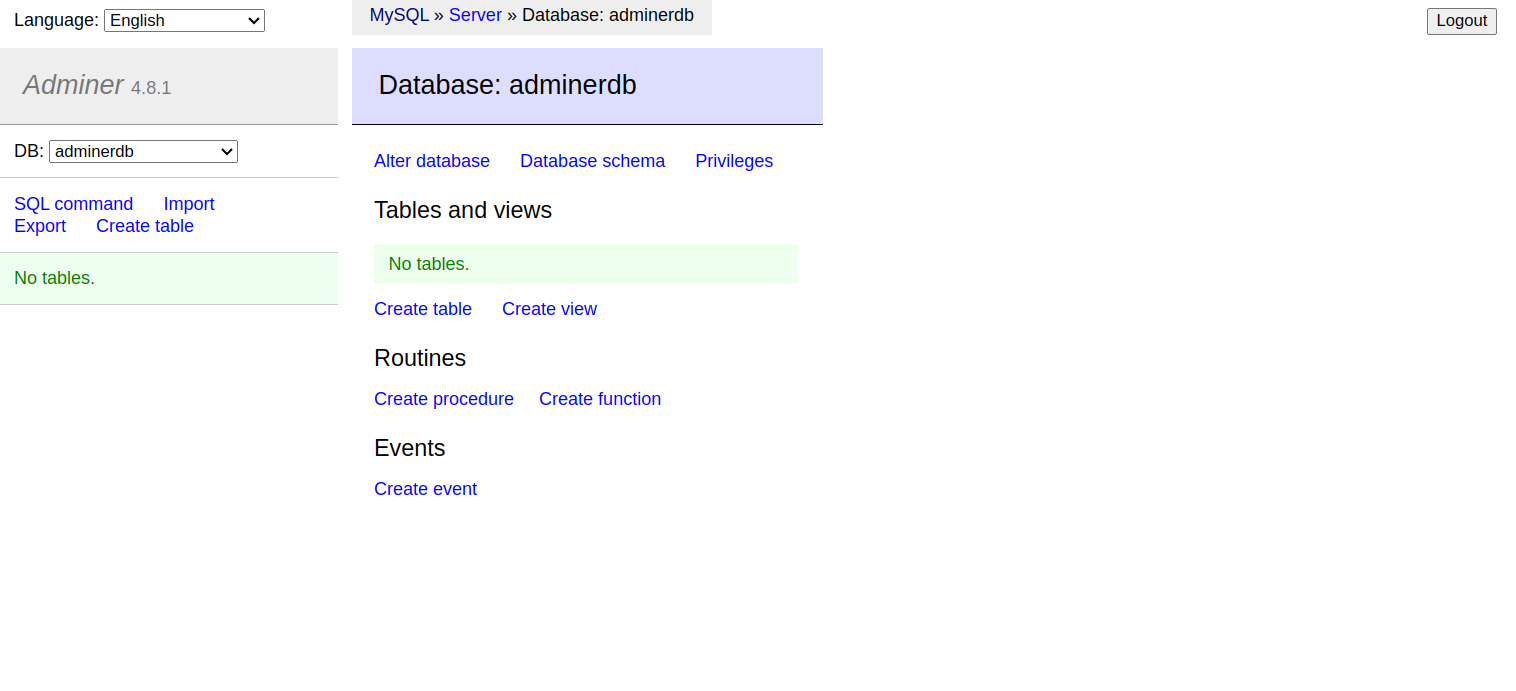
You can now manage your database easily from the Adminer dashboard.
Conclusion
In this post, you learned how to install Adminer on Ubuntu 24.04. You can now connect more database servers via Adminer and start managing them from the web-based interface. Try to deploy the Adminer database management tool on dedicated server hosting from Atlantic.Net!
* This post is for informational purposes only and does not constitute professional, legal, financial, or technical advice. Each situation is unique and may require guidance from a qualified professional.
Readers should conduct their own due diligence before making any decisions.