Memcached is an open-source and high-performance memory caching system used to speed up dynamic websites by caching data in memory. Generally, it is used to cache API calls, database, and page rendering chunks. It uses an in-memory data store to provide website users with cached elements quickly. Memcached is simple, lightweight, easy to use, and flexible in terms of application development.
In this tutorial, we will show you how to install Memcached on Fedora.
Step 1 – Install Memcached
By default, the Memcached package is included in the Fedora default repo. You can install it using the following commands.
dnf update -y

dnf install memcached libmemcached -y
Once Memcached is installed, start and enable the Memcached service with the following command.
systemctl start memcached
systemctl enable memcached
You can verify the status of Memcached with the following command.
systemctl status memcached
Output.
● memcached.service - memcached daemon
     Loaded: loaded (/usr/lib/systemd/system/memcached.service; disabled; vendor preset: disabled)
     Active: active (running) since Sat 2023-06-24 03:40:40 EDT; 3s ago
   Main PID: 10494 (memcached)
      Tasks: 10 (limit: 9497)
     Memory: 1.6M
        CPU: 29ms
     CGroup: /system.slice/memcached.service
             └─10494 /usr/bin/memcached -p 11211 -u memcached -m 64 -c 1024 -l 127.0.0.1,::1

Jun 24 03:40:40 fedora systemd[1]: Started memcached daemon.
By default, Memcached listens on port 11211. You can check it with the following command.
ss -antpl | grep memcached
Output.
LISTEN 0      1024       127.0.0.1:11211      0.0.0.0:*    users:(("memcached",pid=10494,fd=27))
LISTEN 0      1024           [::1]:11211         [::]:*    users:(("memcached",pid=10494,fd=28))
The Memcached default configuration file is located at /etc/sysconfig/memcached. You can check the default options with the following command.
cat -n /etc/sysconfig/memcached
Output:
     1	PORT="11211"
     2	USER="memcached"
     3	MAXCONN="1024"
     4	CACHESIZE="64"
     5	OPTIONS="-l 127.0.0.1,::1"
You can check the above options as per your requirements.
Step 2 – Enable Memcached for PHP Application
If you want to use Memcached for PHP-based applications then you will need to install the Memcached PHP extensions to your server. You can install it with the following command.
dnf install php-pecl-memcache php-pecl-memcached -y
Step 3 – Verify Memcached for PHP
To verify Memcached, first install Nginx and PHP.
dnf install nginx php php-cli -y
Next, create a sample PHP info file.
nano /var/www/html/info.php
Add the following code.
<?php phpinfo(); ?>
Save and close the file, then create a symlink of the info.php file.
ln -s /var/www/html/info.php /usr/share/nginx/html/
Next, start and enable the Nginx with the following command.
systemctl start nginx
systemctl enable nginx
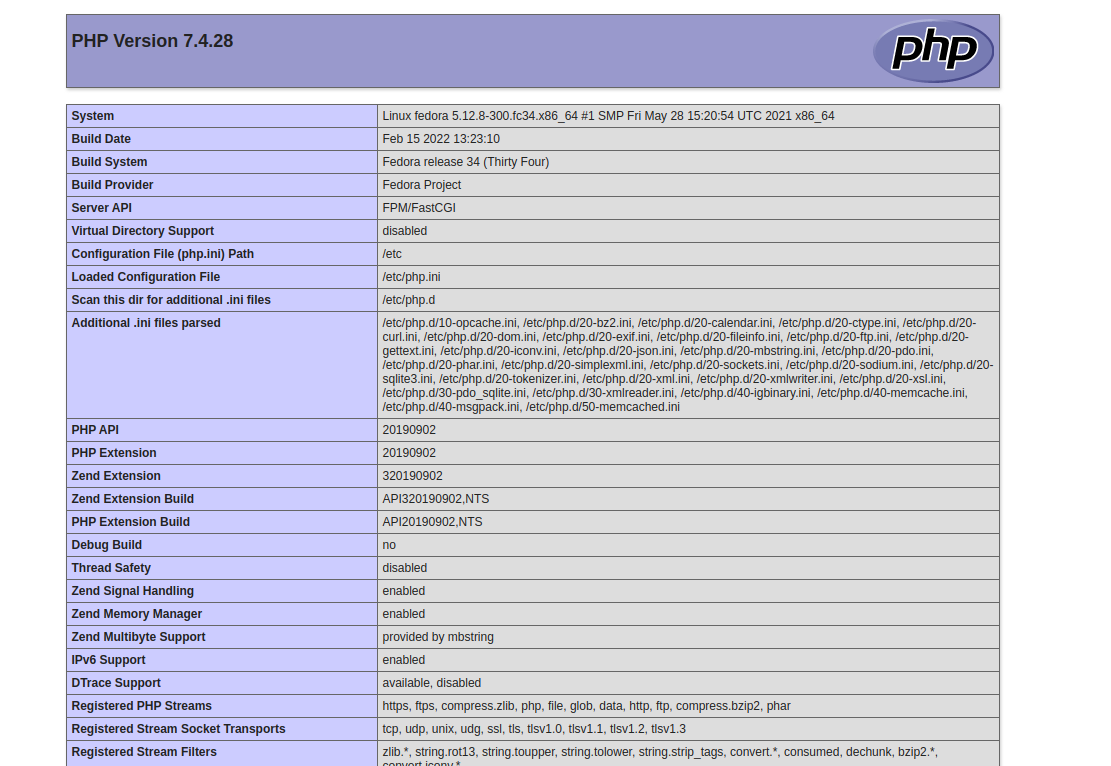
Now, open your web browser and access the PHP info page using the URL http://your-server-ip/info.php.
Conclusion
In this post, we explained how to install Memcached on Fedora. Then, we explained how to use Memcached with PHP and verify it. You can now use Memcached to help speed up your PHP applications. Try to use Memcached on dedicated server hosting from Atlantic.Net!
* This post is for informational purposes only and does not constitute professional, legal, financial, or technical advice. Each situation is unique and may require guidance from a qualified professional.
Readers should conduct their own due diligence before making any decisions.