Angular is a versatile, free, open-source web application framework developed by Google. It is used to build efficient and scalable single-page mobile and desktop applications. It is fully extensible and works well with other libraries. It is based on TypeScript and provides building blocks to quickly set up a maintainable, scalable app.
In this post, we will show you how to install Angular on Fedora Linux.
Step 1 – Install Node.js
Before starting, the Node.js package must be installed on your system. Follow the below steps to install the latest stable version of Node.js.
First, install all the required dependencies using the following commands.
dnf update -y
dnf install -y gcc-c++ make
Next, add the Node source repo with the following command.
curl -sL https://rpm.nodesource.com/setup_18.x | bash -
After that, install Node.js with the following command.
dnf install nodejs git -y
You can verify the Node.js version with the following command.
node -v
Output.
v18.19.0
Step 2 – Install Angular CLI
Angular provides a CLI utility to initialize, develop and maintain Angular applications via a command line interface. You can install it via the NPM command.
npm install -g @angular/cli
After installing Angular, you can verify its version with the following command.
ng version
Output:
Global setting: enabled
Local setting: No local workspace configuration file.
Effective status: enabled

     _                      _                 ____ _     ___
    / \   _ __   __ _ _   _| | __ _ _ __     / ___| |   |_ _|
   / △ \ | '_ \ / _` | | | | |/ _` | '__|   | |   | |    | |
  / ___ \| | | | (_| | |_| | | (_| | |      | |___| |___ | |
 /_/   \_\_| |_|\__, |\__,_|_|\__,_|_|       \____|_____|___|
                |___/


Angular CLI: 16.1.4
Node: 18.11.0
Package Manager: npm 8.19.2
OS: linux x64

Angular:
...

Package                      Version
------------------------------------------------------
@angular-devkit/architect    0.1601.4 (cli-only)
@angular-devkit/core         16.1.4 (cli-only)
@angular-devkit/schematics   16.1.4 (cli-only)
@schematics/angular          16.1.4 (cli-only)
Step 3 – Create an Angular Application
You can now create an Angular application using the following command.
ng new angular-app
Once the Angular application is created, navigate inside the created application and start it using the following command.
cd angular-app
ng serve --host 0.0.0.0 --port 8080
If everything is fine, you will see the following output.
✔ Browser application bundle generation complete.

Initial Chunk Files   | Names         |  Raw Size
vendor.js             | vendor        |   2.28 MB |
polyfills.js          | polyfills     | 333.16 kB |
styles.css, styles.js | styles        | 230.46 kB |
main.js               | main          |  48.10 kB |
runtime.js            | runtime       |   6.52 kB |

                      | Initial Total |   2.89 MB

Build at: 2023-07-13T13:43:45.597Z - Hash: 46dc314ca09e79ec - Time: 9220ms

** Angular Live Development Server is listening on 0.0.0.0:8080, open your browser on http://localhost:8080/ **


✔ Compiled successfully.
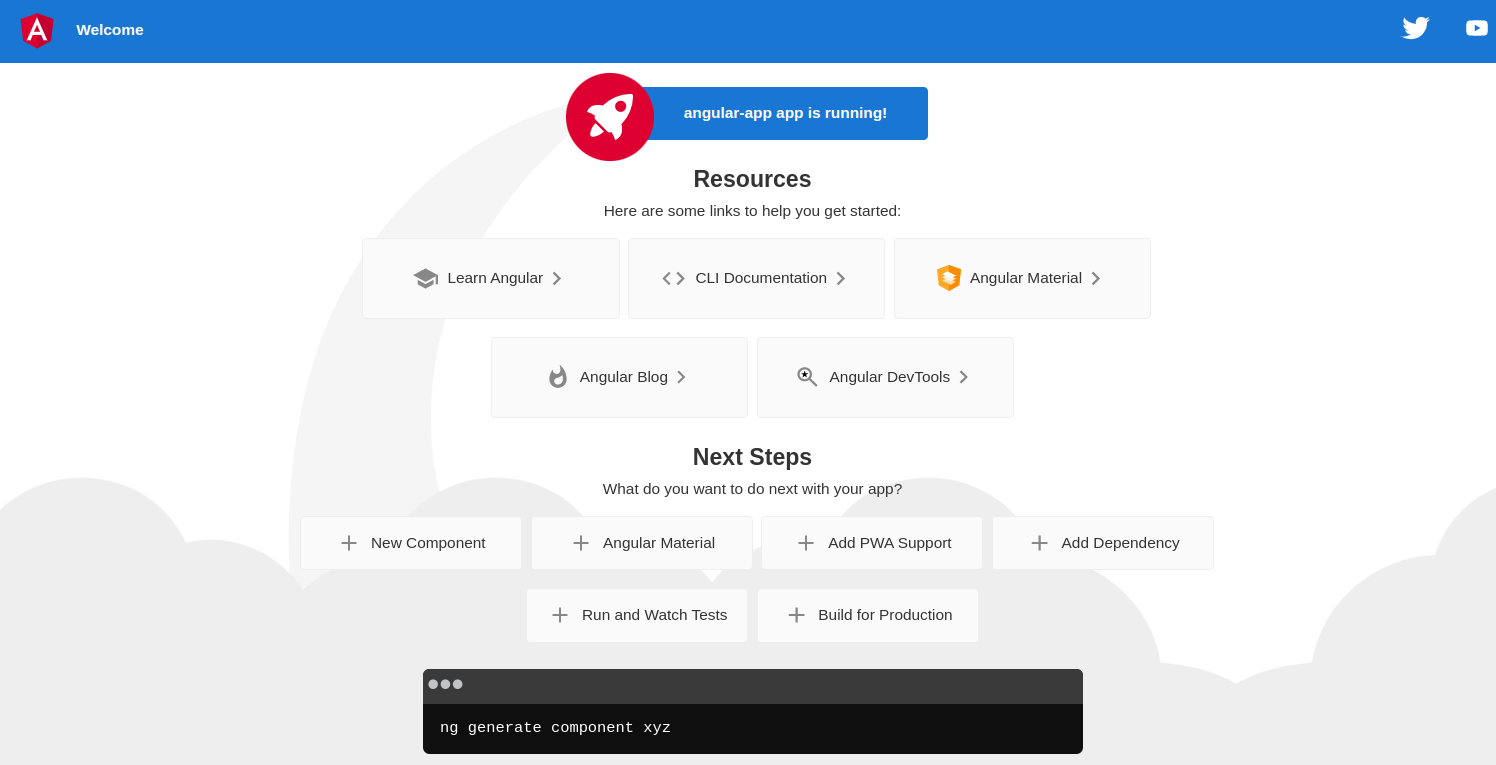
Step 4 – Access Angular Application
At this point, your Angular application is starting and listening on port 8080. You can now access it using the URL http://your-server-ip:8080. You should see the following screen.
Step 5 – Build Angular Application for Production
If you want to use your application for production, use the “ng build” command.
ng build
You will see the following output.
✔ Browser application bundle generation complete.
✔ Copying assets complete.
✔ Index html generation complete.

Initial Chunk Files           | Names         |  Raw Size | Estimated Transfer Size
main.034889dcd4e28a74.js      | main          | 204.80 kB |                56.01 kB
polyfills.da805e0bf15a1686.js | polyfills     |  33.02 kB |                10.63 kB
runtime.fe3a75fab6275a44.js   | runtime       | 900 bytes |               514 bytes
styles.ef46db3751d8e999.css   | styles        |   0 bytes |                       -

                              | Initial Total | 238.69 kB |                67.14 kB

Build at: 2023-07-13T13:47:06.202Z - Hash: a0b04b4abae2d0b9 - Time: 66579ms
The above command will create a ‘dist/’ directory in your project folder with the compiled Angular application. You can check it with the following command.
ls dist/angular-app/
You will see all application files in the following output.
3rdpartylicenses.txt favicon.ico index.html main.034889dcd4e28a74.js polyfills.da805e0bf15a1686.js runtime.fe3a75fab6275a44.js styles.ef46db3751d8e999.css
Conclusion
In this post, you learned how to install Angular and create a sample application via the CLI tool. You have now an Angular environment ready to build an interactive single-page application. You can now try to deploy the Angular application on dedicated server hosting from Atlantic.Net!