Apache Solr is an open-source search platform written in Java. It offers many features, including full-text search, hit highlighting, faceted search, real-time indexing, dynamic clustering, database integration, and rich document handling. It is primarily used to serve data to users based on their queries.
This post will show you how to install Apache Solr on Fedora.
Step 1 – Install Java
First, you will need to install Java JDK on your server. You can install it using the following command.
dnf install java-17-openjdk -y
Once Java is installed, you can verify the Java version with the following command.
java --version
You will get the Java version information in the following output.
openjdk 17.0.3 2022-04-19
OpenJDK Runtime Environment 21.9 (build 17.0.3+7)
OpenJDK 64-Bit Server VM 21.9 (build 17.0.3+7, mixed mode, sharing)
Step 2 – Install Apache Solr
First, download the latest version of Apache Solr from their official website.
wget https://dlcdn.apache.org/solr/solr/9.2.0/solr-9.2.0.tgz
Once the download is completed, you can extract it with the following command.
tar xzf solr-9.2.0.tgz solr-9.2.0/bin/install_solr_service.sh --strip-components=2
Next, run the Solr installation script to install Apache Solr to your server.
bash ./install_solr_service.sh solr-9.2.0.tgz
Once Solr is installed, you will get the following output.
Solr process 2001 running on port 8983
{
  "solr_home":"/var/solr/data",
  "version":"9.2.0 92c5515e2918c22513f7aa527d6c6db943150fea - houston - 2023-03-20 20:30:42",
  "startTime":"2023-04-23T02:32:06.818Z",
  "uptime":"0 days, 0 hours, 0 minutes, 15 seconds",
  "memory":"66.5 MB (%13) of 512 MB"}
You can check the status of Apache Solr using the following command.
service solr status
You will see the following output.
Found 1 Solr nodes:

Solr process 2001 running on port 8983
{
  "solr_home":"/var/solr/data",
  "version":"9.2.0 92c5515e2918c22513f7aa527d6c6db943150fea - houston - 2023-03-20 20:30:42",
  "startTime":"2023-04-23T02:32:06.818Z",
  "uptime":"0 days, 0 hours, 0 minutes, 50 seconds",
  "memory":"69.5 MB (%13.6) of 512 MB"}
Step 3 – Configure Apache Solr for Remote Access
At this point, Apache Solr is installed and listening on port 8983 on localhost. You can check it with the following command.
ss -antpl | grep 8983
You will see the following output.
LISTEN 0 50 [::ffff:127.0.0.1]:8983 *:* users:(("java",pid=2001,fd=48))
Next, you will need to edit the Solr configuration file and allow remote access.
nano /etc/default/solr.in.sh
Change the following line.
SOLR_JETTY_HOST="0.0.0.0"
Save and close the file, then restart the Solr service to apply the changes.
service solr restart
Step 4 – Enable Solr Authentication
By default, anyone can access Apache Solr without authentication, so it is a good idea to secure the Solr with a user and password.
To enable the authentication, create a security.json file.
nano /var/solr/data/security.json
Add the following code.
{
  "authentication":{
    "blockUnknown": true,
    "class":"solr.BasicAuthPlugin",
    "credentials":{"solr":"IV0EHq1OnNrj6gvRCwvFwTrZ1+z1oBbnQdiVC3otuq0= Ndd7LKvVBAaZIF0QAVi1ekCfAJXr1GGfLtRUXhgrF8c="},
    "realm":"My Solr users",
    "forwardCredentials": false
  },
  "authorization":{
    "class":"solr.RuleBasedAuthorizationPlugin",
    "permissions":[{"name":"all", "role":"admin"}],
    "user-role":{"solr":"admin"}
  }
}
This file creates the default admin user and password pairing of solr:SolrRocks. Finally, restart the Apache Solr service to apply the changes.
service solr restart
Step 5 – Access Apache Solr
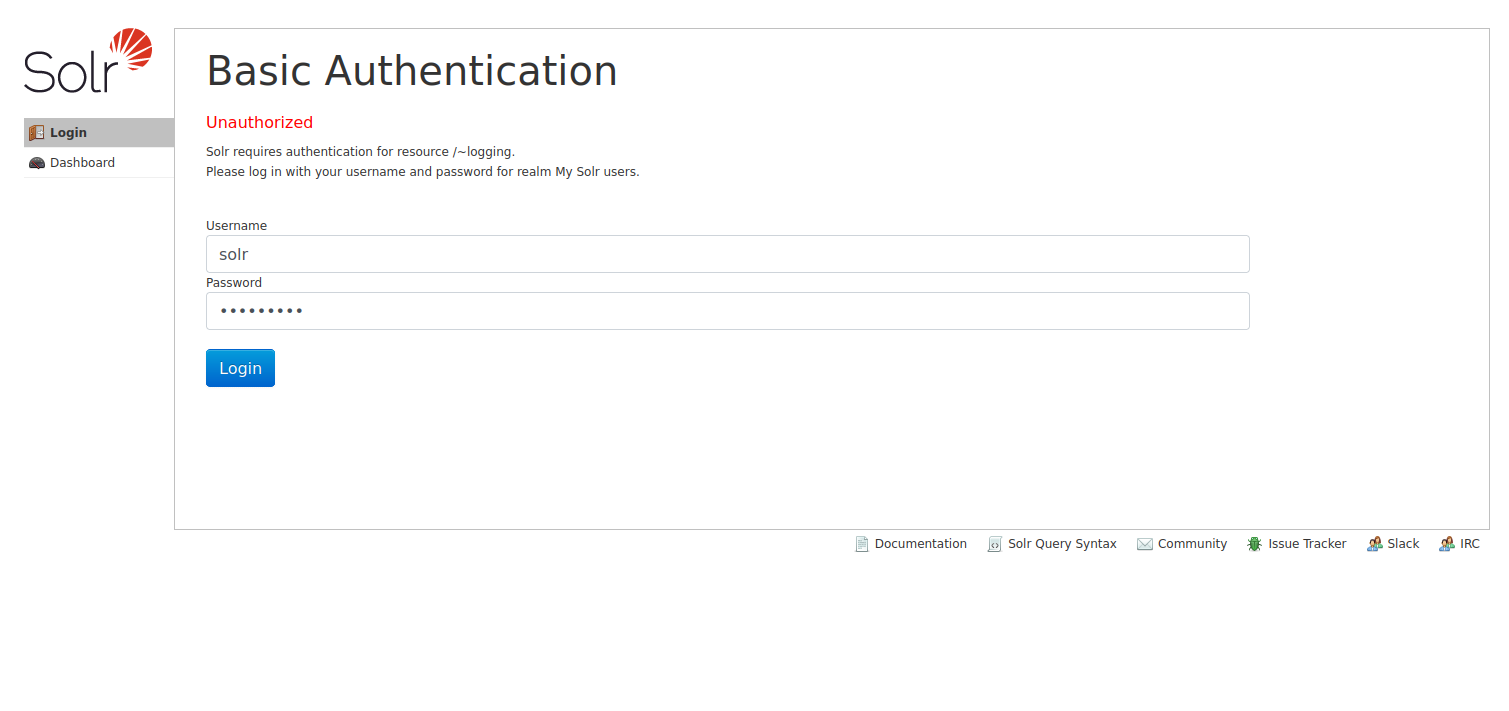
Now, open your web browser and access Apache Solr using the URL http://your-server-ip:8983. You should see the Apache Solr login page.
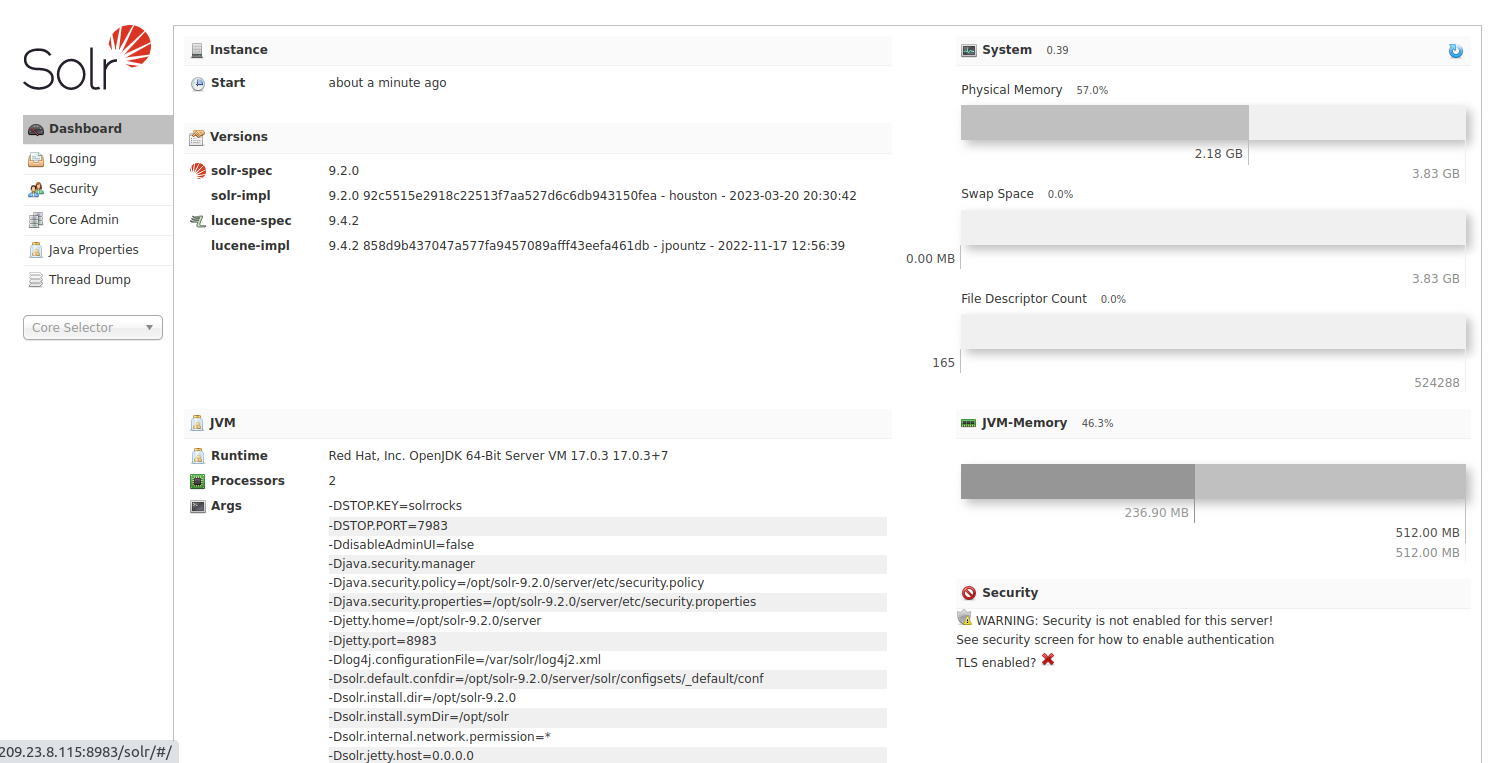
Provide your admin username and password and click on the Login button. You should see the Apache Solr web interface on the following screen.
Conclusion
Congratulations! You have successfully installed Apache Solr on Fedora. You can now integrate Apache Solr with your application to serve data to all users. Try to install Apache Solr on dedicated server hosting from Atlantic.Net!

