Bitwarden is a secure, open-source password manager that helps individuals and organizations store, manage, and share their passwords and other sensitive information securely. It provides a centralized and encrypted repository for all your passwords, reducing the risk of security breaches due to weak or reused passwords.
In this article, we’ll guide you through the process of installing Bitwarden on an Ubuntu 24.04 server.
Step 1 – Update and Upgrade Your System
First, ensure that your system is up-to-date. Open a terminal and run the following commands:
apt update
apt upgrade -y
Step 2 – Install Docker and Docker Compose
Bitwarden can be easily deployed using Docker. Install Docker and Docker Compose by following the below steps:
Install required dependencies.
apt install -y ca-certificates curl gnupgImport the Docker GPG key.
install -m 0755 -d /etc/apt/keyrings
curl -fsSL https://download.docker.com/linux/ubuntu/gpg | gpg --dearmor -o /etc/apt/keyrings/docker.gpg
chmod a+r /etc/apt/keyrings/docker.gpg
Add the Docker CE official repository.
echo "deb [arch="$(dpkg --print-architecture)" signed-by=/etc/apt/keyrings/docker.gpg] https://download.docker.com/linux/ubuntu "$(. /etc/os-release && echo "$VERSION_CODENAME")" stable" | tee /etc/apt/sources.list.d/docker.list > /dev/null
Install Docker CE and Docker Compose.
apt install docker-ce docker-compose -y
Verify that the Docker service is running properly.
systemctl status docker
Output:
● docker.service - Docker Application Container Engine
     Loaded: loaded (/usr/lib/systemd/system/docker.service; enabled; preset: enabled)
     Active: active (running) since Sun 2025-05-25 06:02:40 UTC; 6s ago
TriggeredBy: ● docker.socket
       Docs: https://docs.docker.com
   Main PID: 17829 (dockerd)
      Tasks: 9
     Memory: 23.4M (peak: 88.8M)
        CPU: 426ms
     CGroup: /system.slice/docker.service
             └─17829 /usr/bin/dockerd -H fd:// --containerd=/run/containerd/containerd.sock
Step 3 – Install Bitwarden
Create a user for Bitwarden and add it to the docker and sudo groups.
useradd -G docker,sudo -s /bin/bash -m -d /opt/bitwarden bitwarden
Log in as a Bitwarden user and download the Bitwarden installation script.
su - bitwarden
curl -Lso bitwarden.sh https://go.btwrdn.co/bw-sh
Make the script executable.
chmod +x bitwarden.sh
Run the installation script.
./bitwarden.sh install
During the installation process, you’ll be prompted to configure Bitwarden.
 _     _ _                         _
| |__ (_) |___      ____ _ _ __ __| | ___ _ __
| '_ \| | __\ \ /\ / / _` | '__/ _` |/ _ \ '_ \
| |_) | | |_ \ V  V / (_| | | | (_| |  __/ | | |
|_.__/|_|\__| \_/\_/ \__,_|_|  \__,_|\___|_| |_|

Open source password management solutions
Copyright 2015-2025, 8bit Solutions LLC
https://bitwarden.com, https://github.com/bitwarden

===================================================

bitwarden.sh version 2024.12.1
Docker version 28.1.1, build 4eba377
Docker Compose version v2.35.1


(!) Enter the domain name for your Bitwarden instance (ex. bitwarden.example.com): bitwarden.linuxbuz.com

(!) Do you want to use Let's Encrypt to generate a free SSL certificate? (y/n): y

(!) Enter your email address (Let's Encrypt will send you certificate expiration reminders): [email protected]

(!) Enter the database name for your Bitwarden instance (ex. vault): bitwarden

(!) Enter your installation id (get at https://bitwarden.com/host): 8cafef6e-6cce-433b-9807-b186005fa921

(!) Enter your installation key: UMpxaUNxwoIrC13c1bbf

(!) Enter your region (US/EU) [US]: US
After entering the required information, the installation script will download and configure Bitwarden.
./bitwarden.sh start
Bitwarden is up and running!
===================================================

visit https://bitwarden.linuxbuz.com
to update, run `./bitwarden.sh updateself` and then `./bitwarden.sh update`
Once the installation is complete, you can start Bitwarden using the following command:
./bitwarden.sh startStep 4 – Access Bitwarden
Now that Bitwarden is running, you can access it via your web browser. Open your browser and navigate to https://bitwarden.linuxbuz.com. You should see the Bitwarden login page.
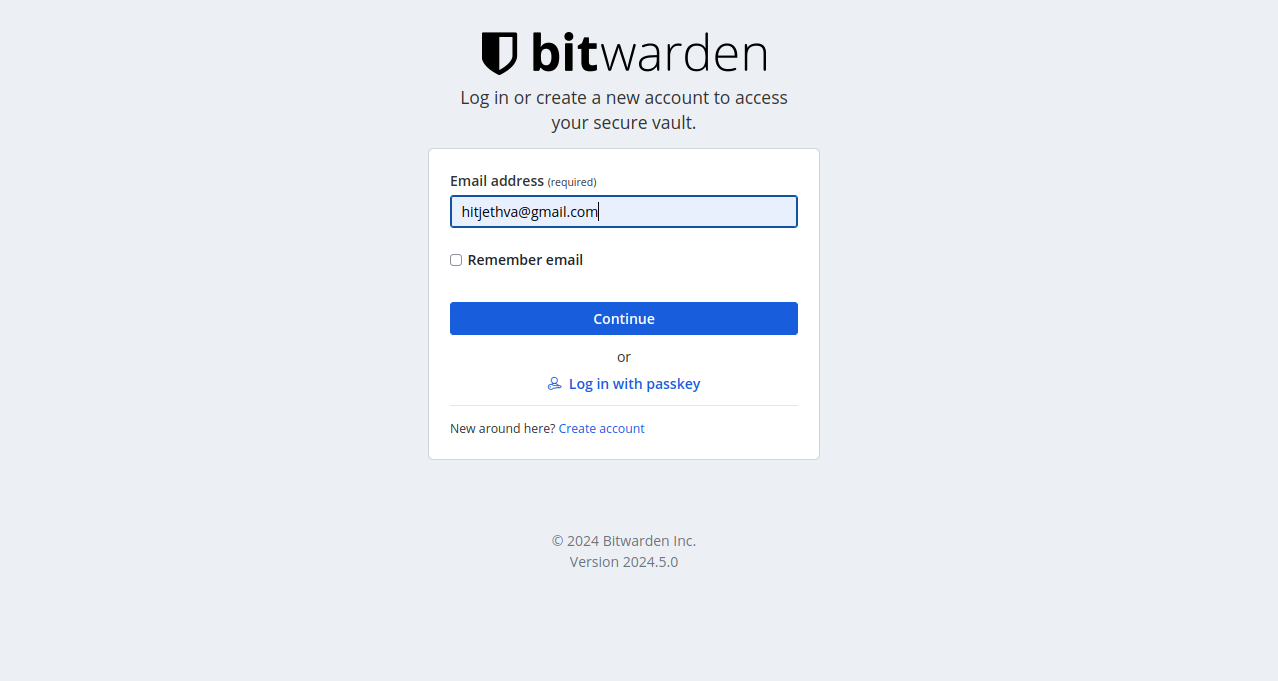
Provide your email, and click on Create account. You will be redirected to the Bitwarden account creation page.
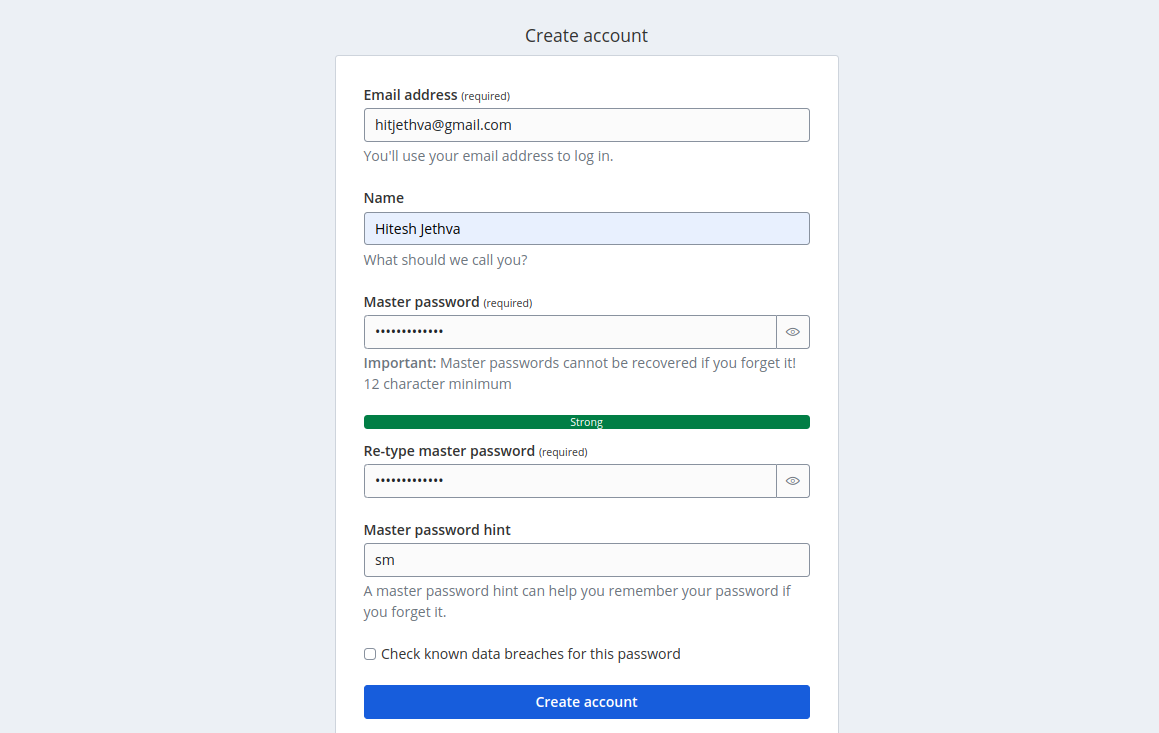
Provide your name, username, email, and master password and click on Create Account. You will see the Bitwarden login page.
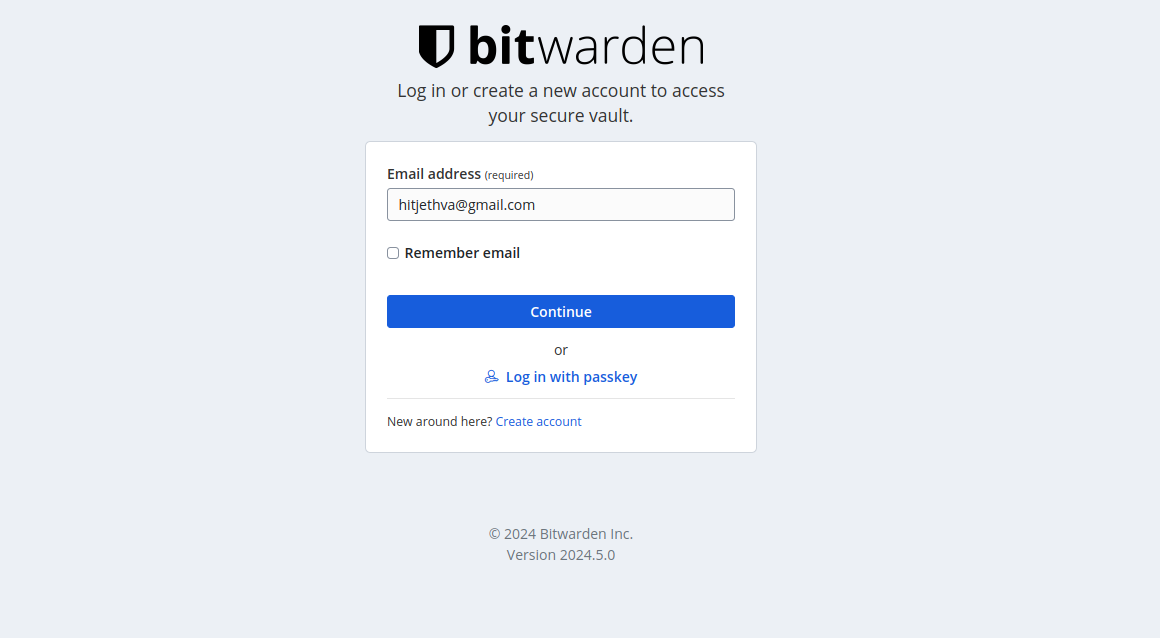
Provide your email and click on Continue. You will be asked for the master password.
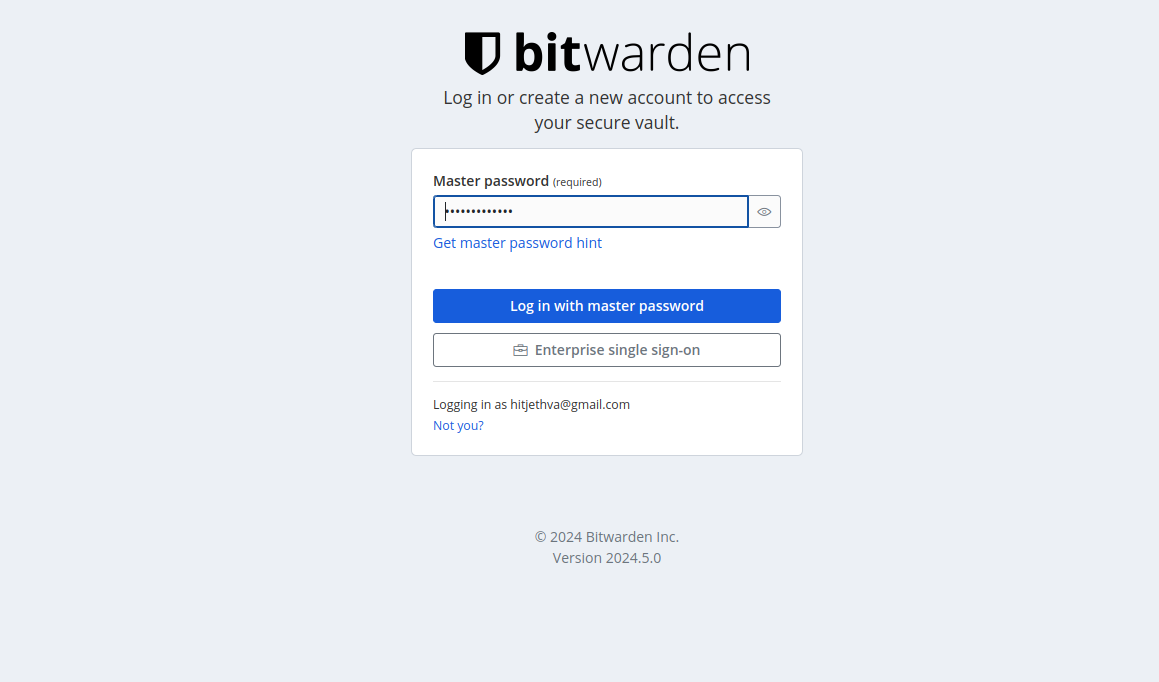
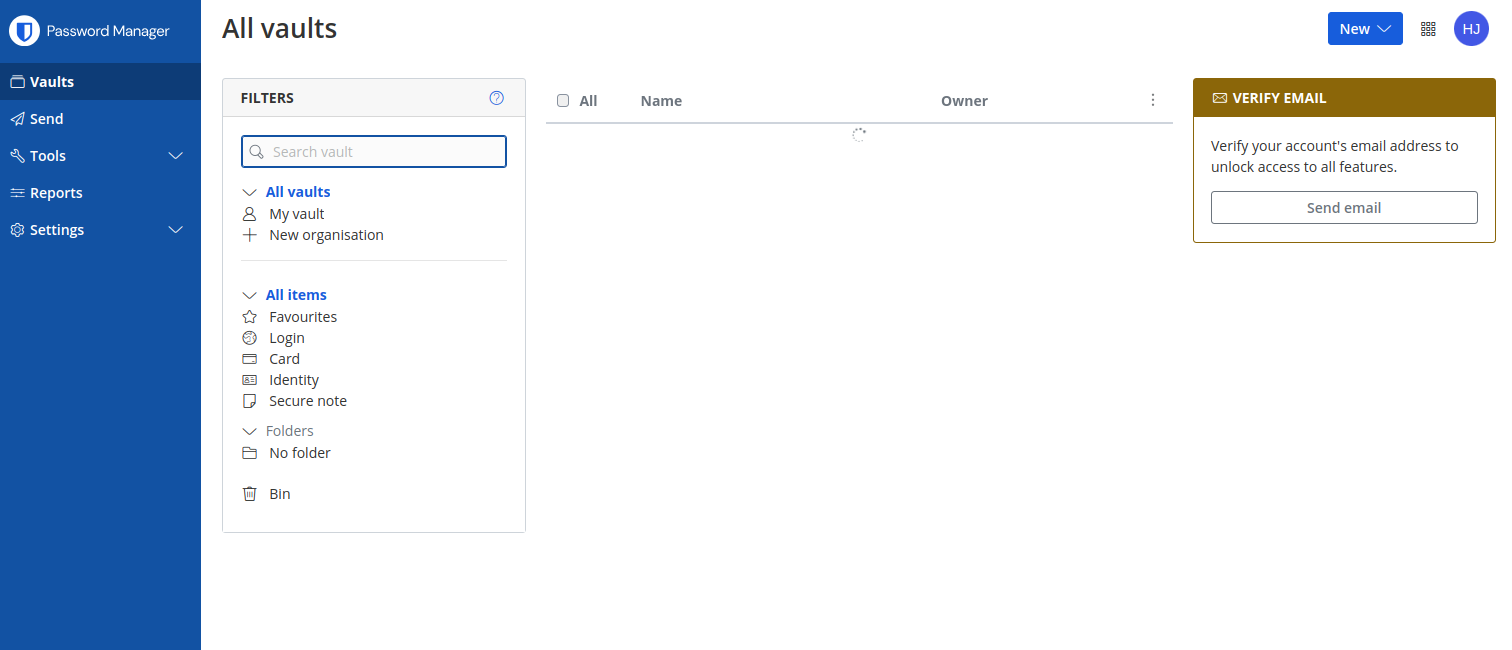
Provide your master password and click on Log in with master password. You will see the Bitwarden dashboard.
Conclusion
You’ve successfully installed Bitwarden on Ubuntu 24.04! This setup provides you with a secure and efficient way to manage your passwords. Bitwarden offers a variety of features to help you manage your credentials, including secure sharing, password generation, and multi-factor authentication.
Keep your Bitwarden instance updated and backed up to ensure your data remains secure. If you encounter any issues or need further customization, refer to the official Bitwarden documentation for more information. You can now use Bitwarden to manage all your passwords on dedicated server hosting from Atlantic.Net.
* This post is for informational purposes only and does not constitute professional, legal, financial, or technical advice. Each situation is unique and may require guidance from a qualified professional.
Readers should conduct their own due diligence before making any decisions.