BookStack is a versatile and user-friendly open-source platform for organizing and storing documentation. With its intuitive interface and powerful features, BookStack simplifies creating, managing, and sharing knowledge within organizations, teams, and communities. BookStack allows you to leverage its capabilities to streamline documentation workflows, improve collaboration, and ensure easy access to vital information.
This guide will walk you through the step-by-step process of installing BookStack on Ubuntu 24.04.
Step 1 – Install LEMP Stack
Before starting, the LEMP stack must be installed on your server. First, install the Nginx web server using the following command:
apt update -y
apt install nginx -y
Next, install PHP with other required dependencies using the following command:
apt install php php-fpm php-mbstring php-gd php-xml unzip php-bcmath php-curl php-mysql -y
Next, install the MariaDB database server with the following command:
apt install mariadb-server -y
Next, install the Composer using the following command:
apt install composer -y
You can verify the Composer installation using the following command:
composer --version
Output:
Composer 2.2.6 2022-02-04 17:00:38
Once all the packages are installed, you can proceed to the next step.
Step 2 – Create a Database
First, secure the MariaDB installation using the following command:
mysql_secure_installation
Answer all the questions as shown below:
Enter current password for root (enter for none): Press Enter
Switch to unix_socket authentication [Y/n] Type y
Change the root password? [Y/n] Type n
Remove anonymous users? [Y/n] Type y
Disallow root login remotely? [Y/n] Type y
Remove test database and access to it? [Y/n] Type y
Reload privilege tables now? [Y/n] Type y
Next, log in to the MariaDB shell:
mysql
Once you are logged in, create a database and user for Bookstack:
create database bookstack;
CREATE USER 'bookstackuser'@'localhost' identified by 'password';
Next, grant all the privileges to the Bookstack database:
grant CREATE,ALTER,SELECT,INSERT,UPDATE,DELETE on `bookstack`.* to 'bookstackuser'@'localhost';
grant All on `bookstack`.* to 'bookstackuser'@'localhost';
Next, flush the privileges and exit from the MariaDB shell.
flush privileges;
exit;
Step 3 – Install Bookstack
First, create a directory for Bookstack:
mkdir -p /var/www/html/bookstack
Next, navigate inside the Bookstack directory and download the latest version of Bookstack from the Git repository.
cd /var/www/html/bookstack
git clone https://github.com/BookStackApp/BookStack.git --branch=release --single-branch .
Next, install all the required PHP dependencies using the following command:
composer install --no-dev
Next, copy the sample environment file.
cp .env.example .env
Next, edit the .env file.
nano .env
Define your application URL and database settings:
APP_URL=http://bookstack.example.com
DB_HOST=localhost
DB_DATABASE=bookstack
DB_USERNAME=bookstackuser
DB_PASSWORD=password
Save and close the file then migrate the database using the following commands:
php artisan key:generate
php artisan migrate
You will be prompted by the above commands. Type [YES] to continue.
Next, set proper permission and ownership to the Bookstack directory:
chown -R www-data:www-data /var/www/html/bookstack
Step 4 – Configure Nginx for Bookstack
Next, create an Nginx virtual host configuration file to host Bookstack online.
nano /etc/nginx/conf.d/bookstack.conf
Add the following configurations:
server {
    listen       80;
    server_name  bookstack.example.com;
    root /var/www/html/bookstack/public;
    index index.php index.html;

    location / {
      try_files $uri $uri/ /index.php?$query_string;
    }

    location ~ \.php$ {
      fastcgi_split_path_info ^(.+\.php)(/.+)$;
      include fastcgi_params;
      fastcgi_param SCRIPT_FILENAME $document_root$fastcgi_script_name;
      fastcgi_param PATH_INFO $fastcgi_path_info;
      fastcgi_pass unix:/run/php/php8.3-fpm.sock;
    }
}
Save and close the file, then edit the Nginx main configuration file.
nano /etc/nginx/nginx.conf
Add the following line after the line http {:
server_names_hash_bucket_size 64;
Save the file, then validate the configuration using the following command:
nginx -t
Output:
nginx: the configuration file /etc/nginx/nginx.conf syntax is ok
nginx: configuration file /etc/nginx/nginx.conf test is successful
Finally, restart the Nginx service to implement the changes.
systemctl restart nginx
Step 5 – Access Bookstack Web UI
Now, open your web browser and access the Bookstack web interface using the URL http://bookstack.example.com. You will see the Bookstack login page:
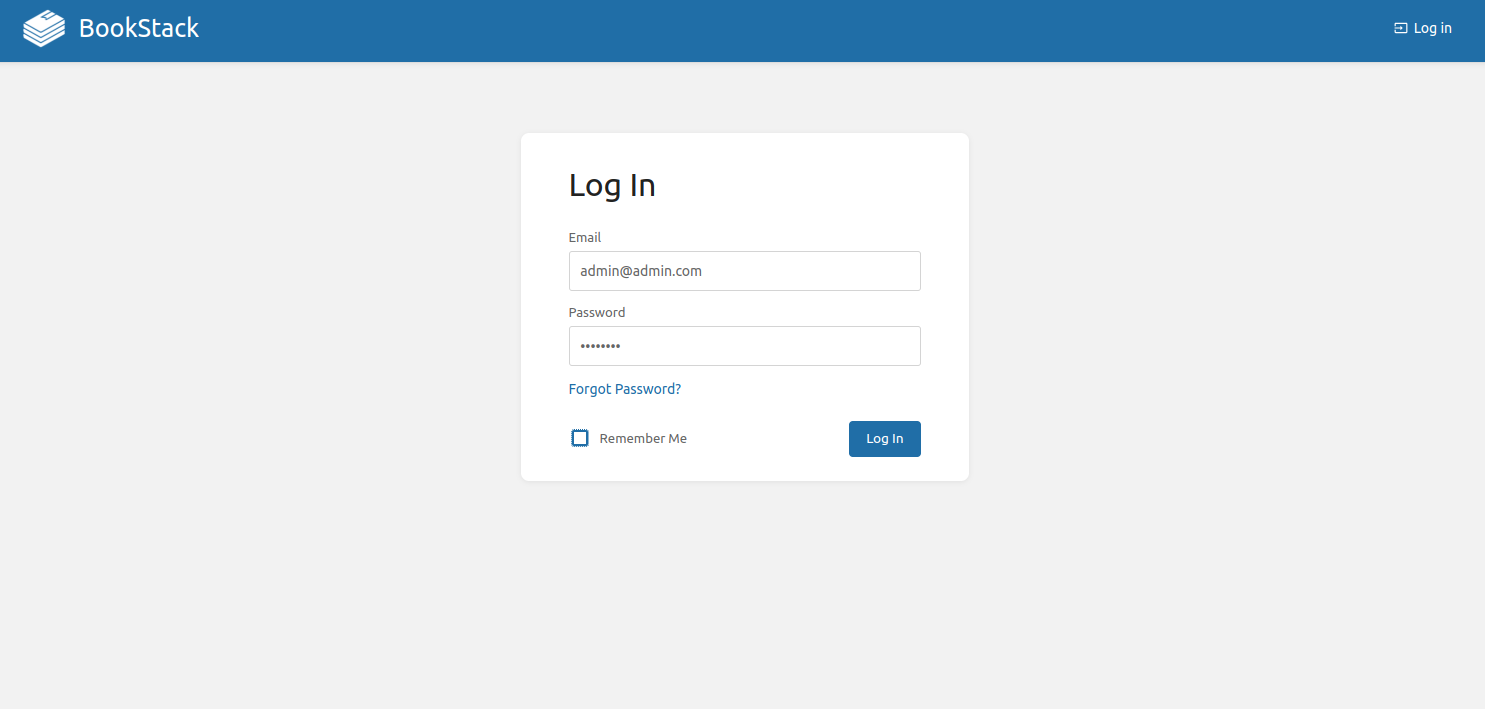
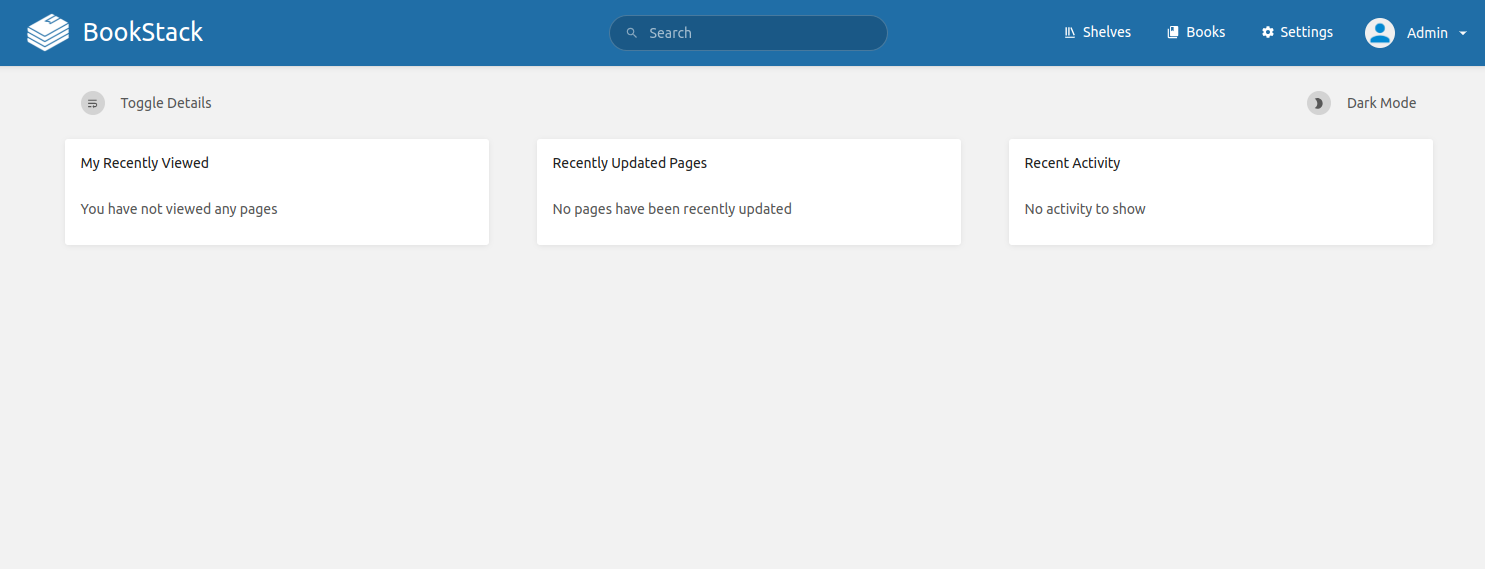
Provide default username [email protected] with a password of password, then click on the Log in button. You will see the Bookstack dashboard on the following screen.
Conclusion
In conclusion, installing BookStack on Ubuntu 24.04 gives you a robust and efficient platform for organizing and managing documentation. Following the steps outlined in this guide, you have successfully set up BookStack, empowering you and your team to create, collaborate, and share knowledge seamlessly. As you explore the features and capabilities of BookStack, consider customizing the platform to meet your specific requirements and integrating it into your existing workflows and tools. You can now deploy Bookstack on dedicated server hosting from Atlantic.Net!
* This post is for informational purposes only and does not constitute professional, legal, financial, or technical advice. Each situation is unique and may require guidance from a qualified professional.
Readers should conduct their own due diligence before making any decisions.