CakePHP is an open-source web application framework for PHP designed to make the development of web applications simpler, faster, and more maintainable. It follows the model-view-controller (MVC) architectural pattern, which separates an application into three interconnected components: Model (data and database logic), View (user interface and presentation), and Controller (application logic and flow control).
In this tutorial, we will guide you through installing CakePHP on a server running Ubuntu 22.04.
Step 1 – Install LAMP Server
First, you will need to install Apache, MariaDB, PHP, and other required dependencies on your server. You can install all of them using the following command.
apt update -y

apt install apache2 mariadb-server libapache2-mod-php php-mysql php-mbstring php-intl php-xml -y
Once all the packages are installed, run the following command to install PHP Composer.
wget -O composer-setup.php https://getcomposer.org/installer
php composer-setup.php --install-dir=/usr/local/bin --filename=composer
You can verify the PHP Composer version with the following command.
composer -V
Output.
Composer version 2.6.5 2023-10-06 10:11:52
Step 2 – Create a MySQL Database
Before installing CakePHP, you need to create a MySQL dawget -O composer-setup.php https://getcomposer.org/installertabase where your application data will be stored. Log in to MySQL as the root user:
mysql
Enter the MySQL root password when prompted. Once logged in, create a new database and a user with the necessary privileges:
mysql> CREATE DATABASE cakephp;
mysql> GRANT ALL on cakephp.* to cakephp@localhost identified by 'password';
Next, flush the privileges and exit from MariaDB using the following command.
mysql> FLUSH PRIVILEGES;
mysql> \q
Step 3 – Download and Install CakePHP
Now, let’s download and install CakePHP using Composer. Navigate to your web server’s document root directory (e.g., /var/www/html/):
Create a new CakePHP project using Composer:
cd /var/www/html
composer create-project --prefer-dist cakephp/app project
Output.
PHP CodeSniffer Config installed_paths set to ../../cakephp/cakephp-codesniffer,../../slevomat/coding-standard
No security vulnerability advisories found.
Do you want to remove the existing VCS (.git, .svn..) history? [Y,n]? y
> App\Console\Installer::postInstall
Created `config/app_local.php` file
Created `/var/www/html/project/logs` directory
Created `/var/www/html/project/tmp/cache/views` directory
Set Folder Permissions ? (Default to Y) [Y,n]? y
Permissions set on /var/www/html/project/tmp/cache
Permissions set on /var/www/html/project/tmp/cache/models
Permissions set on /var/www/html/project/tmp/cache/persistent
Permissions set on /var/www/html/project/tmp/cache/views
Permissions set on /var/www/html/project/tmp/sessions
Permissions set on /var/www/html/project/tmp/tests
Permissions set on /var/www/html/project/tmp
Permissions set on /var/www/html/project/logs
Updated Security.salt value in config/app_local.php
Edit the default configuration file and modify it with your database connection details.
nano /var/www/html/project/config/app_local.php
Change the following settings:
    'Datasources' => [
        'default' => [
            'host' => 'localhost',
            /*
             * CakePHP will use the default DB port based on the driver selected
             * MySQL on MAMP uses port 8889, MAMP users will want to uncomment
             * the following line and set the port accordingly
             */
            //'port' => 'non_standard_port_number',

            'username' => 'cakephp',
            'password' => 'password',

            'database' => 'cakephp',
Save the changes and exit the text editor.
Run the following commands to set the proper permissions:
chown -R www-data. /var/www/html/project
Step 4 – Create an Apache Virtual Host
Next, you will need to create an Apache virtual host configuration file for CakePHP.
nano /etc/apache2/sites-available/cakephp.conf
Add the following configuration:
<VirtualHost *:80>

ServerAdmin [email protected]
ServerName cakephp.example.com
DocumentRoot /var/www/html/project/

<Directory /var/www/html/project/>
    AllowOverride All
    Require all granted
</Directory>

ErrorLog ${APACHE_LOG_DIR}/example.com_error.log
CustomLog ${APACHE_LOG_DIR}/example.com_access.log combined

</VirtualHost>
Save and close the file, then enable the Apache virtual host and rewrite module.
a2ensite cakephp
a2enmod rewrite
Finally, restart the Apache service to apply the changes.
systemctl restart apache2
Step 5 – Access CakePHP
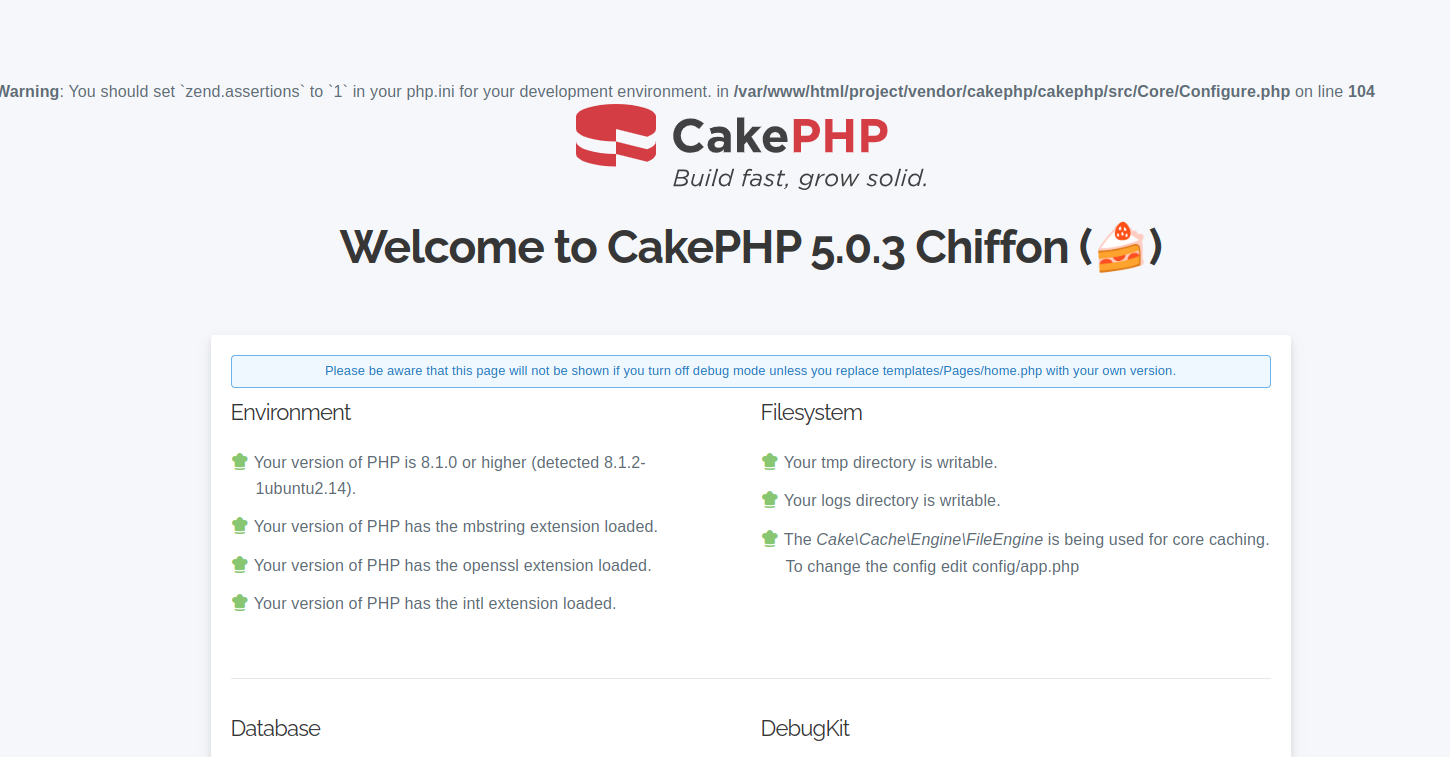
Now, open your web browser and access CakePHP using the URL http://cakephp.example.com. You will see the following screen.
Conclusion
Congratulations! You have successfully installed and configured CakePHP on Ubuntu 22.04. You can now begin building your web applications using CakePHP’s powerful features and conventions. Explore the CakePHP documentation to learn more about its capabilities and best practices for web development. Try to deploy CakePHP on dedicated server hosting from Atlantic.Net!
