Managing cloud servers efficiently can be a daunting task without the right tools. CloudPanel, a modern and user-friendly control panel, simplifies this process by offering a powerful interface to manage cloud infrastructure. Designed specifically for cloud environments, CloudPanel provides an array of features that streamline server administration, making it a popular choice for developers and system administrators alike.
This guide will walk you through the step-by-step process of installing CloudPanel on Ubuntu 22.04.
Step 1 – Install Necessary Dependencies
Before installing CloudPanel, you need to ensure that your server has all the necessary dependencies. These dependencies include gnupg2 and curl, which are essential for the installation process.
Open your terminal and execute the following command to install these dependencies:
apt install -y gnupg2 curl
Step 2 – Download and Execute the CloudPanel Installer
With the dependencies installed, the next step is to download and execute the CloudPanel installer script. This script will handle the entire installation process, setting up CloudPanel on your server.
First, use curl to download the installer script:
curl -sS https://installer.cloudpanel.io/ce/v2/install.sh -o install.sh
Once the script is downloaded, execute it using bash:
bash install.sh
After running the installer script, CloudPanel will be installed on your server. The installation process will take a few minutes as it sets up all the necessary components and configurations.
Once the installation is complete, you should see a message indicating that CloudPanel has been successfully installed. The message will also provide the URL to access CloudPanel.
~~~~~~~~~~~~~~~~~~~~~~~~~~~~~~~~~~~~~~~~~~~~~~~~~~~~~~~~~~~~
The installation of CloudPanel is complete!

CloudPanel can be accessed now: https://YOUR_SERVER_IP:8443
~~~~~~~~~~~~~~~~~~~~~~~~~~~~~~~~~~~~~~~~~~~~~~~~~~~~~~~~~~~~
Step 3 – Access CloudPanel
After successfully installing CloudPanel on your Ubuntu 22.04 server, the next step is to access the CloudPanel Web UI. This interface allows you to manage your cloud servers and services easily.
Open your web browser and access the CloudPanel web interface using the URL https://your-server-ip:8443. Since CloudPanel uses a self-signed SSL certificate by default, you might see a security warning in your browser indicating that the connection is not private. This is normal for self-signed certificates.
In Chrome, click on “Advanced” and then “Proceed to [your-server-ip] (unsafe)”. You will be presented with the CloudPanel user creation screen.
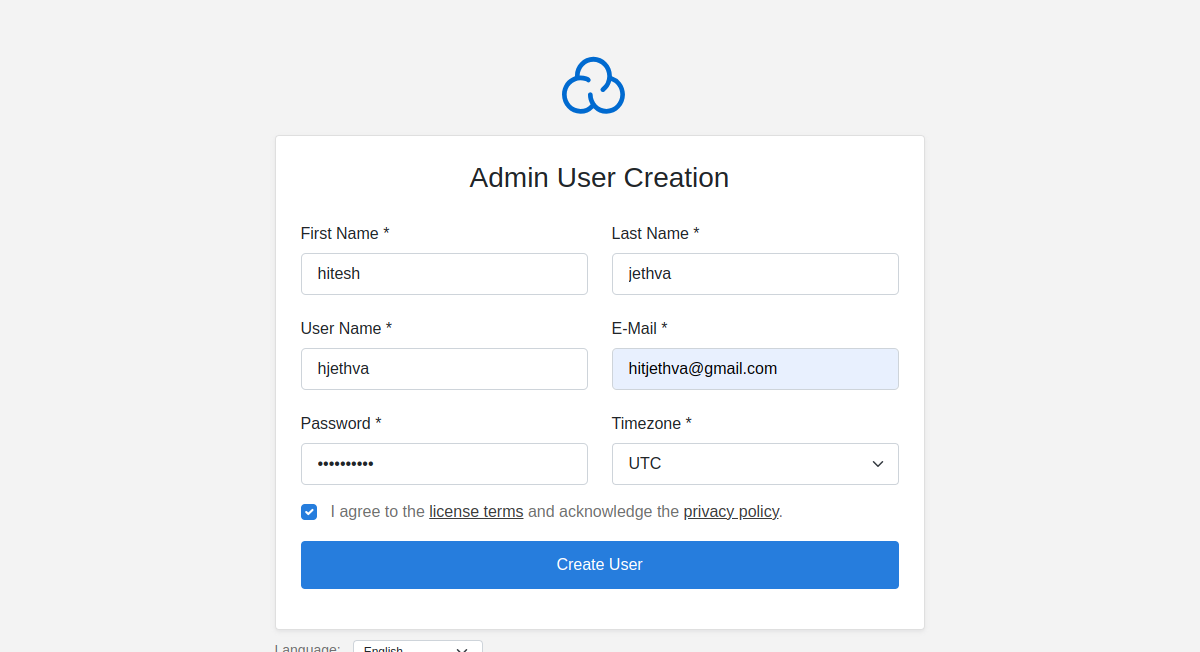
Provide your name, username, password, and email and click on Create User. You will see the CloudPanel login screen.
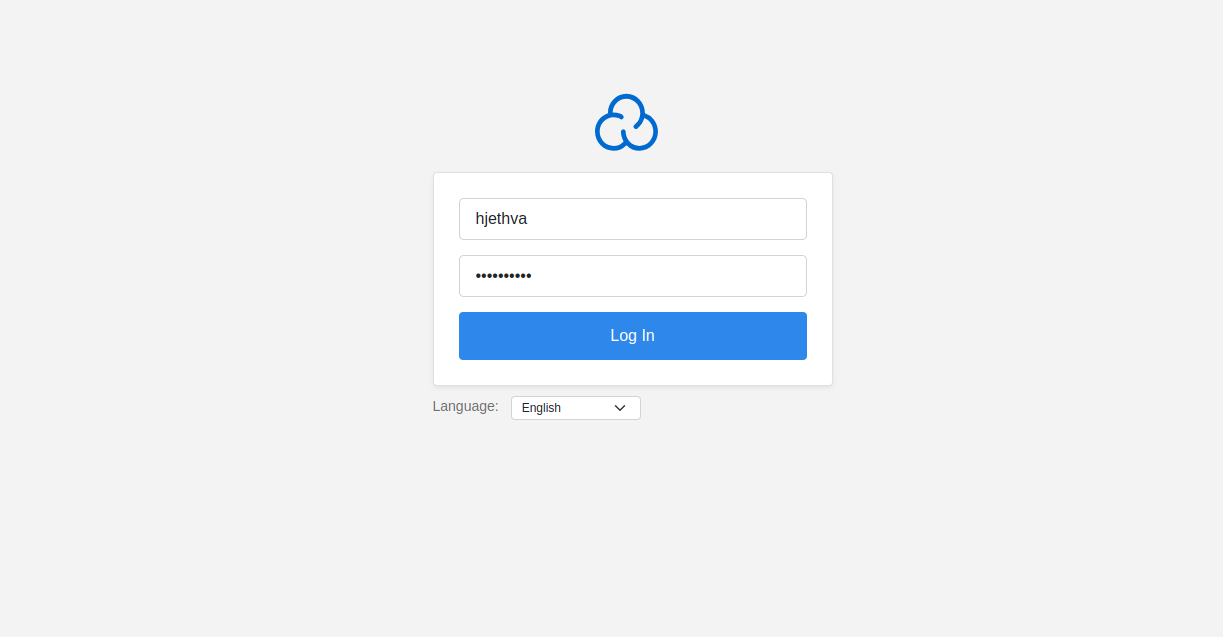
Provide your admin credentials and click on Log In. You will see the CloudPanel Dashboard.
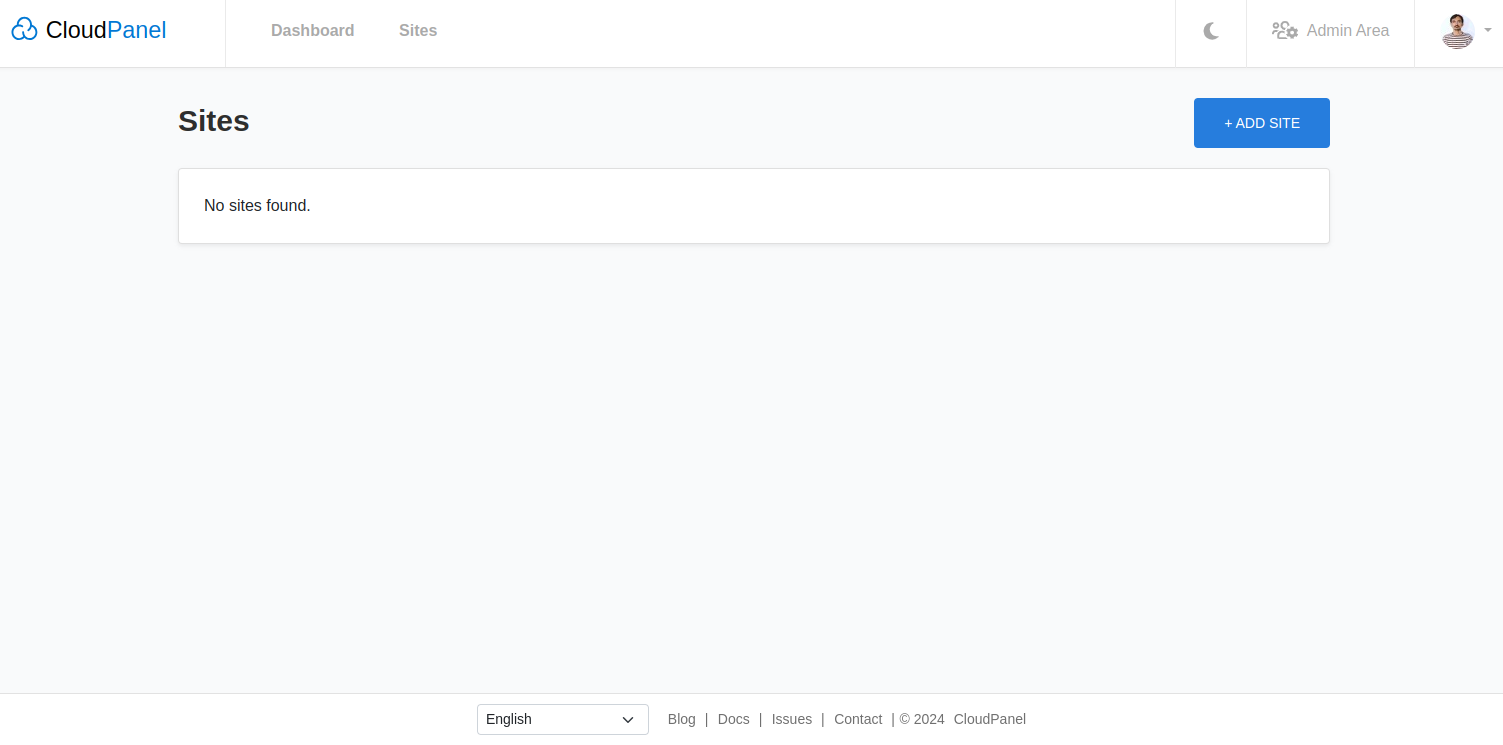
Click on ADD SITE to create a new site on CloudPanel. You will see the following screen.
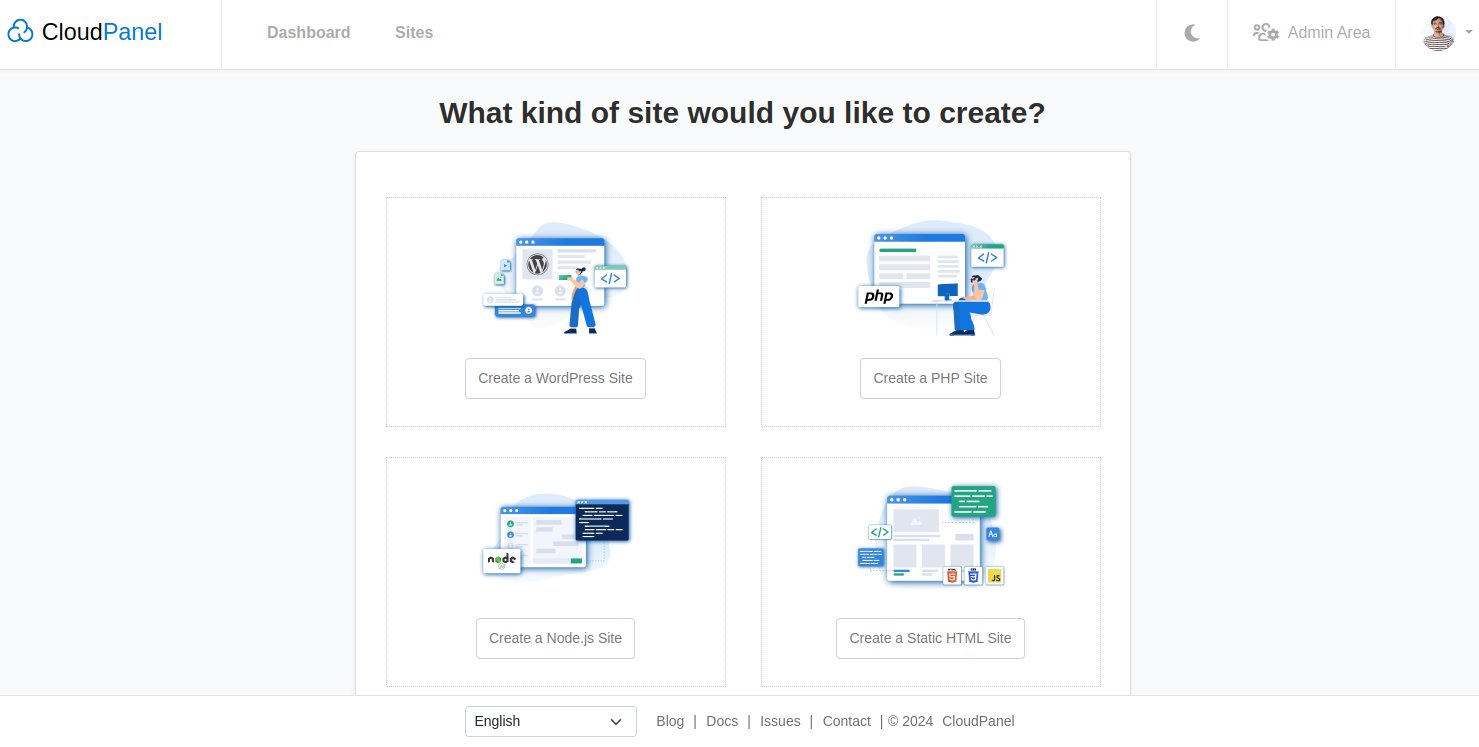
Click on “Create a WordPress Site.” You will see the following screen.
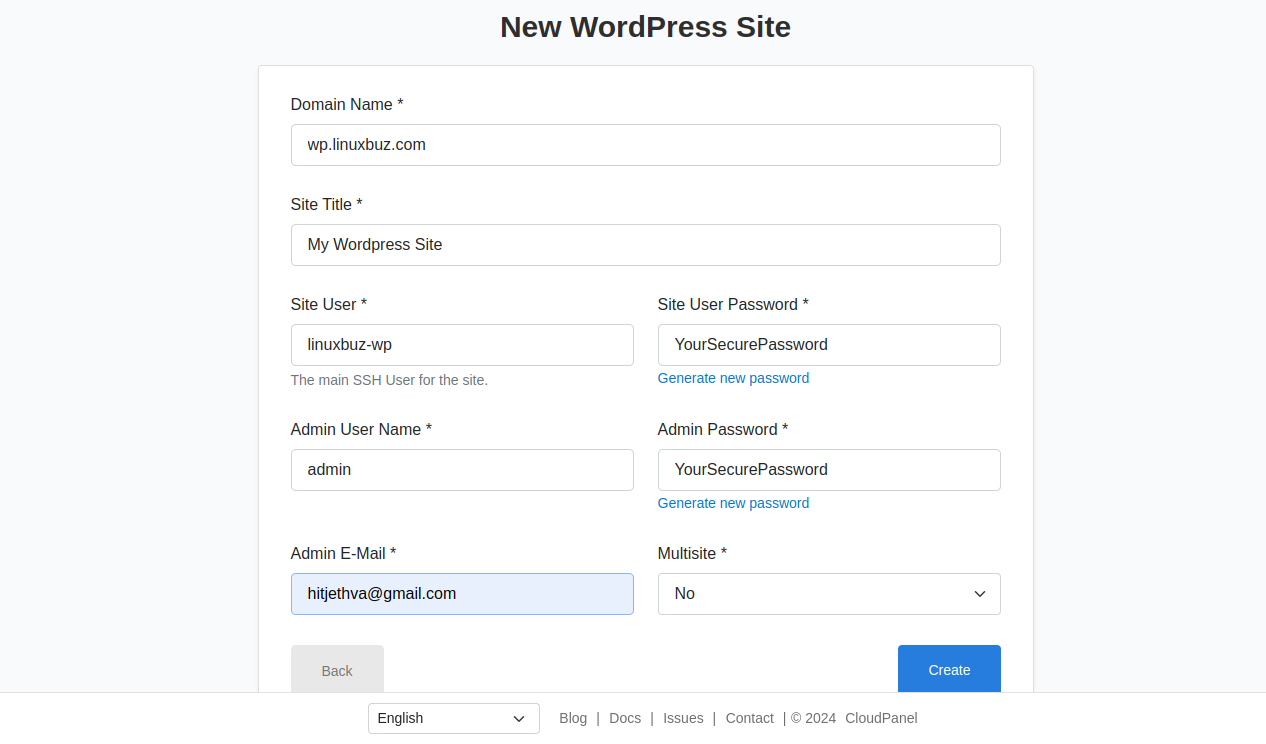
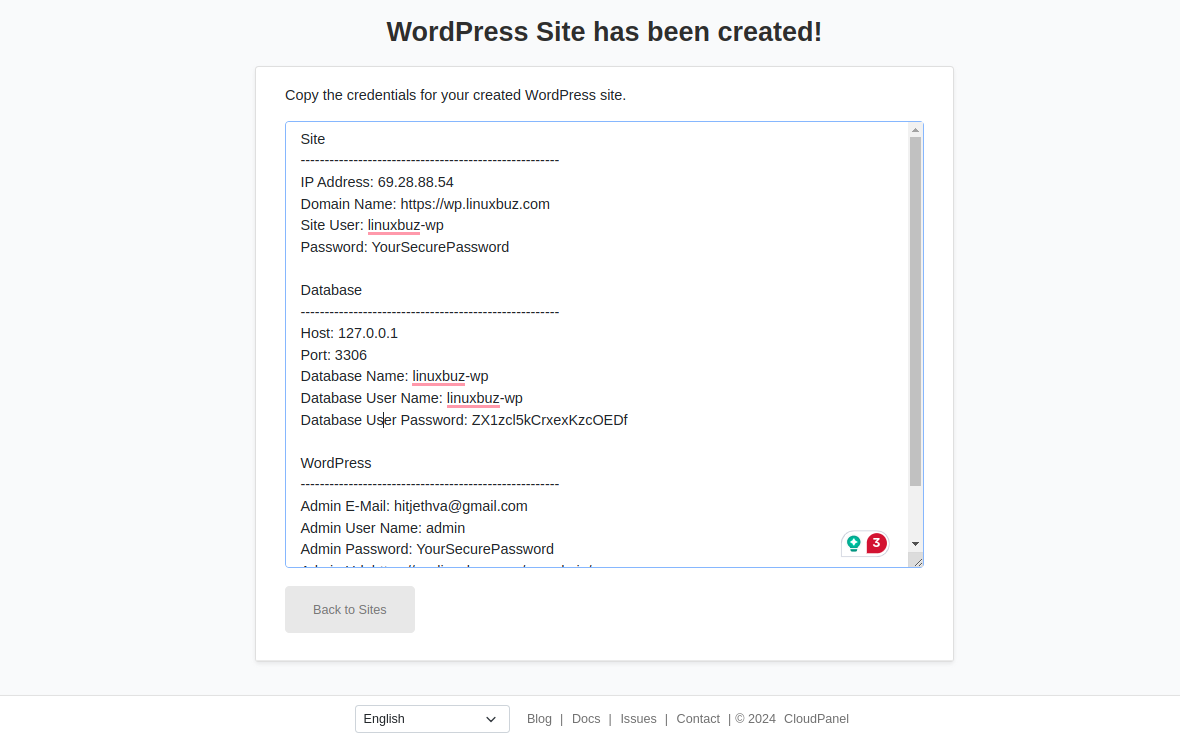
Provide your WordPress site details and click on Create. You will see the following screen.
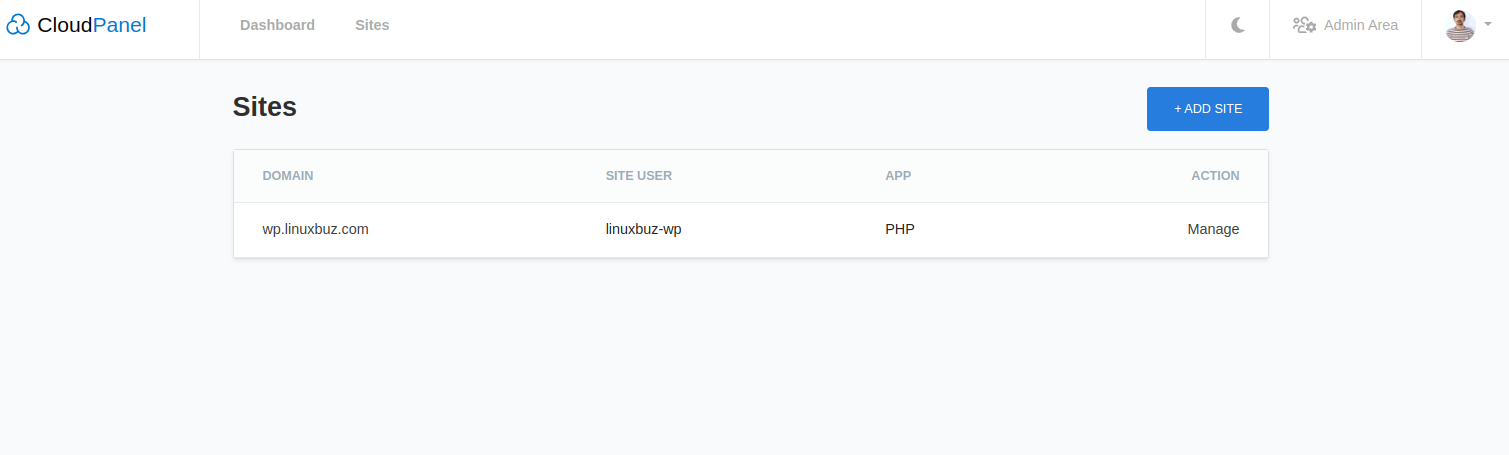
Click on Back to Sites. You will see your newly added WordPress site.
Conclusion
Installing CloudPanel on Ubuntu 22.04 is a straightforward process that significantly enhances your ability to manage cloud servers. With just a few commands, you can set up a robust control panel that simplifies server administration and boosts productivity. Whether you are hosting websites, deploying applications, or managing various services, CloudPanel provides an intuitive interface that makes these tasks more manageable. By following the steps outlined in this guide, you now have CloudPanel installed and ready to use, allowing you to take full advantage of its powerful features and streamline your cloud server management. You can now host your own server panel on dedicated server hosting from Atlantic.Net!
* This post is for informational purposes only and does not constitute professional, legal, financial, or technical advice. Each situation is unique and may require guidance from a qualified professional.
Readers should conduct their own due diligence before making any decisions.