Cockpit is a free, open-source, web-based tool used to manage and administer multiple remote Linux servers via a web interface. It is lightweight, easy to use, and allows you to interact directly with the operating system from a real Linux session in a browser. It is designed for beginner users and helps them to perform many tasks such as starting containers, storage administration, network configuration, inspecting logs, and so on.
In this post, we will show you how to install and use Cockpit on Fedora Linux.
Step 1 – Install Cockpit
By default, the Cockpit package is included in the Fedora default repo. You can install it using the following command.
dnf install cockpit -y
After installing Cockpit, start and enable the Cockpit service.
systemctl start cockpit
systemctl enable cockpit
You can check the status of the Cockpit using the following command.
systemctl status cockpit
You will see the following output:
● cockpit.service - Cockpit Web Service
     Loaded: loaded (/usr/lib/systemd/system/cockpit.service; static)
     Active: active (running) since Tue 2023-09-19 00:56:12 EDT; 3s ago
TriggeredBy: ● cockpit.socket
       Docs: man:cockpit-ws(8)
    Process: 5239 ExecStartPre=/usr/sbin/remotectl certificate --ensure --user=root --group=cockpit-ws --selinux-type=etc_t (code=exited, status=0/SUCCESS)
   Main PID: 5250 (cockpit-tls)
      Tasks: 1 (limit: 2328)
     Memory: 1.1M
        CPU: 1.666s
     CGroup: /system.slice/cockpit.service
             └─5250 /usr/libexec/cockpit-tls

Sep 19 00:56:10 fedora systemd[1]: Starting Cockpit Web Service...
Sep 19 00:56:12 fedora remotectl[5249]: /usr/bin/chcon: can't apply partial context to unlabeled file '/etc/cockpit/ws-certs.d/0-self-signed.cert'
Sep 19 00:56:12 fedora remotectl[5239]: remotectl: couldn't change SELinux type context 'etc_t' for certificate: /etc/cockpit/ws-certs.d/0-self-signed.cert: Child proc>
Sep 19 00:56:12 fedora systemd[1]: Started Cockpit Web Service.
Step 2 – Configure Firewall
If firewalld is installed and configured in your system then you will also need to allow Cockpit service via firewalld. You can allow it using the following command.
firewall-cmd --add-service=cockpit --permanent
firewall-cmd --reload
Step 3 – Access Cockpit
At this point, the Cockpit is started and listens on port 9090. You can check it with the following command.
ss -antpl | grep 9090
You will see the following output:
LISTEN 0 4096 *:9090 *:* users:(("cockpit-tls",pid=5250,fd=3),("systemd",pid=1,fd=53))
Now, open your web browser and access the Cockpit web interface using the URL http://server_ip:9090. You will see the Cockpit login page.
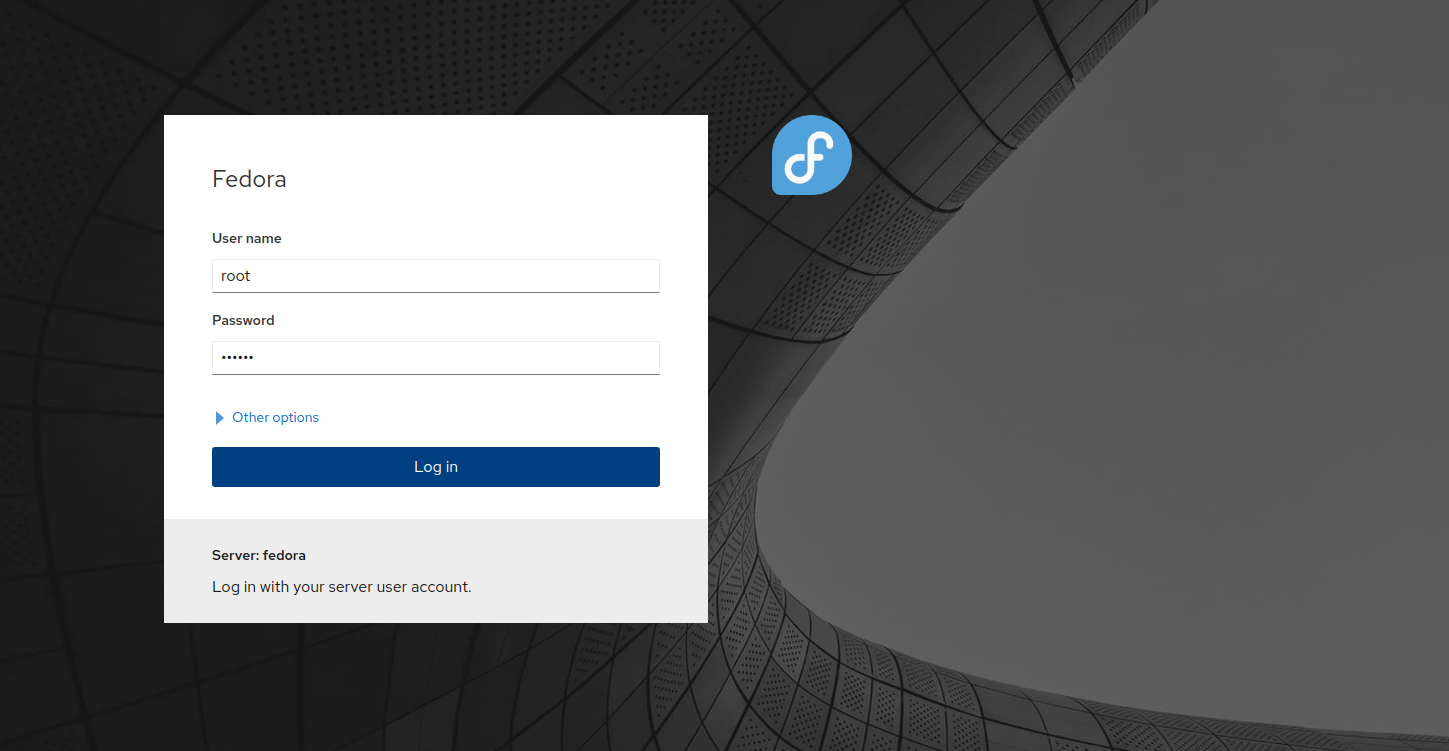
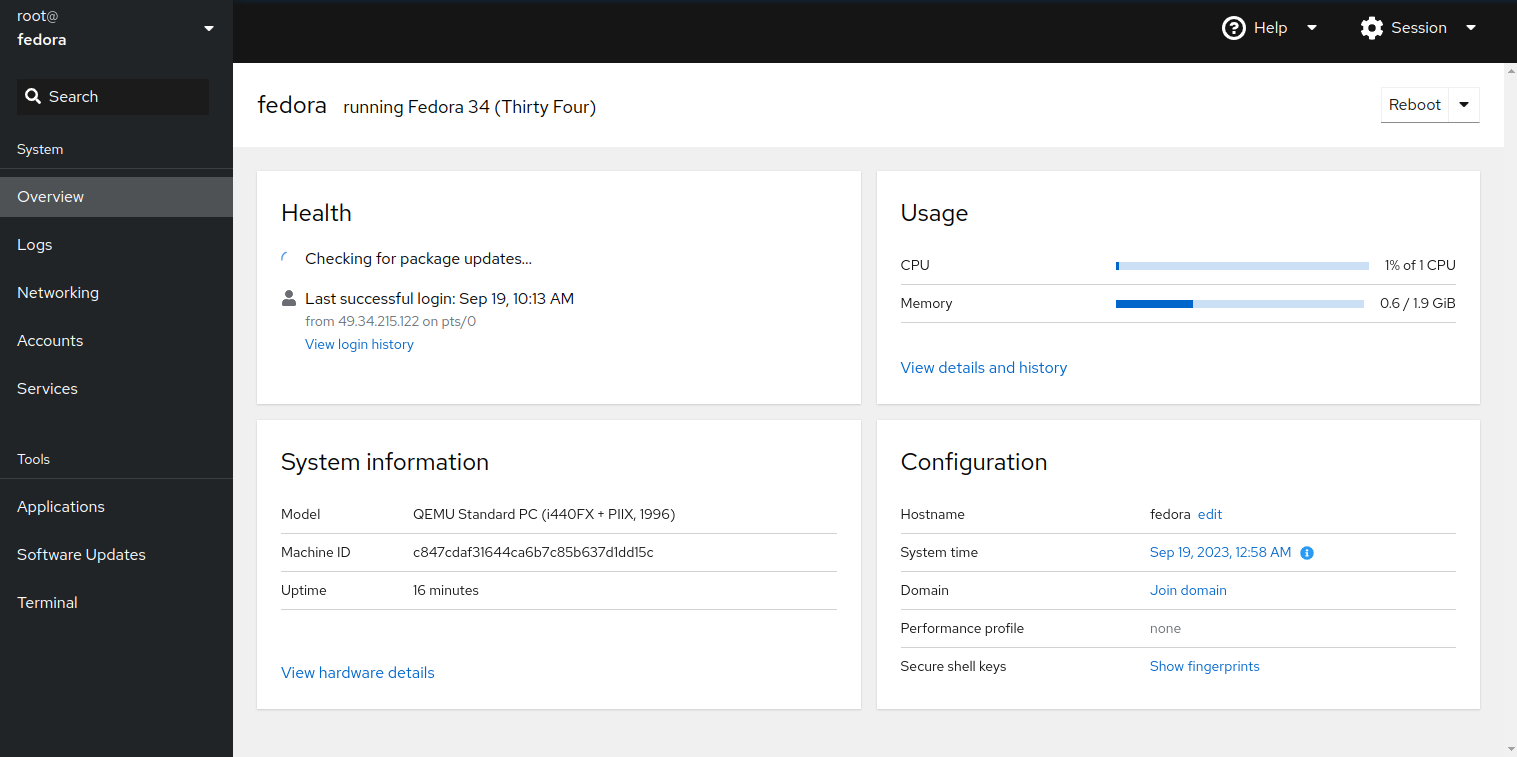
Provide your root username and password and click on the Login button. You will see the Cockpit dashboard on the following screen.
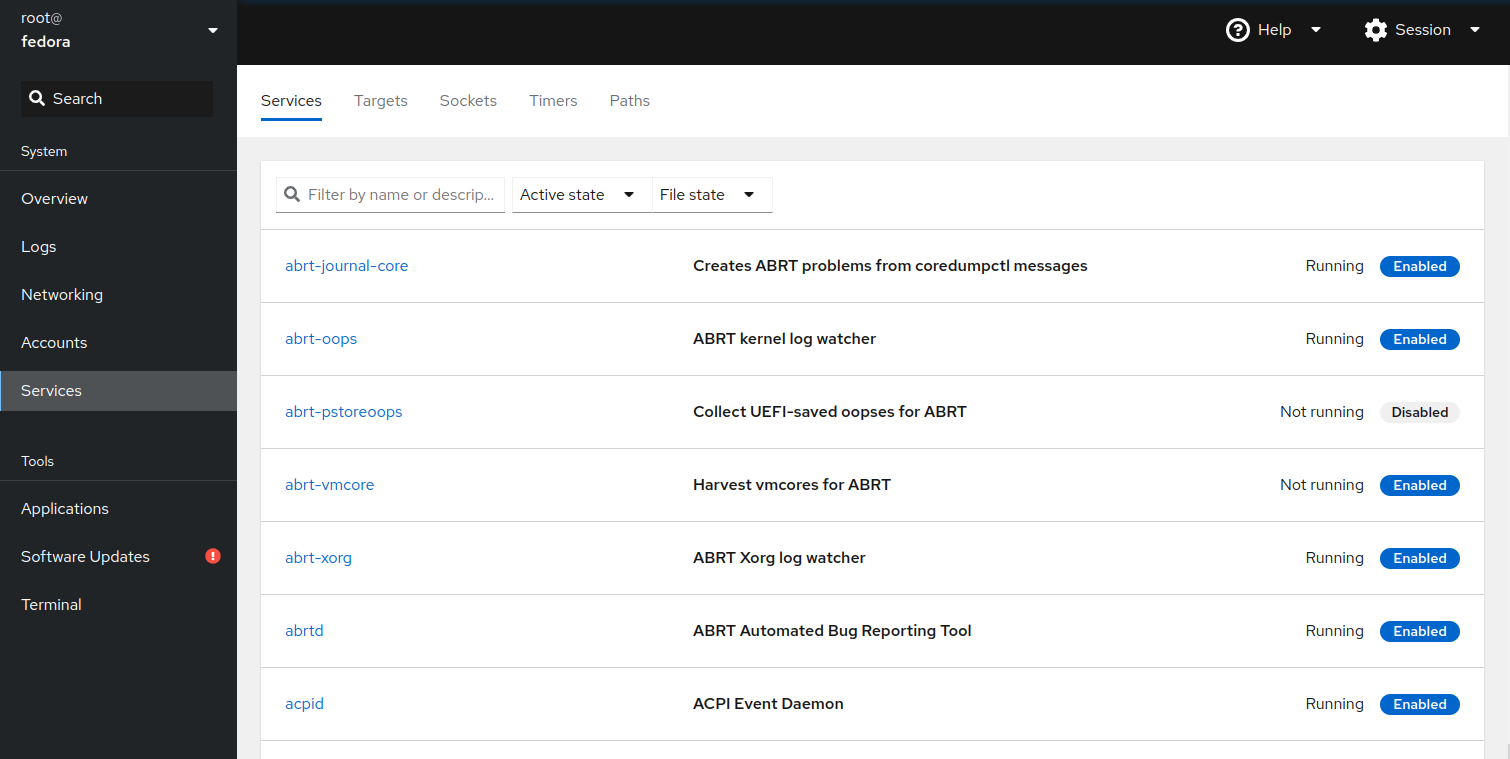
Click on the Services button. You will see the status of all system services on the following screen.
Click on Terminal. You will see your Linux terminal screen on the following screen.

From here, you can run any command in your Linux system.
Conclusion
In this post, you learned how to install and use Cockpit on Fedora Linux. Cockpit is designed to enable beginner users to manage a Linux system without any advanced knowledge. Try to deploy Cockpit on dedicated server hosting from Atlantic.Net!
* This post is for informational purposes only and does not constitute professional, legal, financial, or technical advice. Each situation is unique and may require guidance from a qualified professional.
Readers should conduct their own due diligence before making any decisions.