CodeIgniter 4 is a PHP web application framework that facilitates the development of dynamic, robust, and scalable web applications. It is the fourth major version of the CodeIgniter framework, which has been popular in the PHP community for its simplicity, lightweight nature, and performance.
In this tutorial, we will guide you through the step-by-step process of installing CodeIgniter 4 on a server running Ubuntu 24.04.
Step 1 – Install Apache and PHP
First, you will need to install the Apache server and PHP on your system. You can install them by running the following command.
apt update -y
apt install apache2 php php-cli php-common php-imap php-redis php-snmp php-xml php-zip php-mbstring php-curl libapache2-mod-php php-intl -y
After successful installation, start and enable the Apache service using the following command.
systemctl start apache2
systemctl enable apache2
Next, verify the PHP version using the following command.
php -v
Output.
PHP 8.3.6 (cli) (built: Mar 19 2025 10:08:38) (NTS)
Copyright (c) The PHP Group
Zend Engine v4.3.6, Copyright (c) Zend Technologies
    with Zend OPcache v8.3.6, Copyright (c), by Zend Technologies
Next, install the PHP Composer with the following command.
curl -sS https://getcomposer.org/installer | php -- --install-dir=/usr/bin --filename=composer
You can verify the Composer installation using the below command.
composer --version
Output.
Composer version 2.8.9 2025-05-13 14:01:37
Step 2 – Install CodeIgniter 4
First, navigate inside the Apache web root directory.
cd /var/www/html
Next, create a new CodeIgniter 4 project with the following command.
composer create-project codeigniter4/appstarter app
Next, set proper ownership to the project directory.
chown -R www-data:www-data /var/www/html/app
Step 3 – Configure Apache for CodeIgniter 4
Next, create a new Apache virtual host configuration file:
nano /etc/apache2/sites-available/codeigniter.conf
Add the following configuration:
<VirtualHost *:80>
ServerName web.example.com
DocumentRoot /var/www/html/app/public

<Directory /var/www/html/app>
AllowOverride All
</Directory>

ErrorLog ${APACHE_LOG_DIR}/error.log
CustomLog ${APACHE_LOG_DIR}/access.log combined

</VirtualHost>
Save and close the file, then activate the Apache virtual host:
a2ensite codeigniter.conf
Next, restart the Apache service to apply the changes.
systemctl reload apache2
Step 4 – Access CodeIgniter Web UI
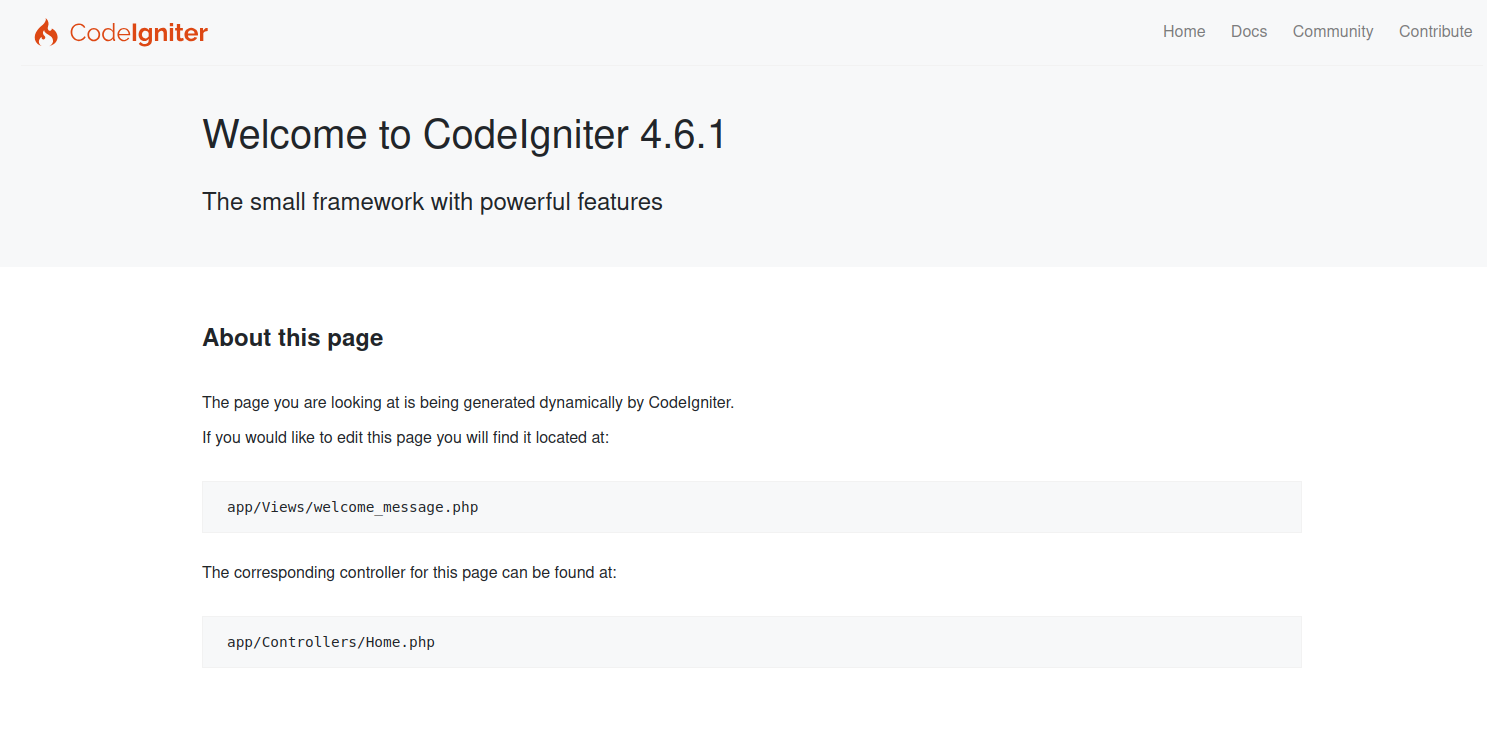
Now, open your web browser and access the CodeIgniter UI using the URL http://web.example.com. You will see the following screen.
Conclusion
Congratulations! You have successfully installed and configured CodeIgniter 4 on Ubuntu 24.04. You can now begin building your web applications using CodeIgniter’s powerful features and elegant syntax. Explore the CodeIgniter documentation to learn more about its capabilities and best practices for web development. You can now install CodeIgniter 4 and start developing scalable web applications on dedicated server hosting from Atlantic.Net!
* This post is for informational purposes only and does not constitute professional, legal, financial, or technical advice. Each situation is unique and may require guidance from a qualified professional.
Readers should conduct their own due diligence before making any decisions.