CyberPanel is a web hosting control panel designed to simplify the process of managing web hosting servers and websites. It provides an intuitive and user-friendly interface for managing various aspects of server and website administration, including website deployment, domain management, email configuration, database management, security settings, and more. Its ease of use, performance optimization features, security enhancements, and resource efficiency make it a valuable tool for users looking to streamline their server administration tasks and improve the reliability and performance of their websites.
In this tutorial, we will show you how to install CyberPanel on Ubuntu 22.04.
Step 1 – Set Up Hostname
First, you will need to set up your system’s hostname. You can do this using the following command:
hostnamectl set-hostname cyber.example.com
Next, set your timezone using the following command:
timedatectl set-timezone UTC
Next, edit the /etc/hosts file and bind your server IP with your hostname.
nano /etc/hosts
Add the following line:
server-ip cyber.example.com
Save and close the file once you are finished.
Step 2 – Install CyberPanel
CyberPanel provides an installation script that automates the installation process.
You can download it using the curl command:
curl -o cyberpanel_installer.sh https://cyberpanel.net/install.sh
Once the download is complete, make it executable using the following command:
chmod +x cyberpanel_installer.sh
Next, run the CyberPanel installer script to install the CyberPanel.
./cyberpanel_installer.sh
Once the installation script starts, you’ll be prompted to install the CyberPanel.
		CyberPanel Installer v2.3.5

1. Install CyberPanel.

2. Exit.


  Please enter the number[1-2]: 1
Type 1 and press the Enter key. You will be asked to choose the web server.
		CyberPanel Installer v2.3.5

RAM check : 182/1977MB (9.21%)

Disk check : 2/50GB (7%) (Minimal 10GB free space)

1. Install CyberPanel with OpenLiteSpeed.

2. Install Cyberpanel with LiteSpeed Enterprise.

3. Exit.

  Please enter the number[1-3]: 1
Type 1 to select the OpenListeSpeed web server and press the Enter key. You will be asked whether or not to proceed with a full installation.
Install Full service for CyberPanel? This will include PowerDNS, Postfix and Pure-FTPd.

Full installation [Y/n]: Y
Type Y and press the Enter key. You will be asked whether to install remote MySQL.
Do you want to setup Remote MySQL? (This will skip installation of local MySQL)

(Default = No) Remote MySQL [y/N]: N
Type N and press the Enter key. You will be asked whether to install Memcached.
Press Enter key to continue with latest version or Enter specific version such as: 1.9.4 , 2.0.1 , 2.0.2 ...etc

Branch name set to v2.3.5

Please choose to use default admin password 1234567, randomly generate one (recommended) or specify the admin password?
Choose [d]fault, [r]andom or [s]et password: [d/r/s]
Admin password will be provided once installation is completed...


Do you wish to install Memcached process and its PHP extension?
Please select [Y/n]: Y
Type Y and press the Enter key. You will be asked whether to install Redis.
Install Memcached process and its PHP extension set to Yes...

Do you wish to install Redis process and its PHP extension?
Please select [Y/n]: n
Type n and press the Enter key. Once the installation has been completed successfully, you will see the following output:
Would you like to set up a WatchDog (beta) for Web service and Database service ?
The watchdog script will be automatically started up after installation and server reboot
If you want to kill the watchdog , run watchdog kill
Please type Yes or no (with capital Y, default Yes):

Install Watchdog set to Yes...

                Installation time  : 0 hrs 16 min 0 sec

                Visit: https://49.13.163.2:8090
                Panel username: admin
                Panel password: *****

             Run cyberpanel help to get FAQ info
             Run cyberpanel upgrade to upgrade it to latest version.
             Run cyberpanel utility to access some handy tools .

              Website : https://www.cyberpanel.net
              Forums  : https://forums.cyberpanel.net
              Wikipage: https://docs.cyberpanel.net
              Docs    : https://cyberpanel.net/docs/

            Enjoy your accelerated Internet by
                CyberPanel & OpenLiteSpeed
###################################################################
If your provider has a network-level firewall
Please make sure you have opened following port for both in/out:
TCP: 8090 for CyberPanel
TCP: 80, TCP: 443 and UDP: 443 for webserver
TCP: 21 and TCP: 40110-40210 for FTP
TCP: 25, TCP: 587, TCP: 465, TCP: 110, TCP: 143 and TCP: 993 for mail service
TCP: 53 and UDP: 53 for DNS service
Agree to reboot the server after installations.
In the final step, you will be asked whether to restart your server.
Would you like to restart your server now? [y/N]: y
Type y and press the Enter key to restart your server.
Step 3 – Access CyberPanel
CyberPanel is now installed and configured. Now, open your web browser and access the CyberPanel web interface using the URL https://your-server-ip:8090. You will see the CyberPanel login page:
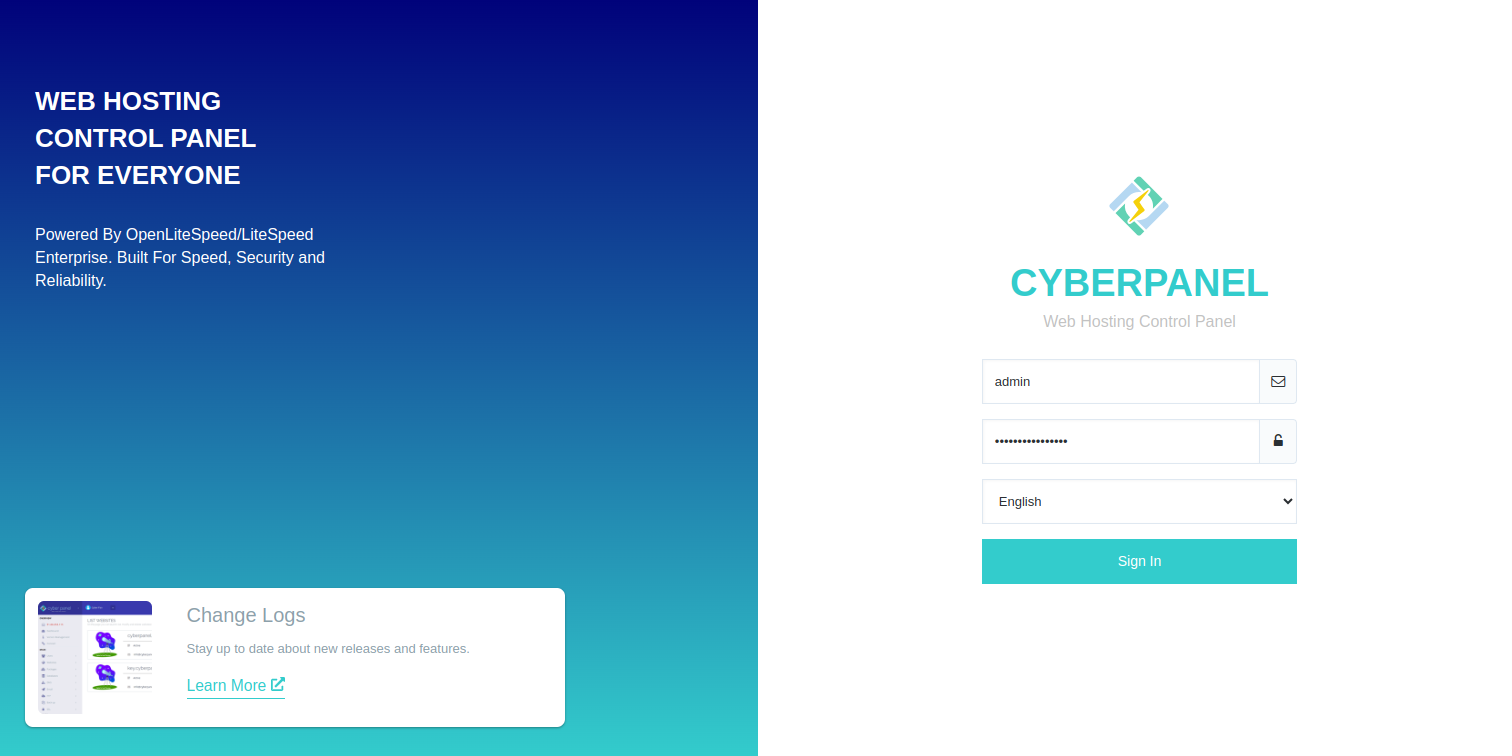
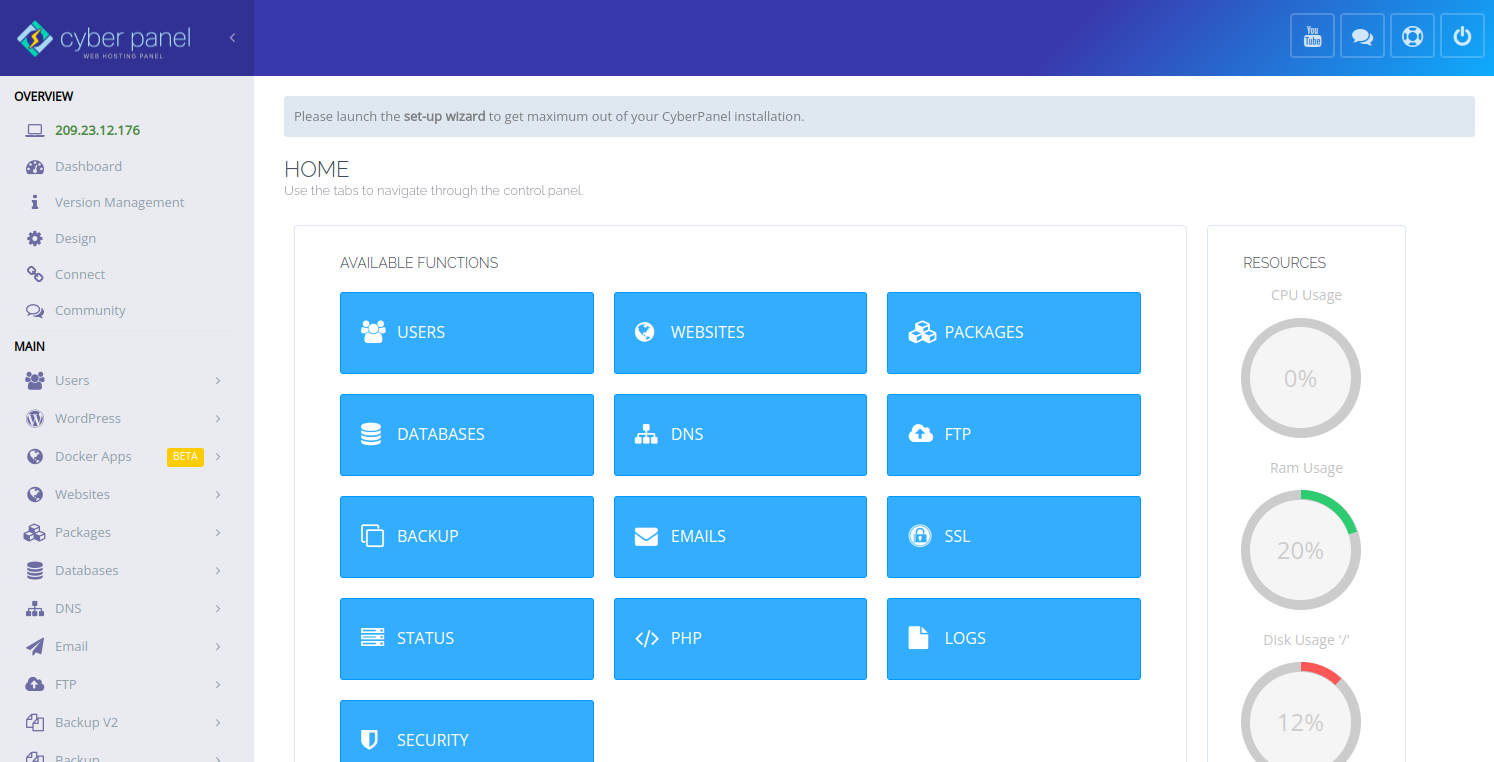
Enter the default username and password as admin/admin and press the Sign in button. You will see the CyberPanel dashboard on the following screen.
Conclusion
Following the step-by-step installation guide outlined in this article, users can quickly deploy CyberPanel on their Ubuntu servers and access a comprehensive suite of website hosting, email management, security, and more features. With CyberPanel, users can enjoy benefits such as performance optimization, ease-of-use, resource efficiency, and built-in security features. The intuitive interface of CyberPanel makes it accessible to users of all skill levels, while its robust feature set caters to the needs of both individual website owners and hosting providers. You can now deploy your website control panel on dedicated server hosting from Atlantic.Net!
* This post is for informational purposes only and does not constitute professional, legal, financial, or technical advice. Each situation is unique and may require guidance from a qualified professional.
Readers should conduct their own due diligence before making any decisions.