Django is a high-level Python web framework that encourages rapid development and clean, pragmatic design. It follows the Model-View-Controller (MVC) architectural pattern, although it’s often referred to as a Model-View-Template (MVT) framework because it technically uses templates rather than views. Its emphasis on simplicity, flexibility, and scalability makes it a popular choice among developers for web development projects.
In this tutorial, we will show you how to install the Django framework on Ubuntu 22.04.
Step 1 – Install Required Dependencies
Before starting, you will need to install the latest version of Python and additional packages on your server.
First, install the software-properties-common package.
apt install software-properties-common -y
Then, add the Python repository.
add-apt-repository ppa:deadsnakes/ppa -y
Next, update the repository cache and install the latest version of Python using the following command:
apt update
apt install python3.10 -y
After the installation, you can verify the Python installation using the following command:
python3 --version
Output:
Python 3.10.12
Next, install some additional packages using the following command:
apt install python3-pip python3.10-venv -y
Step 2 – Install Django
First, navigate to the /opt directory and create a Python virtual environment.
cd /opt
python3 -m venv django-venv
Next, activate the Python virtual environment.
source django-venv/bin/activate
Then install the Django using the PIP command:
pip3 install django
After the installation, you can verify the Django version using the following command:
django-admin --version
Output:
5.0.3
Step 3 – Create a Django Project
Now, create a new Django project using the django-admin command:
django-admin startproject djangoproject .
Once the Django project is created, you can list all files and directories using the following command:
ls
Output:
djangoproject django-venv manage.py
Next, migrate the Django database using the command below:
python3 manage.py migrate
Step 4 – Create a Django Superuser
Next, you will need to create a superuser to manage the Django admin dashboard. You can create it using the following command:
python3 manage.py createsuperuser
Set your admin user and password as shown below:
Username (leave blank to use 'root'): admin
Email address: [email protected]
Password:
Password (again):
Superuser created successfully.
Step 5 – Start Django Project
First, edit the Django configuration file and add your server IP in the allowed host.
nano djangoproject/settings.py
Change the following line:
ALLOWED_HOSTS = ['your-server-ip']
Save and close the file, and then start your Django project using the following command:
python3 manage.py runserver your-server-ip:8000
You will see the following output:
Watching for file changes with StatReloader
Performing system checks...

System check identified no issues (0 silenced).
March 24, 2024 - 07:50:10
Django version 5.0.3, using settings 'djangoproject.settings'
Starting development server at http://209.23.12.27:8000/
Quit the server with CONTROL-C.
Step 6 – Access Django Project
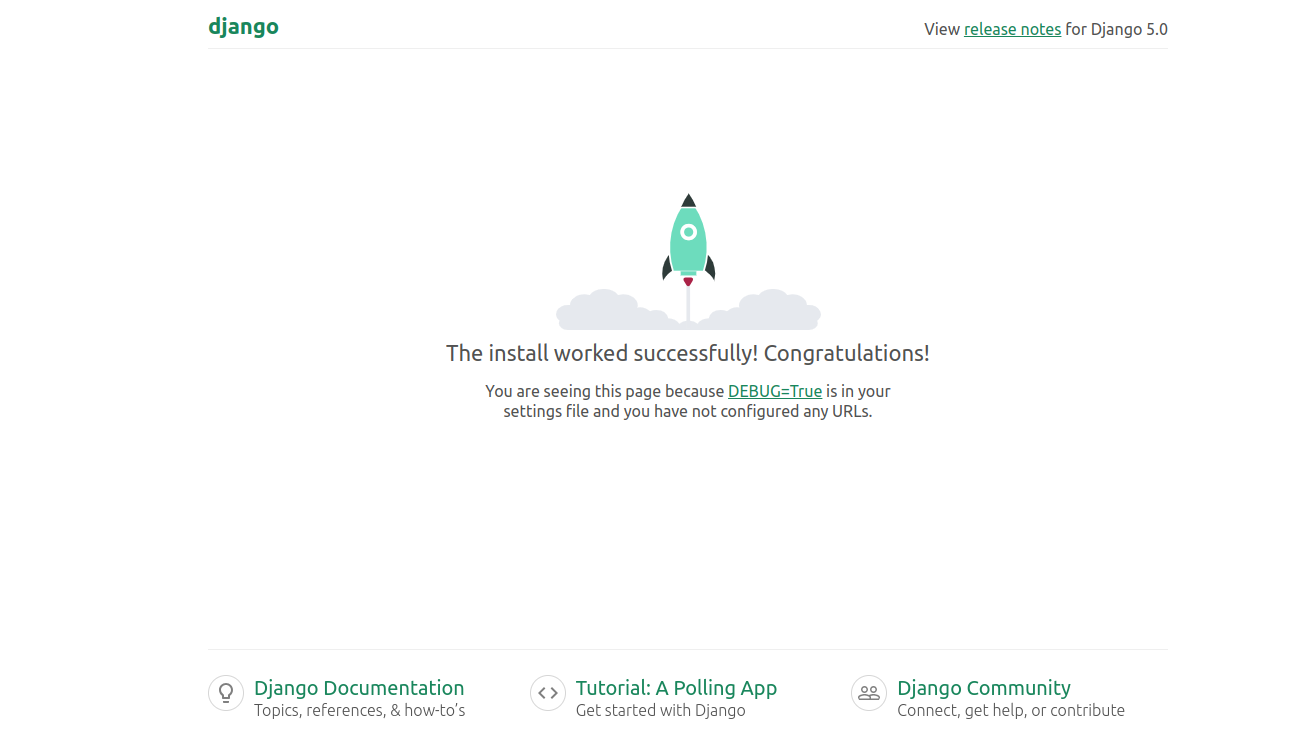
At this point, your Django project is started and listening on port 8000. You can now access it using the URL http://your-server-ip:8000. You will see the Django dashboard on the following page.
You can also access your Django admin dashboard using the URL http://your-server-ip:8000/admin.
Conclusion
By following the steps outlined in this guide, you can quickly set up Django and start building powerful web applications with ease. Whether you’re a seasoned developer or just starting, Django’s robust framework and extensive documentation make it a valuable tool for any project. You can now test the Django application on dedicated server hosting from Atlantic.Net!
* This post is for informational purposes only and does not constitute professional, legal, financial, or technical advice. Each situation is unique and may require guidance from a qualified professional.
Readers should conduct their own due diligence before making any decisions.