Django is a Python-based web application framework used for developing dynamic websites and applications. It offers a set of tools that lets developers build scalable web applications. Its aim is to simplify the deployment of complex web applications and also handle the crucial part of deployment, authentication, and security.
In this post, we will demonstrate how to install and use Django on Fedora Linux.
Step 1 – Install Python
Django is a Python-based application, so Python must be installed on your system. You can install it using the following command.
dnf install python3 python3-pip -y
Once the installation is complete, you can verify the Python version with the following command.
python3 --version
You will see the Python version in the following output.
Python 3.9.5
Step 2 – Install Django
Django code is hosted on GitHub. You can install it easily using the PIP package manager.
pip3 install Django
Once Django is installed, you can verify it with the following command.
django-admin --version
You will see the following output.
4.2.3
Step 3 – Create a Django Application
Django provides a Django-admin command line utility that allows you to create a Django application via CLI.
Let’s create a Django application named djangoapp.
django-admin startproject djangoapp
Next, navigate to the djangoapp directory and start the migration process using the following command.
cd djangoapp
python3 manage.py migrate
Output:
Operations to perform:
  Apply all migrations: admin, auth, contenttypes, sessions
Running migrations:
  Applying contenttypes.0001_initial... OK
  Applying auth.0001_initial... OK
  Applying admin.0001_initial... OK
  Applying admin.0002_logentry_remove_auto_add... OK
  Applying admin.0003_logentry_add_action_flag_choices... OK
  Applying contenttypes.0002_remove_content_type_name... OK
  Applying auth.0002_alter_permission_name_max_length... OK
  Applying auth.0003_alter_user_email_max_length... OK
  Applying auth.0004_alter_user_username_opts... OK
  Applying auth.0005_alter_user_last_login_null... OK
  Applying auth.0006_require_contenttypes_0002... OK
  Applying auth.0007_alter_validators_add_error_messages... OK
  Applying auth.0008_alter_user_username_max_length... OK
  Applying auth.0009_alter_user_last_name_max_length... OK
  Applying auth.0010_alter_group_name_max_length... OK
  Applying auth.0011_update_proxy_permissions... OK
  Applying auth.0012_alter_user_first_name_max_length... OK
  Applying sessions.0001_initial... OK
Step 4 – Create a Django Superuser Account
It is recommended to secure the Django via username and password. You can create a super admin account with the following command.
python3 manage.py createsuperuser
Set your admin username and password as shown below:
Username (leave blank to use 'root'): admin
Email address: [email protected]
Password:
Password (again):
Superuser created successfully.
Step 5 – Run Django Application
By default, Django can be accessed only from the local host. To access Django from the outside world, you will need to edit the Django configuration file and define your server IP.
nano djangoapp/settings.py
Define your server IP address as shown below:
ALLOWED_HOSTS = ['your_server_ip']
Save and close the file, then run the Django application with the following command.
python3 manage.py runserver 0.0.0.0:8000
You will see the following output.
Watching for file changes with StatReloader
Performing system checks...

System check identified no issues (0 silenced).
July 13, 2023 - 10:31:08
Django version 4.2.3, using settings 'djangoapp.settings'
Starting development server at http://0.0.0.0:8000/
Quit the server with CONTROL-C.
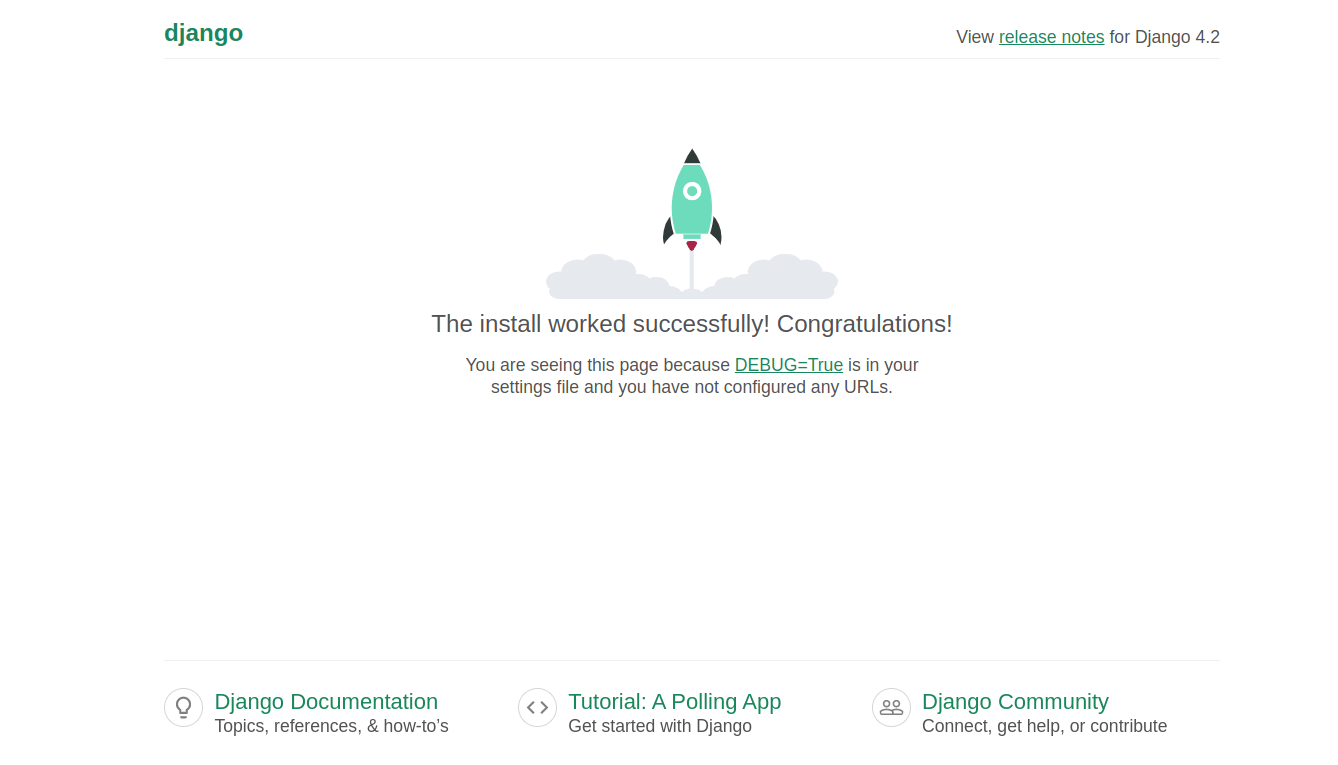
Step 6 – Access Django Application
At this point, Django is installed and listens on port 8000. You can now access it using the URL http://your-server-ip:8000. If everything is fine, you will see Django on the following screen.
Conclusion
In this guide, we explained how to install Django on Fedora Linux. We also explained how to set the Django administrator password and run the Django application. You can now easily build your Python application and host using the Django framework. Now, deploy your Django application on dedicated server hosting from Atlantic.Net!
* This post is for informational purposes only and does not constitute professional, legal, financial, or technical advice. Each situation is unique and may require guidance from a qualified professional.
Readers should conduct their own due diligence before making any decisions.