DokuWiki is one of the most popular wiki applications written in PHP. It is a file-based wiki so you don’t need to install any database system to your system. DokuWiki allows you to create your own wiki site without any advanced knowledge. It offers very useful features such as multiple language support, SEO, authentication, spam blacklist, autosave, read-only pages, simple and lightweight architecture, and more. It is used by small companies to manage information and build knowledge bases.
In this post, we will explain how to install DokuWiki with Nginx on Debian 12.
Step 1 – Install Nginx and PHP
First, you will need to install the Nginx web server, PHP, and other PHP extensions to your server. You can install all of them with the following command:
apt-get install nginx php php-fpm php-curl php-gd php-opcache php-json php-mbstring php-intl php-imagick php-xml -y
The above command will also install the Apache package and start the Apache service, so you will need to remove the Apache from your system.
Run the following command to remove the Apache package and stop the service.
systemctl stop apahce2
apt-get remove apache2 --purge
Next, start the Nginx and PHP-FPM service with the following command:
systemctl start nginx
systemctl start php8.2-fpm
Step 2 – Download DokuWiki
Next, go to the DokuWiki download page, pick the latest version of DokuWiki, and download it with the following command:
cd /var/www/html
wget https://download.dokuwiki.org/src/dokuwiki/dokuwiki-stable.tgz
After downloading, extract the downloaded file with the following command:
tar -xvzf dokuwiki-stable.tgz
Next, move the extracted directory to DokuWiki with the following command:
mv dokuwiki-2025-05-14a dokuwiki
Next, give proper permissions and ownership to the DokuWiki directory:
chown -R www-data:www-data /var/www/html/dokuwiki
chmod -R 755 /var/www/html/dokuwiki
Step 3 – Configure Nginx for DokuWiki
Next, create an Nginx virtual host configuration file for DokuWiki:
nano /etc/nginx/sites-available/dokuwiki.conf
Add the following lines:
server {
    listen 80;
    server_name doku.example.com;
    root /var/www/html/dokuwiki;
    index install.php index.html index.html;


    location / {
        try_files $uri $uri/ @dokuwiki;
    }

    location @dokuwiki {
        rewrite ^/_media/(.*) /lib/exe/fetch.php?media=$1 last;
        rewrite ^/_detail/(.*) /lib/exe/detail.php?media=$1 last;
        rewrite ^/_export/([^/]+)/(.*) /doku.php?do=export_$1&id=$2 last;
        rewrite ^/(.*) /doku.php?id=$1&$args last;
    }

    location ~ \.php$ {
        include snippets/fastcgi-php.conf;
        fastcgi_pass unix:/var/run/php/php8.2-fpm.sock;
        fastcgi_param SCRIPT_FILENAME $document_root$fastcgi_script_name;
        include fastcgi_params;
    }
}
Save and close the file, then activate the Nginx virtual host and verify Nginx with the following command:
ln -s /etc/nginx/sites-available/dokuwiki.conf /etc/nginx/sites-enabled/
nginx -t
Output:
nginx: the configuration file /etc/nginx/nginx.conf syntax is ok nginx: configuration file /etc/nginx/nginx.conf test is successful
If you experience this issue:
nginx: [emerg] could not build server_names_hash
You should increase server_names_hash_bucket_size: 32 and edit the /etc/nginx.conf file to read:
server_names_hash_bucket_size 64;
Next, restart the Nginx service to apply the changes:
systemctl restart nginx
Step 4 – Access DokuWiki Installation
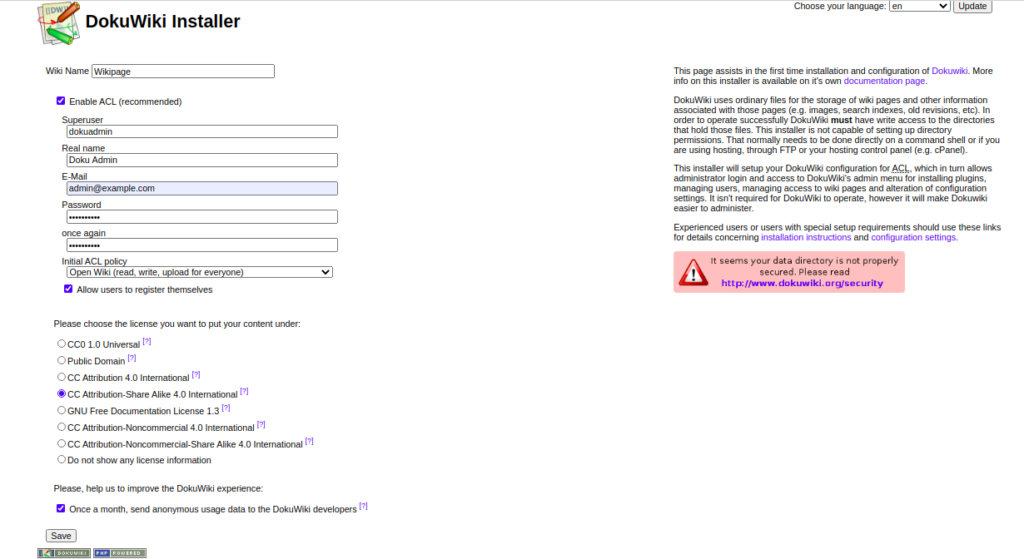
Now, open your web browser and access the DokuWiki installation using the URL http://doku.example.com. You should see the following screen:
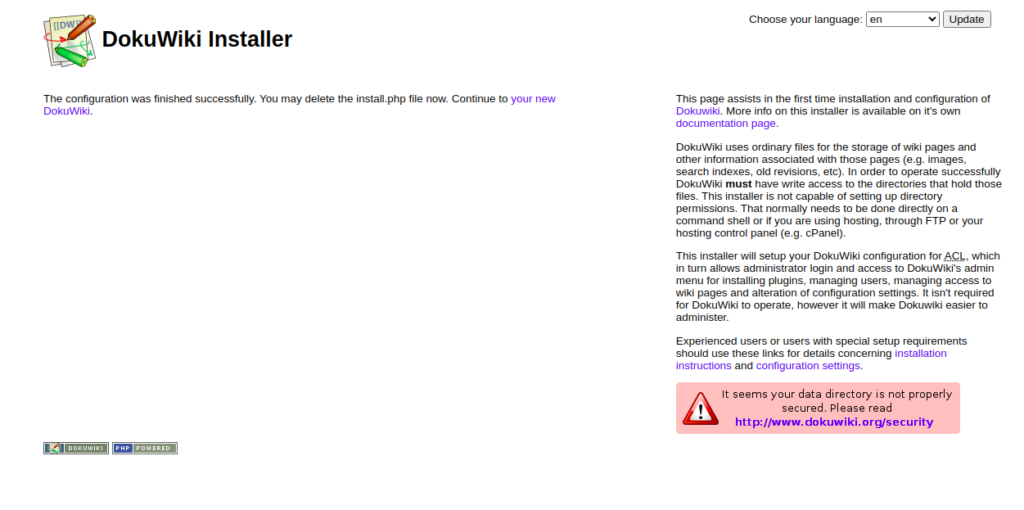
Provide your Wiki name, admin username, password, and email and click on the Save button. You should see the following screen:
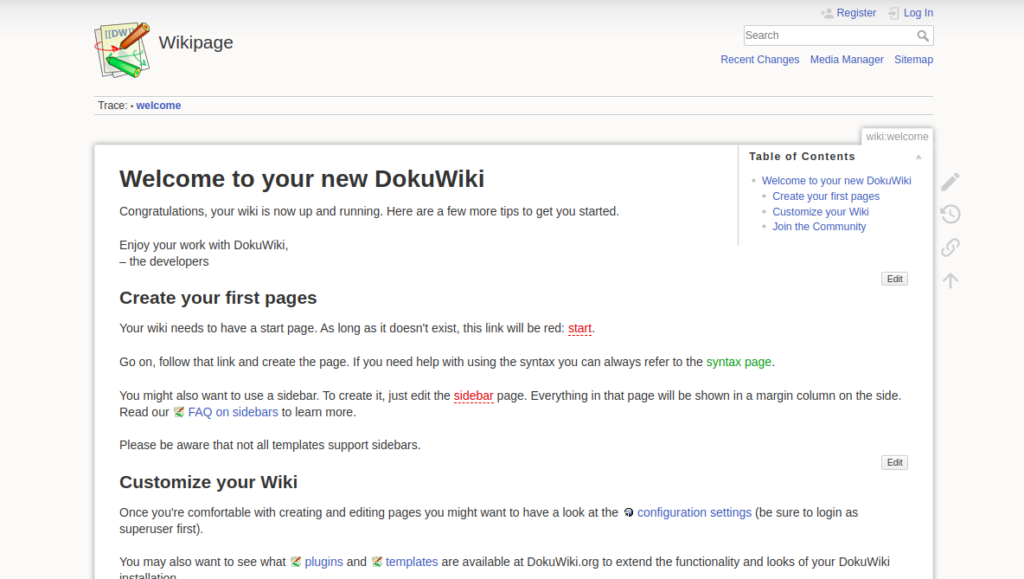
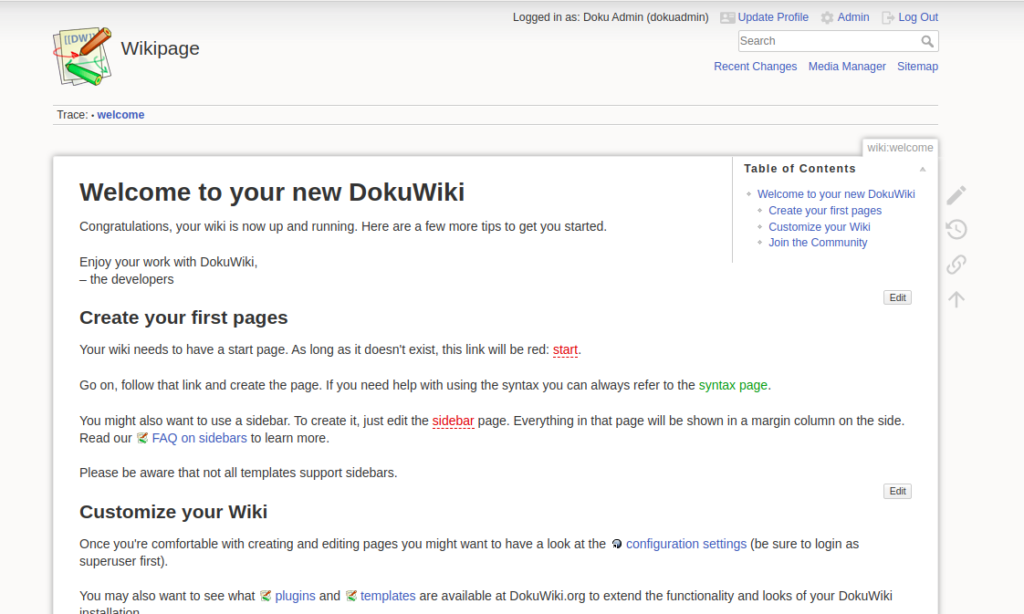
Click on your new DokuWiki. You will be redirected to the DokuWiki welcome screen:
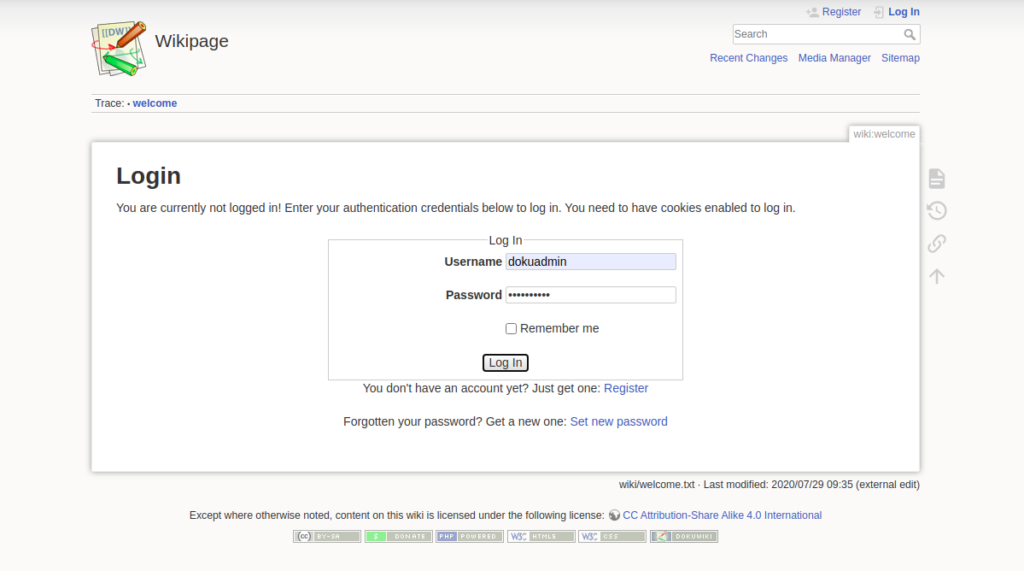
Click on the Log In button. You should see the DokuWiki login screen:
Provide your admin username, password and click on the Log In button. You should see the DokuWiki dashboard on the following screen:
Conclusion
In the above guide, you learned how to install DokuWiki with Nginx on Debian 12 server. You can now use the DokuWiki to store your documentation and other information. Get started with DokuWiki on dedicated server hosting from Atlantic.Net!
