Drupal is an open-source CMS that allows users to build the versatile, structured content needed for dynamic web experiences. It is an alternate solution to other CMSes like WordPress and Joomla. It offers great features like reliability, high performance, excellent security, easy content authoring, and more. Drupal offers more than 30000 modules that help users to create blogs, forums, polls, and any kind of website.
This post will explain how to install Drupal CMS on Fedora 34.
Step 1 – Install Apache and MariaDB Server
First, install the Apache and MariaDB server with the following command.
dnf update -y
dnf install httpd mariadb-server -y
Once both packages are installed, start and enable both Apache and MariaDB services with the following command.
systemctl start httpd mariadb
systemctl enable httpd mariadb
Step 2 – Install PHP
Next, you will need to install the latest version of PHP on your server.
First, install the Remi PHP repository using the following command.
dnf install -y http://rpms.remirepo.net/fedora/remi-release-34.rpm
Next, enable the Remi PHP module with the following command.
dnf module enable -y php:remi-8.1
Next, install PHP with other required extensions using the following command.
dnf install php php-fpm php-mysqlnd php-opcache php-gd php-xml php-mbstring php-curl php-pecl-imagick php-pecl-zip libzip
Once PHP is installed, you can verify the PHP version with the following command.
php -v
You should see the following output.
PHP 8.1.9 (cli) (built: Aug  2 2022 13:02:24) (NTS gcc x86_64)
Copyright (c) The PHP Group
Zend Engine v4.1.9, Copyright (c) Zend Technologies
    with Zend OPcache v8.1.9, Copyright (c), by Zend Technologies
Next, edit the PHP configuration file and change the default settings:
nano /etc/php.ini
Change the following lines:
max_execution_time = 300
max_input_time = 300
memory_limit = 512M
post_max_size = 256M
upload_max_filesize = 256M
Save and close the file, then start and enable the PHP-FPM service to implement the changes.
systemctl start php-fpm
systemctl enable php-fpm
Step 3 – Create a Database for Drupal
Next, you will need to create a database and user for Drupal.
First, log in to the MariaDB shell with the following command.
mysql
Once logged in, create a database and user with the following command.
MariaDB [(none)]> CREATE DATABASE drupaldb;
MariaDB [(none)]> GRANT ALL PRIVILEGES ON drupaldb.* TO 'drupaluser'@'localhost' IDENTIFIED BY 'password';
Next, flush the privileges and exit from the MariaDB shell with the following command.
MariaDB [(none)]> FLUSH PRIVILEGES;
MariaDB [(none)]> EXIT;
Step 4 – Download Drupal
First, download the latest version of Drupal with the following command.
wget https://www.drupal.org/download-latest/tar.gz
Next, extract the downloaded file with the following command.
tar -zxf tar.gz
Next, move the extracted directory to the Apache web root:
mv drupal-10.0.7 /var/www/html/drupal
Next, navigate to the Drupal site directory and copy the default setting file.
cd /var/www/html/drupal/sites/default
cp -p default.settings.php settings.php
Next, create a files directory.
mkdir files
Next, change the ownership and permissions of the Drupal directory.
chown -R apache:apache /var/www/html/drupal
chmod -R 755 /var/www/html/drupal
Step 5 – Configure Apache for Drupal
Next, create an Apache virtual host configuration file for Drupal.
nano /etc/httpd/conf.d/drupal.conf
Add the following configurations:
<VirtualHost *:80>
    ServerAdmin [email protected]
    ServerName drupal.example.com
    DocumentRoot /var/www/html/drupal
    <Directory /var/www/html/drupal>
        Allowoverride all
    </Directory>
</VirtualHost>
Save and close the file, then restart the Apache service to apply the changes.
Step 6 – Access Drupal Web UI
Now, open your web browser and access the Drupal web installation wizard using the URL http://drupal.example.com. You should see the language selection page:
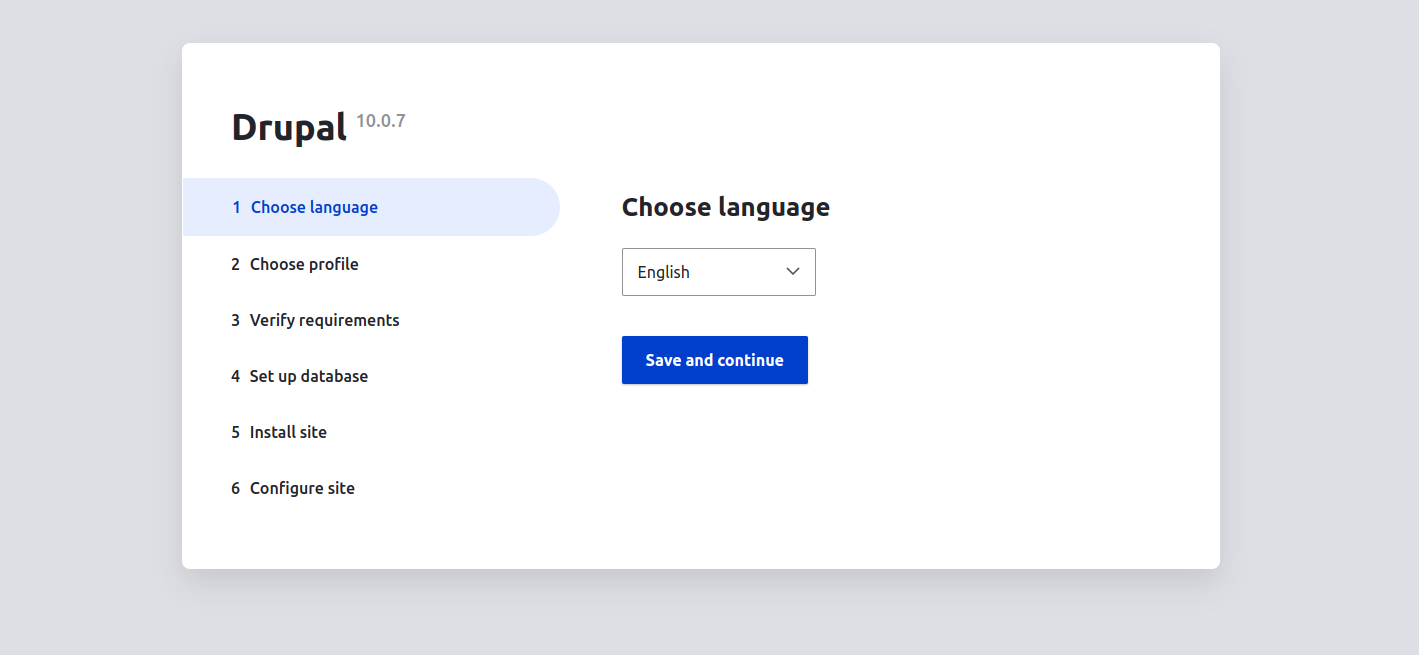
Select your language and click on the Save and Continue button. You should see the select installation profile page:
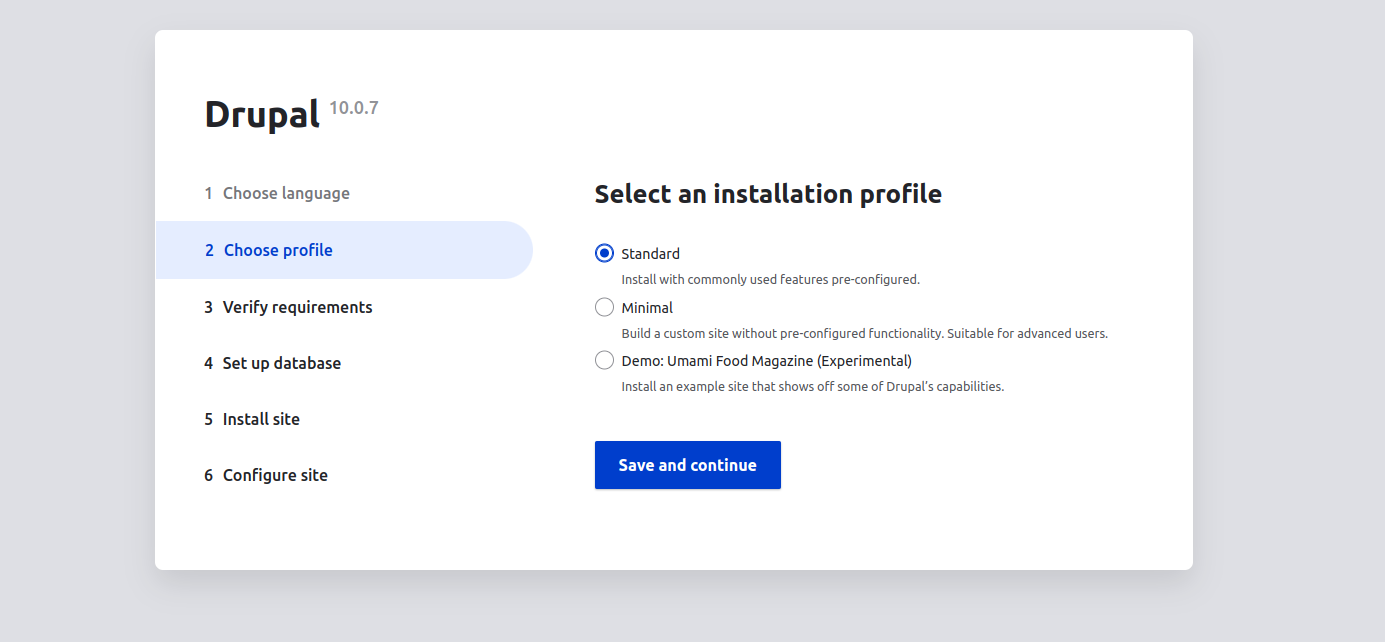
Select your installation profile and click on the Save and Continue button. You should see the database configuration page.
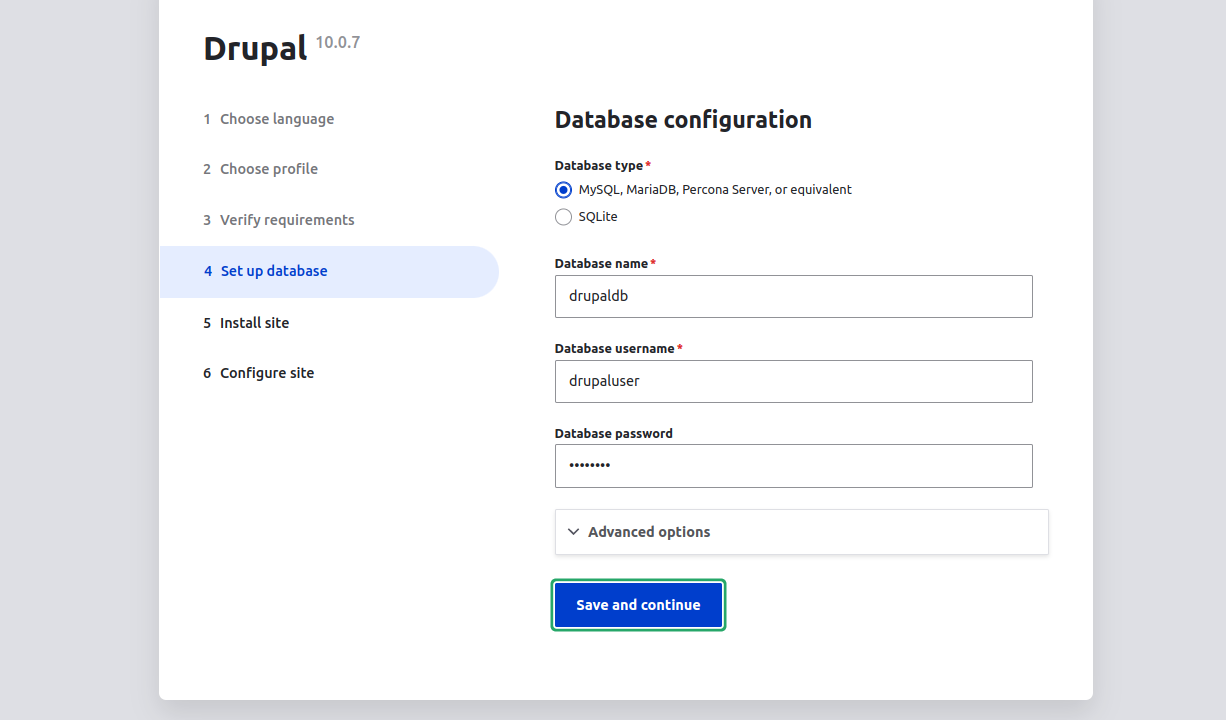
Provide your Drupal database username, password, and database name, and click on the Save and Continue button. You should see the Site configuration page.
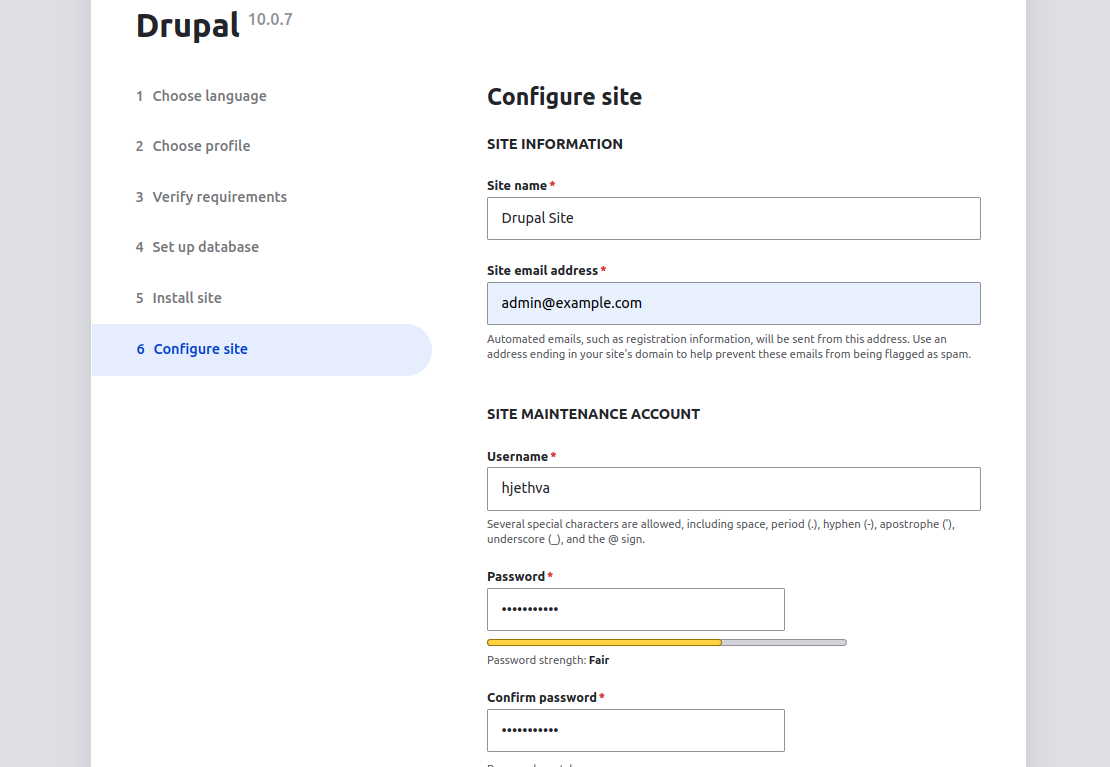
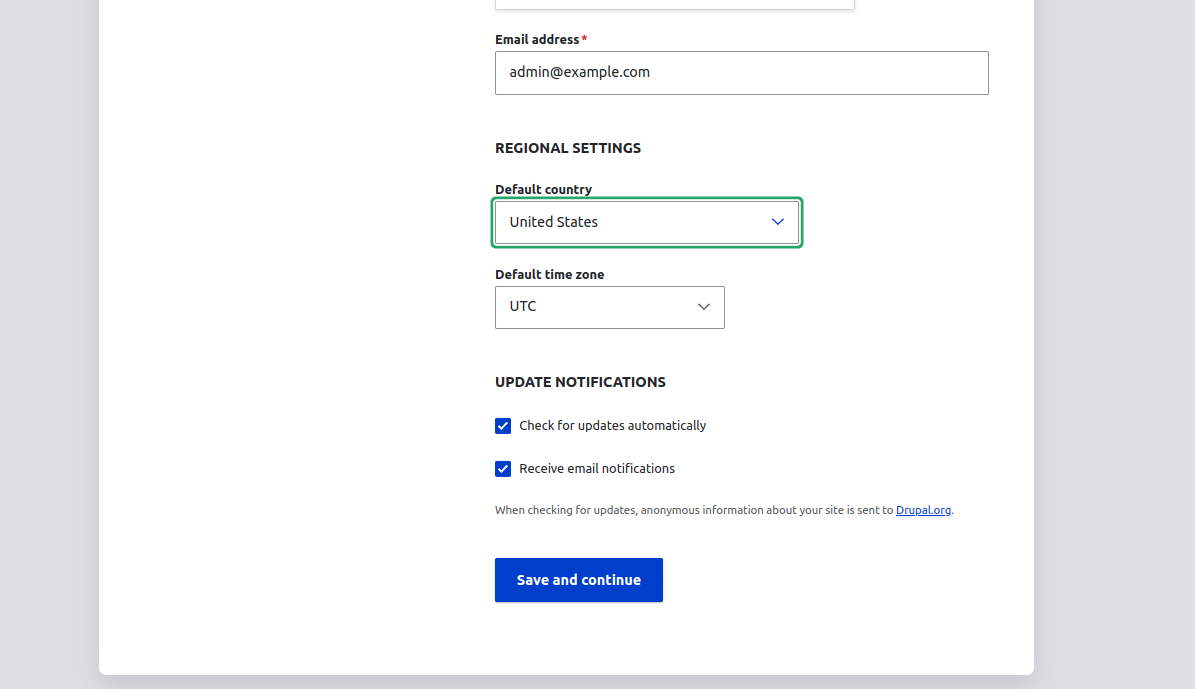
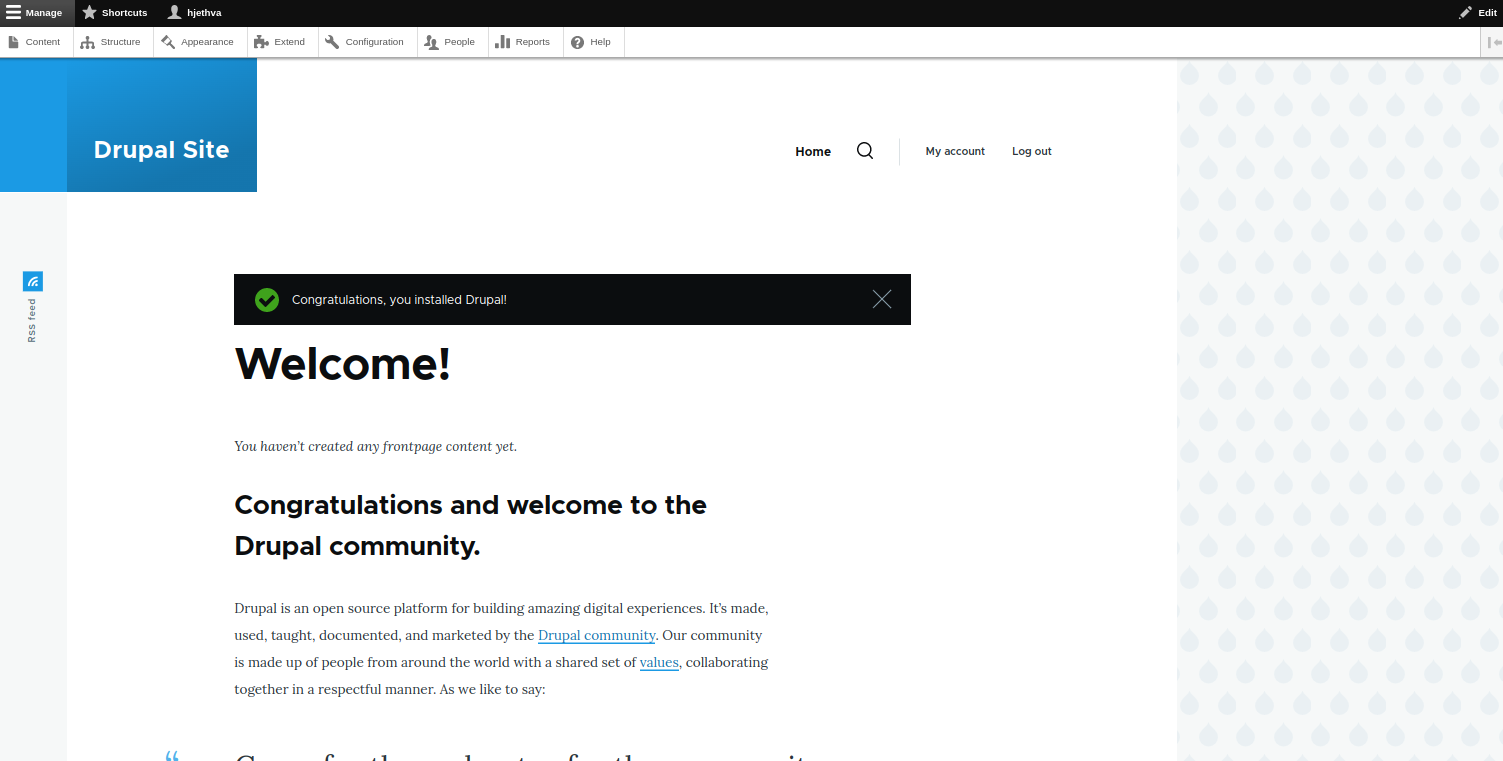
Provide all required information and click on the Save and Continue button. You should see the Drupal dashboard on the following page.
Conclusion
This post explained how to install Drupal with Apache on Fedora 34. You can now use Drupal to host your own website on the web. Try to host a Drupal website on dedicated server hosting from Atlantic.Net!
* This post is for informational purposes only and does not constitute professional, legal, financial, or technical advice. Each situation is unique and may require guidance from a qualified professional.
Readers should conduct their own due diligence before making any decisions.