FileRun is a self-hosted file-sharing and collaboration platform that provides users with a secure and feature-rich environment for managing and sharing files and documents. FileRun provides a comprehensive solution for organizations seeking a secure and user-friendly platform for file sharing and collaboration. Its self-hosted nature, robust security features, customization options, and integration capabilities make it a popular choice for businesses and individuals looking to streamline their file management and collaboration workflows while maintaining control over their data.
In this tutorial, we will show you how to install FileRun on Ubuntu 22.04.
Step 1 – Install Docker and Docker Compose
First, install all the required dependencies using the following command:
apt-get install curl git build-essential apt-transport-https ca-certificates software-properties-common -y
Next, download the Docker GPG key:
curl -fsSL https://download.docker.com/linux/ubuntu/gpg | gpg --dearmor -o /usr/share/keyrings/docker-archive-keyring.gpg
Next, add the Docker repo to the APT source file.
echo "deb [arch=$(dpkg --print-architecture) signed-by=/usr/share/keyrings/docker-archive-keyring.gpg] https://download.docker.com/linux/ubuntu $(lsb_release -cs) stable" | tee /etc/apt/sources.list.d/docker.list > /dev/null
Then, update the repository index and install Docker with Docker Compose.
apt update -y
apt install docker-ce docker-compose-plugin -y
Next, verify the Docker Compose version.
docker compose version
Output:
Docker Compose version v2.24.7
Step 2 – Create a Docker Compose File for FileRun
First, create a directory for FileRun.
mkdir filerun
Next, create a docker-compose.yml file inside filerun directory.
cd filerun
nano docker-compose.yml
Add the following lines:
version: '3.8'

services:
  db:
    image: mariadb:10.5
    container_name: filerun_mariadb
    environment:
      MYSQL_ROOT_PASSWORD: password
      MYSQL_USER: filerun
      MYSQL_PASSWORD: password
      MYSQL_DATABASE: filerundb
    volumes:
      - ./db:/var/lib/mysql

  web:
    image: alexphillips/filerun
    container_name: filerun
    environment:
      FR_DB_HOST: db
      FR_DB_PORT: 3306
      FR_DB_NAME: filerundb
      FR_DB_USER: filerun
      FR_DB_PASS: password
      APACHE_RUN_USER: www-data
      APACHE_RUN_USER_ID: 33
      APACHE_RUN_GROUP: www-data
      APACHE_RUN_GROUP_ID: 33
    depends_on:
      - db
    links:
      - db
      - tika
      - elasticsearch
    ports:
      - "8080:80"
    volumes:
      - ./html:/var/www/html
      - ./user-files:/user-files

  tika:
    image: apache/tika
    container_name: filerun_tika

  elasticsearch:
    image: docker.elastic.co/elasticsearch/elasticsearch:6.8.23
    container_name: filerun_search
    environment:
      - cluster.name=docker-cluster
      - bootstrap.memory_lock=true
      - "ES_JAVA_OPTS=-Xms512m -Xmx512m"
    ulimits:
      memlock:
        soft: -1
        hard: -1
      nofile:
        soft: 65535
        hard: 65535
    mem_limit: 1g
    volumes:
      - ./esearch:/usr/share/elasticsearch/data
Next, create a directory to store ElasticSearch data.
mkdir esearch
Next, edit the sysctl.conf file.
nano /etc/sysctl.conf
Add the following line:
vm.max_map_count = 262144
Now, run the following command to apply the changes:
sysctl -w vm.max_map_count=262144
Finally, restart the Docker service using the following command:
systemctl restart docker
Step 3 – Launch FileRun Container
You can now run the following command to launch the FileRun container:
docker compose up -d
You can verify the created containers using the following command:
docker ps
Output:
CONTAINER ID   IMAGE                  COMMAND                  CREATED          STATUS          PORTS                                            NAMES
ab1f1f2903c8   alexphillips/filerun   "/init"                  14 seconds ago   Up 11 seconds   443/tcp, 0.0.0.0:8080->80/tcp, :::8080->80/tcp   filerun
8ade817cb024   mariadb:10.5           "docker-entrypoint.s…"   14 seconds ago   Up 12 seconds   3306/tcp                                         filerun_mariadb
c8ffd162cf69   apache/tika            "/bin/sh -c 'exec ja…"   14 seconds ago   Up 12 seconds   9998/tcp                                         filerun_tika
Step 4 – Configure Nginx for FileRun
First, install the Nginx server using the following command:
apt install nginx
Next, edit the Nginx main configuration file.
nano /etc/nginx/nginx.conf
Add the following line after the line http {:
server_names_hash_bucket_size 64;
Next, create a new Nginx virtual host configuration file for FileRun.
nano /etc/nginx/conf.d/filerun.conf
Add the following configuration:
upstream backend {
   server 127.0.0.1:8080;
   keepalive 32;
}

server {
  listen 80;
  server_name filerun.example.com;

   access_log /var/log/nginx/filerun.access.log;
   error_log  /var/log/nginx/filerun.error.log;

   location / {
       client_max_body_size 50M;
       proxy_set_header Connection "";
       proxy_set_header Host $http_host;
       proxy_set_header X-Real-IP $remote_addr;
       proxy_set_header X-Forwarded-For $proxy_add_x_forwarded_for;
       proxy_set_header X-Forwarded-Proto $scheme;
       proxy_set_header X-Forwarded-Protocol $scheme;
       proxy_buffers 256 16k;
       proxy_buffer_size 16k;
       proxy_read_timeout 1800s;
       proxy_connect_timeout 1800s;
       proxy_http_version 1.1;
       proxy_pass http://backend;
   }
}
Save and close the file, then restart the Nginx service to apply the changes.
systemctl restart nginx
Step 5 – Access FileRun Web UI
Now, open your web browser and access the FileRun web interface using the URL http://filerun.example.com. You will see the FileRun welcome page.
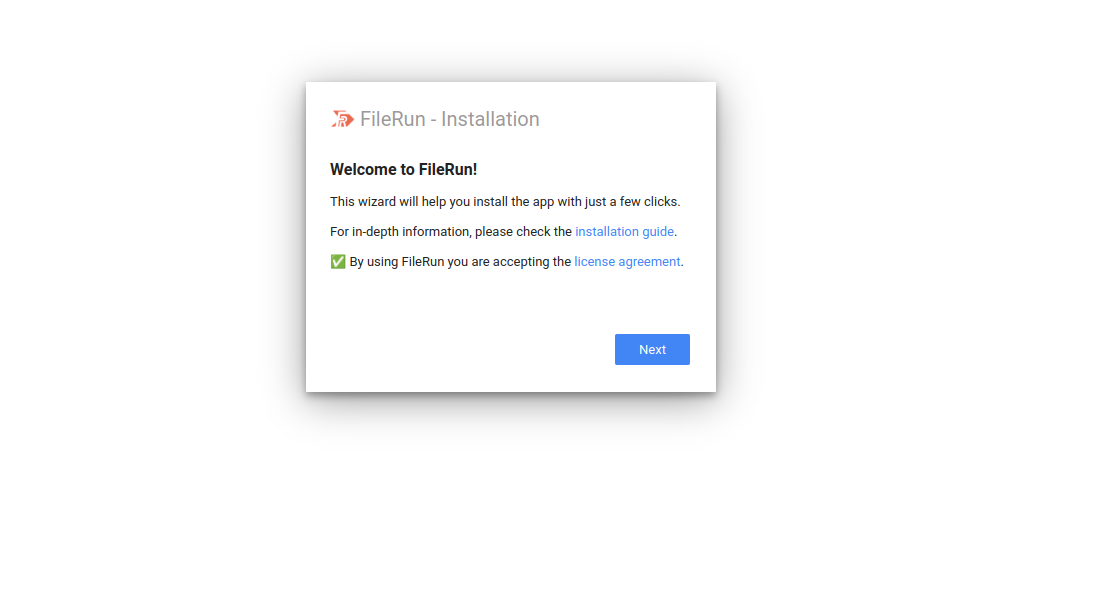
Click on Next. You will see the server requirement page.
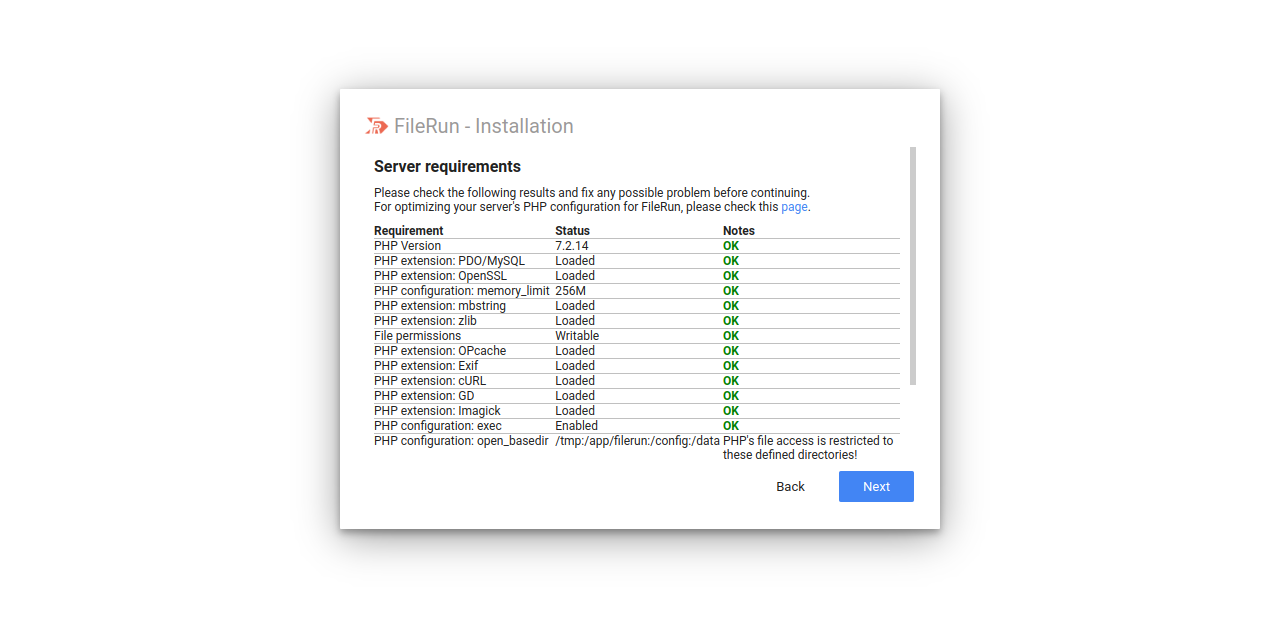
Click on Next. You will see the database setup page.

Provide your database details and click on Next. Once the installation is completed, you will see the following page.
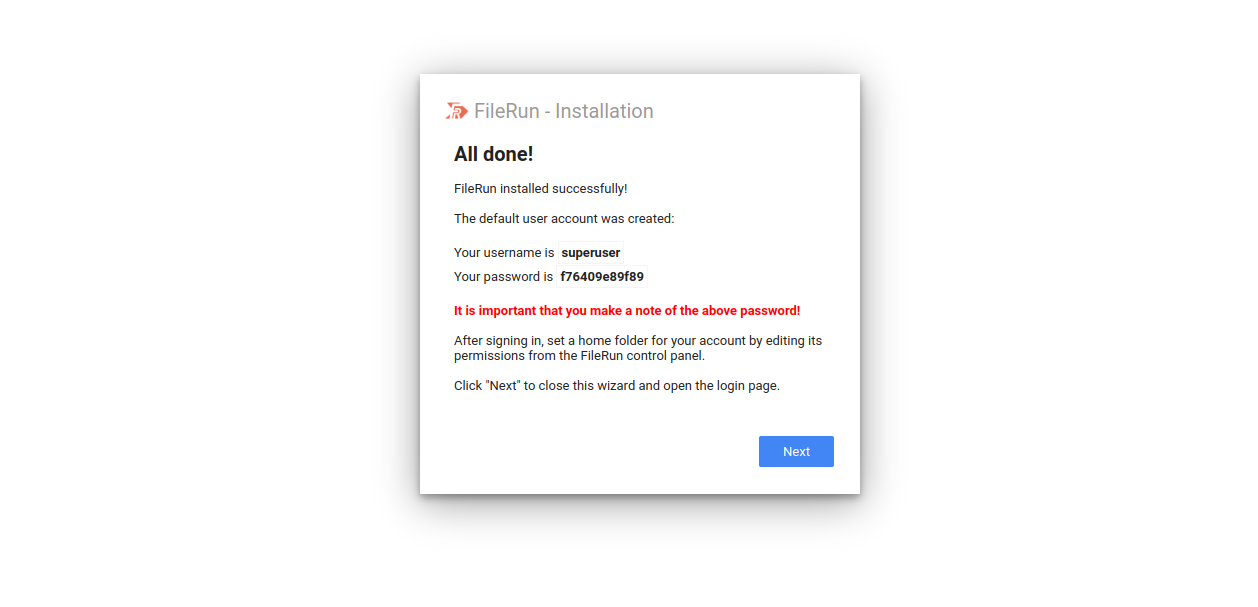
Please note the superuser and password to log in to the FileRun web interface. Then, click on Next. You will see the FileRun login page.
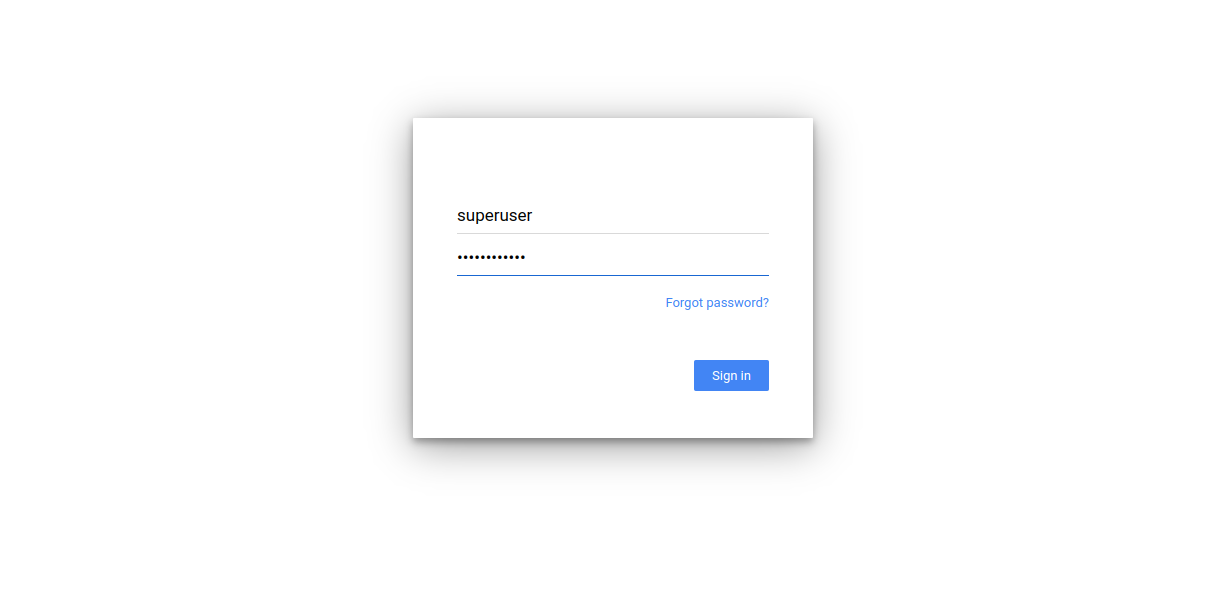
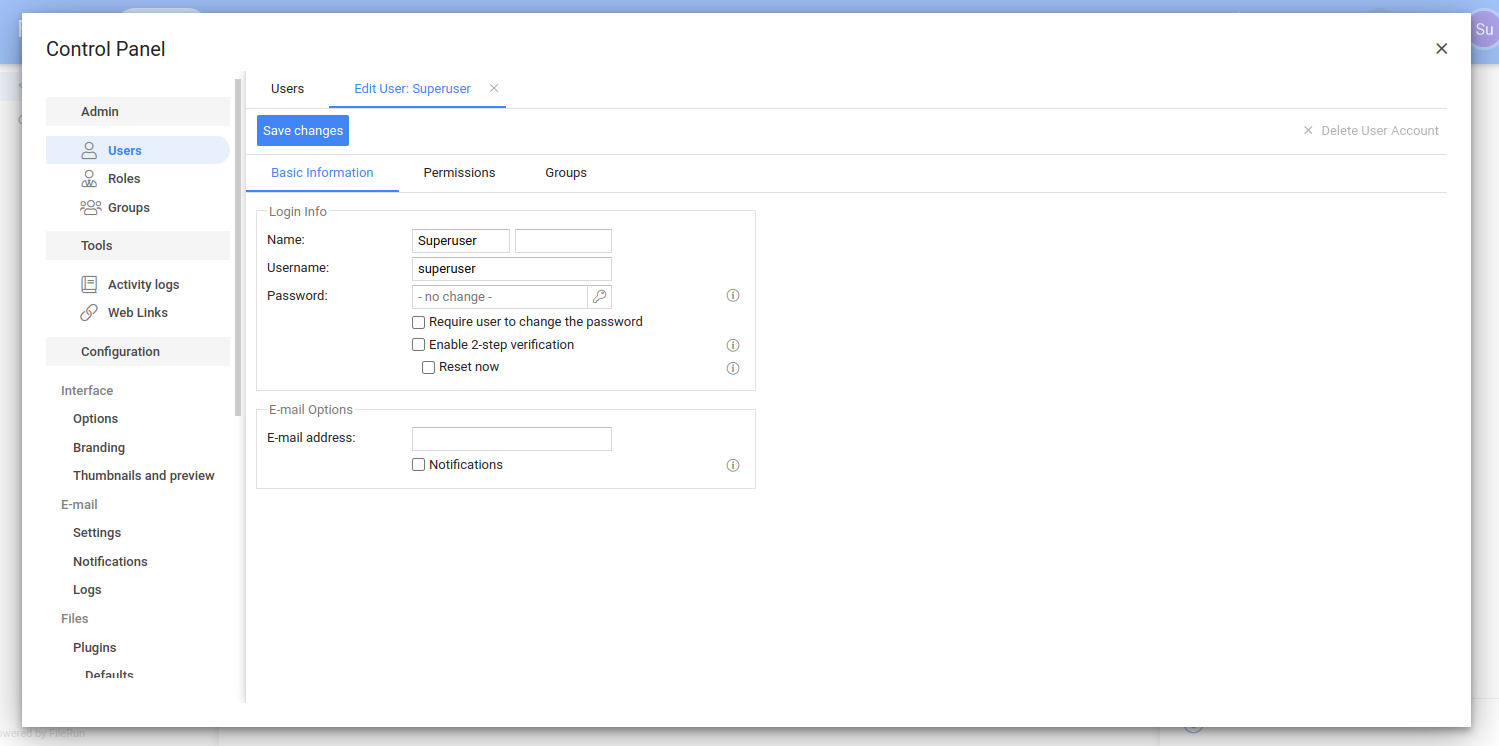
Provide your username and password and click on Sign in. You will see the FileRun control panel.
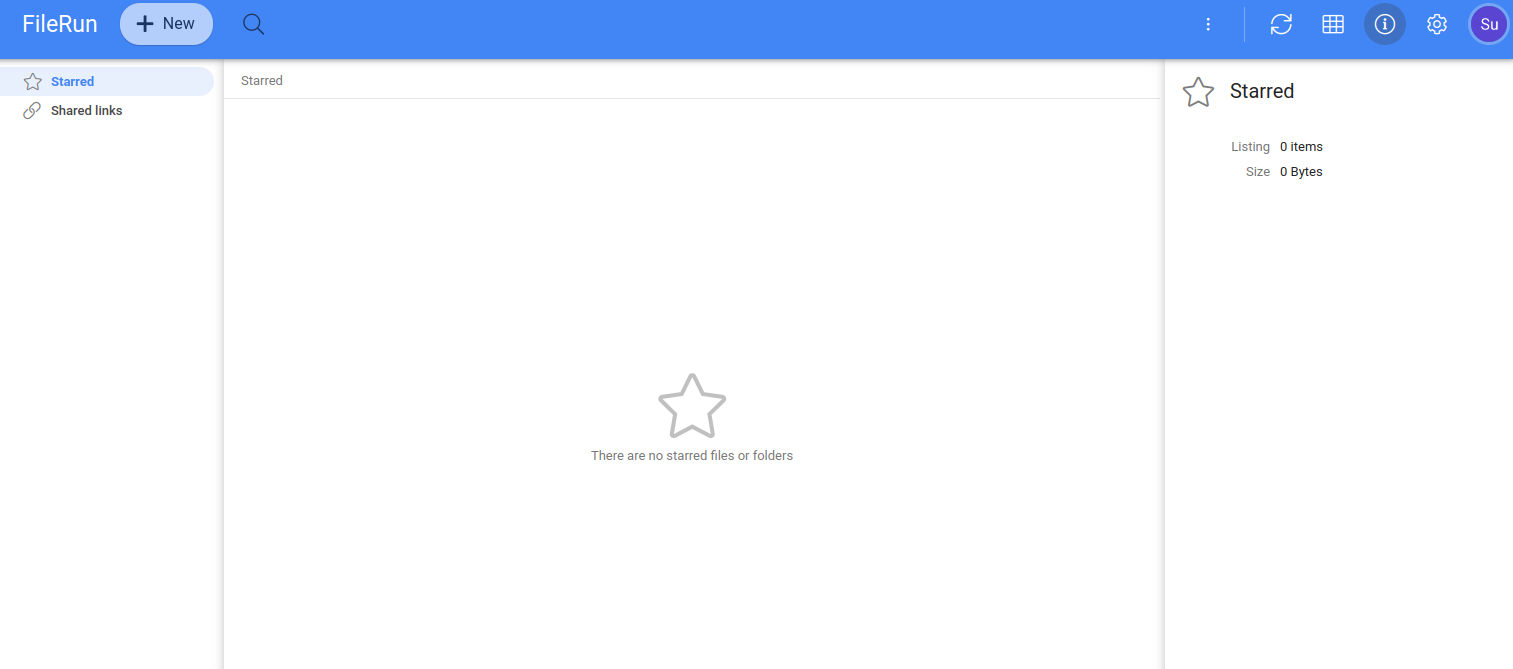
Click on X to close the control panel. You will be redirected to the FileRun dashboard.
Conclusion
By following the step-by-step installation guide provided in this article, users can quickly deploy FileRun on their Ubuntu servers and take advantage of its rich feature set and user-friendly interface.
FileRun provides a seamless file-sharing and collaboration experience, with features like version control, granular access controls, file preview, annotation, and integration capabilities. Furthermore, FileRun’s customization options allow users to tailor the platform to their specific needs and branding requirements, creating a personalized and branded file-sharing environment for their organization. You can use FileRun as a file-sharing platform on dedicated server hosting from Atlantic.Net!
* This post is for informational purposes only and does not constitute professional, legal, financial, or technical advice. Each situation is unique and may require guidance from a qualified professional.
Readers should conduct their own due diligence before making any decisions.