Froxlor is an open-source server management panel that provides an intuitive and user-friendly web interface for managing various aspects of web hosting servers. It is designed to help system administrators and web hosting providers efficiently manage server configurations, domains, email accounts, databases, and other server-related tasks. Froxlor is free to use, which can significantly reduce the costs associated with server management. It provides a viable alternative to commercial server management panels without compromising on features and functionality.
In this tutorial, we will show you how to install Froxlor server management panel on Ubuntu 22.04.
Step 1 – Install Required Dependencies
First, install the necessary dependencies for Froxlor using the following command:
apt -y install gnupg2 apt-transport-https lsb-release curl ca-certificates apache2
Step 2 – Add Froxlor Repository
Download the Froxlor GPG key and add the Froxlor repository to your system:
curl -sSLo /usr/share/keyrings/deb.froxlor.org-froxlor.gpg https://deb.froxlor.org/froxlor.gpg
Add the repository to your sources list:
sh -c 'echo "deb [signed-by=/usr/share/keyrings/deb.froxlor.org-froxlor.gpg] https://deb.froxlor.org/ubuntu $(lsb_release -sc) main" > /etc/apt/sources.list.d/froxlor.list'
Step 3 – Install Froxlor
Update the package list and install Froxlor:
apt update
apt install froxlor -y
Step 4 – Configure MySQL
Froxlor requires a MySQL database. You will need to create a new user and database for Froxlor.
First, connect to MySQL.
mysql
Create a user and database for Froxlor:
CREATE USER 'froxroot'@'localhost' IDENTIFIED BY 'password';
GRANT ALL PRIVILEGES ON *.* TO 'froxroot'@'localhost' WITH GRANT OPTION;
Flush the privileges and exit from the MySQL shell:
FLUSH PRIVILEGES;
EXIT;
Step 5 – Install PHP GNUPG Extension
To ensure Froxlor operates correctly, install the PHP GNUPG extension:
apt install php-gnupg -y
Restart the Apache web server to apply the changes:
systemctl restart apache2
Check the status of the Apache service to ensure it is running:
systemctl status apache2
You should see an output indicating that the Apache service is active and running.
● apache2.service - The Apache HTTP Server
     Loaded: loaded (/lib/systemd/system/apache2.service; enabled; vendor preset: enabled)
     Active: active (running) since Wed 2024-06-05 12:14:57 UTC; 25s ago
       Docs: https://httpd.apache.org/docs/2.4/
    Process: 69486 ExecStart=/usr/sbin/apachectl start (code=exited, status=0/SUCCESS)
   Main PID: 69490 (apache2)
      Tasks: 6 (limit: 4579)
     Memory: 14.9M
        CPU: 55ms
     CGroup: /system.slice/apache2.service
             ├─69490 /usr/sbin/apache2 -k start
             ├─69491 /usr/sbin/apache2 -k start
             ├─69492 /usr/sbin/apache2 -k start
             ├─69493 /usr/sbin/apache2 -k start
             ├─69494 /usr/sbin/apache2 -k start
             └─69495 /usr/sbin/apache2 -k start
Step 6 – Access Froxlor Web Installer
Open your web browser and navigate to http://your-server-ip/froxlor to access the Froxlor web installer. You will see the following page:
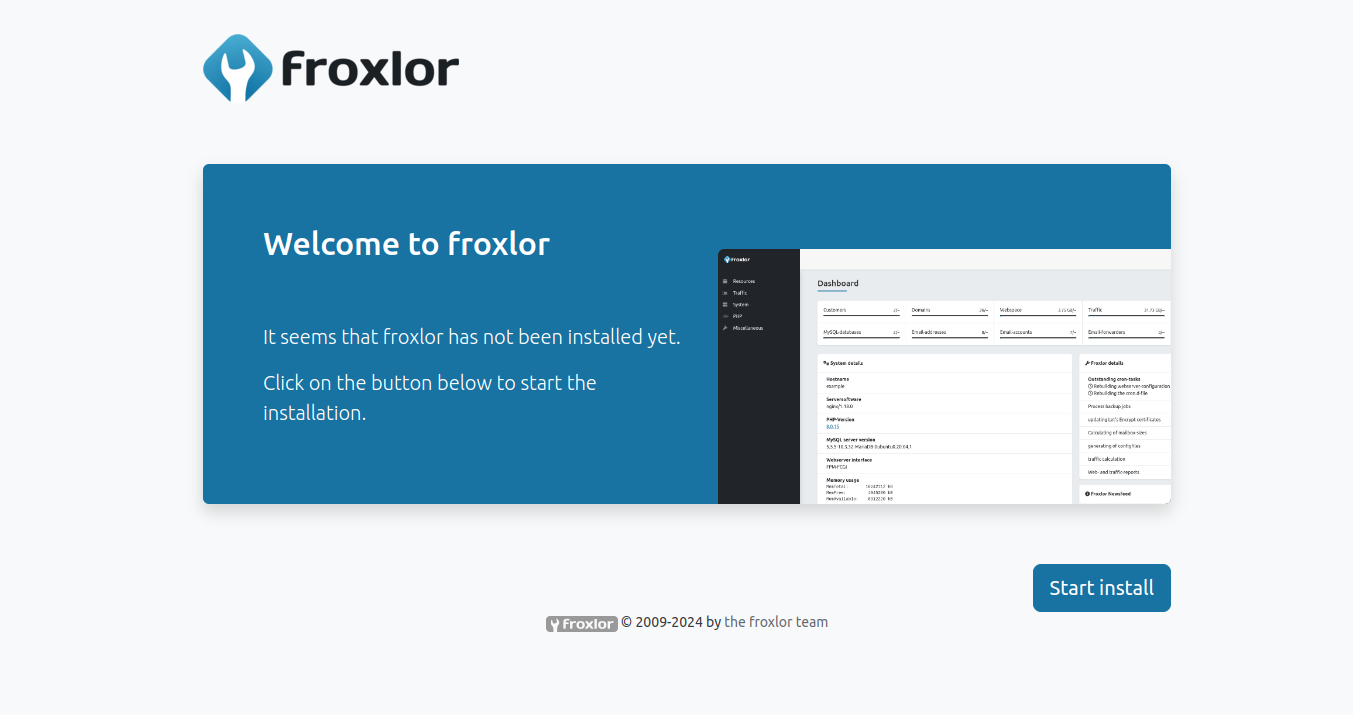
Click on the Start install. You will see the system check page.
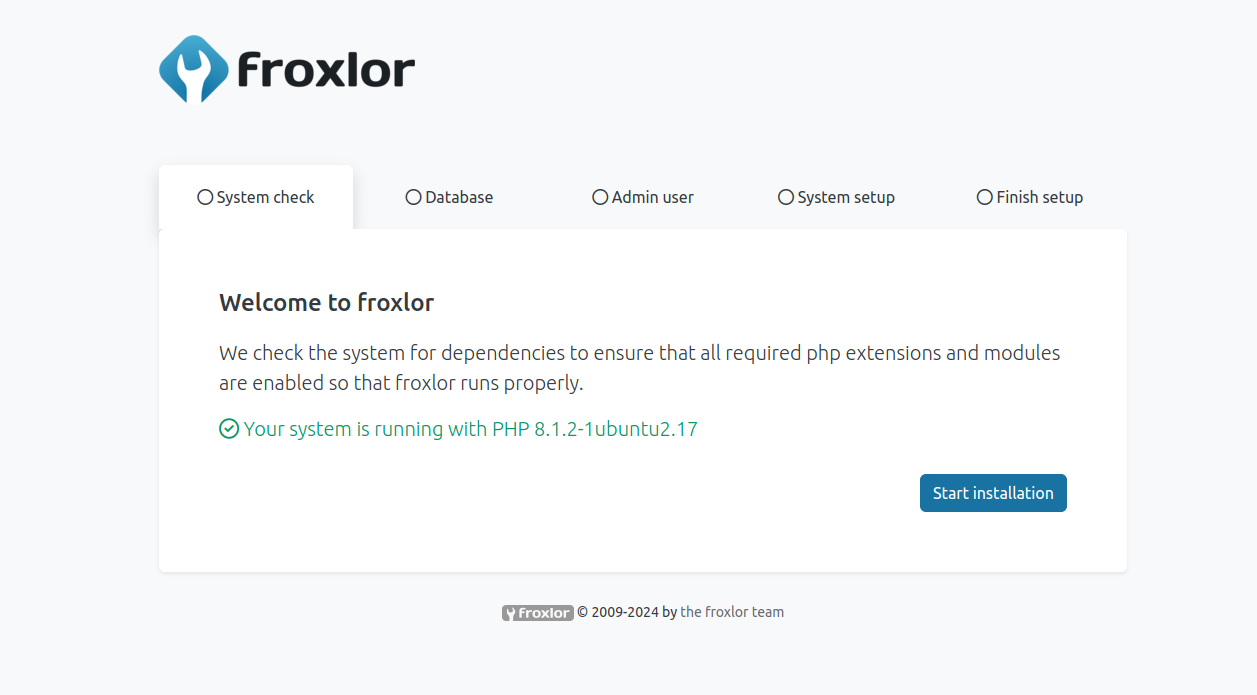
Click on Start installation. You will see the database setup page.
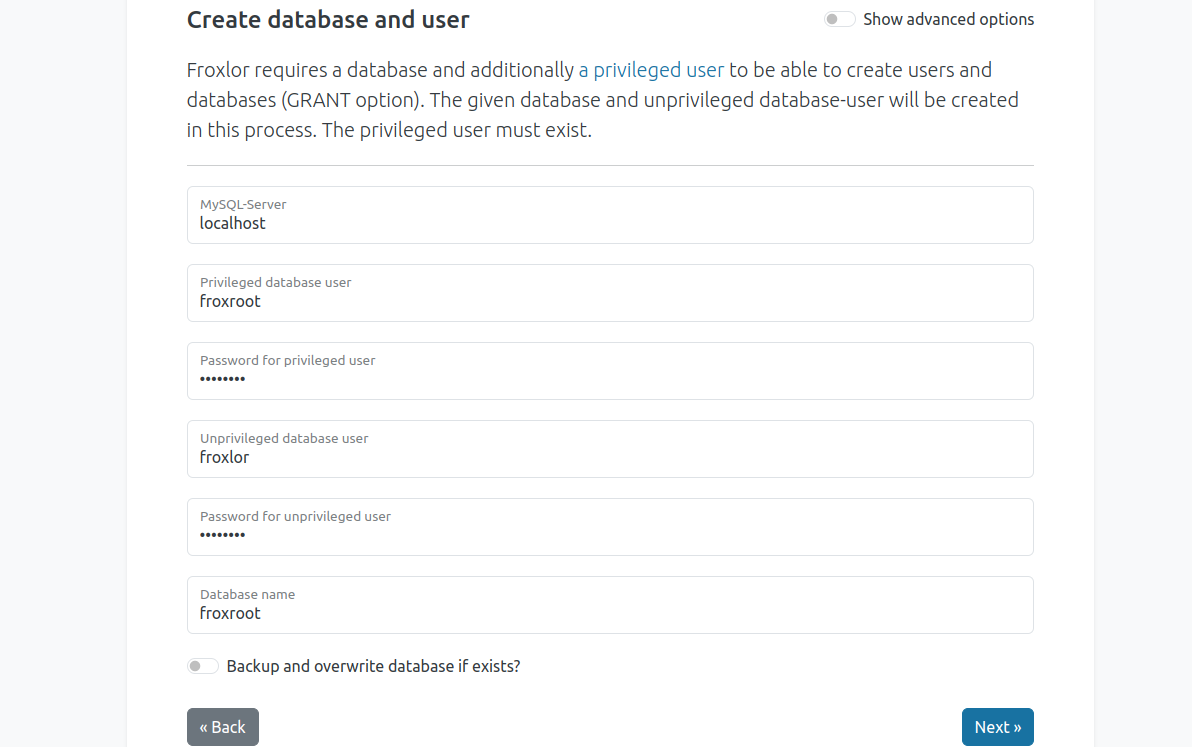
Define your database name and password and click on Next. You will see the admin setup page.
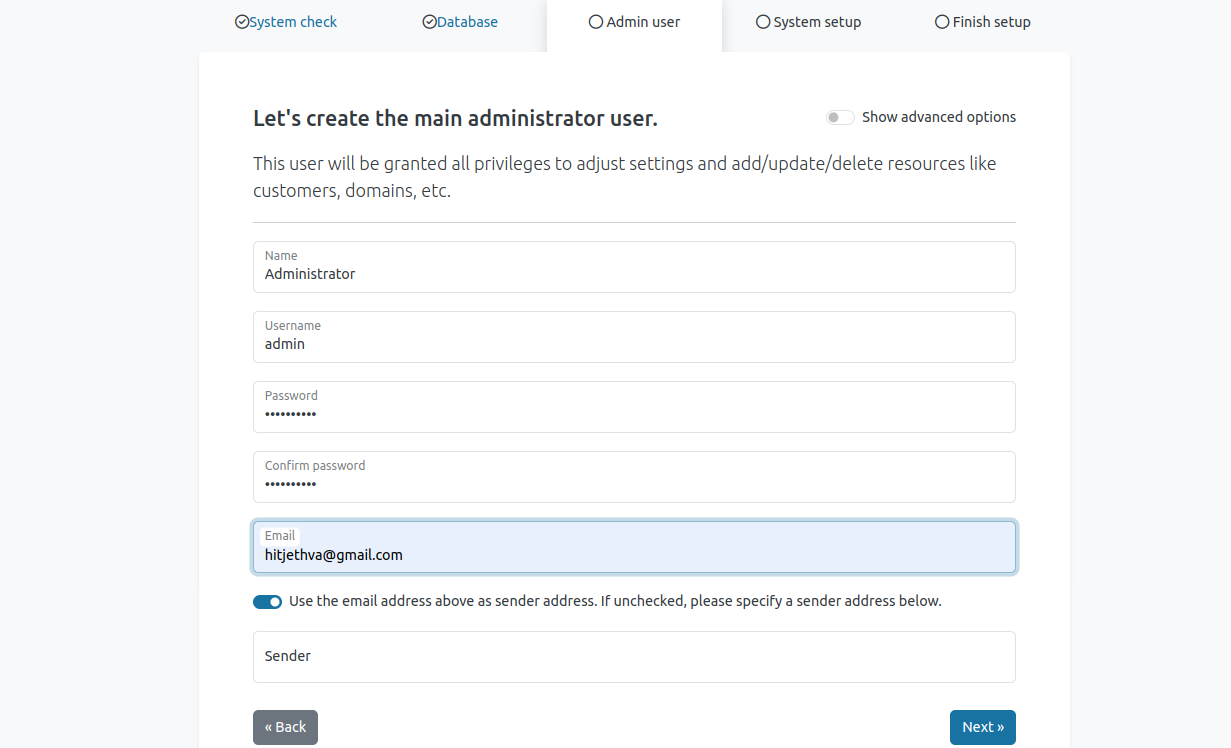
Set your admin user, password, and email and click on Next. You will see the server setup page.
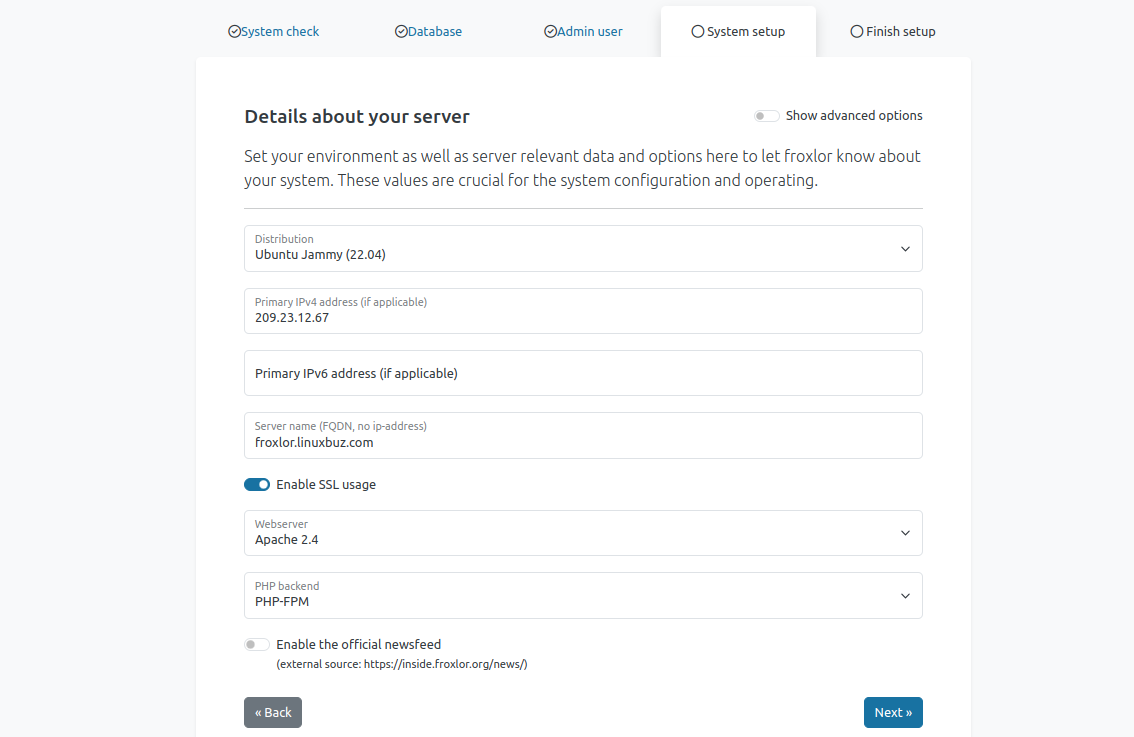
Set your server IP, domain name, and enable SSL and click on Next. You will see the following page.
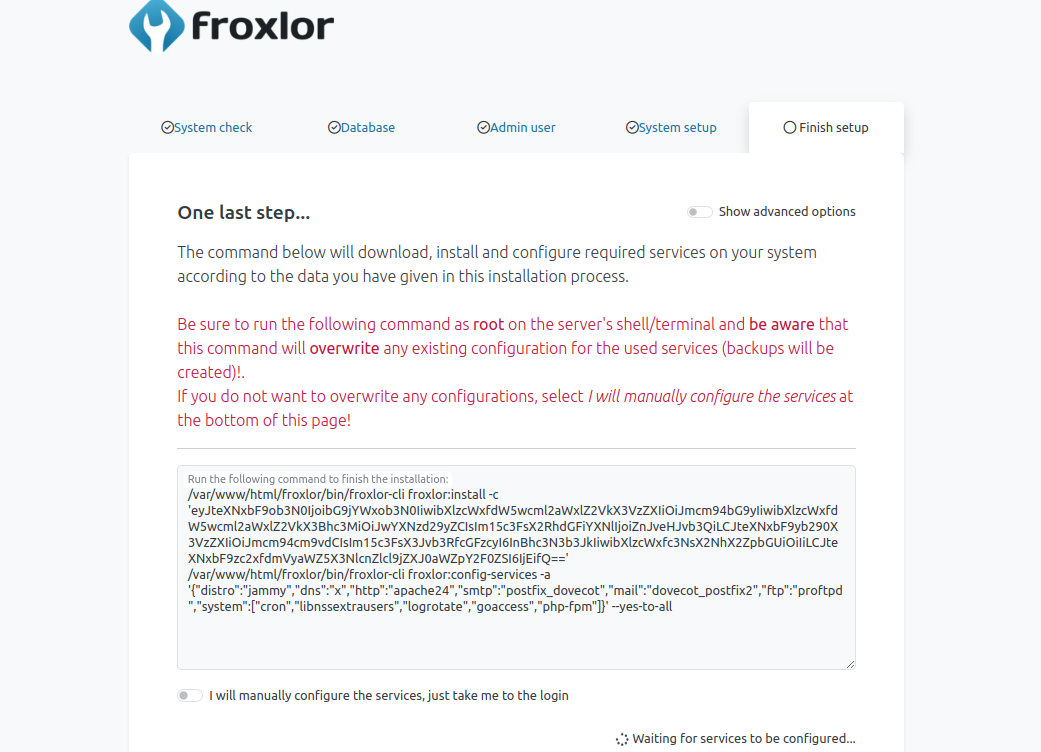
Copy the command from the above page and run it on your server console to finish the installation.
/var/www/html/froxlor/bin/froxlor-cli froxlor:install -c 'eyJteXNxbF9ob3N0IjoibG9jYWxob3N0IiwibXlzcWxfdW5wcml2aWxlZ2VkX3VzZXIiOiJmcm94bG9yIiwibXlzcWxfdW5wcml2aWxlZ2VkX3Bhc3MiOiJwYXNzd29yZCIsIm15c3FsX2RhdGFiYXNlIjoiZnJveHJvb3QiLCJteXNxbF9yb290X3VzZXIiOiJmcm94cm9vdCIsIm15c3FsX3Jvb3RfcGFzcyI6InBhc3N3b3JkIiwibXlzcWxfc3NsX2NhX2ZpbGUiOiIiLCJteXNxbF9zc2xfdmVyaWZ5X3NlcnZlcl9jZXJ0aWZpY2F0ZSI6IjEifQ=='
/var/www/html/froxlor/bin/froxlor-cli froxlor:config-services -a '{"distro":"jammy","dns":"x","http":"apache24","smtp":"postfix_dovecot","mail":"dovecot_postfix2","ftp":"proftpd","system":["cron","libnssextrausers","logrotate","goaccess","php-fpm"]}' --yes-to-all
Go back to your web browser, you will see the Froxlor login page.
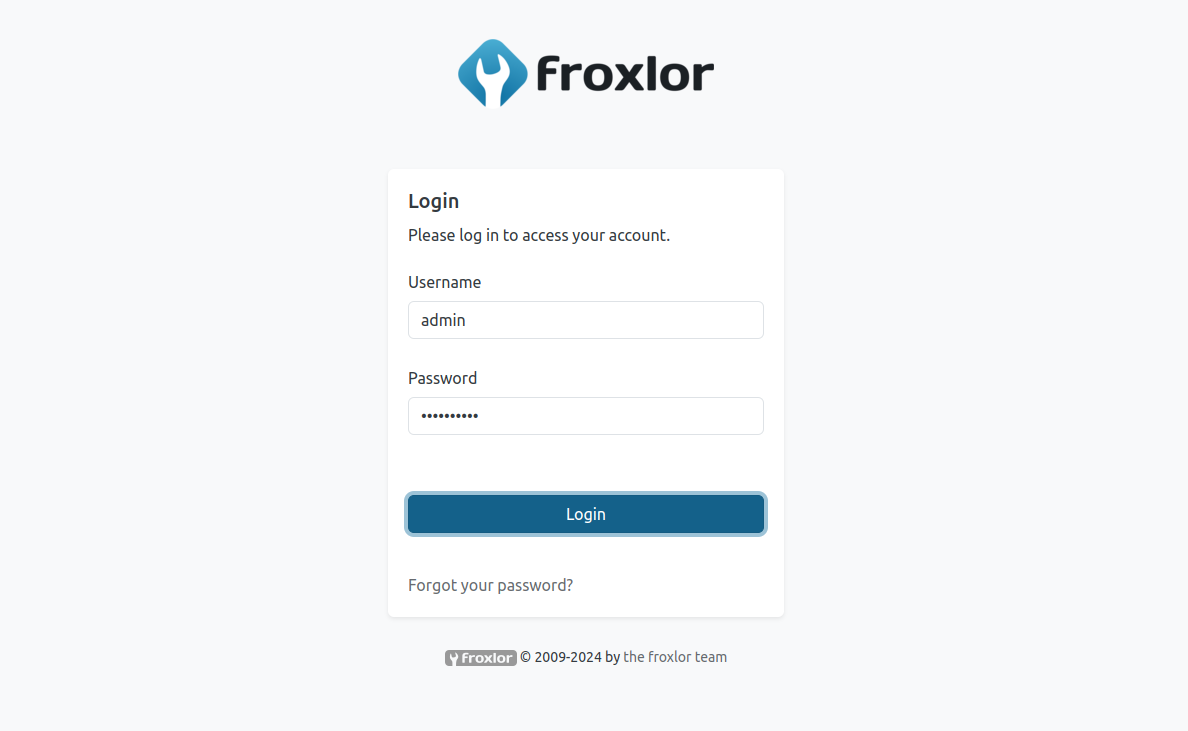
Enter your Froxlor admin username and password and click on Login. You will see the Froxlor dashboard.

Conclusion
You have now successfully installed and configured the Froxlor server management panel on Ubuntu 22.04. This powerful tool will help you manage your server more efficiently through its user-friendly web interface. For more information and advanced configurations, refer to the Froxlor documentation. You can now host your own server management panel using Froxlor on dedicated server hosting from Atlantic.Net!
* This post is for informational purposes only and does not constitute professional, legal, financial, or technical advice. Each situation is unique and may require guidance from a qualified professional.
Readers should conduct their own due diligence before making any decisions.