GitLab is an open-source repository and collaborative software development platform for DevOps projects. It is a self-hosted platform that provides a set of tools for managing and collaborating on software development projects. GitLab has built-in CI/CD capabilities that allow developers to automate the build, test, and deployment process. It also provides a centralized container registry to store Docker images and containers.
This post will show you how to install GitLab on Fedora Linux.
Step 1 – Install Required Dependencies
Before starting, you will need to install some required dependencies on your server. You can install them using the following command.
dnf update -y
dnf -y install postfix curl
Next, start and enable the Postfix service with the following command.
systemctl start postfix
systemctl enable postfix
Step 2 – Install GitLab CE
The GitLab package is not available in the Fedora default repo by default, so you will need to create a repo for GitLab.
nano /etc/yum.repos.d/gitlab-ce.repo
Add the following lines.
[gitlab_gitlab-ce]
name=gitlab_gitlab-ce
baseurl=https://packages.gitlab.com/gitlab/gitlab-ce/el/8/$basearch
repo_gpgcheck=1
gpgcheck=1
enabled=1
gpgkey=https://packages.gitlab.com/gitlab/gitlab-ce/gpgkey
       https://packages.gitlab.com/gitlab/gitlab-ce/gpgkey/gitlab-gitlab-ce-3D645A26AB9FBD22.pub.gpg
sslverify=1
sslcacert=/etc/pki/tls/certs/ca-bundle.crt
metadata_expire=300

[gitlab_gitlab-ce-source]
name=gitlab_gitlab-ce-source
baseurl=https://packages.gitlab.com/gitlab/gitlab-ce/el/8/SRPMS
repo_gpgcheck=1
gpgcheck=1
enabled=1
gpgkey=https://packages.gitlab.com/gitlab/gitlab-ce/gpgkey
       https://packages.gitlab.com/gitlab/gitlab-ce/gpgkey/gitlab-gitlab-ce-3D645A26AB9FBD22.pub.gpg
sslverify=1
sslcacert=/etc/pki/tls/certs/ca-bundle.crt
metadata_expire=300
Save and close the file, then install the GitLab CE with the following command.
dnf install -y gitlab-ce
Step 3 – Configure GitLab CE
After installing GitLab CE, you will need to define your domain to access the GitLab dashboard. You can do it by editing the GitLab default configuration file.
nano /etc/gitlab/gitlab.rb
Change the following line.
external_url 'http://gitlab.example.com'
Save and close the file, then reconfigure the GitLab CE with the following command.
gitlab-ctl reconfigure
You will see the following output.
Running handlers:
[2023-09-12T11:22:48-04:00] INFO: Running report handlers
Running handlers complete
[2023-09-12T11:22:48-04:00] INFO: Report handlers complete
Infra Phase complete, 571/1587 resources updated in 05 minutes 13 seconds

Notes:
Default admin account has been configured with following details:
Username: root
Password: You didn't opt-in to print initial root password to STDOUT.
Password stored to /etc/gitlab/initial_root_password. This file will be cleaned up in first reconfigure run after 24 hours.

NOTE: Because these credentials might be present in your log files in plain text, it is highly recommended to reset the password following https://docs.gitlab.com/ee/security/reset_user_password.html#reset-your-root-password.

gitlab Reconfigured!
You can check the status of GitLab CE with the following command.
gitlab-ctl status
You will see the following output.
run: gitaly: (pid 9832) 100s; run: log: (pid 8777) 361s
run: gitlab-exporter: (pid 9890) 96s; run: log: (pid 9175) 191s
run: gitlab-kas: (pid 9860) 97s; run: log: (pid 8956) 336s
run: gitlab-workhorse: (pid 9869) 97s; run: log: (pid 9069) 217s
run: logrotate: (pid 8700) 376s; run: log: (pid 8708) 375s
run: nginx: (pid 9098) 213s; run: log: (pid 9110) 210s
run: node-exporter: (pid 9878) 98s; run: log: (pid 9157) 200s
run: postgres-exporter: (pid 9933) 94s; run: log: (pid 9348) 158s
run: postgresql: (pid 8820) 349s; run: log: (pid 8835) 346s
run: prometheus: (pid 9898) 97s; run: log: (pid 9221) 177s
run: puma: (pid 9016) 231s; run: log: (pid 9025) 229s
run: redis: (pid 8737) 371s; run: log: (pid 8746) 370s
run: redis-exporter: (pid 9892) 97s; run: log: (pid 9197) 186s
run: sidekiq: (pid 9034) 225s; run: log: (pid 9042) 224s
Step 4 – Access GitLab CE
Before accessing the GitLab CE, you will need to retrieve the GitLab login password. You can retrieve it with the following command.
cat /etc/gitlab/initial_root_password
You will see your root password in the following output.
# WARNING: This value is valid only in the following conditions
#          1. If provided manually (either via `GITLAB_ROOT_PASSWORD` environment variable or via `gitlab_rails['initial_root_password']` setting in `gitlab.rb`, it was provided before database was seeded for the first time (usually, the first reconfigure run).
#          2. Password hasn't been changed manually, either via UI or via command line.
#
#          If the password shown here doesn't work, you must reset the admin password following https://docs.gitlab.com/ee/security/reset_user_password.html#reset-your-root-password.

Password: RDr2u50wloMV7CqnPpVFPN3WwxTBt03yFtscw/eOlvg=

# NOTE: This file will be automatically deleted in the first reconfigure run after 24 hours.
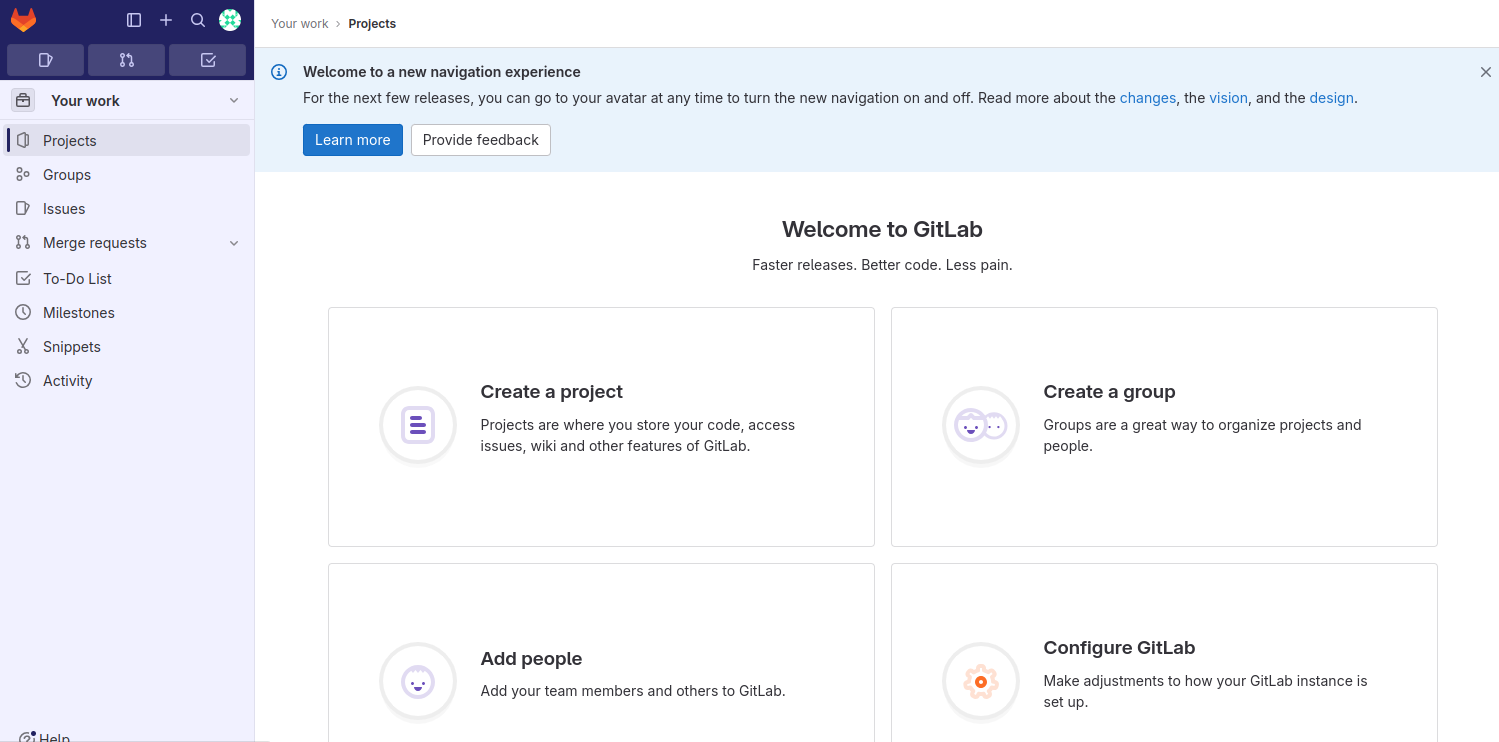
Now, open your web browser and access the GitLab CE using the URL http://gitlab.example.com. You will see the GitLab login screen.
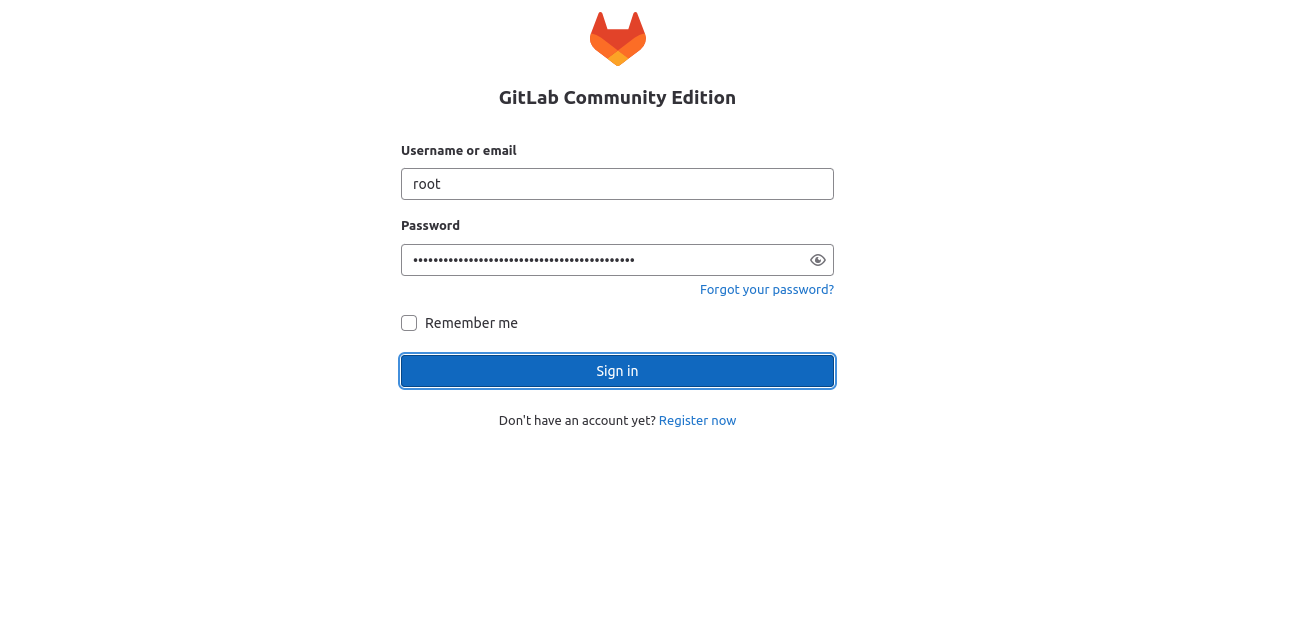
Provide your username and password and click on the Sign in button. You will see the GitLab CE dashboard on the following screen.
Step 6 – Uninstall GitLab CE
To remove GitLab CE from your server, first stop GitLab CE with the following command.
gitlab-ctl stop
Next, remove GitLab CE using the following command.
gitlab-ctl uninstall
Output.
Terminating processes running under application users. This will take a few seconds.
Your config files have been backed up to /root/gitlab-cleanse-2023-09-12T11:28.
Conclusion
This tutorial taught you how to install GitLab CE on Fedora Linux. You can now create your first project via the GitLab CE dashboard to automate the build, test, and deployment process. You can now try to deploy GitLab CE on dedicated server hosting from Atlantic.Net!
* This post is for informational purposes only and does not constitute professional, legal, financial, or technical advice. Each situation is unique and may require guidance from a qualified professional.
Readers should conduct their own due diligence before making any decisions.