GitLab is an open-source DevOps and DevSecOps platform and code repository. It is designed for large DevOps and DevSecOps projects and offers online code storage and capabilities for issue tracking and CI/CD. GitLab helps organizations speed up software development by delivering software faster and more efficiently. One of the significant advantages of GitLab is that it allows developers to collaborate in every project phase, automate the entire DevOps lifecycle, and achieve the best possible results.
This post will show you how to install GitLab with Docker on Arch Linux.
Step 1 – Configure Repository
By default, the default repository is outdated in Arch Linux, so you will need to modify the default mirror list. You can do it by editing the mirror list configuration file:
nano /etc/pacman.d/mirrorlist
Remove all lines and add the following lines:
## Score: 0.7, United States
Server = http://mirror.us.leaseweb.net/archlinux/$repo/os/$arch
## Score: 0.8, United States
Server = http://lug.mtu.edu/archlinux/$repo/os/$arch
Server = http://mirror.nl.leaseweb.net/archlinux/$repo/os/$arch
## Score: 0.9, United Kingdom
Server = http://mirror.bytemark.co.uk/archlinux/$repo/os/$arch
## Score: 1.5, United Kingdom
Server = http://mirrors.manchester.m247.com/arch-linux/$repo/os/$arch
Server = http://archlinux.dcc.fc.up.pt/$repo/os/$arch
## Score: 6.6, United States
Server = http://mirror.cs.pitt.edu/archlinux/$repo/os/$arch
## Score: 6.7, United States
Server = http://mirrors.acm.wpi.edu/archlinux/$repo/os/$arch
## Score: 6.8, United States
Server = http://ftp.osuosl.org/pub/archlinux/$repo/os/$arch
## Score: 7.1, India
Server = http://mirror.cse.iitk.ac.in/archlinux/$repo/os/$arch
## Score: 10.1, United States
Server = http://mirrors.xmission.com/archlinux/$repo/os/$arch
Save and close the file, then update all the package indexes with the following command:
pacman -Syu
Step 2 – Install Docker
In this post, we will use Docker to install GitLab, so you must install both Docker and Docker Compose packages on your server. Run the following command to install both packages.
pacman -S docker docker-compose
Once installed, enable the Docker service to start at system reboot.
systemctl enable docker
Next, restart your system to apply the system.
reboot
Step 3 – Create a Docker-Compose File for GitLab
First, create a directory storing GitLab configurations.
mkdir gitlab
Next, export the directory path using the following command.
export GITLAB_HOME=$(pwd)/gitlab
Next, navigate to the GitLab directory and create a docker-compose.yml file.
cd gitlab
nano docker-compose.yml
Add the following configurations:
version: '3.7'
services:
  web:
    image: 'gitlab/gitlab-ce:latest'
    restart: always
    hostname: 'localhost'
    container_name: gitlab-ce
    environment:
      GITLAB_OMNIBUS_CONFIG: |
        external_url 'http://localhost'
    ports:
      - '8080:80'
      - '8443:443'
    volumes:
      - '$GITLAB_HOME/config:/etc/gitlab'
      - '$GITLAB_HOME/logs:/var/log/gitlab'
      - '$GITLAB_HOME/data:/var/opt/gitlab'
    networks:
      - gitlab
  gitlab-runner:
    image: gitlab/gitlab-runner:alpine
    container_name: gitlab-runner
    restart: always
    depends_on:
      - web
    volumes:
      - /var/run/docker.sock:/var/run/docker.sock
      - '$GITLAB_HOME/gitlab-runner:/etc/gitlab-runner'
    networks:
      - gitlab

networks:
  gitlab:
    name: gitlab-network
Save and close the file when you are done.
Step 4 – Launch GitLab Container
At this point, the docker-compose.yml file is ready to start the GitLab container. Run the following command inside the GitLab directory to launch the GitLab container.
docker-compose up -d
You should see the following output.
[+] Running 13/13
 ✔ gitlab-runner 3 layers [⣿⣿⣿]      0B/0B      Pulled                                                                                                            15.9s
   ✔ 9621f1afde84 Pull complete                                                                                                                                    2.1s
   ✔ d98190f30ae9 Pull complete                                                                                                                                   14.6s
   ✔ d147c4edb07a Pull complete                                                                                                                                   14.8s
 ✔ web 8 layers [⣿⣿⣿⣿⣿⣿⣿⣿]      0B/0B      Pulled                                                                                                                152.1s
   ✔ 5544ebdc0c7b Pull complete                                                                                                                                    4.5s
   ✔ c5213c581bf5 Pull complete                                                                                                                                    8.2s
   ✔ a58d99176887 Pull complete                                                                                                                                    8.5s
   ✔ 7ae8a2c59be5 Pull complete                                                                                                                                    8.8s
   ✔ 2017c98fba37 Pull complete                                                                                                                                    9.0s
   ✔ 2f81550514d7 Pull complete                                                                                                                                    9.2s
   ✔ b7e289348f9c Pull complete                                                                                                                                    9.4s
   ✔ d5fd7dcd275c Pull complete                                                                                                                                  151.3s
[+] Running 3/3
 ✔ Network gitlab-network   Created                                                                                                                                0.1s
 ✔ Container gitlab-ce      Started                                                                                                                                0.8s
 ✔ Container gitlab-runner  Started                                                                                                                                1.3s
You can verify the GitLab container status using the following command.
docker-compose ps
You should see the following output.
NAME                IMAGE                         COMMAND                  SERVICE             CREATED             STATUS                             PORTS
gitlab-ce           gitlab/gitlab-ce:latest       "/assets/wrapper"        web                 31 seconds ago      Up 30 seconds (health: starting)   22/tcp, 0.0.0.0:8080->80/tcp, :::8080->80/tcp, 0.0.0.0:8443->443/tcp, :::8443->443/tcp
gitlab-runner       gitlab/gitlab-runner:alpine   "/usr/bin/dumb-init …"   gitlab-runner       31 seconds ago      Up 29 seconds
You can also verify the GitLab listening ports using the following command.
ss -antpl | grep docker
You will get the following output.
LISTEN 0      4096         0.0.0.0:8080       0.0.0.0:*    users:(("docker-proxy",pid=12635,fd=4))
LISTEN 0      4096         0.0.0.0:8443       0.0.0.0:*    users:(("docker-proxy",pid=12617,fd=4))
LISTEN 0      4096            [::]:8080          [::]:*    users:(("docker-proxy",pid=12641,fd=4))
LISTEN 0      4096            [::]:8443          [::]:*    users:(("docker-proxy",pid=12622,fd=4))
Step 5 – Access GitLab Web UI
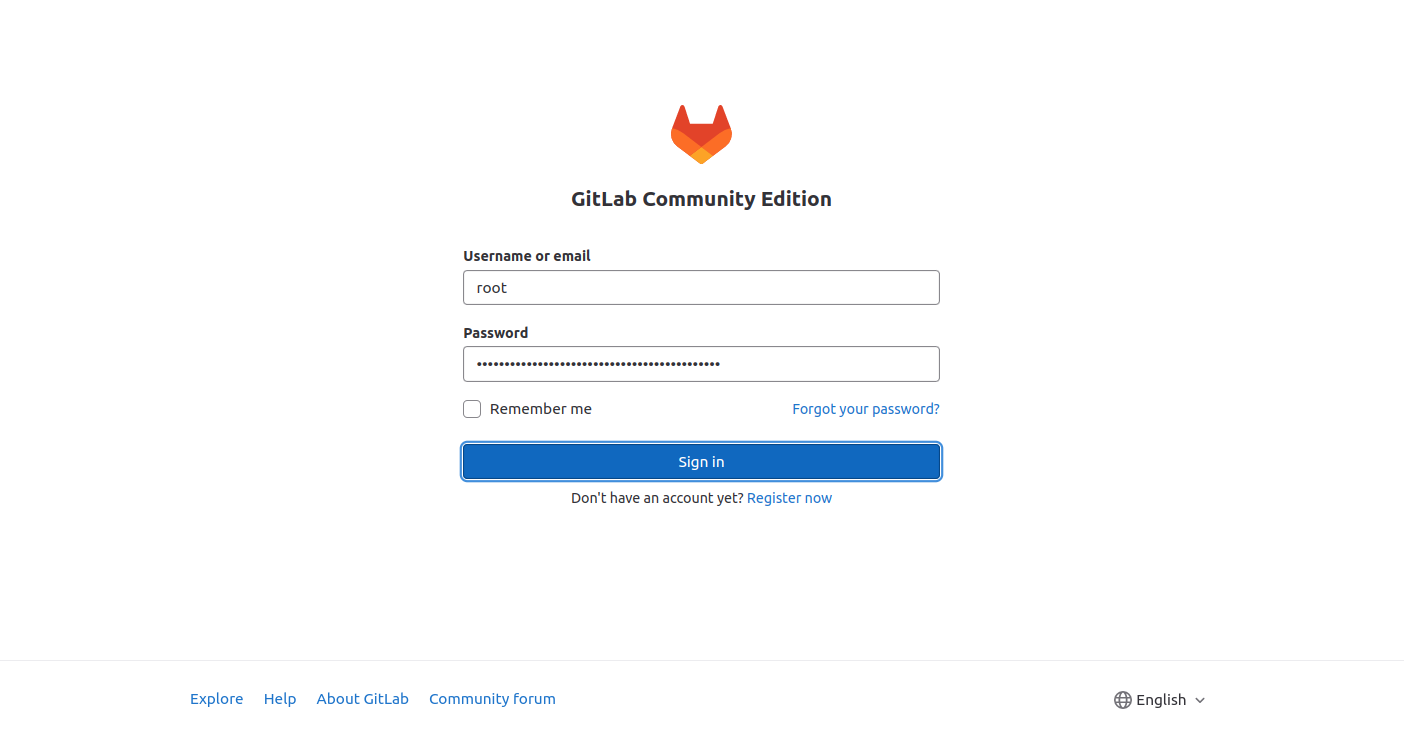
At this point, GitLab is started and listening on port 8080. You can now access it using the URL http://your-server-ip:8080. You should see the GitLab login screen.
Next, go back to your GitLab terminal interface and retrieve the GitLab password with the following command.
docker exec -it gitlab-ce grep 'Password:' /etc/gitlab/initial_root_password
You should see the GitLab password in the following output.
Password: Kx1MoTQ80iKJkA3SXatepaFCOfsi/DkLe3MXEplfERU=
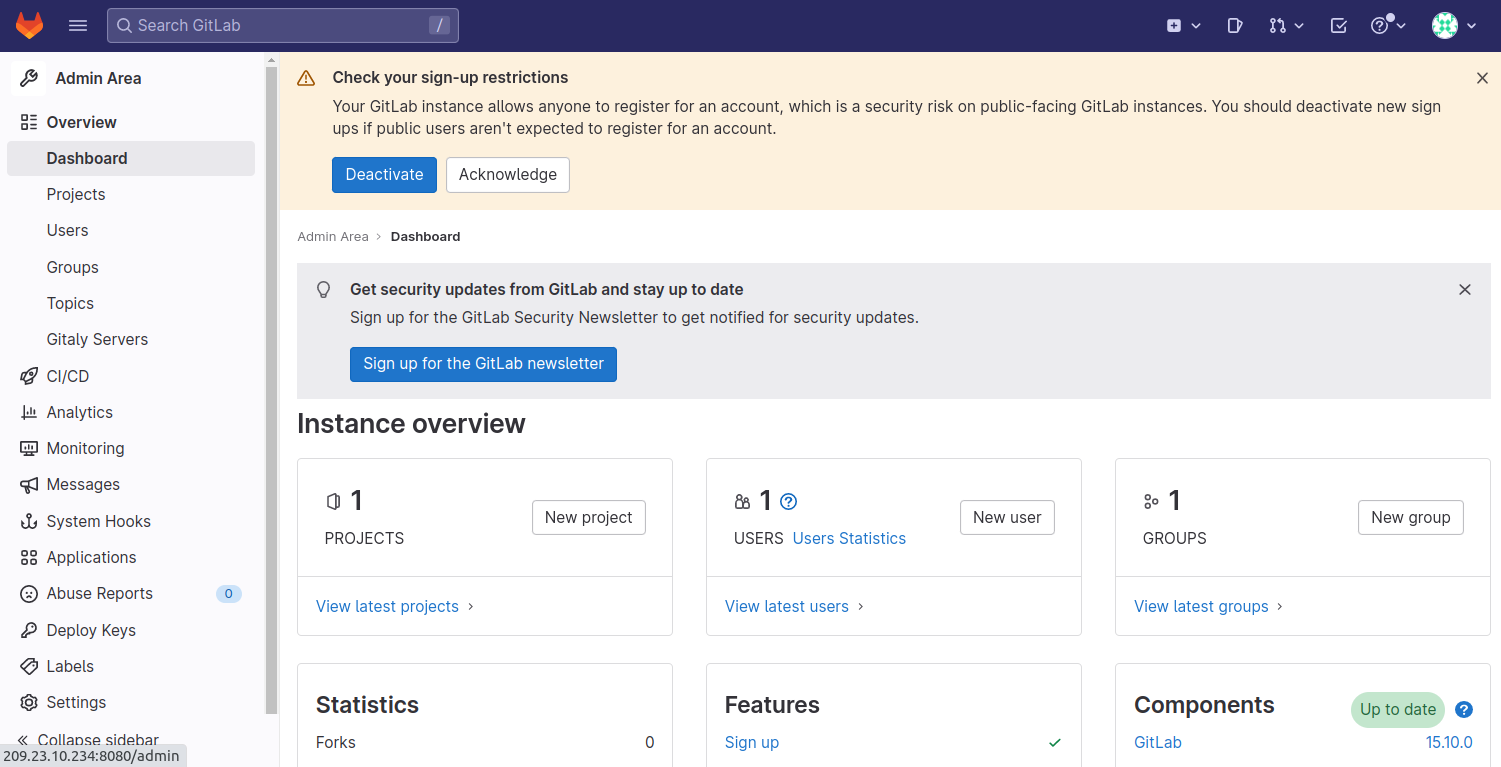
Next, return to the GitLab login screen, type your password, and click the Sign in button. You should see the GitLab dashboard on the following screen.
Conclusion
In this post, we explained how to install GitLab on Arch Linux. You can now implement GitLab in your development environment, making the development process faster. You can also try to deploy GitLab on dedicated server hosting from Atlantic.Net!

