GLPI is an open-source IT asset management (ITAM) and service desk software solution used for managing inventory, tracking assets, and handling user support tickets. GLPI is a versatile and powerful IT inventory management solution suitable for organizations of all sizes. Its open-source nature, extensive feature set, and flexibility make it a popular choice among IT professionals for managing IT assets and providing efficient IT services.
In this tutorial, we will show you how to install GLPI IT Inventory Management on Ubuntu 22.04.
Step 1 – Install the LAMP Server
Before starting, you need to make sure a LAMP server is installed on your server. If not installed, you can install it using the following command.
apt install apache2 mariadb-server php php-common php-mysql libapache2-mod-php php-gd php-curl php-json php-xmlrpc php-intl php-bcmath php-zip php-apcu php-mbstring php-fileinfo php-xml php-soap php-zip
After installing the LAMP server, edit the PHP configuration file and make a few changes.
nano /etc/php/8.1/apache2/php.ini
Change the following settings:
memory_limit = 512M
date.timezone = UTC
upload_max_filesize = 16M
session.cookie_httponly = on
Save and close the file, then restart the Apache service to apply the changes.
systemctl restart apache2
Step 2 – Create a Database for GLPI
GLPI uses a MariaDB database to store data. First, log in to the MariaDB server console.
mysql
Once you are done, create a database and user.
CREATE DATABASE glpidb;
CREATE USER glpi@localhost IDENTIFIED BY 'password';
Then, grant all the privileges to the GLPI database.
GRANT ALL PRIVILEGES ON glpidb.* TO glpi@localhost;
Finally, flush the privileges and exit from the MariaDB shell.
FLUSH PRIVILEGES;
EXIT;
Step 3 – Download GLPI
First, navigate to the Apache web root directory and download the latest version of GLPI from the GitHub repository.
cd /var/www/
wget https://github.com/glpi-project/glpi/releases/download/10.0.9/glpi-10.0.9.tgz
Next, extract the downloaded file using the tar command.
tar -xf glpi-10.0.9.tgz
Then, change the ownership and permission of the glpi directory.
chown -R www-data:www-data /var/www/glpi
chmod u+rw /var/www/glpi/{files,config}
Step 4 – Configure Apache for GLPI
Next, create an Apache virtual host configuration file to host GLPI.
nano /etc/apache2/sites-available/glpi.conf
Add the following configuration:
<VirtualHost *:80>
    ServerName glpi.example.com

    DocumentRoot /var/www/glpi/public

    # If you want to place GLPI in a subfolder of your site (e.g. your virtual host is serving multiple applications),
    # you can use an Alias directive:
    # Alias "/glpi" "/var/www/glpi/public"

    <Directory /var/www/glpi/public>
        Require all granted

        RewriteEngine On

        # Redirect all requests to the GLPI router, unless file exists.
        RewriteCond %{REQUEST_FILENAME} !-f
        RewriteRule ^(.*)$ index.php [QSA,L]
    </Directory>
</VirtualHost>
Save the file, then activate the Apache virtual host.
a2ensite glpi.conf
Then, enable the Apache rewrite module.
a2enmod rewrite
Finally, restart the Apache service to apply the changes.
systemctl restart apache2
Step 5 – Access GLPI Web UI
GLPI is now installed and configured. You can now access the GLPI web interface using the URL http://glpi.example.com. You will see the GLPI setup page:

Select your language and click on OK. You will see the GLPI license page.
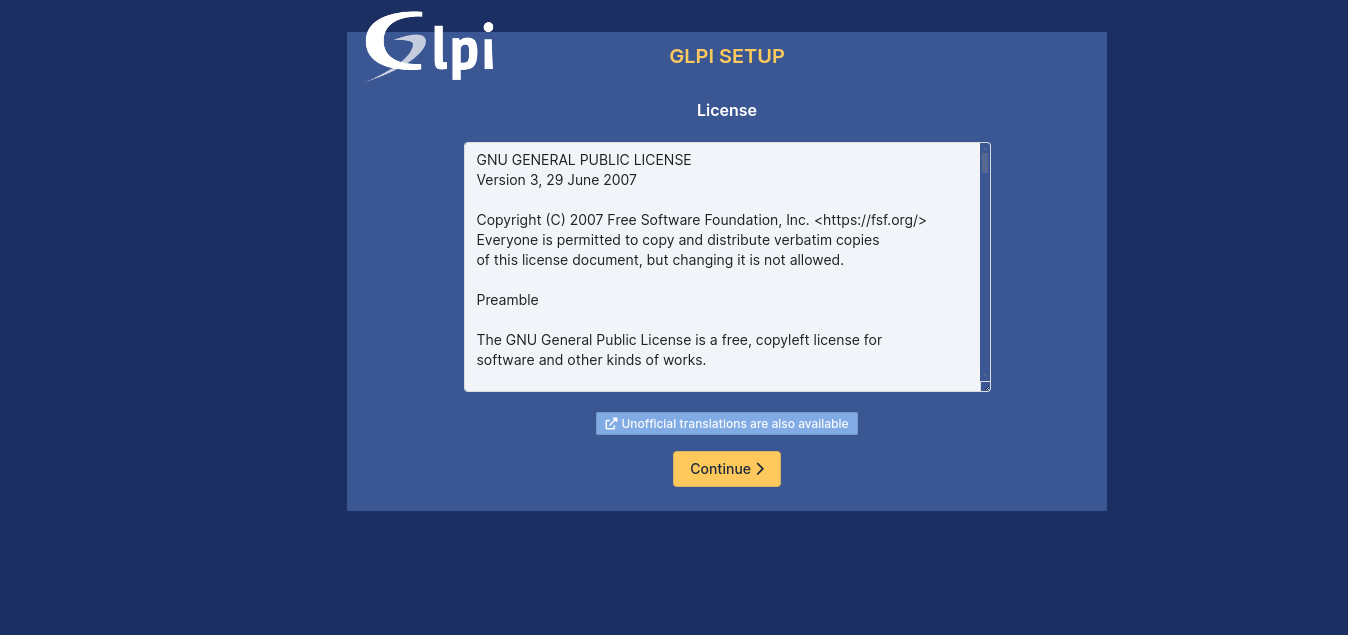
Click on Continue. You will see the installation page.

Click on Install to start the installation. You will see the requirement check page.
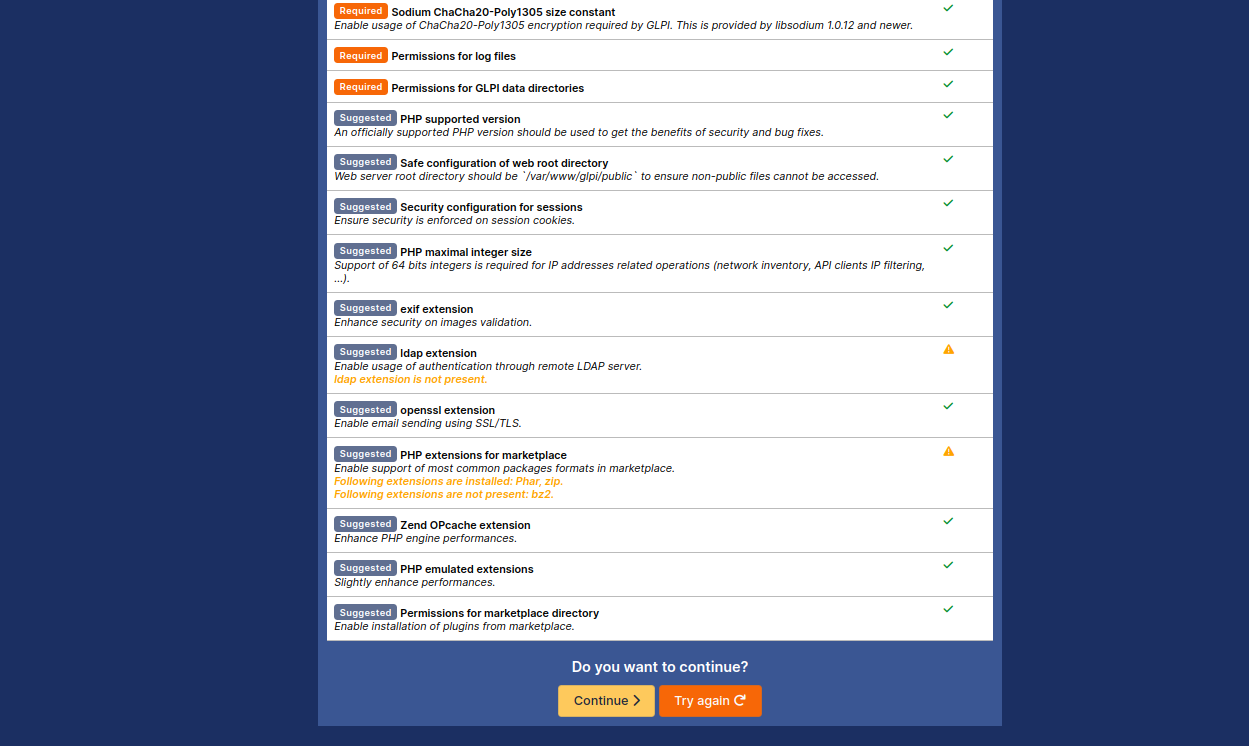
Click on Continue. You will see the database setup page.

Define your database host, user, and password, then click on Continue. You will see the following page.

Select your existing database and click on Continue. You will see the database initialization page.

Click on Continue. You will see the collect data page.
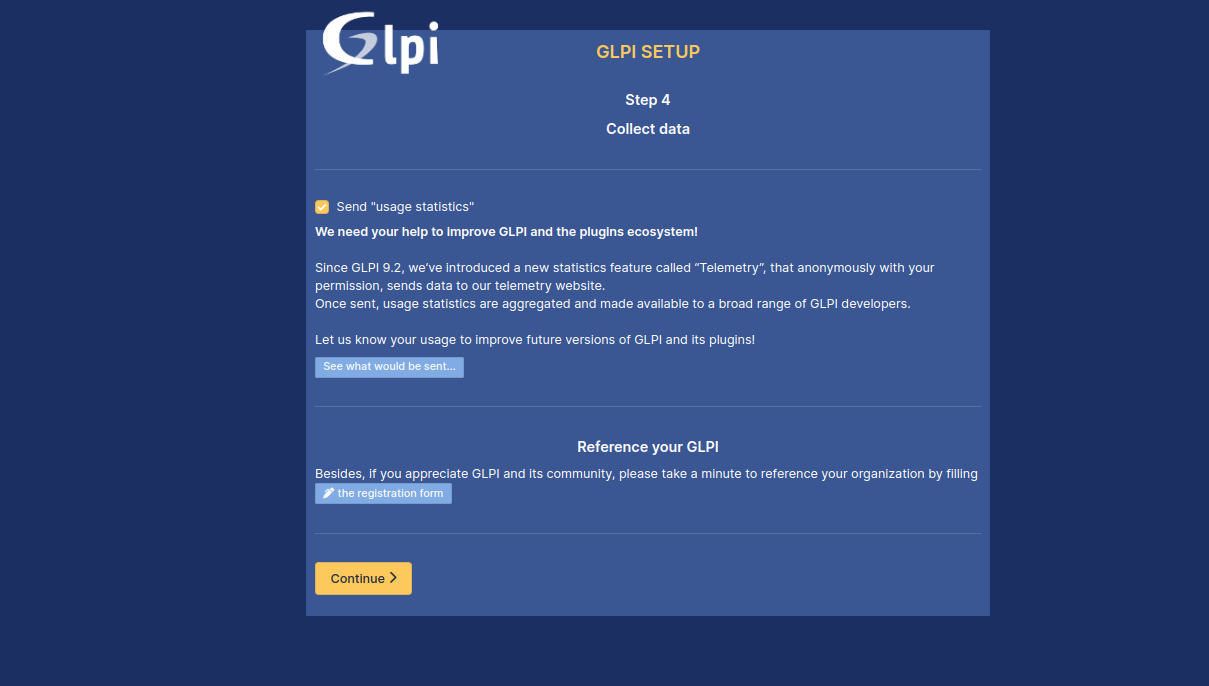
Click on Continue. You will see the following page.
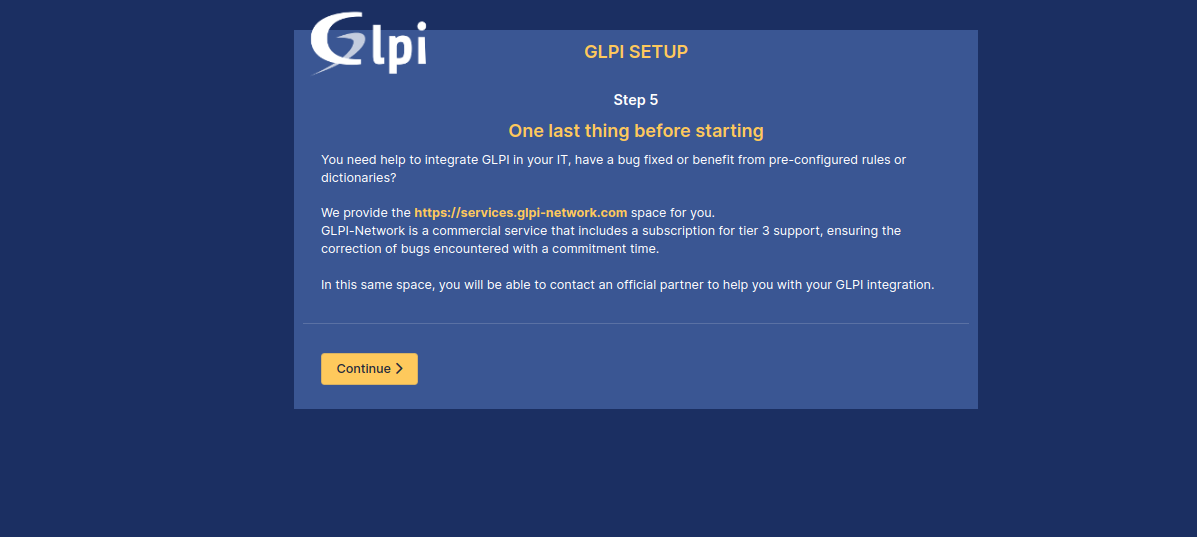
Click on Continue to finish the installation.
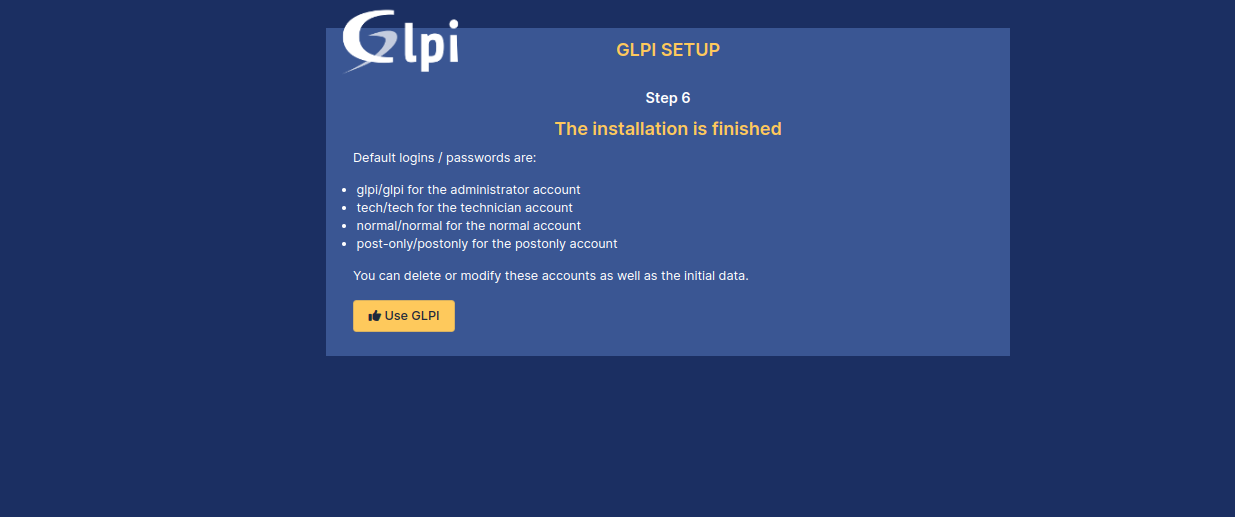
Click on Use GLPI. You will see the GLPI login page.
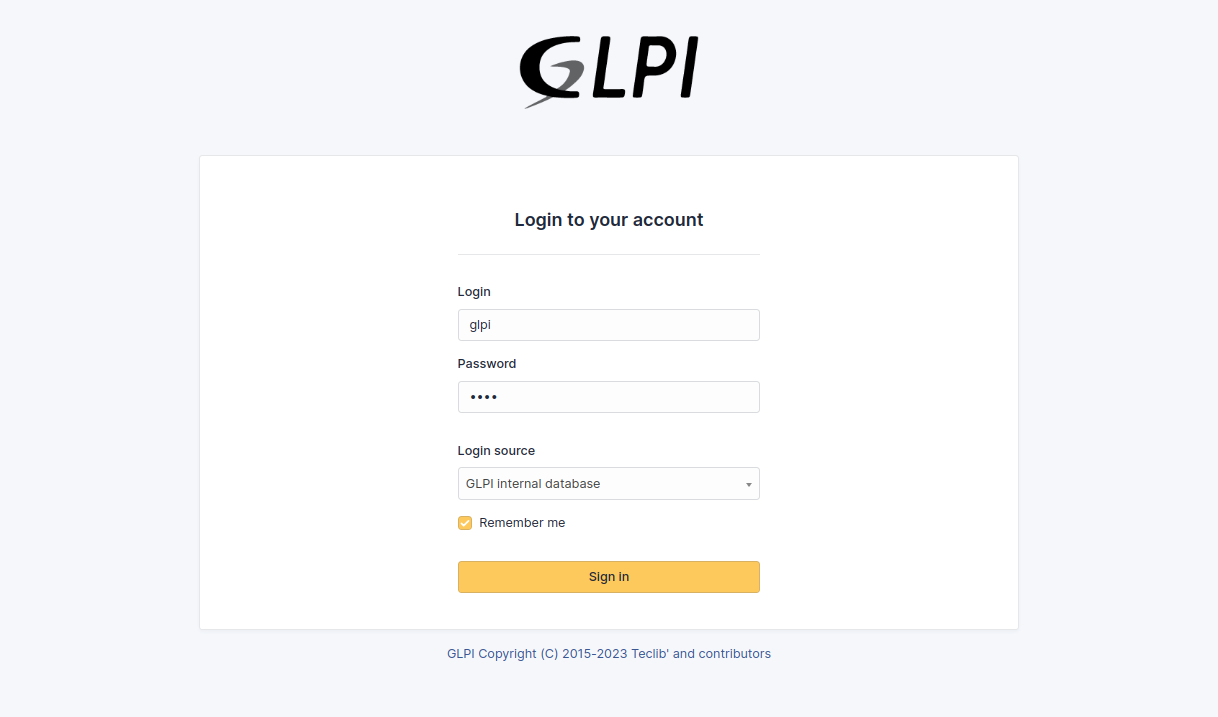
Provide the default username and password as glpi, then click on Sign in. You will see the GLPI dashboard on the following page.

Finally, remove the installation directory using the following command.
rm -rf /var/www/glpi/install/install.php
Conclusion
GLPI provides organizations with a robust solution for efficiently managing their IT assets and streamlining IT service operations. By leveraging the power of open-source software, users gain access to a comprehensive suite of features including inventory management, asset tracking, service desk capabilities, incident and change management, as well as customizable reporting and analytics. You can try to deploy the GLPI on dedicated server hosting from Atlantic.Net!