HumHub is an open-source social network software designed to help businesses build private or public social spaces within their organization. It is customizable and offers additional modules to extend its functionality. It is written on top of the Yii PHP framework and uses MariaDB as a database backend.
In this post, we will show you how to install HumHub social network on Fedora Linux.
Step 1 – Install Apache, MariaDB, and PHP
Before starting, you will need to install the Apache web server, MariaDB, and PHP on your server. You can install all the packages using the following command.
dnf install httpd mariadb-server php php-zip php-mysqlnd php-fpm php-xml php-cli php-soap php-opcache php-iconv php-pear php-bcmath php-gd php-mbstring php-json php-devel php-intl unzip wget -y
Next, start and enable the Apache, MariaDB, and PHP-FPM services with the following command.
systemctl start httpd mariadb php-fpm
systemctl enable httpd mariadb php-fpm
Step 2 – Create a Database for HumHub
HumHub uses MariaDB or MySQL as a database backend, so you will need to create a database for HumHub.
First, log in to the MariaDB shell using the following command.
mysql
Once you are logged in, create a database and user with the following command.
CREATE DATABASE humhub;
CREATE USER 'humhub'@'localhost' IDENTIFIED BY 'secure_password';
Next, grant all privileges to the HumHub database.
GRANT ALL PRIVILEGES ON humhub.* TO 'humhub'@'localhost';
Next, flush the privileges and exit from the MariaDB with the following command.
FLUSH PRIVILEGES;
EXIT;
Step 3 – Install HumHub
First, download the latest version of HumHub with the following command.
wget https://download.humhub.com/downloads/install/humhub-1.14.3.tar.gz
Once the download is completed, extract the downloaded file.
tar -xvzf humhub-1.14.3.tar.gz
Next, move the extracted directory to the Apache web root.
mv humhub-1.14.3 /var/www/html/humhub
Then, change the ownership and permissions of the HumHub directory.
chmod -R 777 /var/www/html/humhub/
chown -R apache:apache /var/www/html/humhub/
Step 4 – Configure Apache for HumHub
Next, create an Apache virtual host configuration file to host HumHub on the web.
nano /etc/httpd/conf.d/humhub.conf
Add the following configurations:
<VirtualHost *:80>

ServerAdmin [email protected]
ServerName humhub.example.com
DocumentRoot /var/www/html/humhub/

<Directory /var/www/html/humhub/>
    Options -Indexes +FollowSymLinks
    AllowOverride All
</Directory>

ErrorLog /var/log/httpd/humhub.example.com-error.log
CustomLog /var/log/httpd/humhub.example.com-access.log combined

</VirtualHost>
Save and close the file, then restart the Apache service to apply the changes.
systemctl restart httpd
Step 5 – Access HumHub Dashboard
Now, open your web browser and access the HumHub web interface using the URL http://humhub.example.com. You will see the HumHub welcome page.
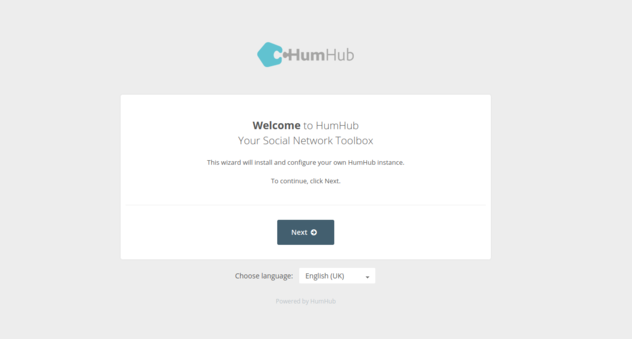
Click on Next. You will see the requirements check page.
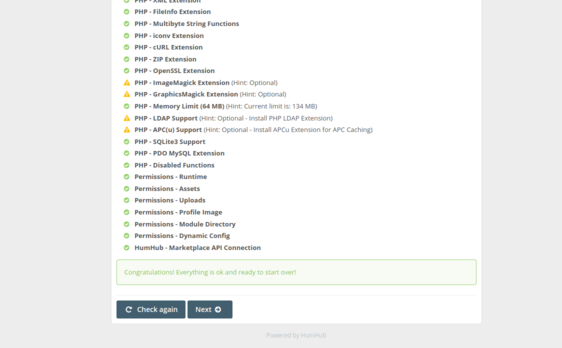
If everything is fine, click on Next. You will see the database configuration page.
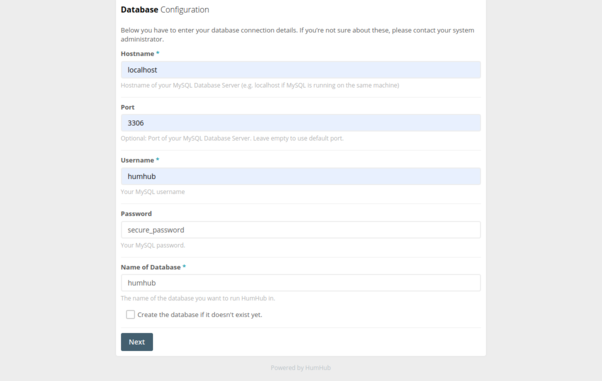
Define your database configuration and click on Next. You will see the Scheduled Jobs page.
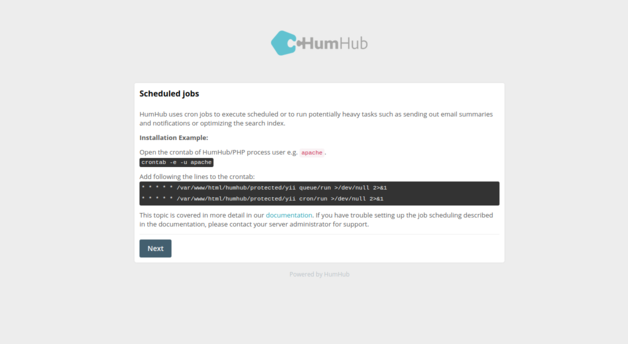
Click on Next. You will see the Pretty URLs page.

Click on Next. You will see the following page.
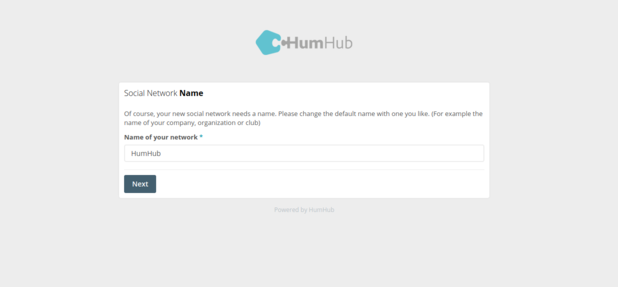
Define your social network name and click on Next. You will see the following page.
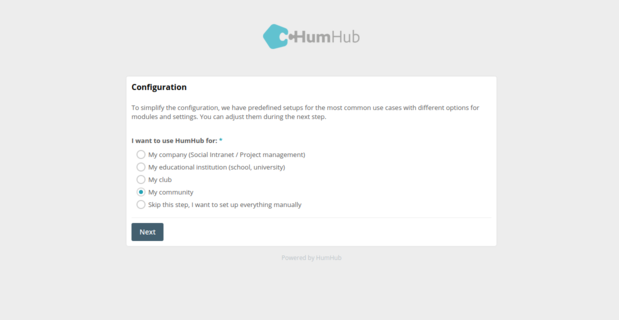
Select your preferred option and click on Next. You will see the security settings page.
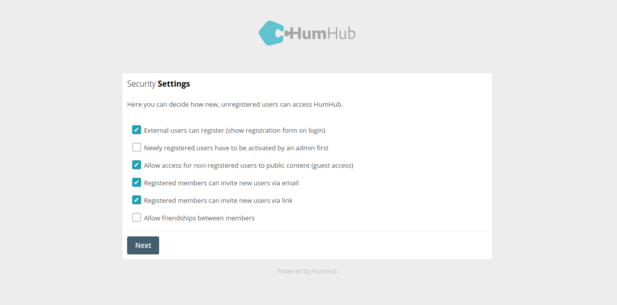
Define your preferred settings and click on Next. You will see the Modules selection page.
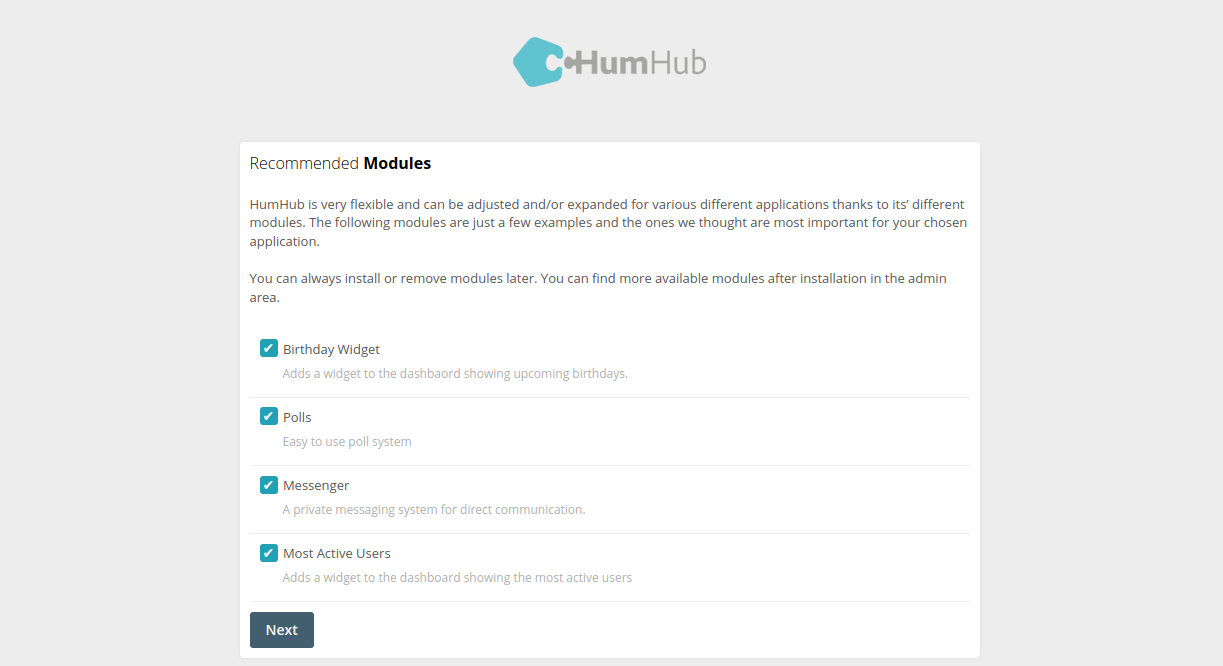
Select your required modules and click on Next. You will see the Account creation page.
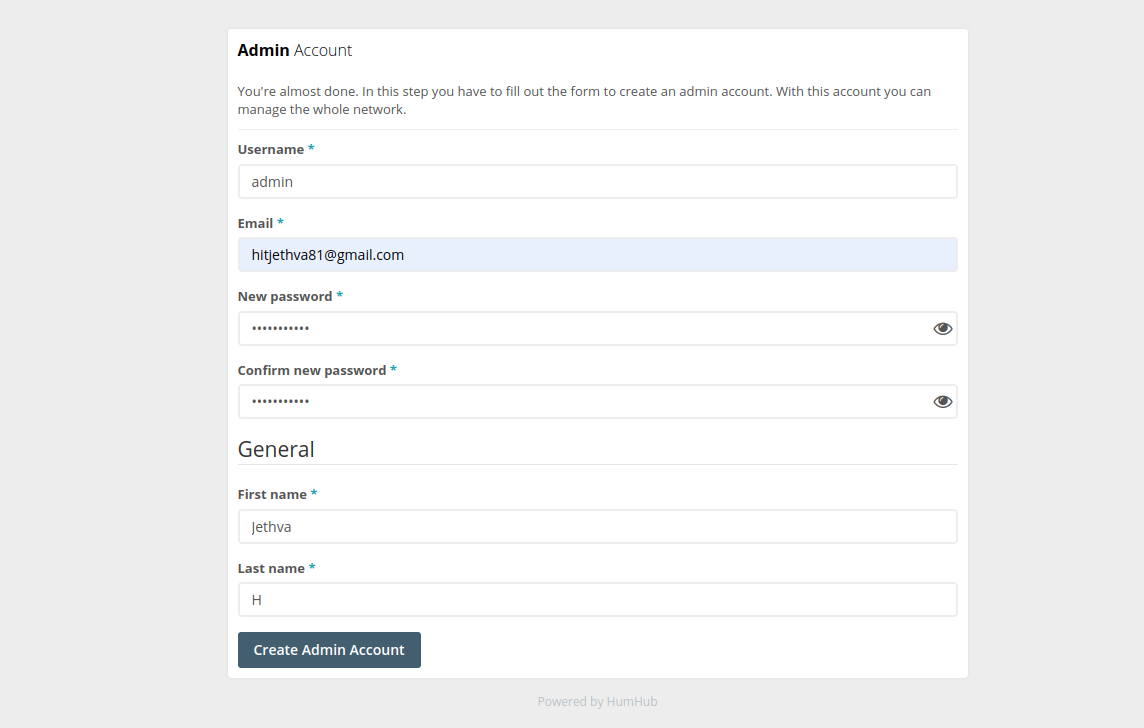
Define your account details and click on Create Admin Account. You will see the following page.
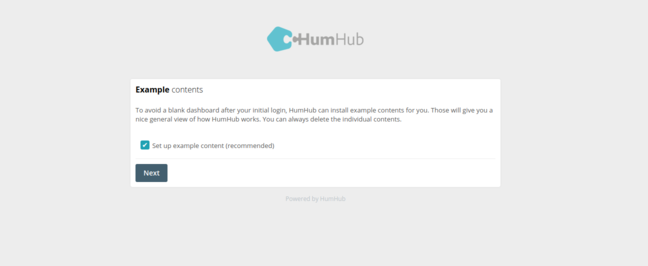
Click on Next. Once the HumHub setup is completed, you will see the following page.
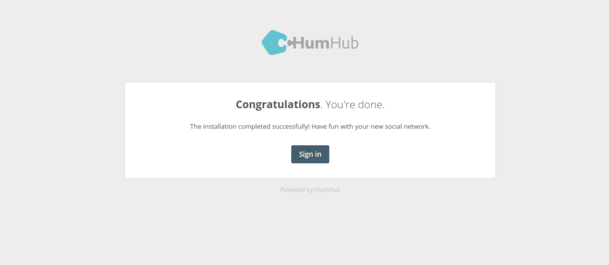
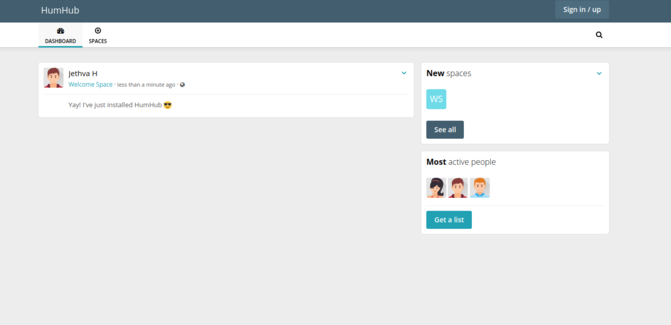
Click on Sign in. You will see the HumHub dashboard on the following screen.
Conclusion
In this post, we showed you how to install HumHub on Fedora Linux. You can now deploy the HumHub social network in your school, college, or organization to build your own community. Try to deploy HumHub social network on dedicated server hosting from Atlantic.Net!
* This post is for informational purposes only and does not constitute professional, legal, financial, or technical advice. Each situation is unique and may require guidance from a qualified professional.
Readers should conduct their own due diligence before making any decisions.