InfluxDB is a free and open-source time series database written in the Go programming language. It is designed to store time series data for operations monitoring, application metrics, IoT sensor data, and real-time analytics. It can store data ranging from hundreds of thousands of points per second. It is gaining popularity due to its fast processing and low latency features.
In this post, we will show you how to install InfluxDB on Fedora Linux.
Step 1 – Create InfluxDB Repo
By default, the InfluxDB package is not included in the Fedora default repo, so you will need to create a repo for that.
nano /etc/yum.repos.d/influxdb.repo
Add the following lines.
[influxdb]
name = InfluxDB Repository - RHEL
baseurl = https://repos.influxdata.com/rhel/8/x86_64/stable/
enabled = 1
gpgcheck = 1
gpgkey = https://repos.influxdata.com/influxdata-archive_compat.key
Save and close the file when you are finished.
Step 2 – Install InfluxDB
You can now install the InfluxDB using the following command.
dnf install influxdb2 influxdb2-cli
After installing InfluxDB, you can verify the InfluxDB version with the following command.
influx version
You will see the following output.
Influx CLI dev (git: none) build_date: 2023-04-28T14:24:14Z
You can also see the detailed information on InfluxDB with the following command.
rpm -qi influxdb2
Output.
Name        : influxdb2
Version     : 2.7.1
Release     : 1
Architecture: x86_64
Install Date: Thu 13 Jul 2023 10:32:32 AM EDT
Group       : default
Size        : 103759839
License     : MIT
Signature   : RSA/SHA512, Fri 28 Apr 2023 01:47:08 PM EDT, Key ID d8ff8e1f7df8b07e
Source RPM  : influxdb2-2.7.1-1.src.rpm
Build Date  : Fri 28 Apr 2023 09:28:30 AM EDT
Build Host  : ip-10-0-35-48.ec2.internal
Relocations : /
Packager    : [email protected]
Vendor      : InfluxData
URL         : https://influxdata.com
Summary     : Distributed time-series database.
Description :
Distributed time-series database.
Step 3 – Start InfluxDB Service
After installing InfluxDB, start the InfluxDB service and enable it to start at system reboot.
systemctl start influxdb
systemctl enable influxdb
You can now check the status of InfluxDB with the following command.
systemctl status influxdb
You will see the following output.
● influxdb.service - InfluxDB is an open-source, distributed, time series database
     Loaded: loaded (/usr/lib/systemd/system/influxdb.service; enabled; vendor preset: disabled)
     Active: active (running) since Thu 2023-07-13 10:33:15 EDT; 4s ago
       Docs: https://docs.influxdata.com/influxdb/
    Process: 15431 ExecStart=/usr/lib/influxdb/scripts/influxd-systemd-start.sh (code=exited, status=0/SUCCESS)
   Main PID: 15432 (influxd)
      Tasks: 8 (limit: 4666)
     Memory: 46.1M
        CPU: 599ms
     CGroup: /system.slice/influxdb.service
             └─15432 /usr/bin/influxd
Step 4 – Access InfluxDB
At this point, InfluxDB is started and listens on port 8086. You can check it with the following command.
ss -tunelp| grep 8086
You will see the following output.
tcp LISTEN 0 4096 *:8086 *:* users:(("influxd",pid=15432,fd=9)) uid:992 ino:129931 sk:100b cgroup:/system.slice/influxdb.service v6only:0 <->
Now, open your web browser and access the InfluxDB web interface using the URL http://your-server-ip:8086. You will see InfluxDB user welcome screen.
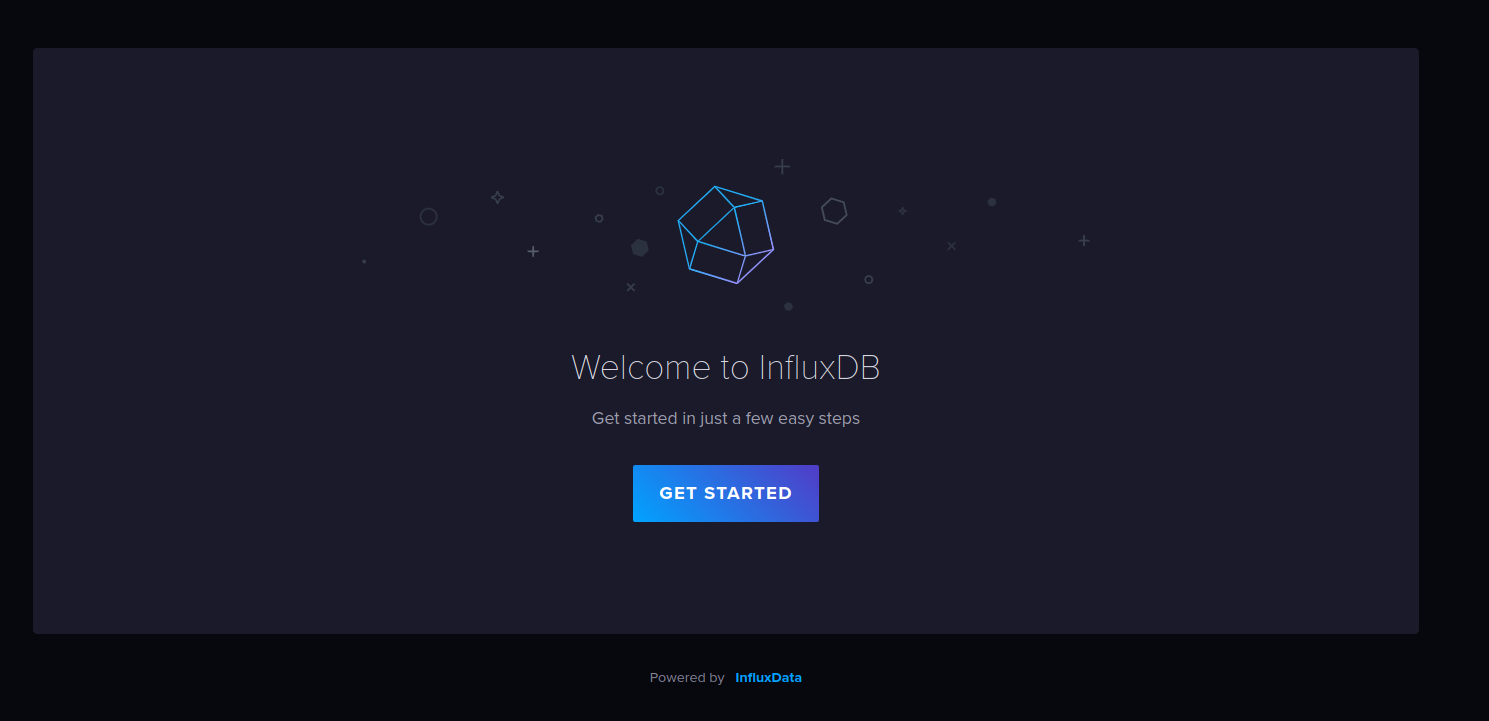
Click on the GET STARTED button. You will see the InfluxDB setup screen.
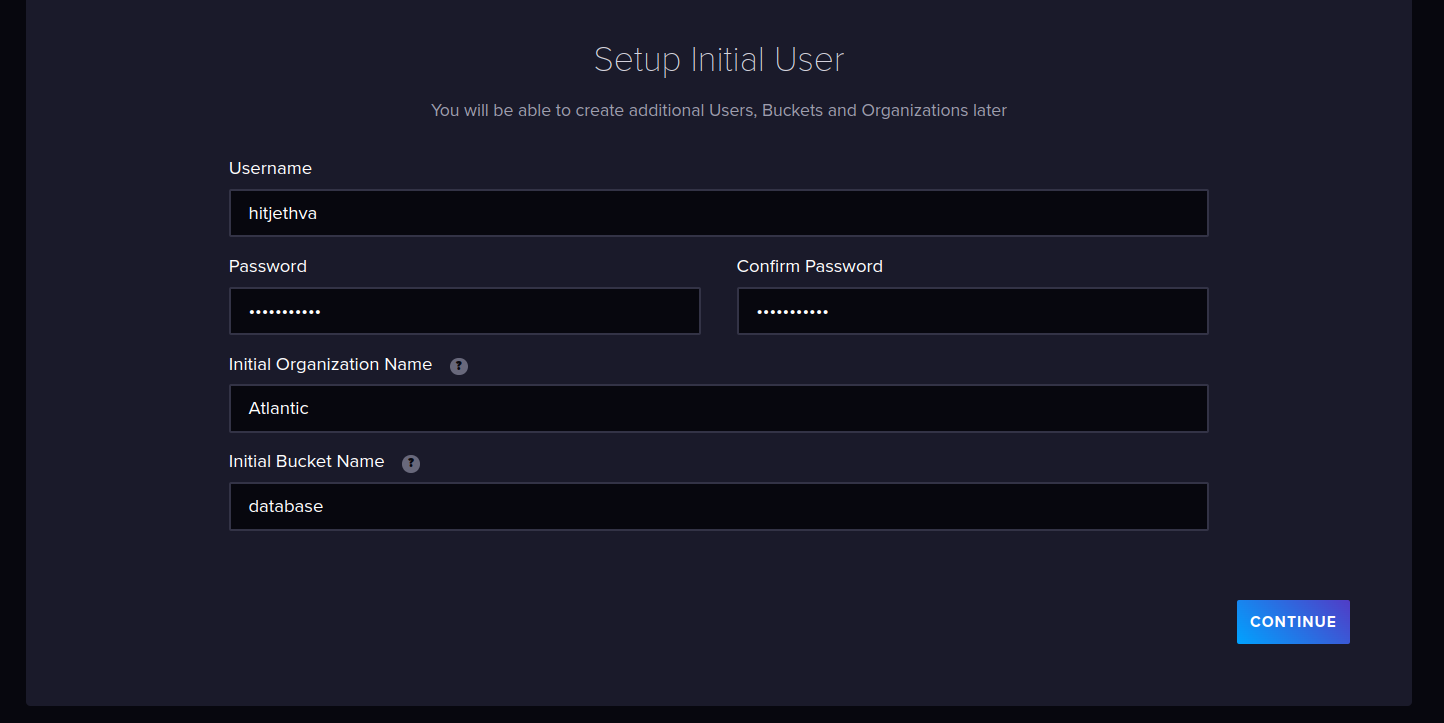
Define your username and password and click on CONTINUE. You should see the following screen.
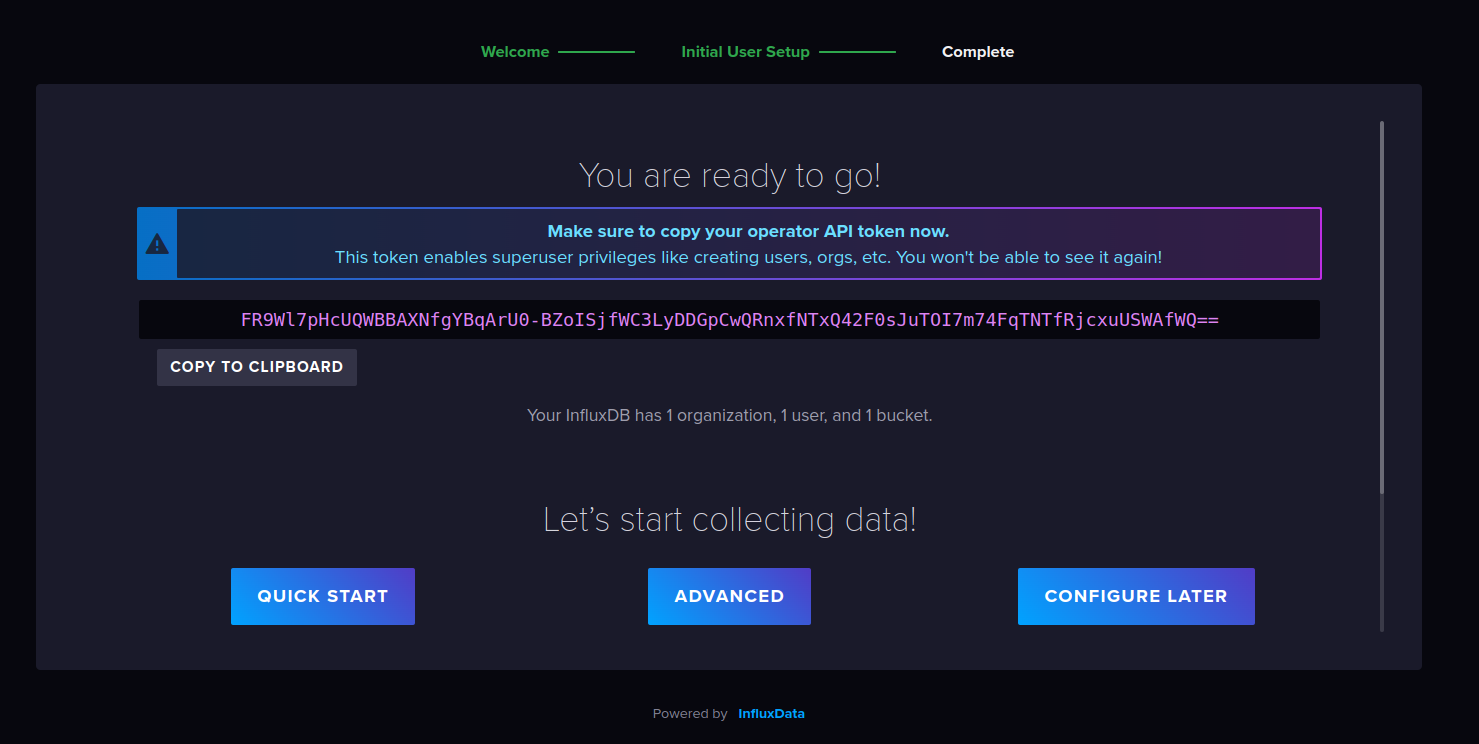
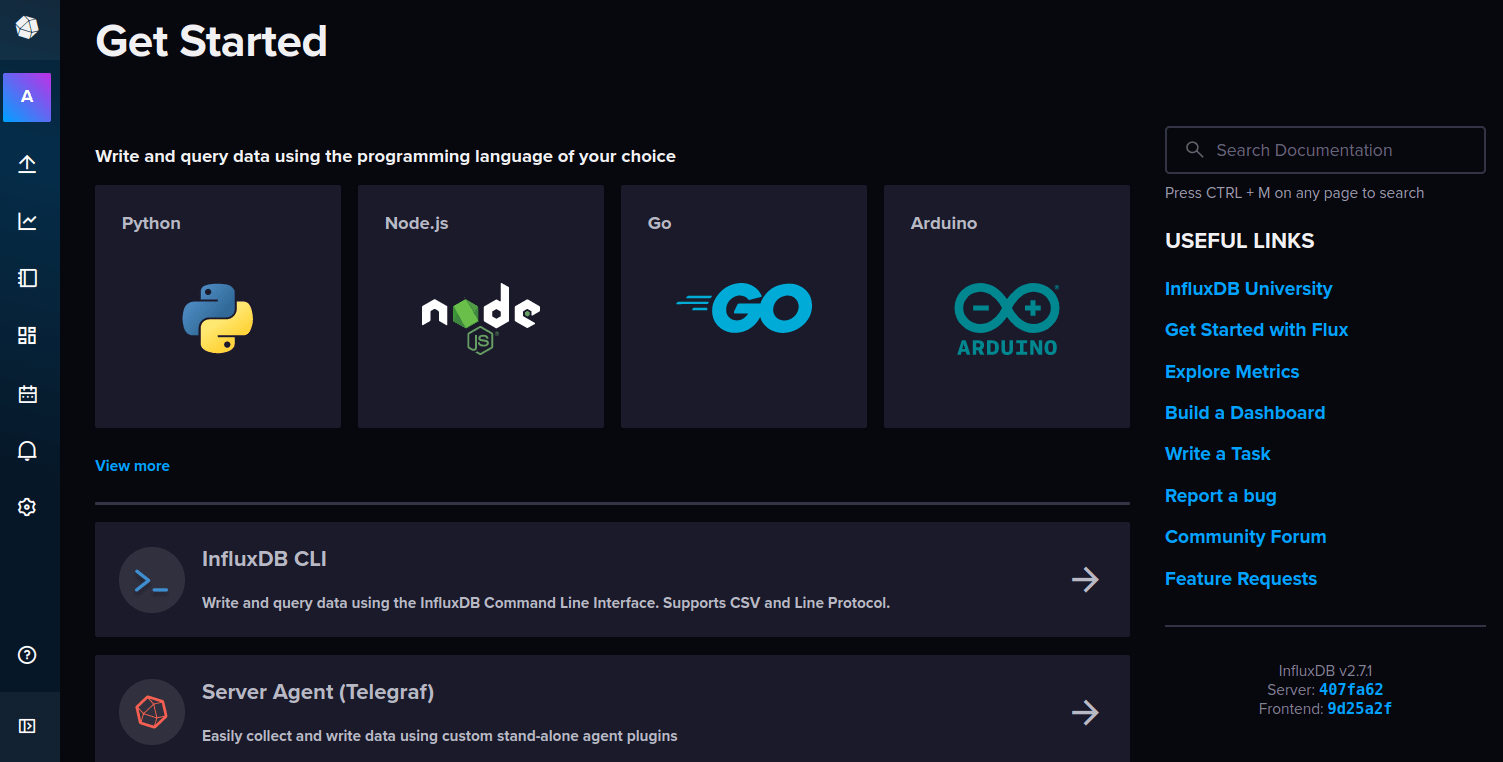
Click on the QUICK START button. You should see the InfluxDB dashboard on the following screen.
Conclusion
In this tutorial, we showed you how to install InfluxDB on Fedora Linux. You can now manage all your databases from the central location via a web browser. You can now deploy InfluxDB on dedicated server hosting from Atlantic.Net!
* This post is for informational purposes only and does not constitute professional, legal, financial, or technical advice. Each situation is unique and may require guidance from a qualified professional.
Readers should conduct their own due diligence before making any decisions.