JasperReports is an open-source reporting library and business intelligence (BI) tool written in Java. It is widely used for creating dynamic, pixel-perfect reports that can be embedded into Java applications. JasperReports is part of the larger JasperSoft Business Intelligence Suite, which includes other tools for data analysis, visualization, and reporting.
If you’re working on a project requiring robust reporting capabilities, installing JasperReports on your Ubuntu 22.04 server or local machine is crucial. This tutorial will guide you through the installation process, ensuring a smooth setup for your reporting needs.
Step 1 – Install Java JDK
JasperReports requires Java to run. Install the OpenJDK package using the following command:
apt install default-jdk unzip wget -y
After the installation, verify the Java installation using the following command.
java --version
Output.
openjdk 11.0.21 2023-10-17
OpenJDK Runtime Environment (build 11.0.21+9-post-Ubuntu-0ubuntu122.04)
OpenJDK 64-Bit Server VM (build 11.0.21+9-post-Ubuntu-0ubuntu122.04, mixed mode, sharing)
Step 2 – Install and Configure MariaDB Server
Next, you will need to install the MariaDB database server on your system. You can install it using the following command.
apt install mariadb-server -y
Once MariaDB is installed, connect to the MariaDB shell using the following command.
mysql
Next, create a user for Jasper report:
grant all on *.* to jasper@localhost identified by 'securepassword';
Next, flush the privileges and exit from the MariaDB shell with the following command:
flush privileges;
exit;
Step 3 – Install Tomcat Server
You will also need to install and set up a Tomcat server on your system. First, add a user and group for Tomcat:
groupadd tomcat
useradd -s /bin/bash -g tomcat -d /opt/tomcat tomcat
Next, create a directory for Tomcat:
mkdir /opt/tomcat
Next, download the latest version of Tomcat from its official website:
wget https://dlcdn.apache.org/tomcat/tomcat-9/v9.0.83/bin/apache-tomcat-9.0.83.tar.gz
Next, extract the downloaded file inside the /opt/tomcat directory.
tar -xzvf apache-tomcat-9.0.83.tar.gz -C /opt/tomcat --strip-components=1
Next, set proper ownership and permissions on the Tomcat directory.
chown -R tomcat: /opt/tomcat
sh -c 'chmod +x /opt/tomcat/bin/*.sh'
Step 4 – Create a Tomcat Service File
Next, create a system service file for Tomcat:
nano /etc/systemd/system/tomcat.service
Add the following lines:
[Unit]
Description=Apache Tomcat
After=network.target

[Service]
Type=forking

User=tomcat
Group=tomcat

Environment=JAVA_HOME=/usr/lib/jvm/java-1.11.0-openjdk-amd64
Environment=CATALINA_PID=/opt/tomcat/tomcat.pid
Environment=CATALINA_HOME=/opt/tomcat
Environment=CATALINA_BASE=/opt/tomcat
Environment="CATALINA_OPTS=-Xms1024M -Xmx1024M -server -XX:+UseParallelGC"

ExecStart=/opt/tomcat/bin/startup.sh
ExecStop=/opt/tomcat/bin/shutdown.sh

ExecReload=/bin/kill $MAINPID
RemainAfterExit=yes

[Install]
WantedBy=multi-user.target
Save and close the file, then reload the systemd daemon using the following command.
systemctl daemon-reload
Step 5 – Install and Configure JasperReports
First, log in with a Tomcat user and download the JasperReports using the following command.
su - tomcat
wget https://sourceforge.net/projects/jasperserver/files/JasperServer/JasperReports%20Server%20Community%20Edition%208.2.0/TIB_js-jrs-cp_8.2.0_bin.zip/download -O jasperreports_8.2.0.zip
Next, unzip the downloaded file with the following command.
unzip jasperreports_8.2.0.zip
Next, copy the MySQL property file with the following command:
cp -a jasperreports-server-cp-8.2.0-bin/buildomatic/sample_conf/mysql_master.properties jasperreports-server-cp-8.2.0-bin/buildomatic/default_master.properties
Next, edit the MySQL property file using the following command:
nano jasperreports-server-cp-8.2.0-bin/buildomatic/default_master.properties
Change the following lines:
CATALINA_HOME = /opt/tomcat
CATALINA_BASE = /opt/tomcat

dbHost=localhost
dbUsername=jasper
dbPassword=securepassword

encrypt = true
Save and close the file, then install JasperReports:
cd jasperreports-server-cp-8.2.0-bin/buildomatic/
./js-install-ce.sh
Output.
scalableAdhoc-refinement:

deploy-webapp-ce:

install-normal-ce:
     [echo] Installation successfully completed!

BUILD SUCCESSFUL
Total time: 3 minutes 59 seconds
Checking Ant return code: OK
Next, edit the Tomcat policy configuration file:
nano /opt/tomcat/conf/catalina.policy
Add the following lines at the end of the file:
grant codeBase "file:/groovy/script" {
permission java.io.FilePermission "${catalina.home}${file.separator}webapps${file.separator}
jasperserver-pro${file.separator}WEB-INF${file.separator}classes${file.separator}-", "read";
permission java.io.FilePermission "${catalina.home}${file.separator}webapps${file.separator}
jasperserver-pro${file.separator}WEB-INF${file.separator}lib${file.separator}*", "read";
permission java.util.PropertyPermission "groovy.use.classvalue", "read";
};
Next, edit the applicationContext file.
nano /opt/tomcat/webapps/jasperserver/WEB-INF/applicationContext.xml
Find the following line:
        class="com.jaspersoft.jasperserver.api.engine.jasperreports.util.PermissionsListProtectionDomainProvider">
        <property name="permissions">
            <list>
Add the following lines after the above lines:
    <bean class="java.io.FilePermission">
        <constructor-arg value="${catalina.home}${file.separator}webapps
        ${file.separator}jasperserver-pro${file.separator}
        WEB-INF${file.separator}classes${file.separator}-"/>
        <constructor-arg value="read"/>
    </bean>
    <bean class="java.io.FilePermission">
        <constructor-arg value="${catalina.home}${file.separator}webapps
        ${file.separator}jasperserver-pro${file.separator}WEB-INF
        ${file.separator}lib${file.separator}*"/>
        <constructor-arg value="read"/>
    </bean>
Save and close the file, then exit from the Jasper user:
exit
Finally, start the Tomcat service with the following command.
systemctl start tomcat
You can also check the Tomcat status using the following command.
systemctl status tomcat
Output.
● tomcat.service - Apache Tomcat
     Loaded: loaded (/etc/systemd/system/tomcat.service; disabled; vendor preset: enabled)
     Active: active (running) since Wed 2023-12-06 13:54:12 UTC; 8s ago
   Main PID: 44609 (java)
      Tasks: 16 (limit: 4579)
     Memory: 410.4M
        CPU: 9.351s
     CGroup: /system.slice/tomcat.service
             └─44609 /usr/lib/jvm/java-1.11.0-openjdk-amd64/bin/java -Djava.util.logging.config.file=/opt/tomcat/conf/logging.properties -Djava.util.logging.manager=or>

Dec 06 13:54:12 ubuntu systemd[1]: Starting Apache Tomcat...
Dec 06 13:54:12 ubuntu startup.sh[44602]: Tomcat started.
Dec 06 13:54:12 ubuntu systemd[1]: Started Apache Tomcat.
Step 6 – Access JasperReports
Now, open your web browser and access the JasperReport web UI using the URL http://your-server-ip:8080/jasperserver/. You will see the JasperReports login page:
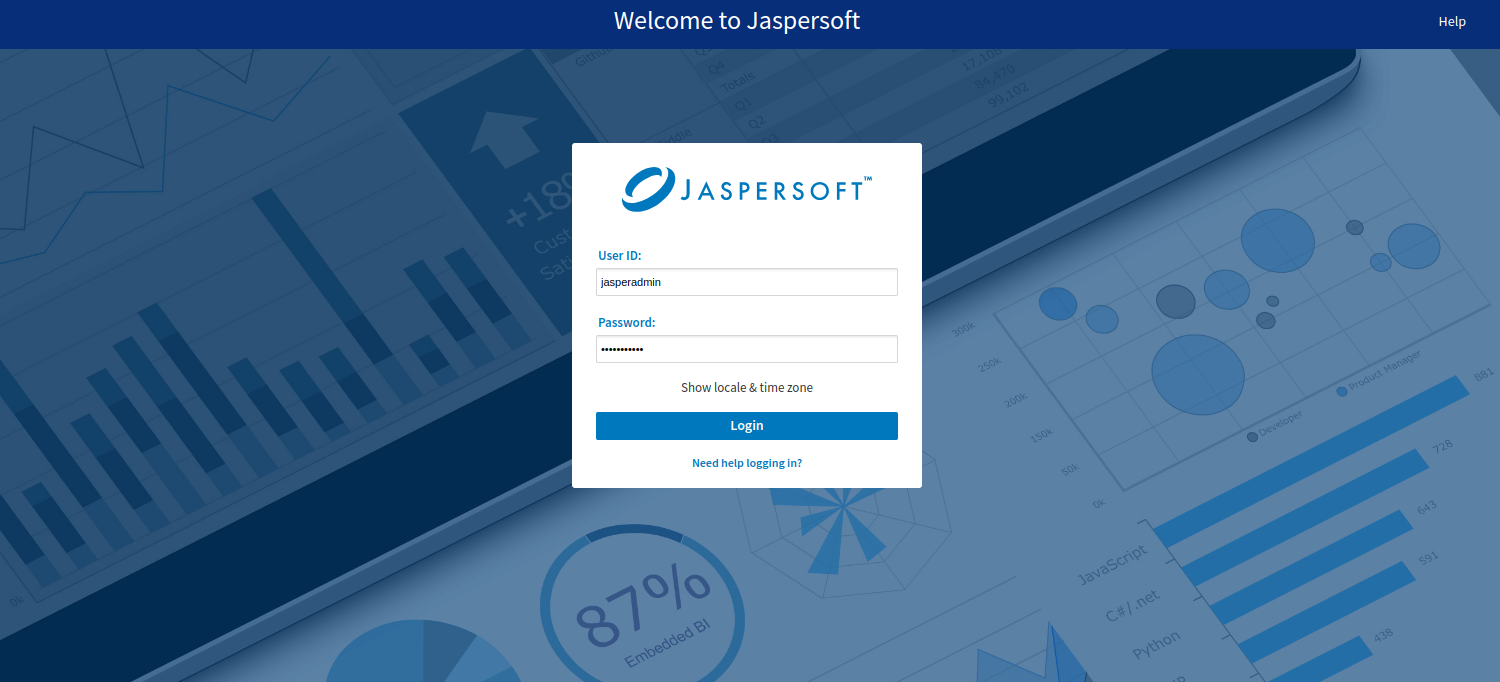
Provide the following username and password.
username: jasperadmin
password: jasperadmin
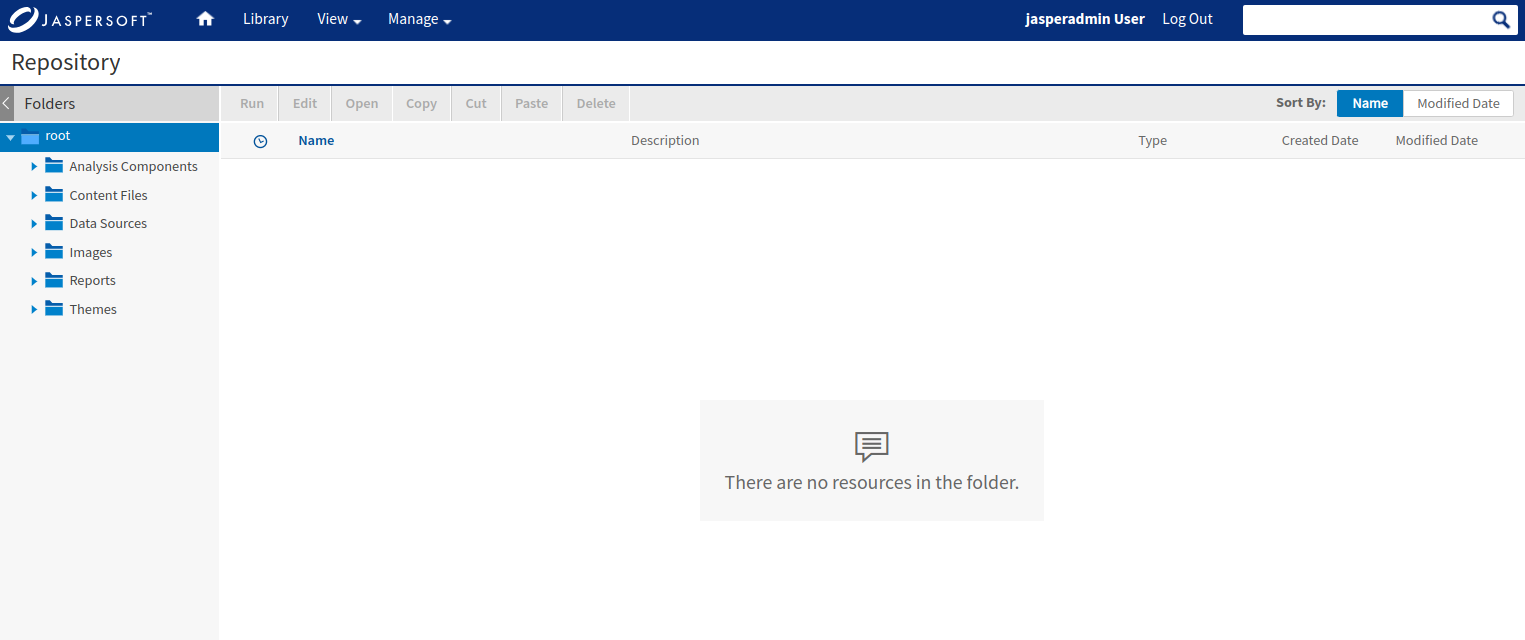
Then, click on the Login button. You will see the JasperReports dashboard on the following screen.
Conclusion
Congratulations! You have successfully installed JasperReports on Ubuntu 22.04. You can now leverage the power of JasperReports to design, generate, and distribute feature-rich reports for your projects. The web-based interface provides a user-friendly environment for report management, making it accessible to both technical and non-technical users. Try to deploy JasperReport on dedicated server hosting from Atlantic.Net!
* This post is for informational purposes only and does not constitute professional, legal, financial, or technical advice. Each situation is unique and may require guidance from a qualified professional.
Readers should conduct their own due diligence before making any decisions.