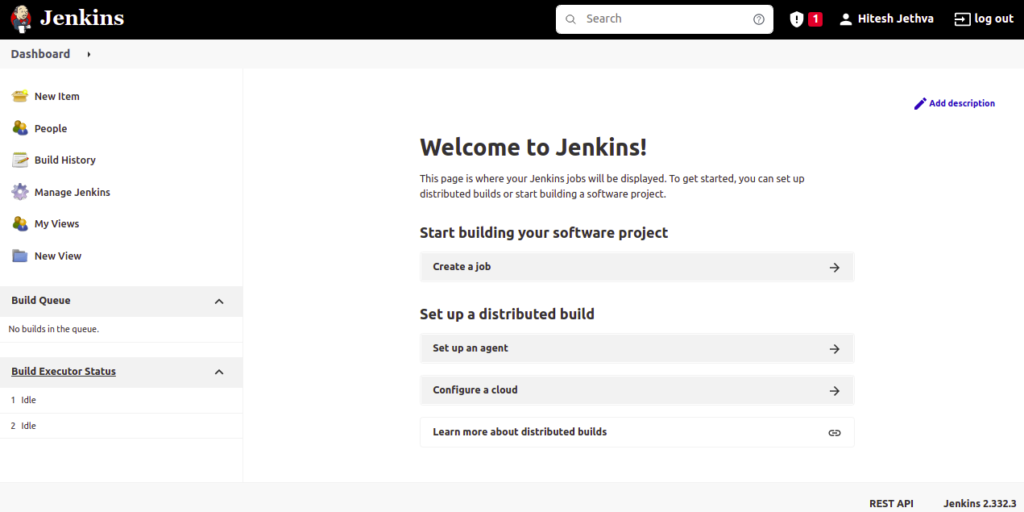
Jenkins is a powerful, free automation tool used in the software development life cycle. It is a Java-based tool that allows you to build, test and deploy code automatically. Jenkins offers many plugins built for Continuous Integration purposes. It allows developers to integrate changes to the project and send a fresh build to users. Jenkins is cross-platform so it can be installed on all major operating systems. It has more than 147,000 active installations and over 1 million users around the world.
In this post, we will show you how to install Jenkins on Oracle Linux 10.
Step 1 – Install Java
Jenkins is a Java-based tool, so Java must be installed on your server. If not installed you can install it using the following command:
dnf install java-21-openjdk -y
Once the Java is installed, verify the Java version using the following command:
java --version
Sample output:
openjdk 21.0.9 2025-10-21 LTS
OpenJDK Runtime Environment (Red_Hat-21.0.9.0.10-1.0.1) (build 21.0.9+10-LTS)
OpenJDK 64-Bit Server VM (Red_Hat-21.0.9.0.10-1.0.1) (build 21.0.9+10-LTS, mixed mode, sharing)
Step 2 – Add Jenkins Repository
By default, Jenkins is not included in the OracleLinux 8 default repository so you will need to create a Jenkins repo on your system. You can create it using the following command:
wget -O /etc/yum.repos.d/jenkins.repo https://pkg.jenkins.io/redhat-stable/jenkins.repo
Next, download and import the Jenkins GPG key with the following command:
rpm --import https://pkg.jenkins.io/redhat-stable/jenkins.io-2023.key
Next, verify the Jenkins repo using the following command:
dnf repolist
Sample output:
repo id repo name
jenkins Jenkins-stable
ol10_UEKR8 Oracle Linux 10 UEK Release 8 (x86_64)
ol10_appstream Oracle Linux 10 Application Stream Packages (x86_64)
ol10_baseos_latest Oracle Linux 10 BaseOS Latest (x86_64)
Step 3 – Install Jenkins
Now you can install Jenkins using the following command:
dnf install jenkins --nobest
Once Jenkins is installed, start Jenkins and enable it to start at system reboot:
systemctl start jenkins
systemctl enable jenkins
You can now check the status of Jenkins using the following command:
systemctl status jenkins
Sample output:
● jenkins.service - Jenkins Continuous Integration Server
Loaded: loaded (/usr/lib/systemd/system/jenkins.service; disabled; preset: disabled)
Active: active (running) since Fri 2025-12-05 06:25:22 EST; 4s ago
Invocation: d960e39e32d948bca823331f4c5b05b0
Main PID: 63537 (java)
Tasks: 45 (limit: 24812)
Memory: 571.3M (peak: 585.4M)
CPU: 13.725s
CGroup: /system.slice/jenkins.service
└─63537 /usr/bin/java -Djava.awt.headless=true -jar /usr/share/java/jenkins.war --webroot=/var/cache/jenkins/war --httpPort=808.
By default, Jenkins listens on port 8080. You can verify it with the following command:
ss -antpl | grep 8080
Sample output:
LISTEN 0 50 *:8080 *:* users:(("java",pid=13177,fd=117))
Step 4 – Configure Nginx as a Reverse Proxy for Jenkins
It is a good idea to install and configure Nginx as a reverse proxy for Jenkins. First, install the Nginx web server with the following command:
dnf install nginx -y
After installing Nginx, create an Nginx configuration file for Jenkins:
nano /etc/nginx/conf.d/jenkins.conf
Add the following lines:
upstream jenkins {
  server 127.0.0.1:8080 fail_timeout=0;
}

server {
  listen 80;
  server_name jenkins.example.com;

  location / {
    proxy_set_header        Host $host:$server_port;
    proxy_set_header        X-Real-IP $remote_addr;
    proxy_set_header        X-Forwarded-For $proxy_add_x_forwarded_for;
    proxy_set_header        X-Forwarded-Proto $scheme;
    proxy_pass              http://jenkins;
    # Required for new HTTP-based CLI
    proxy_http_version 1.1;
    proxy_request_buffering off;
    proxy_buffering off; # Required for HTTP-based CLI to work over SSL
  }
}
Save and close the file when you are finished. Then, edit the Nginx main configuration file:
nano /etc/nginx/nginx.conf
Define the hash bucket size as shown below:
http {

server_names_hash_bucket_size 64;
Next, verify Nginx for any syntax errors:
nginx -t
Sample output:
nginx: the configuration file /etc/nginx/nginx.conf syntax is ok
nginx: configuration file /etc/nginx/nginx.conf test is successful
Finally, start the Nginx service and enable it to start at system reboot:
systemctl start nginx
systemctl enable nginx
Step 5 – Access Jenkins Dashboard
Now, you can access the Jenkins web interface using the URL http://jenkins.example.com from the web browser. You should see the following screen:
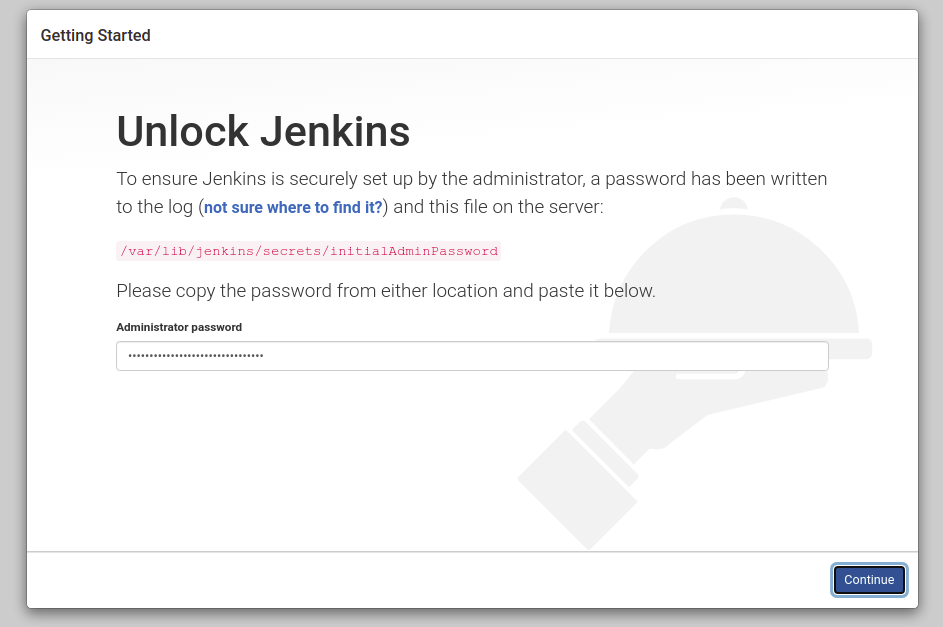
cat /var/lib/jenkins/secrets/initialAdminPassword
Sample output:
000a6fdc7f9d4d05b39029d776f34fd6
Now, paste the above password and click on the Continue button. You should see the following screen:
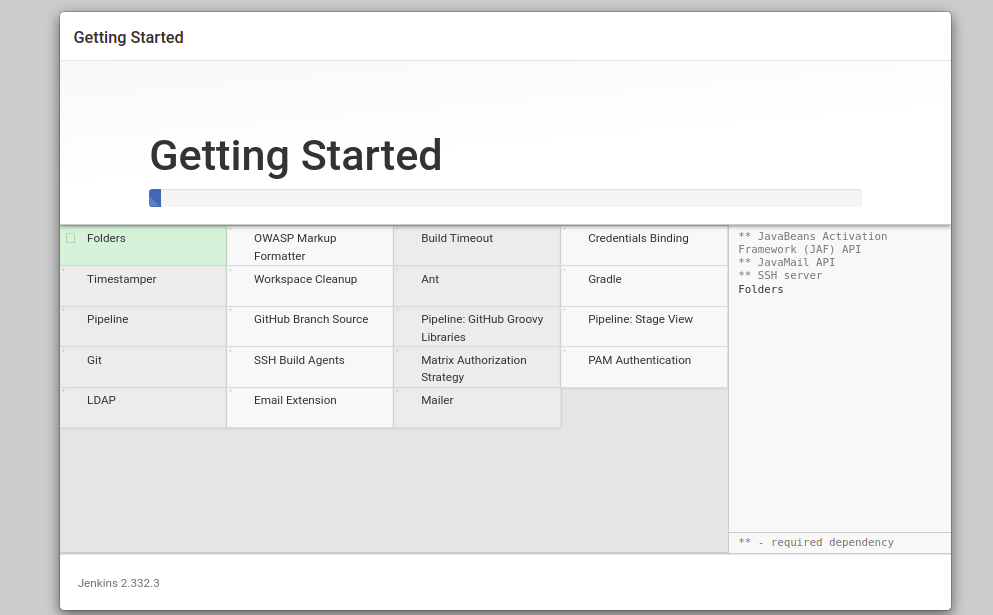
Now, select ‘Install using suggested plugins‘ or ‘Select plugins to install‘. You should see the following screen:
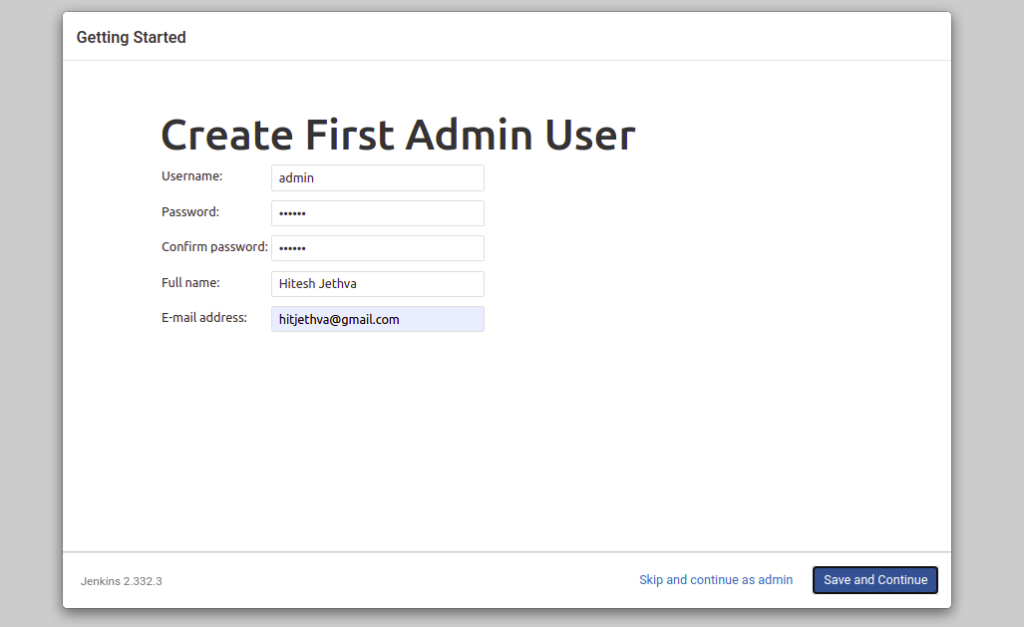
Now, provide your admin user information and click on the Save and Continue button. You should see the following screen:
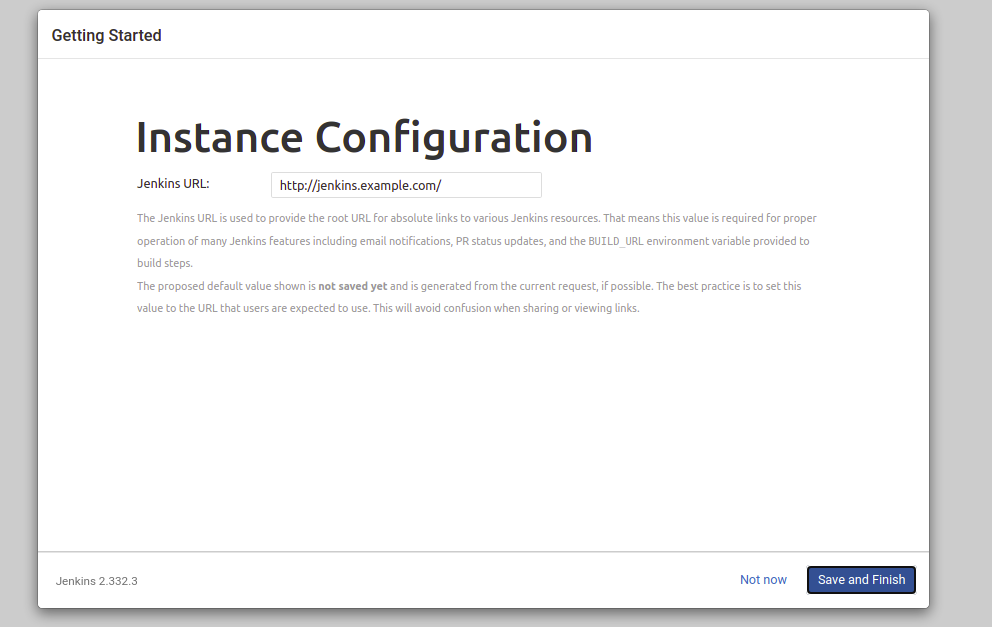
Now, provide your Jenkins URL and click on the Save and Finish button. You should see the following screen:
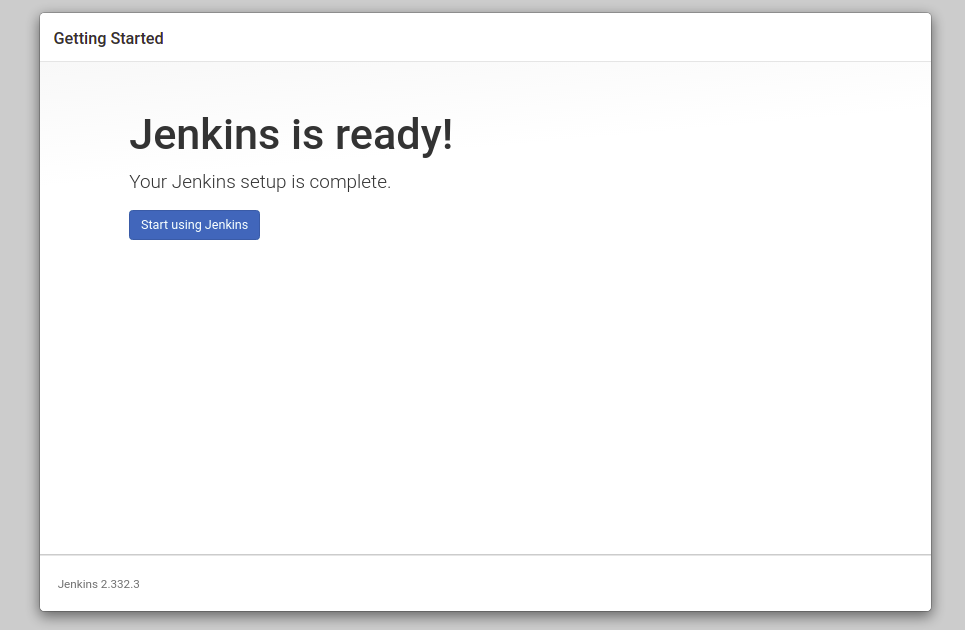
Click on the Start Using Jenkins. You should see the Jenkins Dashboard on the following screen:
Conclusion
In this post, we explained how to install Jenkins on OracleLinux 10 with Nginx as a reverse proxy. You can now use Jenkins in your software development environment and automate the development process with ease. Give it a try on your dedicated server from Atlantic.Net!
