JFrog Artifactory is a powerful open-source repository management software and DevOps solution used for managing and automating all software packages and artifacts during the application delivery process. JFrog Artifactory provides a central management portal from where you can host, store, and distribute all artifacts and binaries. It can be integrated easily with most CI/CD platforms with other DevOps tools.
Step 1 – Install Java JDK
JFrog is a Java-based software, so Java JDK must be installed on your server. If not installed, you can install it with the following command.
apt install -y default-jdk
Once Java JDK is installed, you can verify the Java version using the following command.
java -version
You will see the following output:
openjdk version "11.0.20.1" 2023-08-24
OpenJDK Runtime Environment (build 11.0.20.1+1-post-Ubuntu-0ubuntu122.04)
OpenJDK 64-Bit Server VM (build 11.0.20.1+1-post-Ubuntu-0ubuntu122.04, mixed mode, sharing)
Step 2 – Install MariaDB Database
JFrog uses MariaDB as a database backend, so you will need to install the latest MariaDB version on your server. First, add the MariaDB repository using the following command.
curl -LsS https://downloads.mariadb.com/MariaDB/mariadb_repo_setup | bash -s --
Next, update the repository and install the MariaDB package with the following command.
apt update
apt install mariadb-server mariadb-client -y
Once the installation is complete, start and enable the MariaDB service.
systemctl start mariadb
systemctl enable mariadb
Step 3 – Install JFrog Artifactory
By default, the JFrog Artifactory package is not included in the Ubuntu default repository, so you will need to add the JFrog Artifactory repository to APT. You can add it with the following command:
echo "deb https://releases.jfrog.io/artifactory/artifactory-debs xenial main" | tee -a /etc/apt/sources.list.d/artifactory.list
curl -fsSL  https://releases.jfrog.io/artifactory/api/gpg/key/public|sudo gpg --dearmor -o /etc/apt/trusted.gpg.d/artifactory.gpg
Next, update the repository cache with the following command:
apt update -y
Finally, install the JFrog Artifactory with the following command:
apt install jfrog-artifactory-oss
After successful installation, start and enable the JFrog Artifactory service:
systemctl start artifactory.service
systemctl enable artifactory.service
You can verify the status of JFrog Artifactory with the following command:
systemctl status artifactory.service
Output:
● artifactory.service - Artifactory service
     Loaded: loaded (/lib/systemd/system/artifactory.service; enabled; vendor preset: enabled)
     Active: active (running) since Sun 2023-10-15 10:50:35 UTC; 10s ago
    Process: 7599 ExecStart=/opt/jfrog/artifactory/app/bin/artifactoryManage.sh start (code=exited, status=0/SUCCESS)
   Main PID: 11264 (java)
      Tasks: 0 (limit: 9410)
     Memory: 191.8M
        CPU: 11.878s
     CGroup: /system.slice/artifactory.service
             ‣ 11264 /opt/jfrog/artifactory/app/third-party/java/bin/java -Djava.util.logging.config.file=/opt/jfrog/artifactory/app/artifactory/tomcat/conf/logging.pr>

Oct 15 10:50:31 ubuntu su[11941]: pam_unix(su:session): session opened for user artifactory(uid=998) by (uid=0)
Oct 15 10:50:32 ubuntu su[11941]: pam_unix(su:session): session closed for user artifactory
Oct 15 10:50:32 ubuntu su[12065]: (to artifactory) root on none
Oct 15 10:50:32 ubuntu su[12065]: pam_unix(su:session): session opened for user artifactory(uid=998) by (uid=0)
Oct 15 10:50:33 ubuntu su[12182]: (to artifactory) root on none
Oct 15 10:50:33 ubuntu su[12182]: pam_unix(su:session): session opened for user artifactory(uid=998) by (uid=0)
Oct 15 10:50:34 ubuntu su[12309]: (to artifactory) root on none
Oct 15 10:50:34 ubuntu su[12309]: pam_unix(su:session): session opened for user artifactory(uid=998) by (uid=0)
Oct 15 10:50:35 ubuntu su[12309]: pam_unix(su:session): session closed for user artifactory
Oct 15 10:50:35 ubuntu systemd[1]: Started Artifactory service.
Next, log in to the MariaDB shell with the following command:
mysql
Next, import the Artifactory data to the MariaDB database.
source /opt/jfrog/artifactory/app/misc/db/createdb_mariadb.sql;
Next, exit from the MariaDB shell.
exit;
Step 4 – Access JFrog Artifactory Web UI
At this point, JFrog Artifactory is installed and listening on port 8082. You can check it with the following command:
ss -antpl | grep 8082
Output:
LISTEN 0 4096 *:8082 *:* users:(("jf-router",pid=11783,fd=18))
Now, open your web browser and access the JFrog Artifactory using the URL http://server-ip:8082/ui/. You will see the JFrog welcome page.
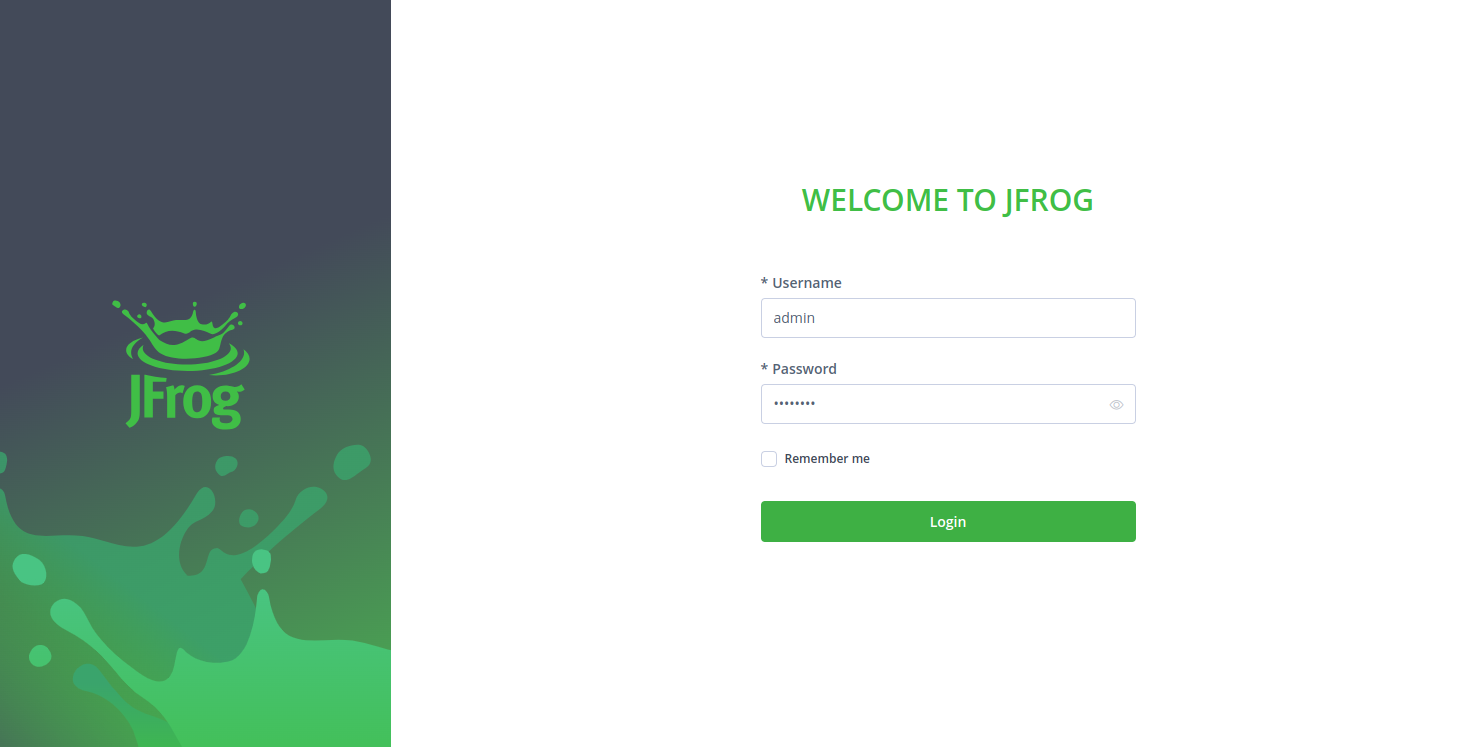
Provide default admin username as “admin” and password as “password” then click on the Login button. You will see the Getting Started page.

Click on Get Started. You will see the reset admin password screen.
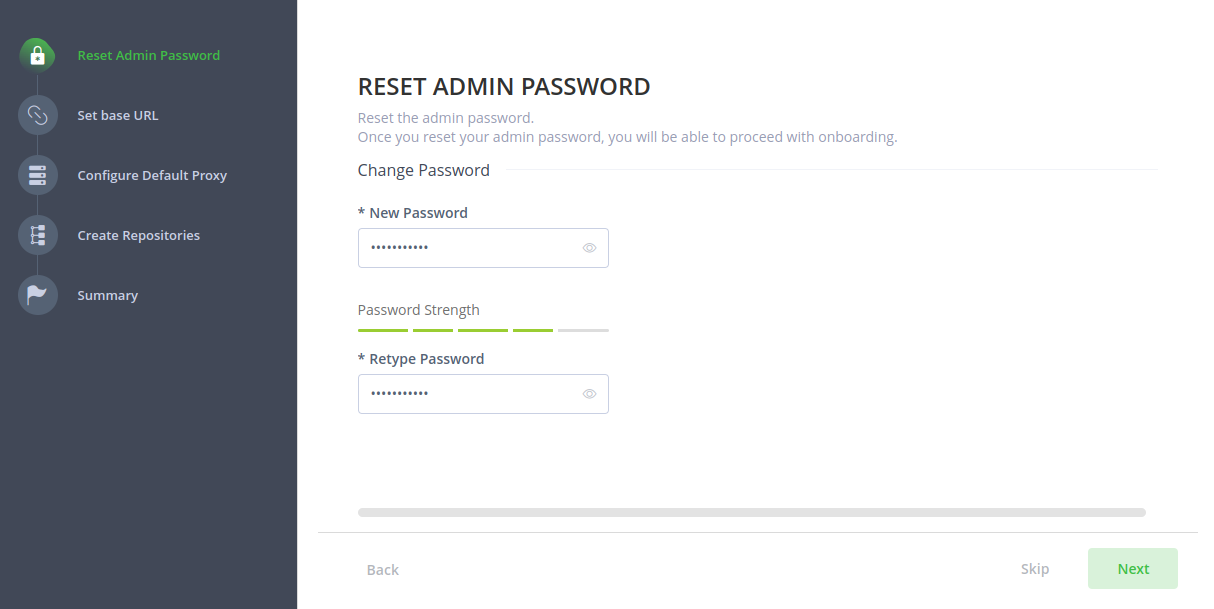
Set your password and click on Next. You will see the following screen.
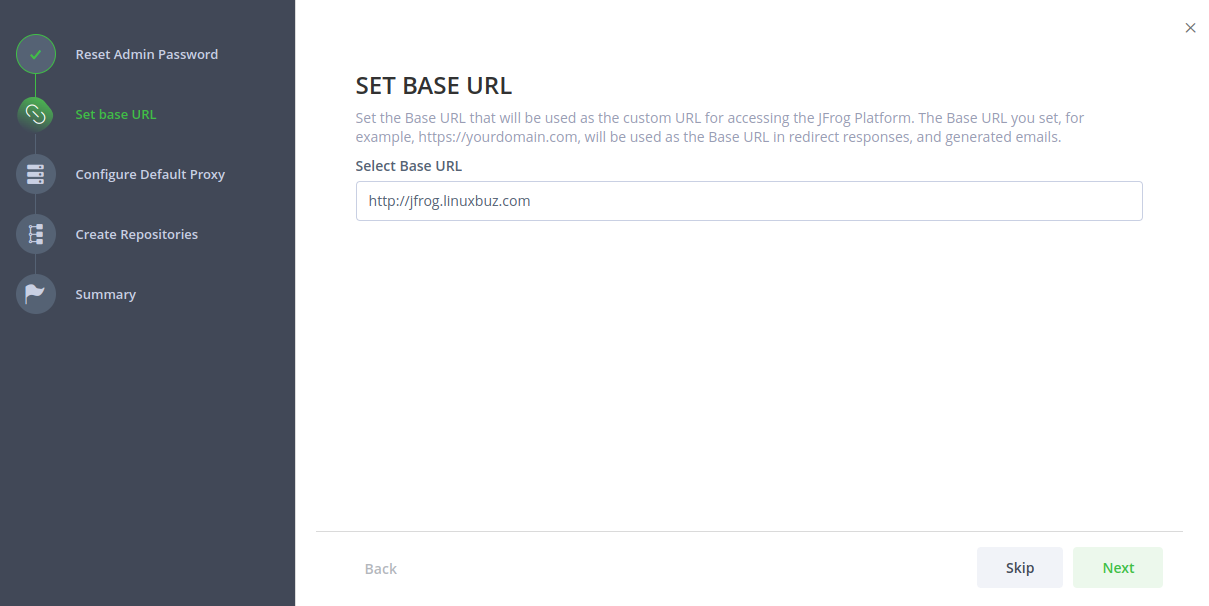
Provide your JFrog URL and click on the Next or Skip button. You will see the following screen.
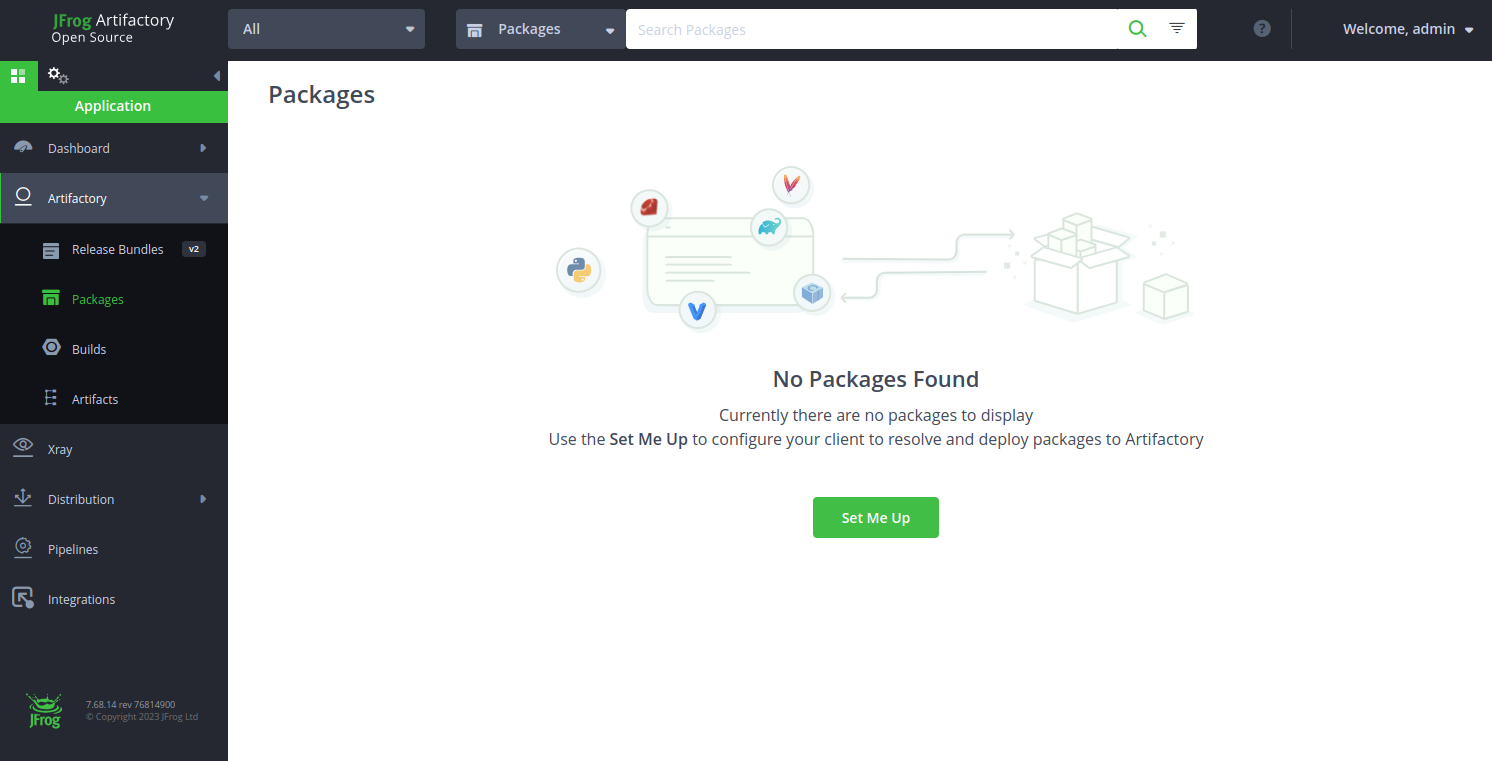
Click on the Finish button. You will see the JFrog dashboard.
Conclusion
In this post, we explained how to install and set up a JFrog Artifactory on Ubuntu 22.04. You can now deploy JFrog in the production environment and use it as a central repository manager to store all binaries and artifacts with ease. Try to deploy JFrog Artifactory on dedicated server hosting from Atlantic.Net!
* This post is for informational purposes only and does not constitute professional, legal, financial, or technical advice. Each situation is unique and may require guidance from a qualified professional.
Readers should conduct their own due diligence before making any decisions.