Jira is a widely used project management and issue-tracking tool developed by Atlassian. It is designed to help teams plan, track, manage, and report on their work. Jira is highly versatile and can be customized to suit various project management methodologies and workflows. One of its key strengths is its flexibility, making it suitable for different types of projects across various industries.
In this tutorial, we’ll walk through the step-by-step process of installing Jira on Ubuntu 24.04.
Note: Its recommended to have an Ubuntu Server is at least 4GB of RAM available
Step 1 – Install MySQL Server
Jira requires a database to store its data. Follow these steps to install and create a database and a dedicated user for Jira in MySQL:
First, install the MySQL server using the following command.
apt-get install mysql-server unzip fontconfig -y
Once MySQL is installed, connect to MySQL using the following command.
mysql
Next, create a database and user for Jira:
CREATE DATABASE jiradb CHARACTER SET utf8mb4 COLLATE utf8mb4_bin;
CREATE USER 'jirauser'@'localhost' IDENTIFIED BY 'password';
GRANT ALL ON jiradb.* TO 'jirauser'@'localhost' WITH GRANT OPTION;
Next, flush the privileges and exit from the MySQL shell.
FLUSH PRIVILEGES;
EXIT;
Step 2 – Download and Install Jira
Visit the official Jira Software download page and copy the link to the Linux installer.
On your Ubuntu server, use wget to download the Jira installer:
wget https://www.atlassian.com/software/jira/downloads/binary/atlassian-jira-software-10.3.6-x64.bin
Make the installer executable:
chmod a+x atlassian-jira-software-10.3.6-x64.bin
Run the installer to start the installation.
./atlassian-jira-software-9.12.0-x64.bin
Follow the on-screen instructions. When prompted, specify the installation directory (default is /opt/atlassian/jira), and choose the appropriate option for launching Jira automatically.
This will install Jira Software 9.12.0 on your computer.
OK [o, Enter], Cancel [c]

Click Next to continue, or Cancel to exit Setup.

Choose the appropriate installation or upgrade option.
Please choose one of the following:
Express Install (use default settings) [1], Custom Install (recommended for advanced users) [2, Enter], Upgrade an existing Jira installation [3]
1

Details on where Jira Software will be installed and the settings that will be used.
Installation Directory: /opt/atlassian/jira
Home Directory: /var/atlassian/application-data/jira
HTTP Port: 8080
RMI Port: 8005
Install as service: Yes
Install [i, Enter], Exit [e]

Extracting files ...

/opt/atlassian/jira/bin/tcnative-1.dll

The file already exists.

Would you like Setup to overwrite it?
Yes [y], Yes to All [ya], No [n], No to All [na]
y

Please wait a few moments while Jira Software is configured.

Installation of Jira Software 9.12.0 is complete
Start Jira Software 9.12.0 now?
Yes [y, Enter], No [n]

Please wait a few moments while Jira Software starts up.
Launching Jira Software ...

Installation of Jira Software 9.12.0 is complete
Your installation of Jira Software 9.12.0 is now ready and can be accessed
via your browser.
Jira Software 9.12.0 can be accessed at http://localhost:8080
Finishing installation ...
After the installation, verify that Jira is installed and running:
ss -antpl | grep java
Output:
LISTEN 0      1      [::ffff:127.0.0.1]:8005             *:*    users:(("java",pid=3099,fd=461))
LISTEN 0      100                     *:8080             *:*    users:(("java",pid=3099,fd=218))
Step 3 – Configure Jira
Next, you will need to download the MySQL JDBC driver and copy it to the Jira installation directory.
First, download the JDBC driver using the following command.
wget https://dev.mysql.com/get/Downloads/Connector-J/mysql-connector-java-8.0.18.zip
Once the download is completed, unzip the downloaded file with the following command.
unzip mysql-connector-java-8.0.18.zip
Next, copy the MySQL connector file to Jira:
cp mysql-connector-java-8.0.18/mysql-connector-java-8.0.18.jar /opt/atlassian/jira/lib
Next, stop and start Jira to reload the changes.
/etc/init.d/jira stop
/etc/init.d/jira start
Step 4 – Access Jira Web UI
Jira is now installed and configured. You can now access the Jira web UI using the URL http://your-server-ip:8080. You will see the database configuration page:
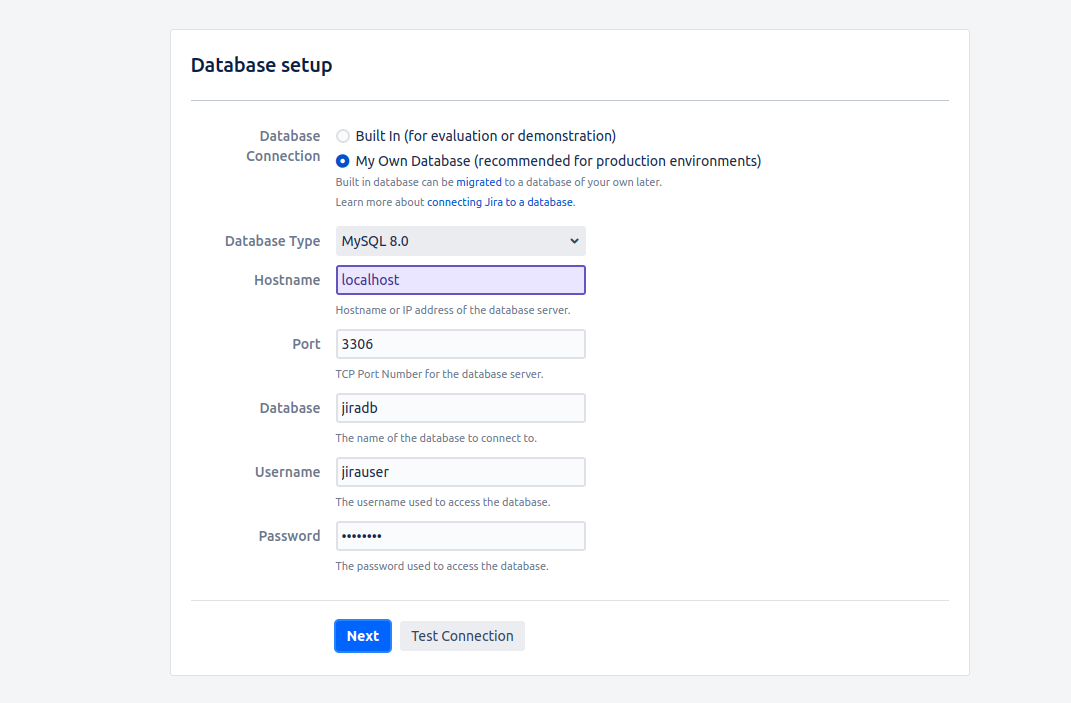
Define your database configuration and click on Next. You will see the application property configuration page:
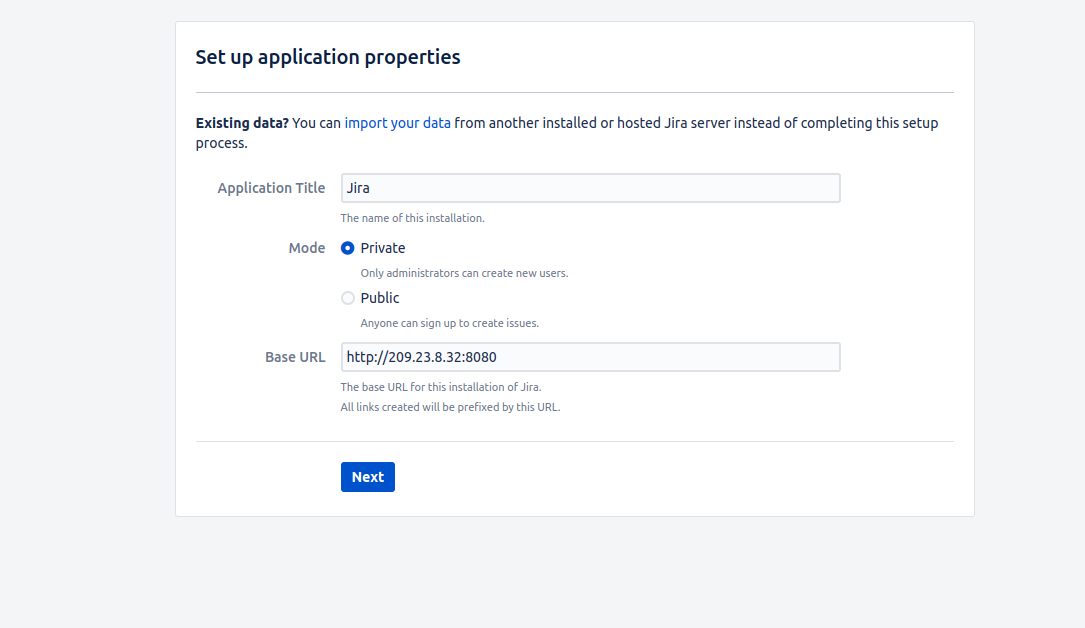
Define your application title, mode, and URL, and click on Next. You will see the License page:
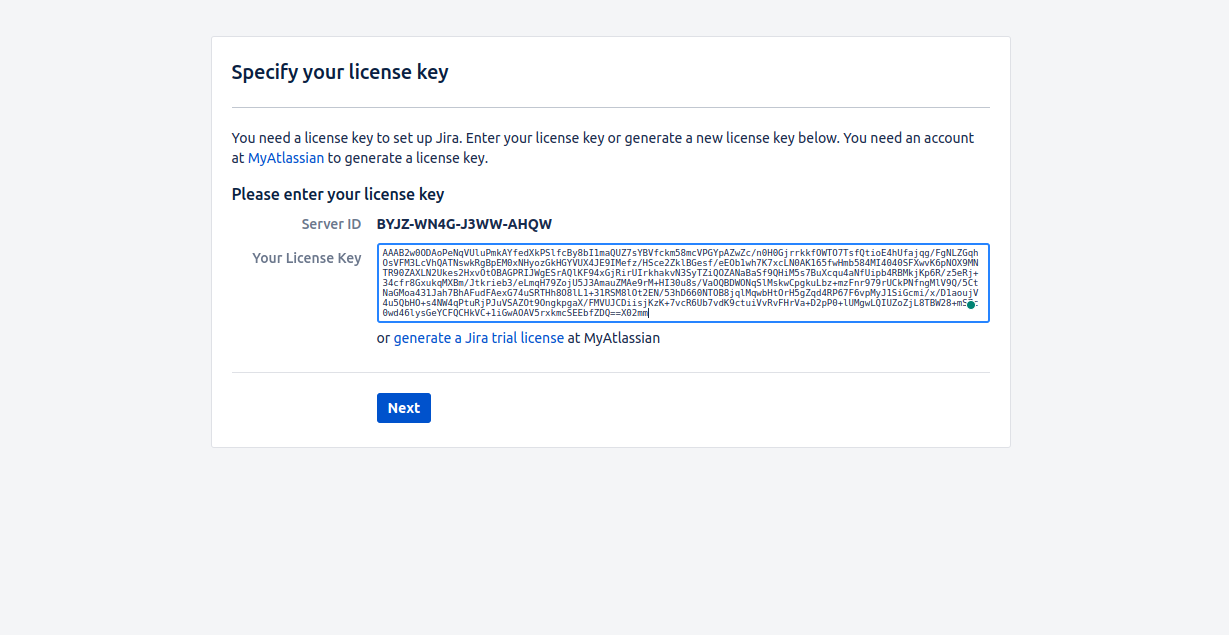
Provide your Jira license and click on Next. You will see the “Set up your administrator account” page.
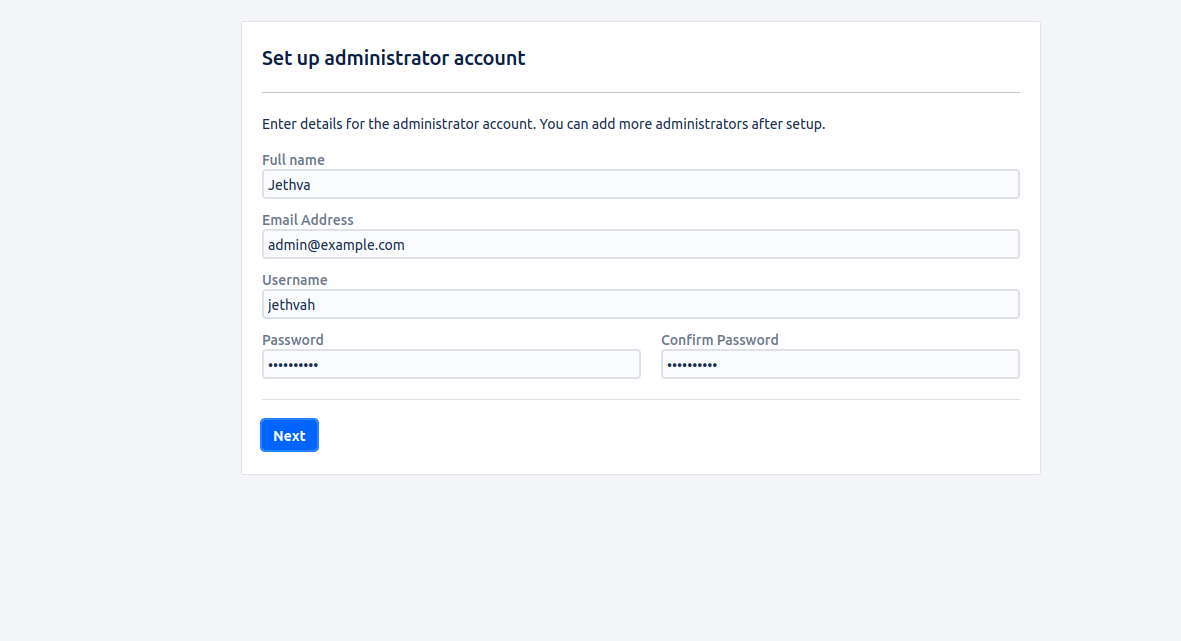
Provide all necessary details and click on Next. You will see the following page:
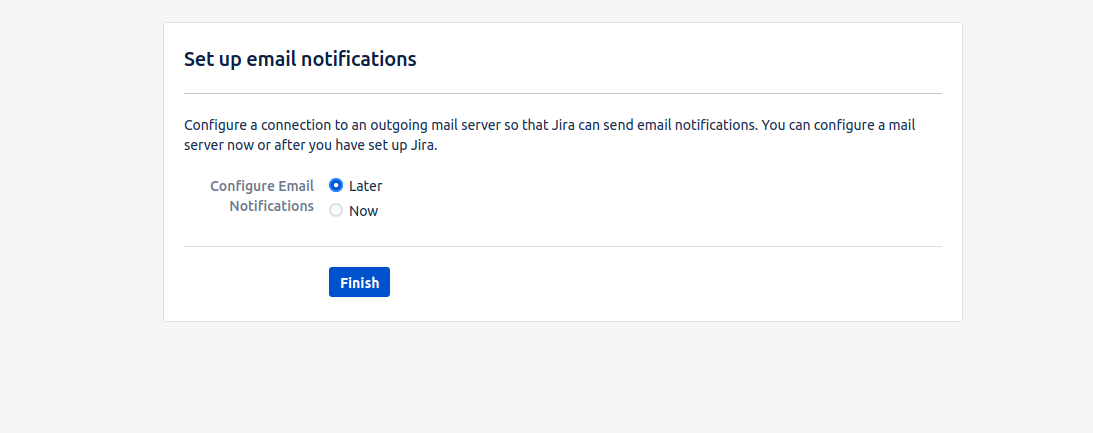
Click on Finish.
Note: Depending on your Server Specs, It can take some time for Jira to finish configuring itself.
You will see the Jira welcome page.
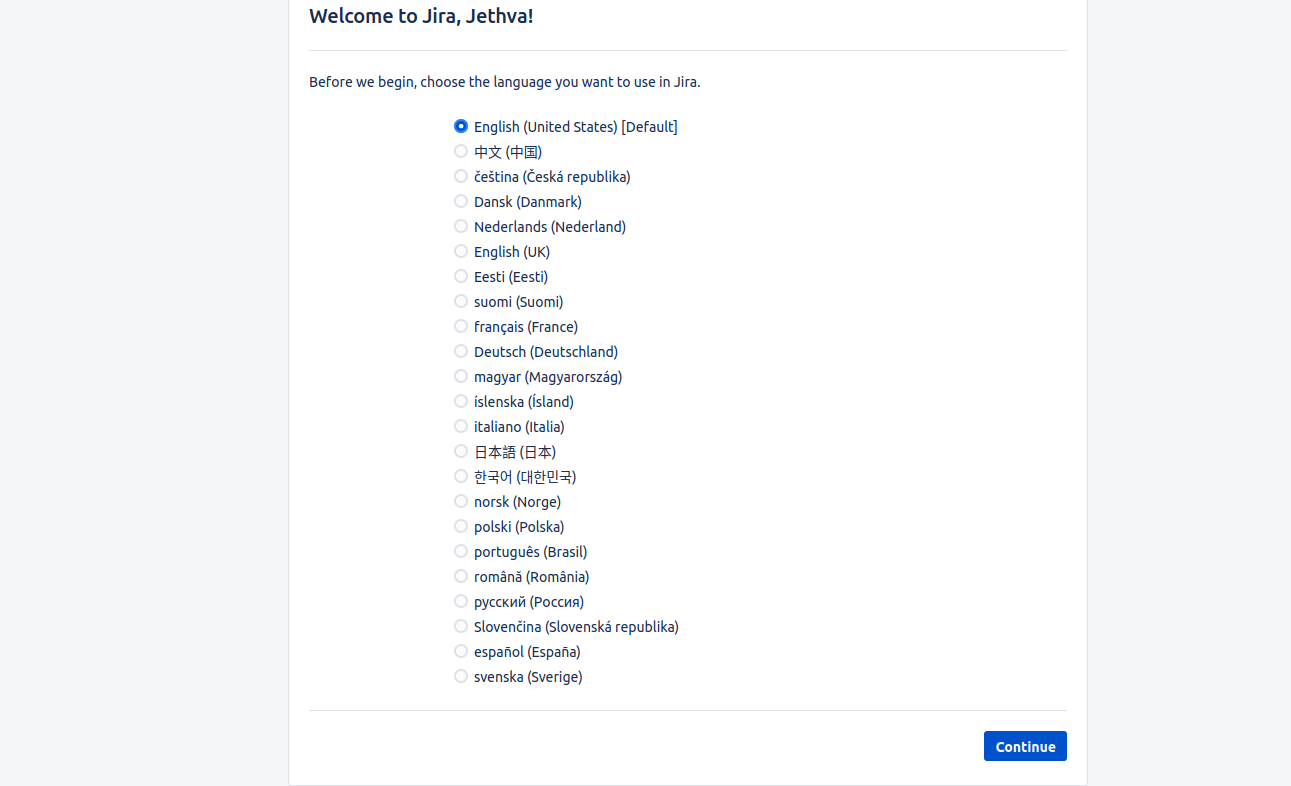
Select your language and click on Continue. You will see the “Choose an avatar” page:
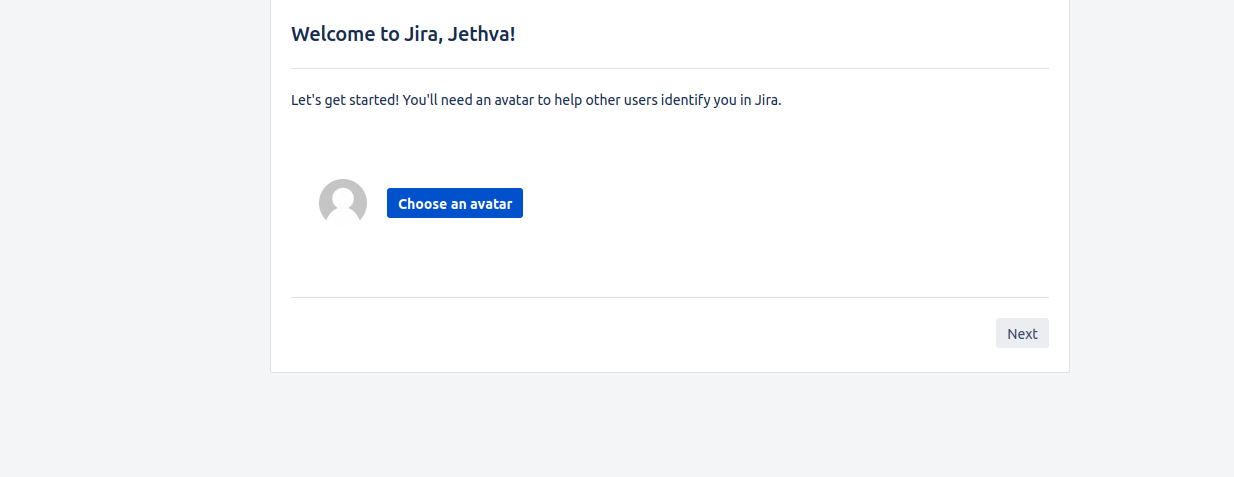
Select your avatar and click on Next. You will see the following page.
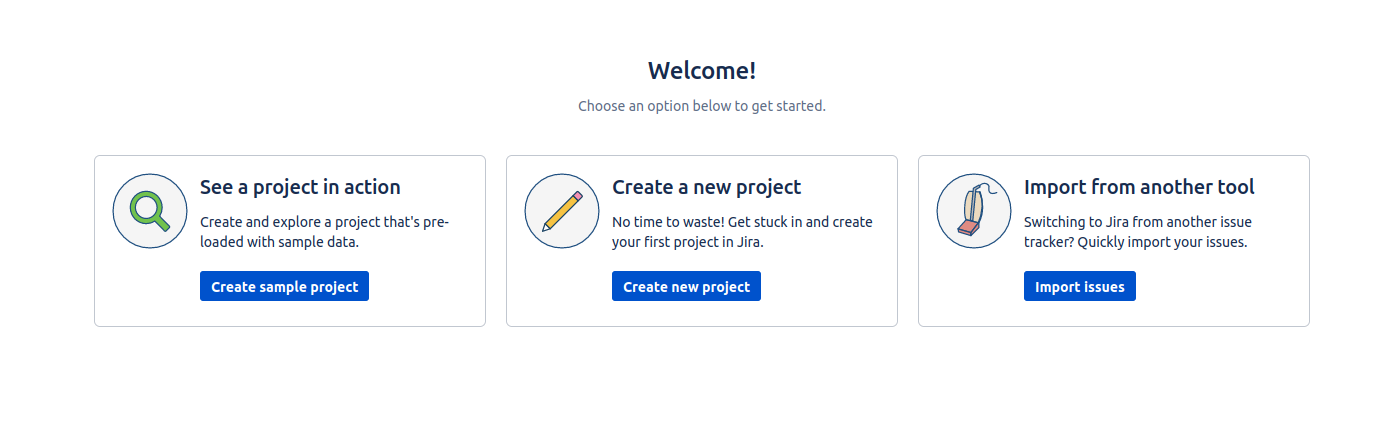
Click on Create sample project. You will see the following page.
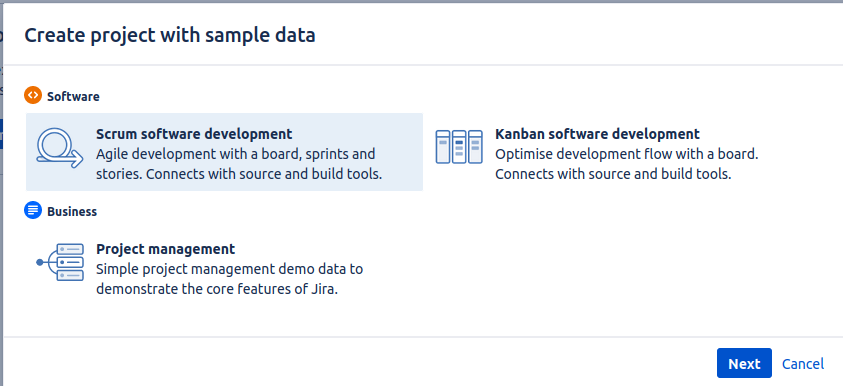
Select Scrum software development and click on Next. You will see the following page.
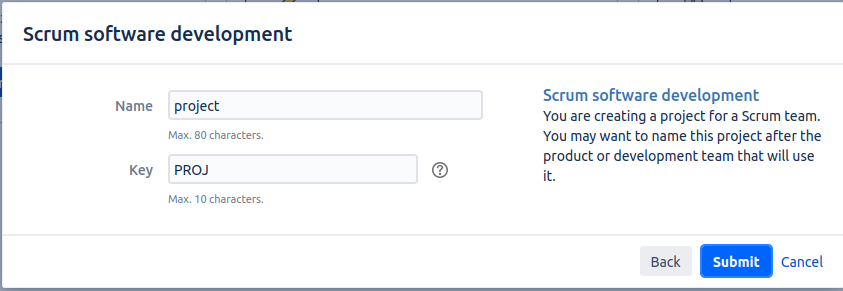
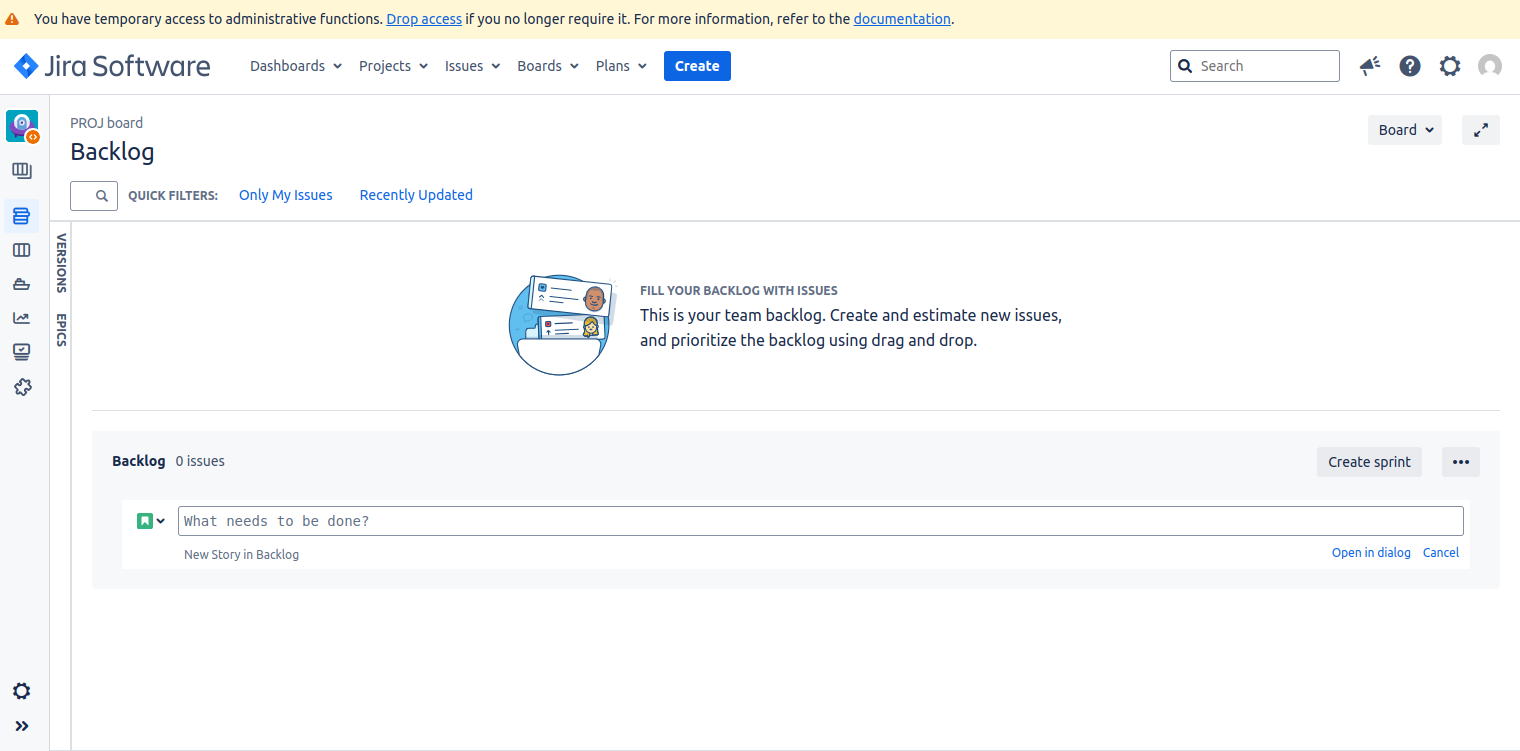
Define your project and click on Submit. You will see your Jira dashboard on the following page.
Conclusion
Congratulations! You have successfully installed Jira on Ubuntu 24.04. You can now leverage the power of Jira for efficient project management and issue tracking. Explore the various features and plugins available in Jira to customize it according to your team’s needs. You can now deploy Jira to manage the project on dedicated server hosting from Atlantic.Net!
* This post is for informational purposes only and does not constitute professional, legal, financial, or technical advice. Each situation is unique and may require guidance from a qualified professional.
Readers should conduct their own due diligence before making any decisions.