Joomla is a free and open-source content management system written in PHP. It is used for hosting and managing websites and online applications. Due to its flexibility, extensibility, and ease of use, it has become a popular choice for individuals, businesses, and organizations to build and maintain websites. Joomla provides an intuitive and user-friendly administrative interface that makes it relatively easy for non-technical users to create and manage website content.
Step 1 – Install LAMP Server
First, you must install Apache, MySQL, PHP, and other packages on your server. You can install all of them using the following command.
apt install apache2 mysql-server php libapache2-mod-php php-dev php-bcmath php-intl php-soap php-zip php-curl php-mbstring php-mysql php-gd php-xml unzip -y
After the successful installation, start and enable Apache service with the following command.
systemctl start apache2
systemctl enable apache2
Step 2 – Create a Database
Joomla uses MySQL as a database backend, so you will need to create a database and user for Joomla.
First, connect to the MySQL shell.
mysql
Next, create a database and user for Joomla.
mysql> CREATE DATABASE joomla;
mysql> CREATE USER 'joomla'@'localhost' IDENTIFIED BY 'securepassword';
Then, grant all the privileges on the Joomla database.
mysql> GRANT ALL ON joomla.* TO 'joomla'@'localhost';
Next, flush the privileges and exit from the MySQL shell.
mysql> FLUSH PRIVILEGES;
mysql> EXIT;
Step 3 – Install Joomla CMS
First, visit the Joomla official website and download the latest version of Joomla using the wget command.
wget https://downloads.joomla.org/cms/joomla5/5-3-0/Joomla_5-3-0-Stable-Full_Package.zip
Once the download is finished, unzip the downloaded file to the Apache web root directory.
unzip Joomla_5-3-0-Stable-Full_Package.zip -d /var/www/html/joomla
Next, change the ownership and permissions of the Joomla directory.
chown -R www-data:www-data /var/www/html/joomla/
chmod -R 755 /var/www/html/joomla/
Step 4 – Configure Apache for Joomla
Next, create an Apache virtual host configuration file for Joomla.
nano /etc/apache2/sites-available/joomla.conf
Add the following configurations.
<VirtualHost *:80>

ServerAdmin [email protected]

ServerName joomla.example.com
DocumentRoot /var/www/html/joomla

<Directory /var/www/html/joomla/>
        Options FollowSymlinks
        AllowOverride All
        Require all granted
</Directory>

ErrorLog ${APACHE_LOG_DIR}/example.com_error.log
CustomLog ${APACHE_LOG_DIR}/example.com_access.log combined

</VirtualHost>
Save and close the file, then activate the Joomla virtual host with the following command.
a2ensite joomla.conf
Finally, restart the Apache service to apply the changes.
systemctl restart apache2
Step 5 – Access Joomla CMS
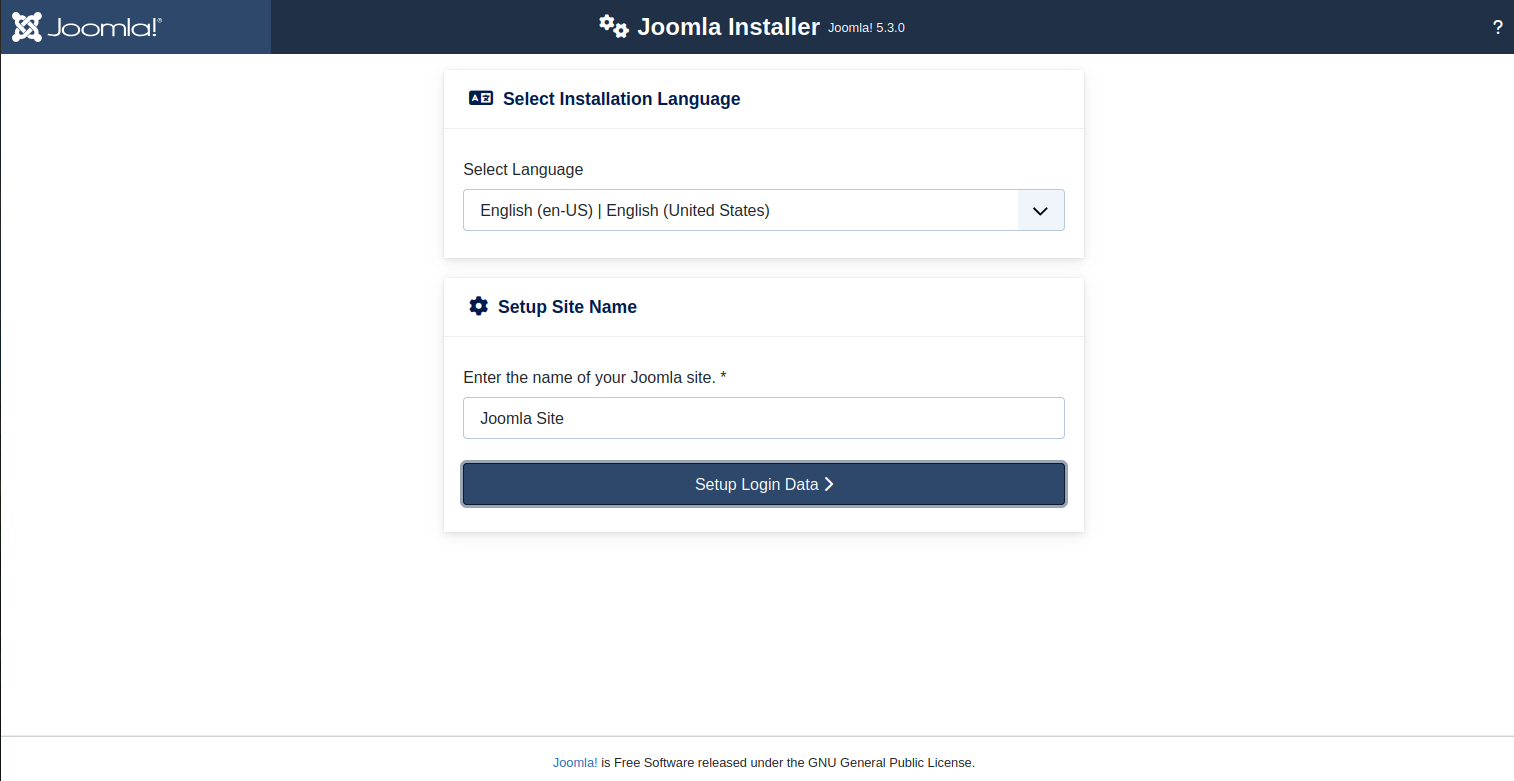
Now, open your web browser and access the Joomla CMS using the URL http://joomla.example.com. You will see the language selection page.
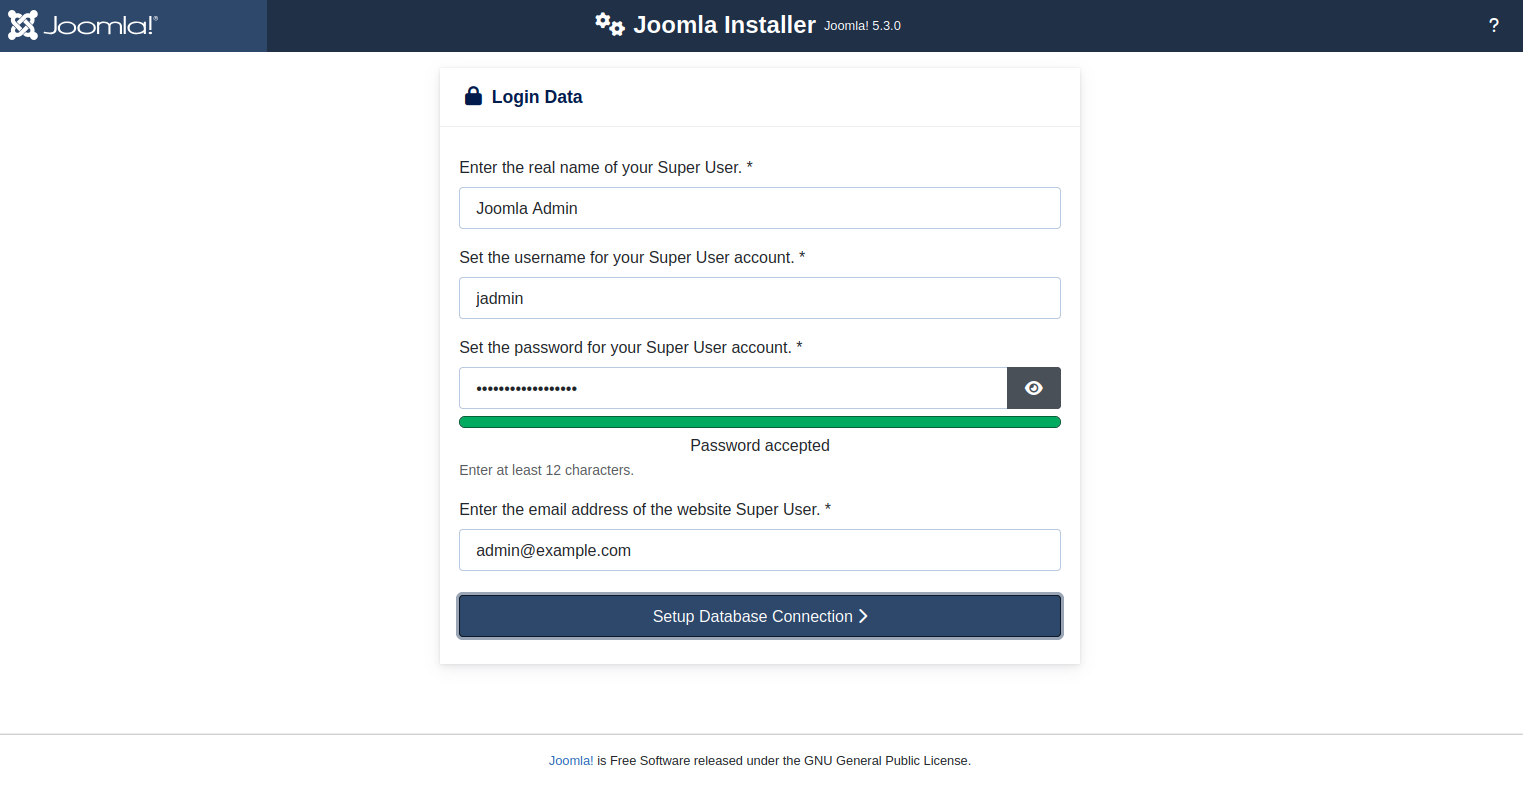
Select your language and click on the Setup Login Data. You will see the following page.
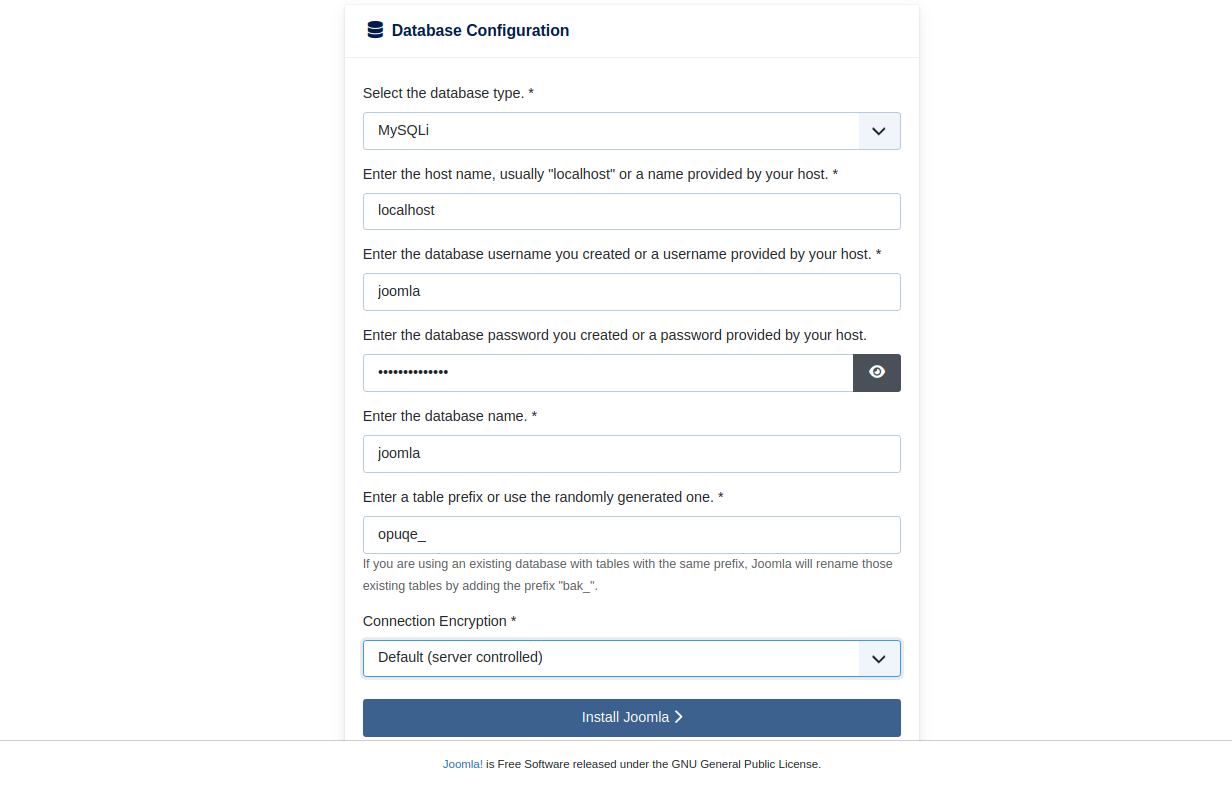
Define your admin username and password and click on the Setup Database Connection. You will see the following page.
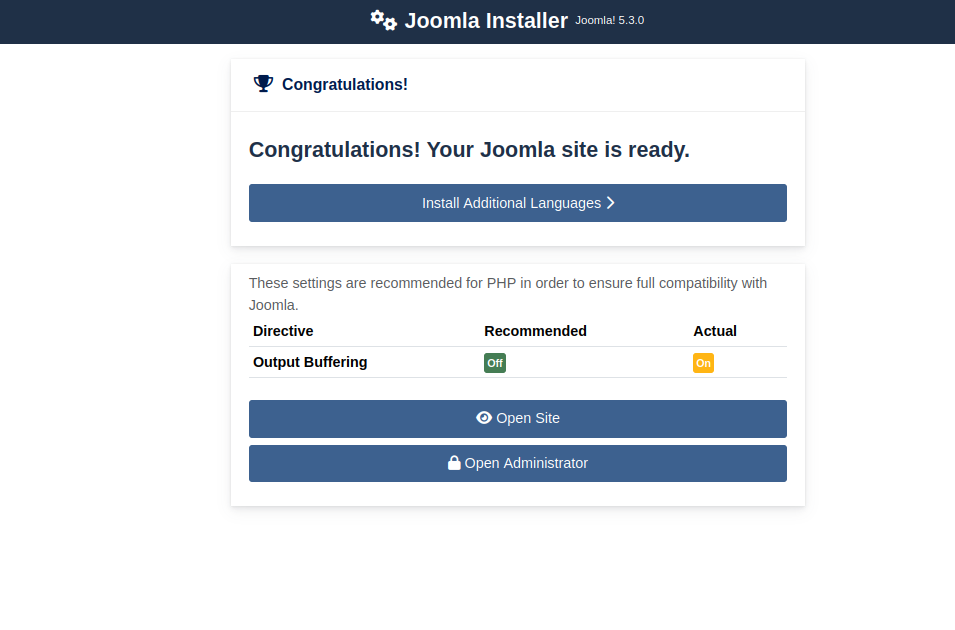
Provide your database settings and click on the Install Joomla button. Once the Joomla is installed, you will see the following page.
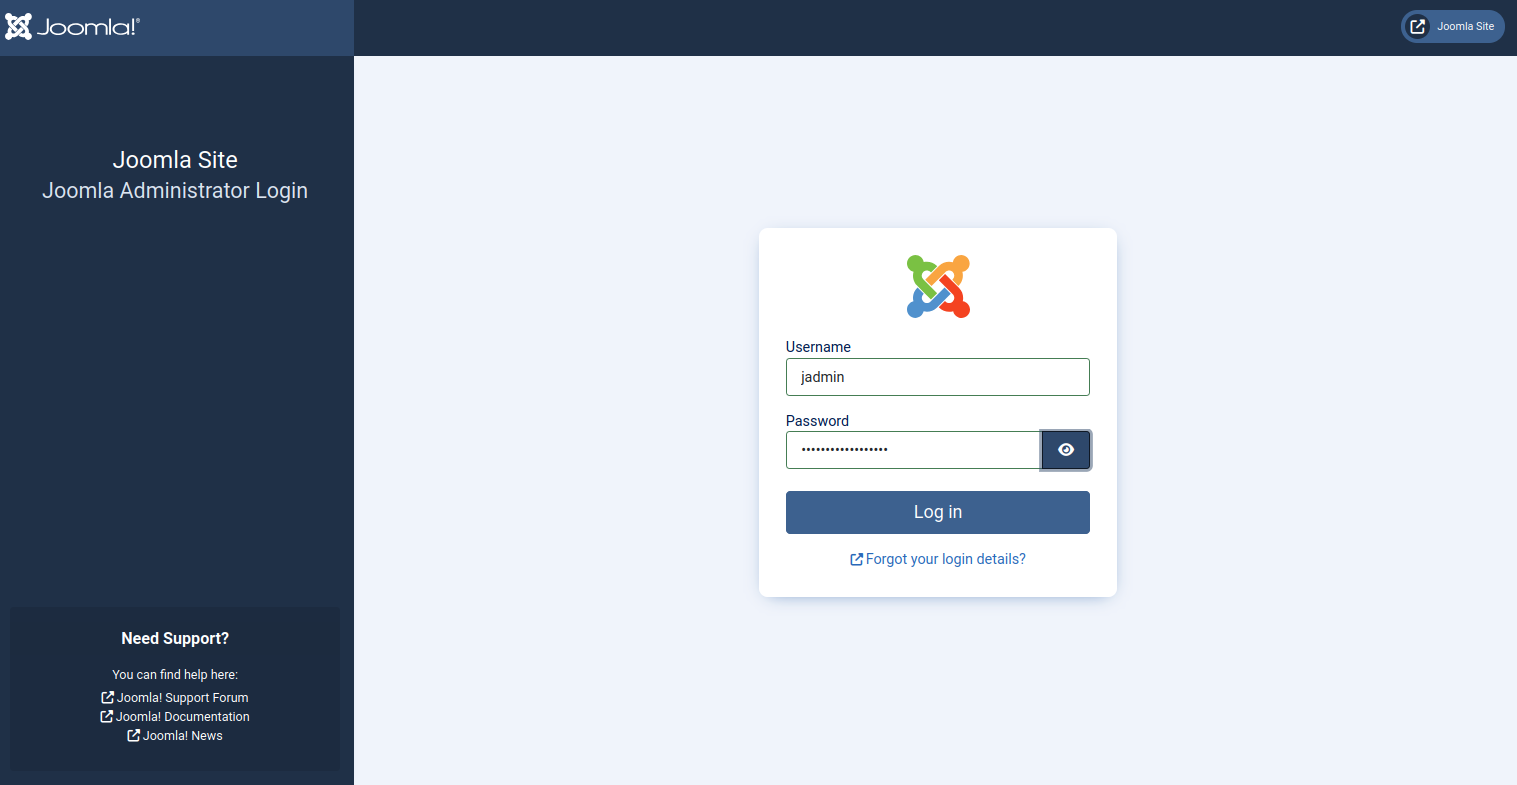
Click on the Open Administrator. You will see the Joomla login page.
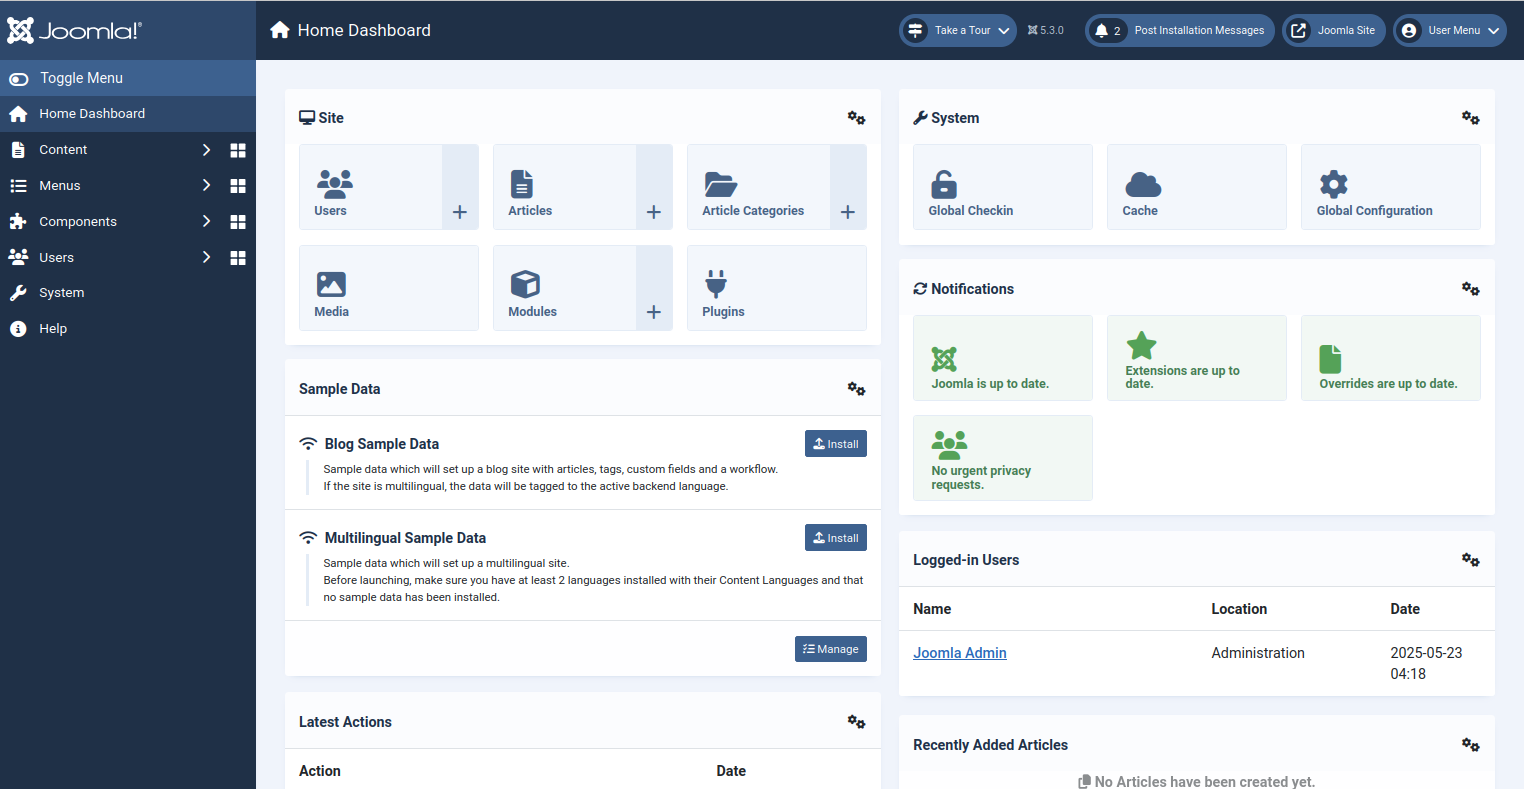
Provide your admin username and password, and click on the login button. You will see the Joomla Dashboard on the following page.
Conclusion
In this tutorial, you learned how to install Joomla with Apache on the Ubuntu 24.04 server. You can now explore Joomla features and start creating your website from the Joomla dashboard. You can now build your website using Joomla CMS on dedicated server hosting from Atlantic.Net!
