Magento is an open-source e-commerce software platform written in PHP. It helps online merchants to create a flexible shopping cart system with ease. It is a highly customizable and resource-intensive application for medium to large stores. Magento is simple and user-friendly, so beginner users can host a fully-functional online shopping cart system without any programming knowledge.
This post will show you how to install Magento on Fedora.
Step 1 – Install the LAMP Server
First, install the Apache web server package using the following command.
dnf install httpd -y
By default, PHP 8.1 is not included in the Fedora 34 default repo, so you will need to install the PHP Remi repository on your server. You can install it with the following command.
dnf install -y http://rpms.remirepo.net/fedora/remi-release-34.rpm
Next, enable the Remi repository with the following command.
dnf module install php:remi-8.1
Next, install PHP and other required extensions using the following command.
dnf install php-mysqlnd php-xml php-cli php-soap php-opcache php-iconv php-pear php-bcmath php-gd php-mbstring php-json php-devel unzip wget -y
yum --enablerepo=remi install php-intl php-sodium php-zip
Next, edit the PHP configuration file and change some default settings.
nano /etc/php.ini
Change the following values:
memory_limit = 1024M
upload_max_filesize = 256M
zlib.output_compression = on
max_execution_time = 300
date.timezone = UTC
Save and close the file, then start and enable the Apache service using the following command.
systemctl start httpd
systemctl enable httpd
Step 2 – Install and Configure MySQL Server
First, install the MySQL server repository using the following command.
rpm -ivh https://dev.mysql.com/get/mysql80-community-release-fc34-2.noarch.rpm
rpm --import https://repo.mysql.com/RPM-GPG-KEY-mysql-2022
Next, install the MySQL server package using the following command.
dnf install mysql-community-server -y
Next, start and enable the MySQL service with the following command.
systemctl enable mysqld
systemctl start mysqld
Next, retrieve the MySQL root password.
grep 'A temporary password is generated' /var/log/mysqld.log | tail -1
You will get the root password in the following output.
2023-04-22T12:41:00.940040Z 6 [Note] [MY-010454] [Server] A temporary password is generated for root@localhost: 3ak*CpiARf3L
Next, secure the MySQL installation and change the MySQL root password.
mysql_secure_installation
You will be asked to provide your existing MySQL root password.
Securing the MySQL server deployment.

Enter password for user root:
Provide your root password and press the Enter key. You will be asked to set a new password.
The existing password for the user account root has expired. Please set a new password.

New password:

Re-enter new password:
Set your root password and press the Enter key to continue. You will be asked to remove the anonymous user, remove the test database, disallow root login, and reload the privileges table as shown below.
Remove anonymous users? (Press y|Y for Yes, any other key for No) : Y
Disallow root login remotely? (Press y|Y for Yes, any other key for No) : Y
Remove test database and access to it? (Press y|Y for Yes, any other key for No) : Y
Reload privilege tables now? (Press y|Y for Yes, any other key for No) : Y
Now, log in to your MySQL as a root user.
mysql -u root -p
Next, create a database and user for Magento using the following command.
CREATE DATABASE magento;
CREATE USER 'magento'@'localhost' IDENTIFIED BY 'Secur_&pas%3_sword';
Next, grant all the privileges to the Magento database.
GRANT ALL ON magento.* TO 'magento'@'localhost';
Next, flush the privileges and exit from the MariaDB shell:
FLUSH PRIVILEGES;
EXIT;
Step 3 – Download Magento
First, install Composer using the following command.
curl -sS https://getcomposer.org/installer | php
mv composer.phar /usr/local/bin/composer
chmod +x /usr/local/bin/composer
Next, navigate to the Apache root directory and download the latest version of Magento with the following command.
cd /var/www/html
composer create-project --repository-url=https://repo.magento.com/ magento/project-community-edition=2.4.5 magento2
You will be asked to provide your Magento key and password to download it from their website.
Next, change the ownership of the Magento directory.
chown -R apache:apache /var/www/html/magento2
Next, navigate to the Magento directory and set all necessary permissions.
cd /var/www/html/magento2
find var generated vendor pub/static pub/media app/etc -type f -exec chmod g+w {} +
find var generated vendor pub/static pub/media app/etc -type d -exec chmod g+ws {} +
chown -R apache:apache .
chmod u+x bin/magento
Step 4 – Configure Apache for Magento
Next, create an Apache virtual host configuration file for Magento.
nano /etc/httpd/conf.d/magento.conf
Add the following configurations.
<VirtualHost *:80>
ServerAdmin [email protected]
ServerName magento.example.com
DocumentRoot /var/www/html/magento2/
DirectoryIndex index.php
<Directory /var/www/html/magento2/>
Options Indexes FollowSymLinks MultiViews
AllowOverride All
Order allow,deny
allow from all
</Directory>
ErrorLog /var/log/httpd/magento_error.log
CustomLog /var/log/httpd/magento_access.log combined
</VirtualHost>
Save and close the file then restart the Apache service to apply the changes.
systemctl restart httpd
Step 5 – Install Magento
First, navigate to the Magento directory and run the following command to install Magento on your server.
cd /var/www/html/magento2/
sudo -u apache bin/magento setup:install --admin-firstname="magento" --admin-lastname="admin" --admin-email="[email protected]" --admin-user="admin" --admin-password="Your_Secure@Password123" --db-name="magento" --db-host="localhost" --db-user="magento" --db-password="Secur_&pas%3_sword" --language=en_US --currency=USD --timezone=UTC --cleanup-database --base-url=http://"magento.example.com"
You will get the following error.
Could not validate a connection to Elasticsearch. No alive nodes found in your cluster
You will need to disable Elasticsearch to resolve this error.
sudo -u apache bin/magento module:disable {Magento_Elasticsearch,Magento_Elasticsearch6,Magento_Elasticsearch7}
Next, run the following command again to install Magento.
sudo -u apache bin/magento setup:install --admin-firstname="magento" --admin-lastname="admin" --admin-email="[email protected]" --admin-user="admin" --admin-password="Your_Secure@Password123" --db-name="magento" --db-host="localhost" --db-user="magento" --db-password="Secur_&pas%3_sword" --language=en_US --currency=USD --timezone=UTC --cleanup-database --base-url=http://"magento.example.com"
Once the Magento is installed, you will get the following output.
[SUCCESS]: Magento installation complete.
[SUCCESS]: Magento Admin URI: /admin_kroki9
Nothing to import.
Next, you must install the Magento cron module and disable the two-factor authentication module.
cd /var/www/html/magento2
sudo -u apache  bin/magento cron:install
sudo -u apache bin/magento module:disable Magento_TwoFactorAuth
Step 6 – Access Magento Web Interface
Now, open your web browser and access the Magento web UI using the URL http://magento.example.com//admin_kroki9. You will be asked to provide a Magento admin username and password.
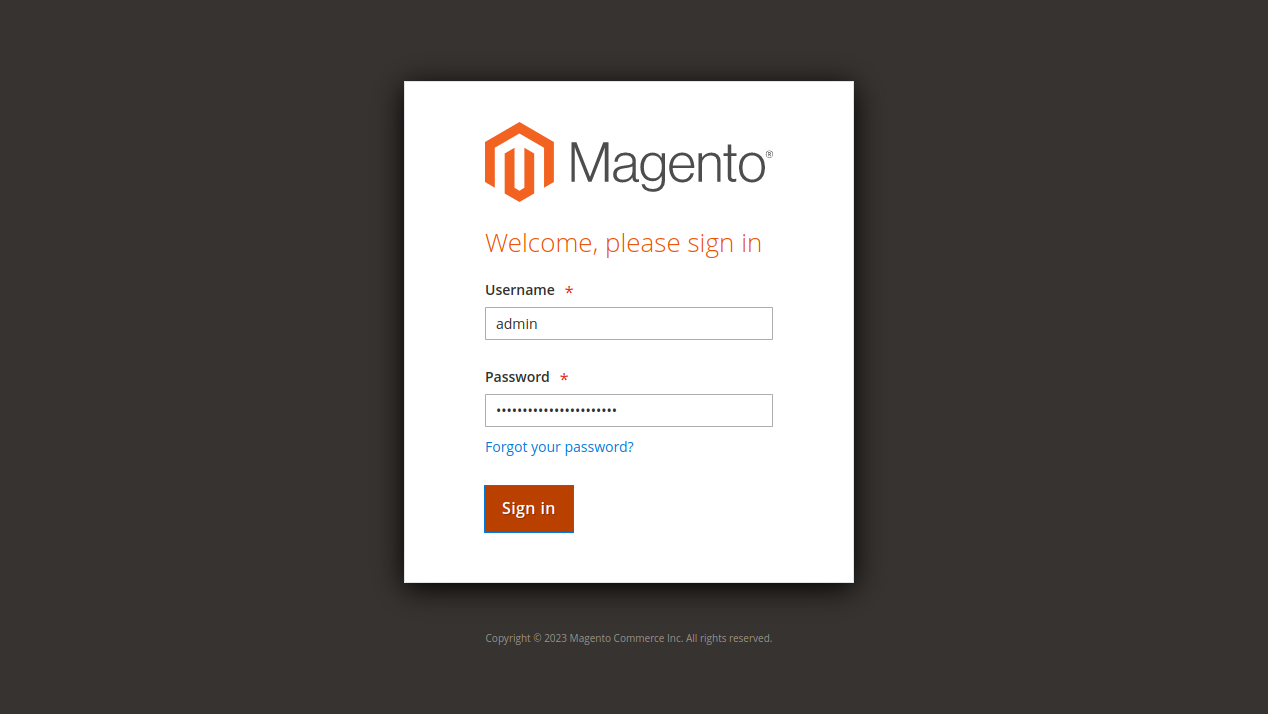
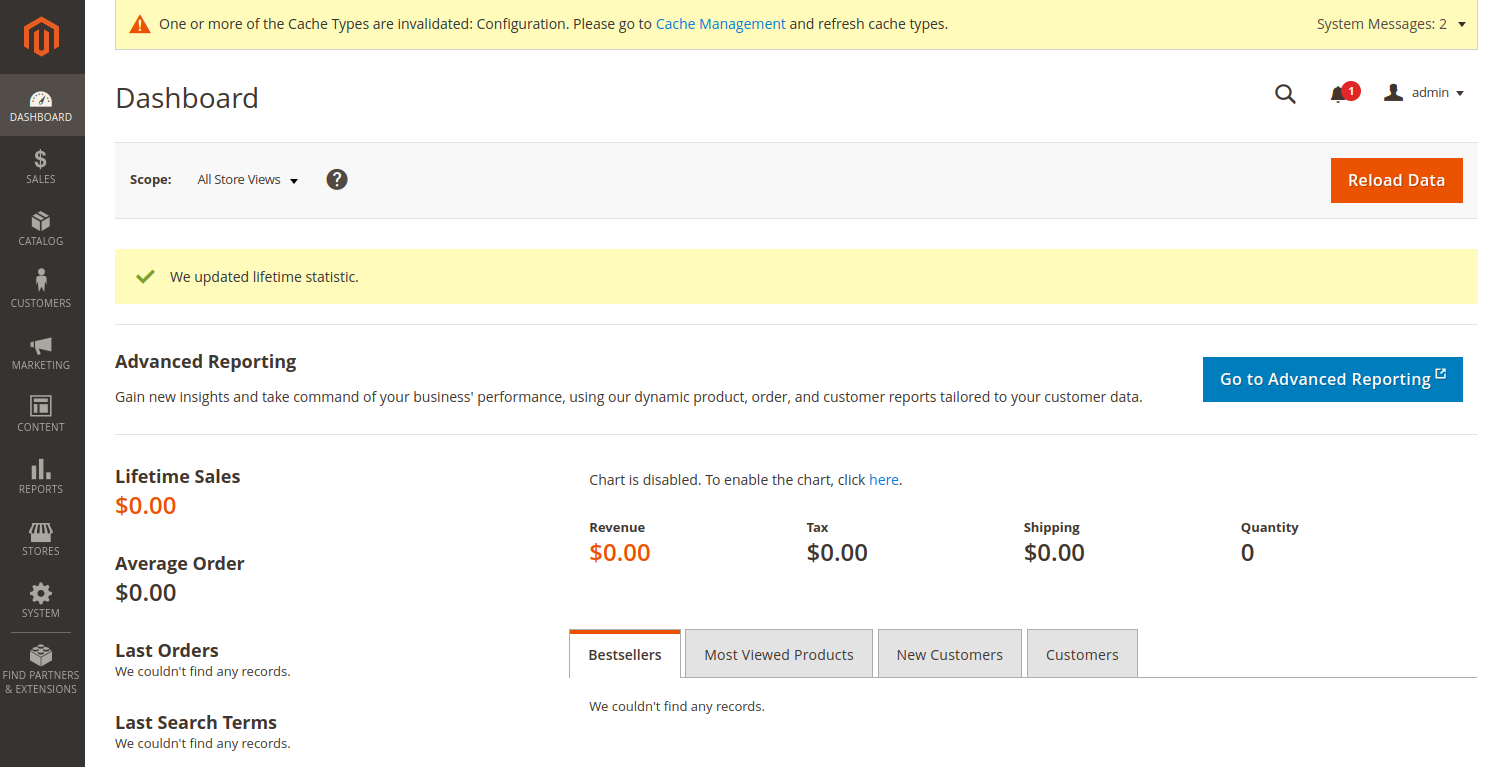
Type your username, password and click on the Login button. You should see the Magento dashboard on the following screen.
Conclusion
You learned how to install Magento with Apache on Fedora in this post. You can now start your online store using the Magento platform. You can now deploy Magento on dedicated server hosting from Atlantic.Net!
* This post is for informational purposes only and does not constitute professional, legal, financial, or technical advice. Each situation is unique and may require guidance from a qualified professional.
Readers should conduct their own due diligence before making any decisions.