Nextcloud is an open-source client-server software used for file hosting services. It is an alternate solution for DropBox, Google Drive, and IDrive. It allows you to access, share, and protect files, calendars, contacts, communication & more at home and in your enterprise. With Nextcloud, you can synchronize your data between multiple devices and exchange your information with several other users. Additionally, you have complete control over your data.
This post will show you how to install Nextcloud on Fedora.
Step 1 – Install Apache and PHP
First, install Apache web server using the following command.
dnf install httpd -y
Next, add the Repi repository to install the latest PHP version.
dnf install -y http://rpms.remirepo.net/fedora/remi-release-34.rpm
Next, reset the default PHP module and enable the Remi repository with the following command.
dnf module reset php -y
dnf module install php:remi-8.1
Next, install PHP using the following command.
dnf install php php-gd php-curl php-dom php-xml php-simplexml php-mbstring php-json -y
Next, install other required PHP extensions using the following command.
yum --enablerepo=remi install php-intl php-zip
Finally, start and enable the Apache service using the following command.
systemctl enable --now httpd
Step 2 – Install and Configure MariaDB Database
First, install MariaDB on your server.
dnf install mariadb mariadb-server -y
Next, start and enable the MariaDB service.
systemctl enable --now mariadb
Next, log in to the MariaDB shell with the following command.
mysql
Once you are connected, create a user and database for Nextcloud.
create database nextcloud;
create user 'nextcloud'@'localhost' identified by 'password';
Next, grant all the privileges on the Nextcloud database.
grant all privileges on nextcloud.* to 'nextcloud'@'localhost';
Next, flush the privileges and exit from the MariaDB shell.
flush privileges;
exit;
Step 3 – Download and Install Nextcloud
First, download the latest version of Nextcloud using the following command.
wget https://download.nextcloud.com/server/releases/latest.tar.bz2
Next, extract the downloaded file with the following command.
tar -xjf latest.tar.bz2
Next, move the extracted directory to the Apache web root.
mv nextcloud /var/www/html/nextcloud
Next, create a data directory for Nextcloud.
mkdir /var/www/html/nextcloud/data
Next, change the ownership of Nextcloud.
chown -R apache:apache /var/www/html/nextcloud
Step 4 – Configure Apache for Nextcloud
Next, create an Apache virtual server block to host Nextcloud on the web.
nano /etc/httpd/conf.d/nextcloud.conf
Add the following configurations.
<VirtualHost *:80>
    ServerName nextcloud.example.com
    DocumentRoot /var/www/html/nextcloud
    ErrorLog /var/log/httpd/nextcloud_error.log
    CustomLog /var/log/httpd/nextcloud_requests.log combined

    <Directory /var/www/html/nextcloud>
  Options +FollowSymlinks
  AllowOverride All

 <IfModule mod_dav.c>
  Dav off
 </IfModule>

 SetEnv HOME /var/www/html/nextcloud
 SetEnv HTTP_HOME /var/www/html/nextcloud
</Directory>

</VirtualHost>
Save and close the file, then restart the Apache service to apply the changes.
systemctl restart httpd
Step 5 – Access Nextcloud Interface
Now, open your web browser and access Nextcloud using the URL http://nextcloud.example.com. You should see the following screen.
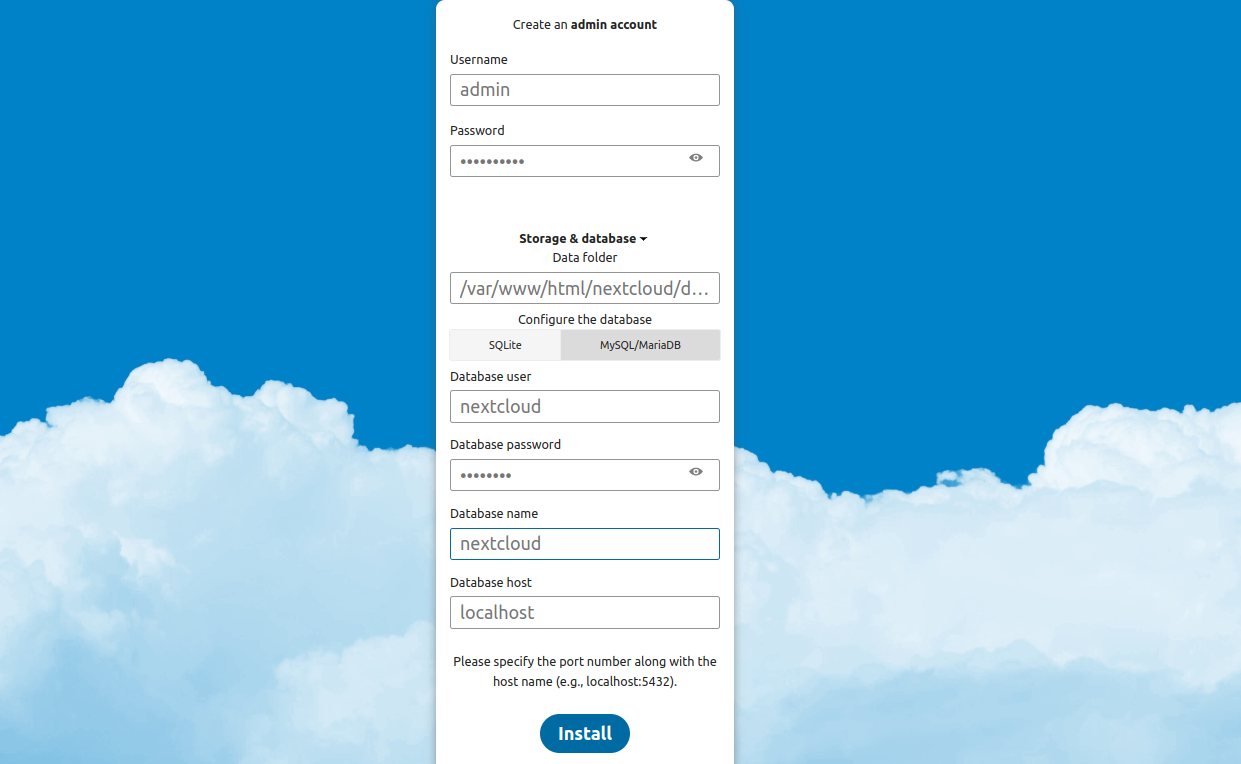
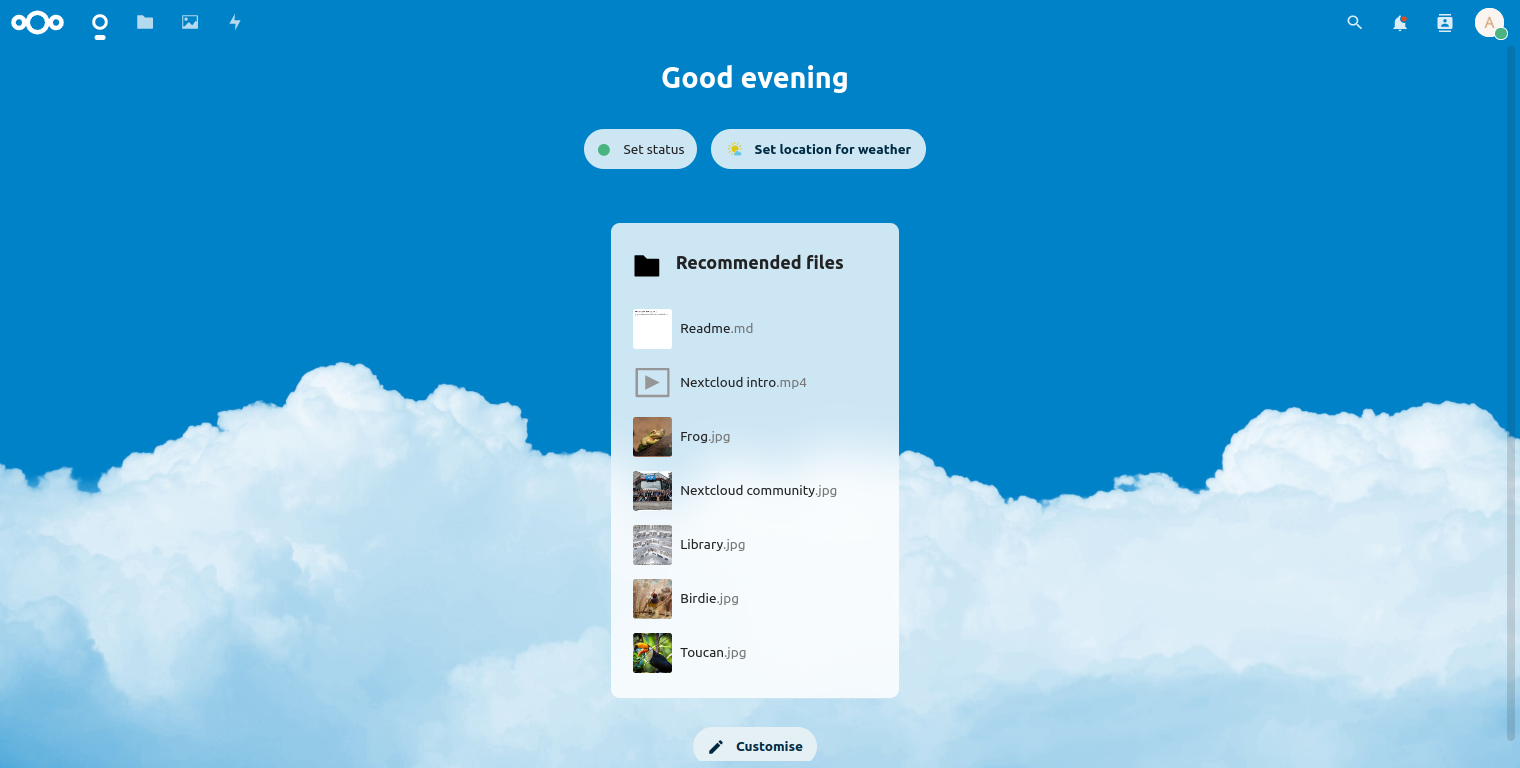
Provide all required information and click on the Install button. Once the Nextcloud is installed, you should see the following screen.
Conclusion
In this post, we explained how to install Nextcloud with Apache on Fedora. You can now install Nextcloud client software on your desktop or mobile device and then sync and share your data with other users. Try to install Nextcloud on dedicated server hosting from Atlantic.Net!
* This post is for informational purposes only and does not constitute professional, legal, financial, or technical advice. Each situation is unique and may require guidance from a qualified professional.
Readers should conduct their own due diligence before making any decisions.