
OpenProject is free, open-source project management software that helps you manage your entire project life cycle. It is written in Ruby on Rails and AngularJS. OpenProject provides a simple and easy-to-use web interface that allows you to collaborate on projects using features such as a WYSIWYG text editor, intelligent workflows, conditional formatting, team collaboration, Kanban, Agile & Scrum, project planning and scheduling, time tracking, product roadmaps, and release planning.
In this tutorial, we will show you how to install OpenProject on Ubuntu 20.04.
Step 1 – Install OpenProject
By default, the OpenProject package is not available in the Ubuntu 20.04 default repository, so you will need to add the OpenProject repository to your system.
First, install some required dependencies with the following command:
apt-get update -y
apt-get install apt-transport-https gnupg2 -y
Next, import the GPG key and add the OpenProject repository with the following command:
wget -qO- https://dl.packager.io/srv/opf/openproject/key | apt-key add -
wget -O /etc/apt/sources.list.d/openproject.list
https://dl.packager.io/srv/opf/openproject/stable/10/installer/debian/10.repo
Once the repository is added, update the repository and install the OpenProject package with the following command:
apt-get update -y
apt-get install openproject -y
Once OpenProject is installed, you should get the following output:
==============
The openproject package provides an installer. Please run the following command to finish the
installation:
sudo openproject configure
==============
Processing triggers for libc-bin (2.31-0ubuntu9) ...
Processing triggers for man-db (2.9.1-1) ...
Processing triggers for mime-support (3.64ubuntu1) ...
Step 2 – Configure OpenProject
After installing OpenProject, you will need to configure it. You can configure it with the following command:
openproject configure
You will be asked to install or use the database as shown below:
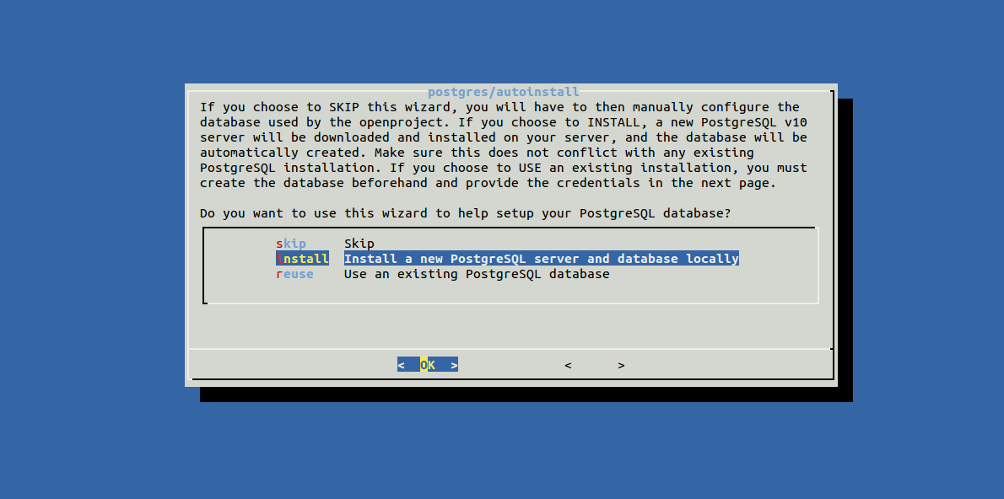
Select the second option and hit Enter. You will be asked to install the Webserver:
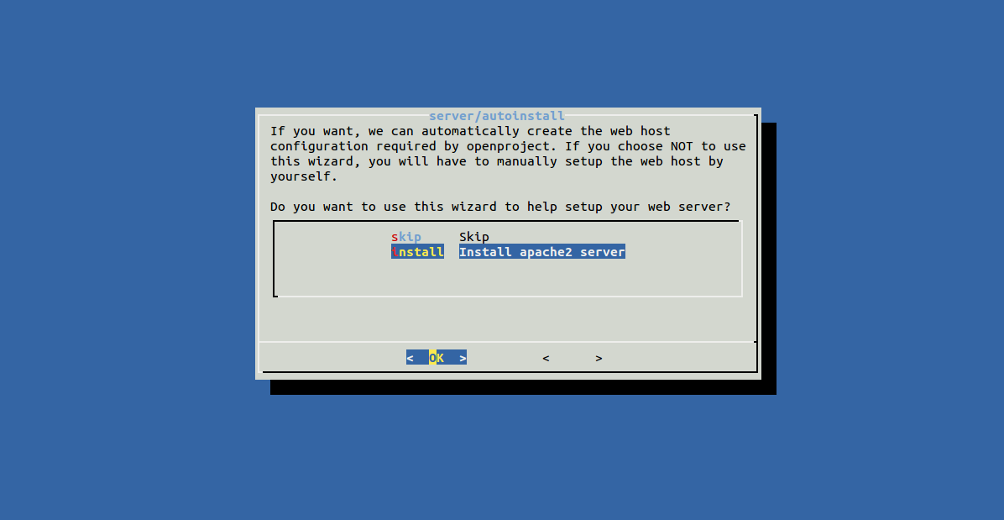
Select Apache webserver and hit Enter. You will be asked to set a fully qualified domain name:
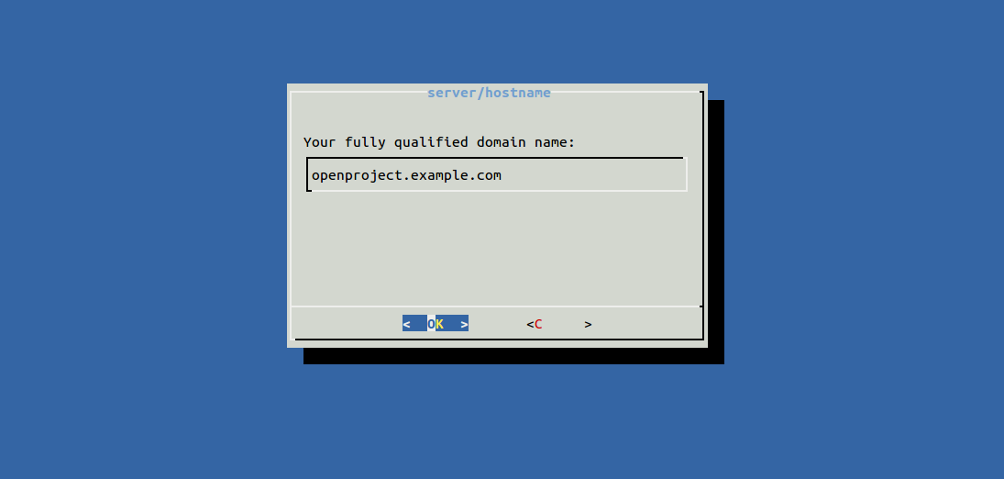
Provide your fully qualified domain name and hit Enter. You will be asked to set the installation path:
Leave it blank and hit Enter. You will be asked to enable SSL:
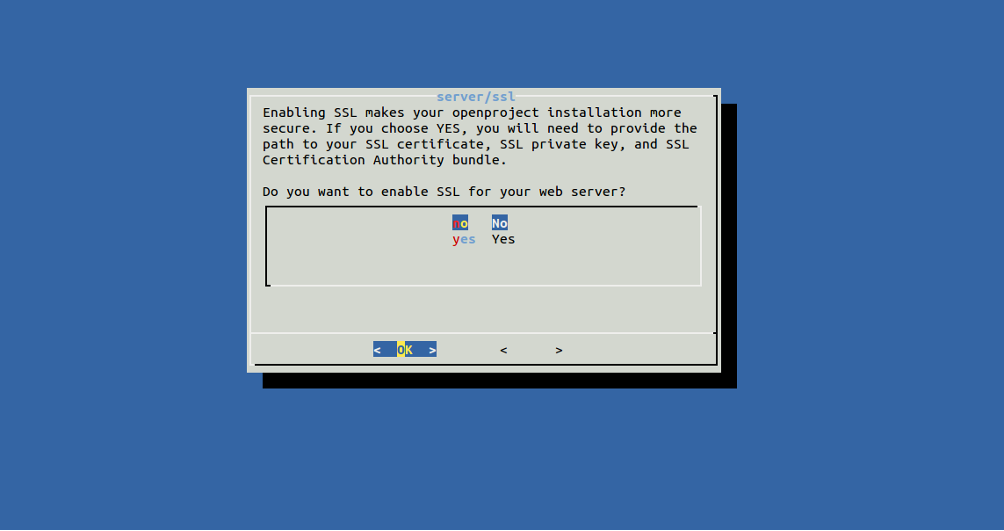
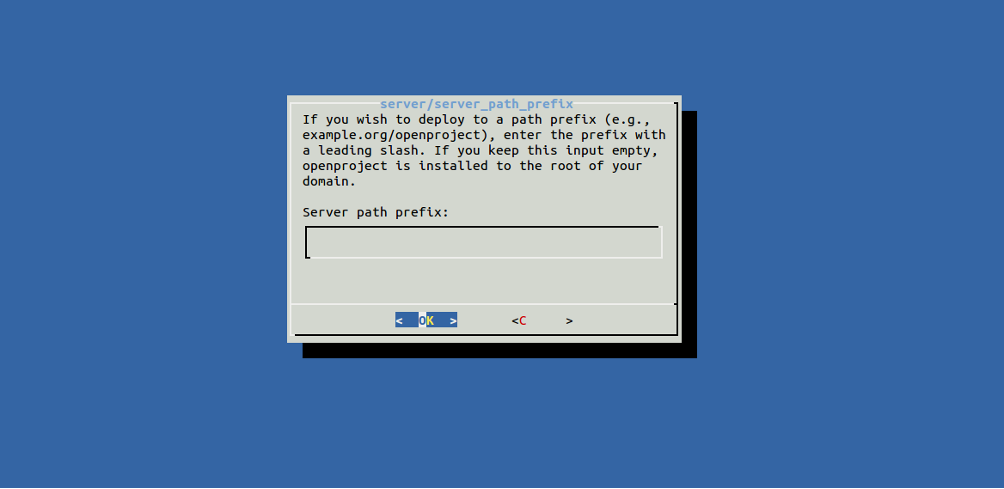
Select no and hit Enter. You will be asked to install SVN:
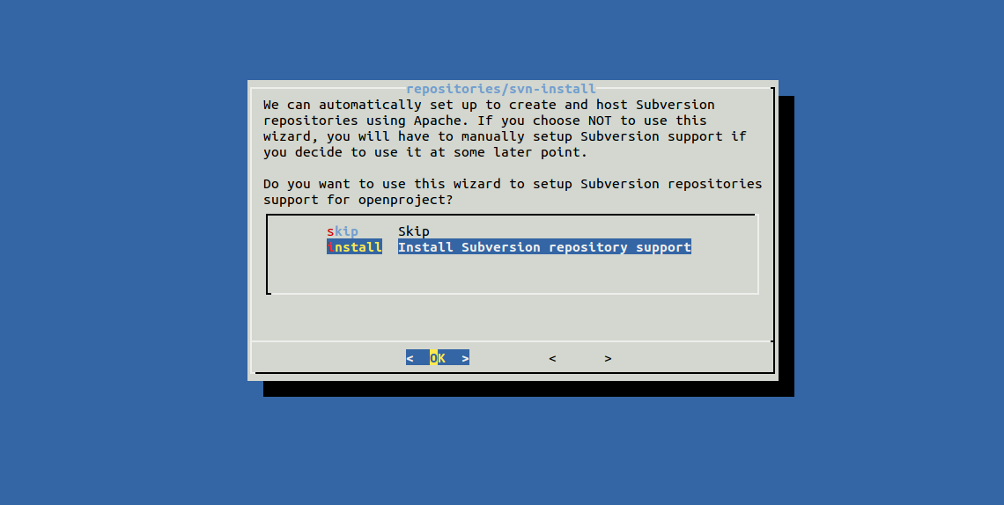
Select your desired option and hit Enter. You will be asked to specify the SVN repo path:
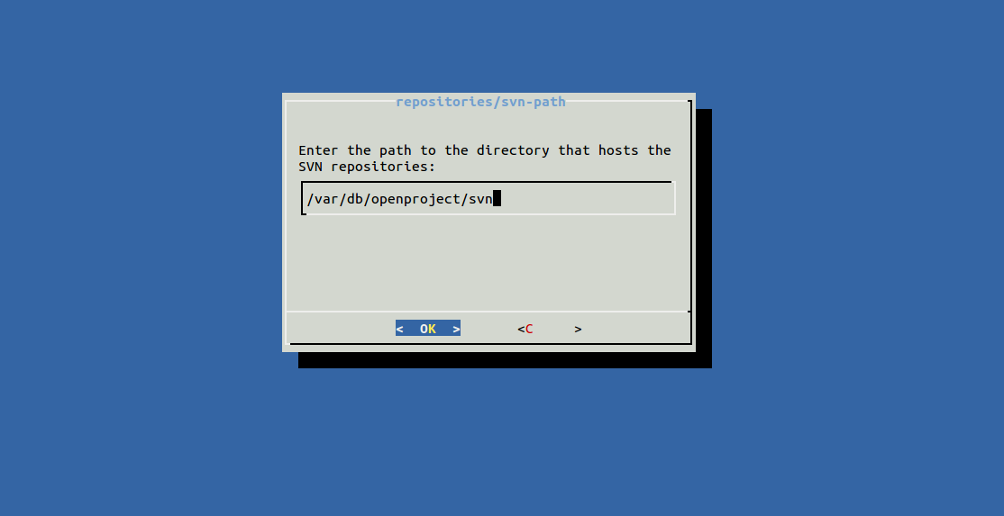
Provide your SVN repo path or leave it default and hit Enter. You will be asked to set up Git:
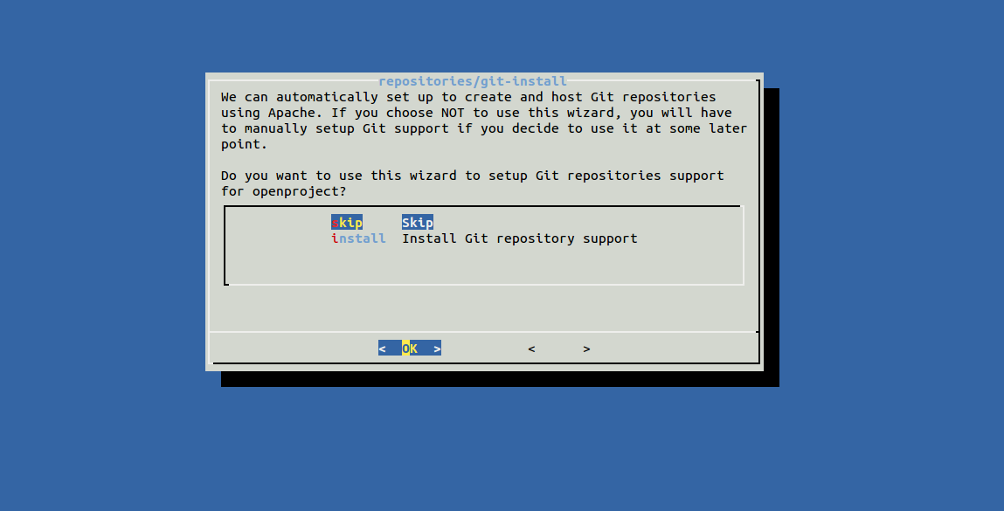
Select skip and hit Enter. You will be asked to set up sendmail:
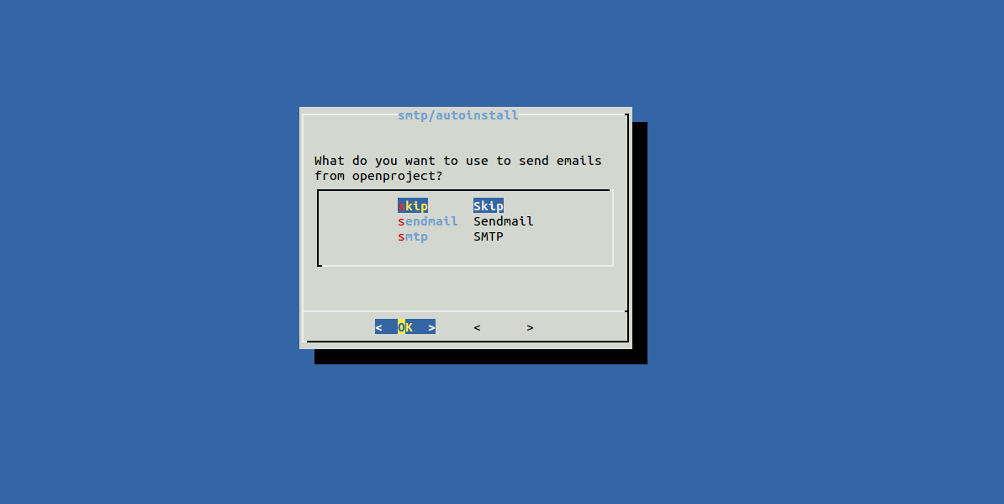
Select skip and hit Enter. You will be asked to install a memcached server:
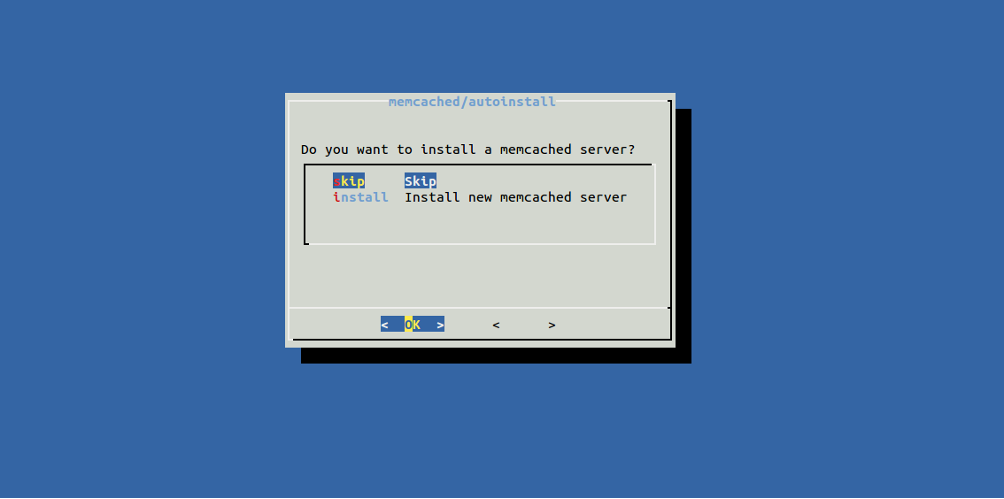
Select skip and hit Enter to finish the configuration.
Step 3 – Manage OpenProject Service
At this point, OpenProject is installed and running. You can verify the status of OpenProject with the following command:
systemctl status openproject
You should get the following output:
-
openproject.service
Loaded: loaded (/etc/systemd/system/openproject.service; enabled; vendor preset: enabled)
Active: active (running) since Fri 2020-10-30 05:22:46 UTC; 1min 33s ago
Main PID: 18299 (sleep)
Tasks: 1 (limit: 4691)
Memory: 148.0K
CGroup: /system.slice/openproject.service
└─18299 /bin/sleep infinity
Oct 30 05:22:46 ubuntu2004 systemd[1]: Started openproject.service.
You can also start and stop OpenProject with the following command:
systemctl start openproject
systemctl stop openproject
Step 4 – Access OpenProject Web UI
Now, open your web browser and access the OpenProject admin interface using the URL http://openproject.example.com/admin. You will be redirected to the OpenProject login page:
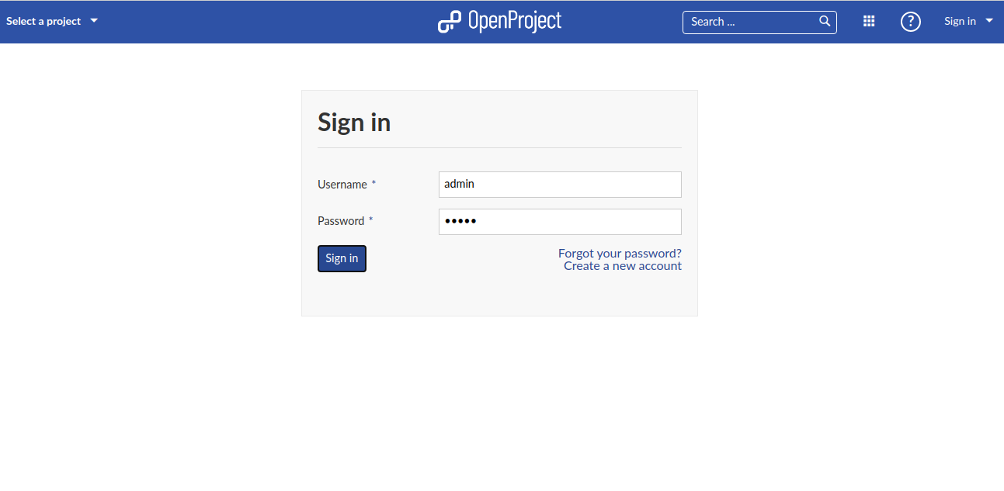
Provide the default admin username and password as admin / admin, then click on the Sign in button. You should see the default admin password reset screen:
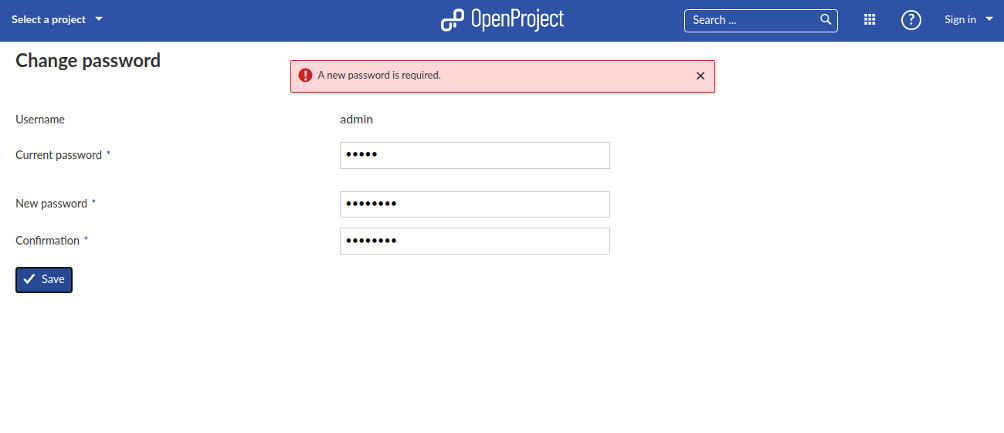
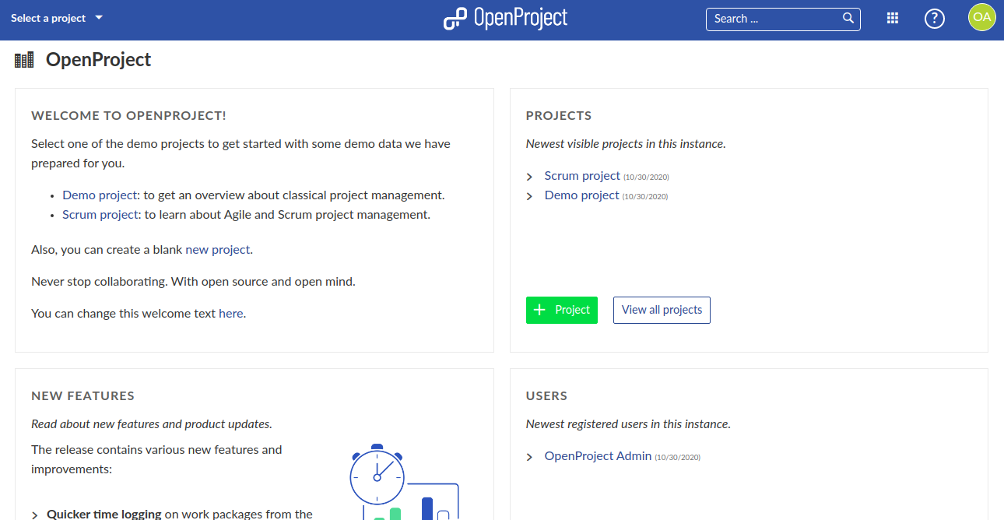
Set your new password and click on the Save button. You should see the OpenProject dashboard in the following screen:
Conclusion
Congratulations! You have successfully installed and configured OpenProject on Ubuntu 20.04 server. You can now explore OpenProject and start creating your first project. Try OpenProject today on dedicated server hosting from Atlantic.Net!

Written by
Hitesh Jethva is a regular contributor to the Atlantic.Net blog. With over 15 years of experience in Linux and open-source technologies, he founded Linux Buz, a website dedicated to Linux enthusiasts.