OpenSearch is an open-source search engine technology that enables users to build and deploy their search solutions. It’s developed as a community-driven project and is based on Elasticsearch, a distributed search and analytics engine. OpenSearch empowers users to build and deploy powerful search solutions that meet their specific needs, whether it’s searching through large datasets, analyzing real-time data streams, or building custom search applications. Its flexibility, scalability, and community-driven development make it a valuable tool for various use cases across industries.
This tutorial will show you how to install OpenSearch on Ubuntu 22.04.
Step 1 – Add OpenSearch Repository
OpenSearch package is not included in the Ubuntu 22.04 default repository. So, you will need to add OpenSearch repository to your server.
First, install the required dependencies.
apt -y install curl lsb-release gnupg2 ca-certificates
Next, import the GPG key to sign the OpenSearch packages.
curl -fsSL https://artifacts.opensearch.org/publickeys/opensearch.pgp| gpg --dearmor -o /etc/apt/trusted.gpg.d/opensearch.gpg
Next, add the OpenSearch repository to your system.
echo "deb https://artifacts.opensearch.org/releases/bundle/opensearch/2.x/apt stable main" | tee /etc/apt/sources.list.d/opensearch-2.x.list
Update the package lists to reflect the changes you made to the repository sources:
apt update -y
Step 2 – Install and Configure OpenSearch
To install OpenSearch with an initial admin password set, you can use environment variables during the installation process. Here’s the command to install OpenSearch with the initial admin password set:
env OPENSEARCH_INITIAL_ADMIN_PASSWORD=Your1982_Something@Secure apt install opensearch
This command sets the initial admin password for OpenSearch to “Your1982_Something@Secure” during the installation process. Replace “Your1982_Something@Secure” with your desired password.
Next, edit the OpenSearch default configuration file.
nano /etc/opensearch/opensearch.yml
Change the default values as per your requirements:
cluster.name: ocluster1
network.host: 0.0.0.0
http.port: 9200

discovery.type: single-node
node.name: ${HOSTNAME}

plugins.security.disabled: false
plugins.security.ssl.http.enabled: false
Save and close the file, then reload the systemd daemon.
systemctl daemon-reload
Next, restart the OpenSearch service to apply the changes.
systemctl restart opensearch
You can check the status of OpenSearch using the following command:
systemctl status opensearch
Output:
● opensearch.service - OpenSearch
     Loaded: loaded (/lib/systemd/system/opensearch.service; disabled; vendor preset: enabled)
     Active: active (running) since Sun 2024-04-07 08:38:52 UTC; 20s ago
       Docs: https://opensearch.org/
   Main PID: 26702 (java)
      Tasks: 58 (limit: 4579)
     Memory: 1.2G
        CPU: 37.356s
     CGroup: /system.slice/opensearch.service
             └─26702 /usr/share/opensearch/jdk/bin/java -Xshare:auto -Dopensearch.networkaddress.cache.ttl=60 -Dopensearch.networkaddress.cache.negative.ttl=10 -XX:+Al>
Step 3 – Install OpenSearch Dashboard
The OpenSearch Dashboard, also known as the OpenSearch Kibana, is a web-based interface that allows users to interact with OpenSearch clusters, visualize data, and perform various data analysis tasks. It provides a user-friendly environment for exploring and analyzing data stored in OpenSearch.
First, add the OpenSearch Dashboard repository.
echo "deb https://artifacts.opensearch.org/releases/bundle/opensearch-dashboards/2.x/apt stable main" | tee -a /etc/apt/sources.list.d/opensearch-2.x.list
Next, update the repository index and install the OpenSearch Dashboard.
apt update
apt install opensearch-dashboards
Next, edit the OpenSearch Dashboard configuration file.
nano /etc/opensearch-dashboards/opensearch_dashboards.yml
Change the following settings:
server.host: "0.0.0.0"

server.ssl.enabled: false

opensearch.hosts: ["http://localhost:9200"]
Save and close the file, then restart the OpenSearch Dashboard service.
systemctl restart opensearch-dashboards
Check the OpenSearch Dashboard service status.
systemctl status opensearch-dashboards
Output:
● opensearch-dashboards.service - "OpenSearch Dashboards"
     Loaded: loaded (/lib/systemd/system/opensearch-dashboards.service; enabled; vendor preset: enabled)
     Active: active (running) since Sun 2024-04-07 09:15:47 UTC; 4s ago
   Main PID: 29662 (node)
      Tasks: 11 (limit: 4579)
     Memory: 188.2M
        CPU: 5.993s
     CGroup: /system.slice/opensearch-dashboards.service
             └─29662 /usr/share/opensearch-dashboards/node/bin/node /usr/share/opensearch-dashboards/src/cli/dist

Apr 07 09:15:47 ubuntu22 systemd[1]: Started "OpenSearch Dashboards".
Step 4 – Access OpenSearch Dashboard
By default, OpenSearch Dashboard listens on port 5601. You can access it using the URL http://your-server-ip:5601. You will see the OpenSearch Dashboard login page.
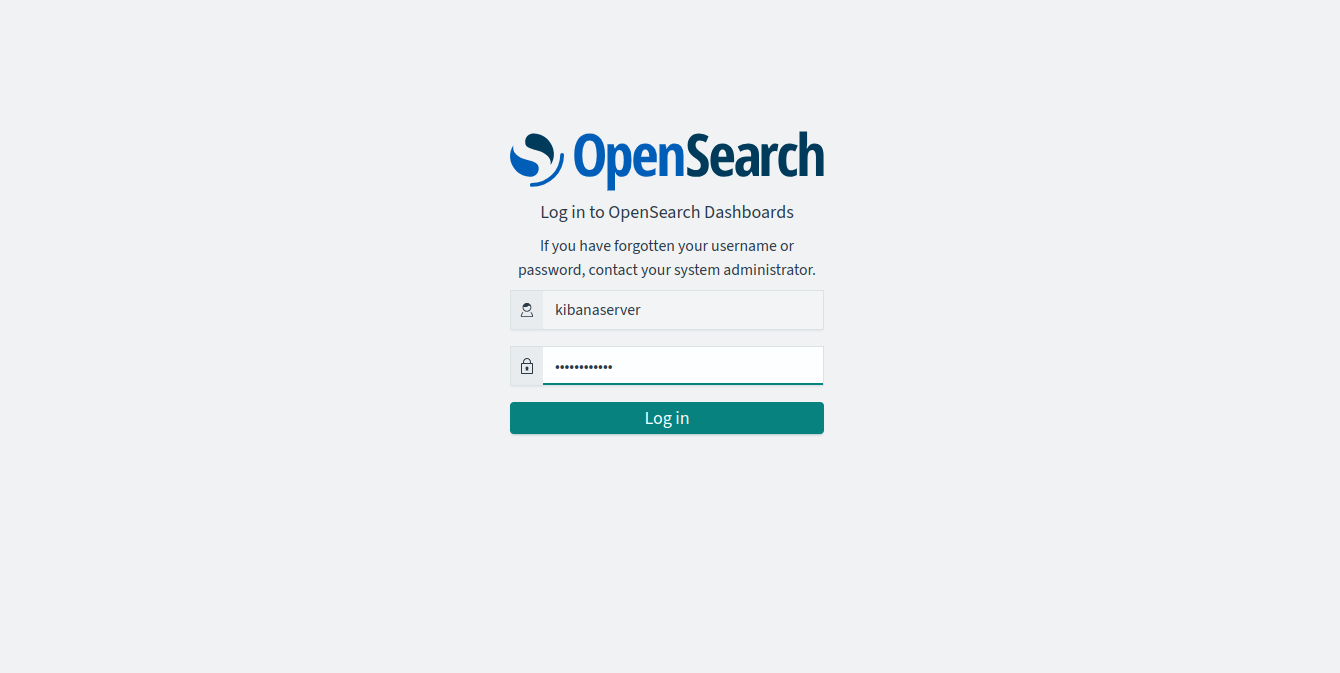
Provide the OpenSearch Dashboard default username as a kibanauser and password as kibanauser, then click on Login. You will see the following page:
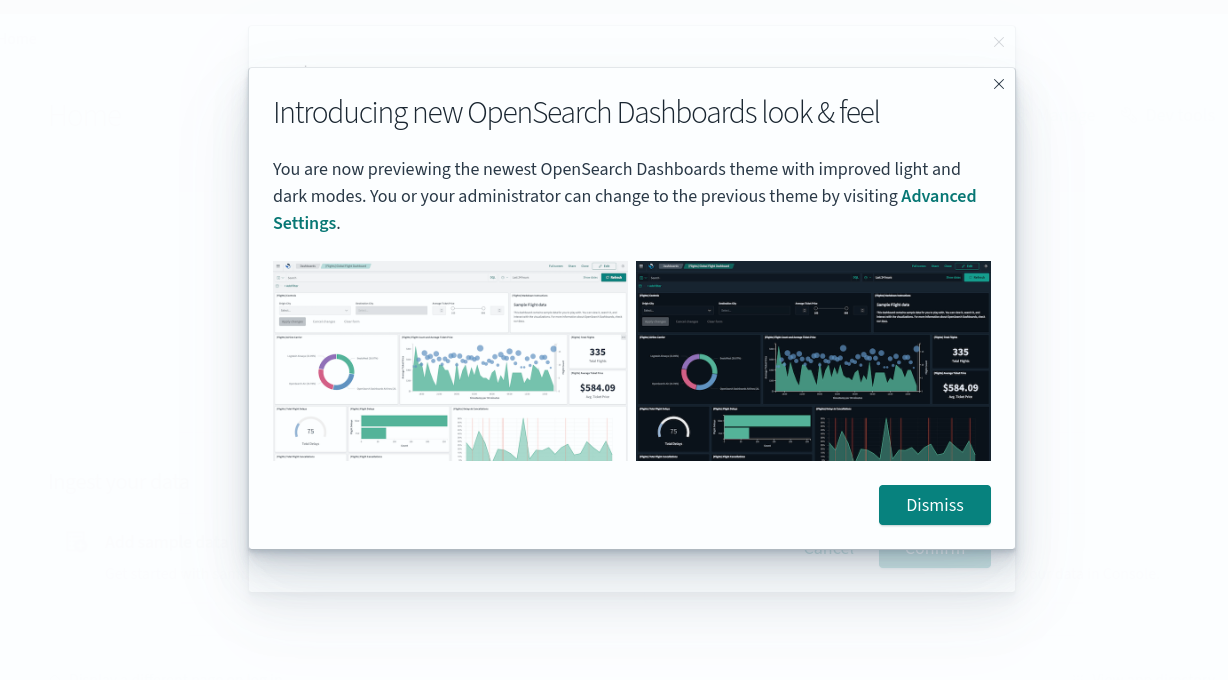
Click on Dismiss. You will see the tenant selection page.
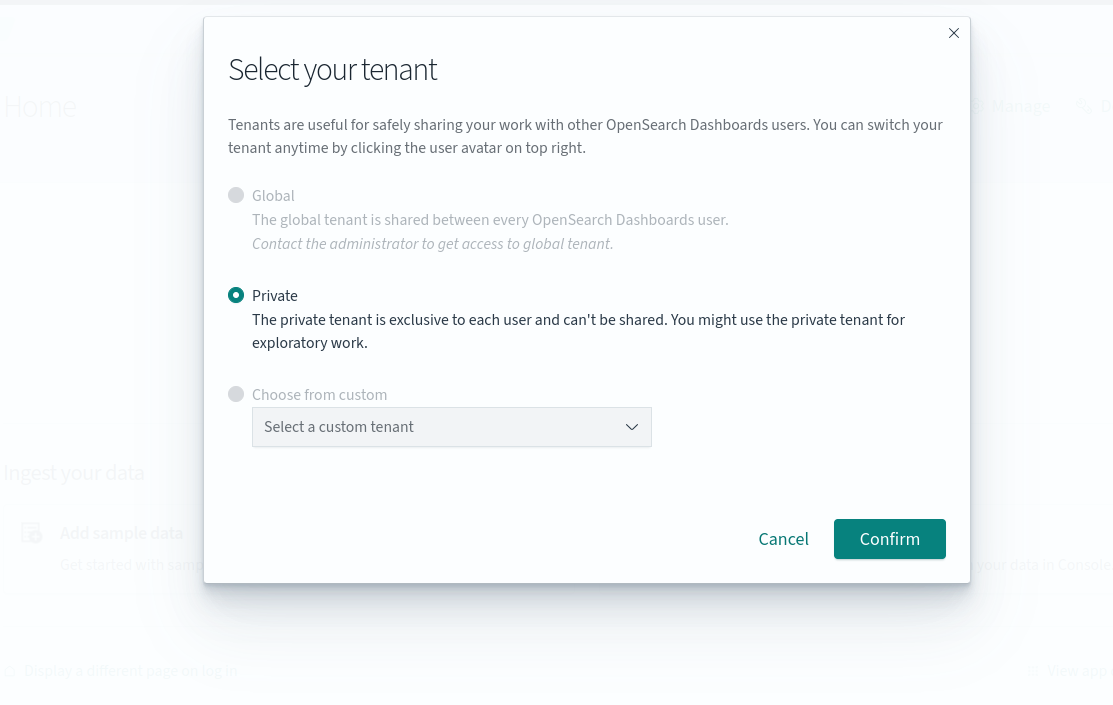
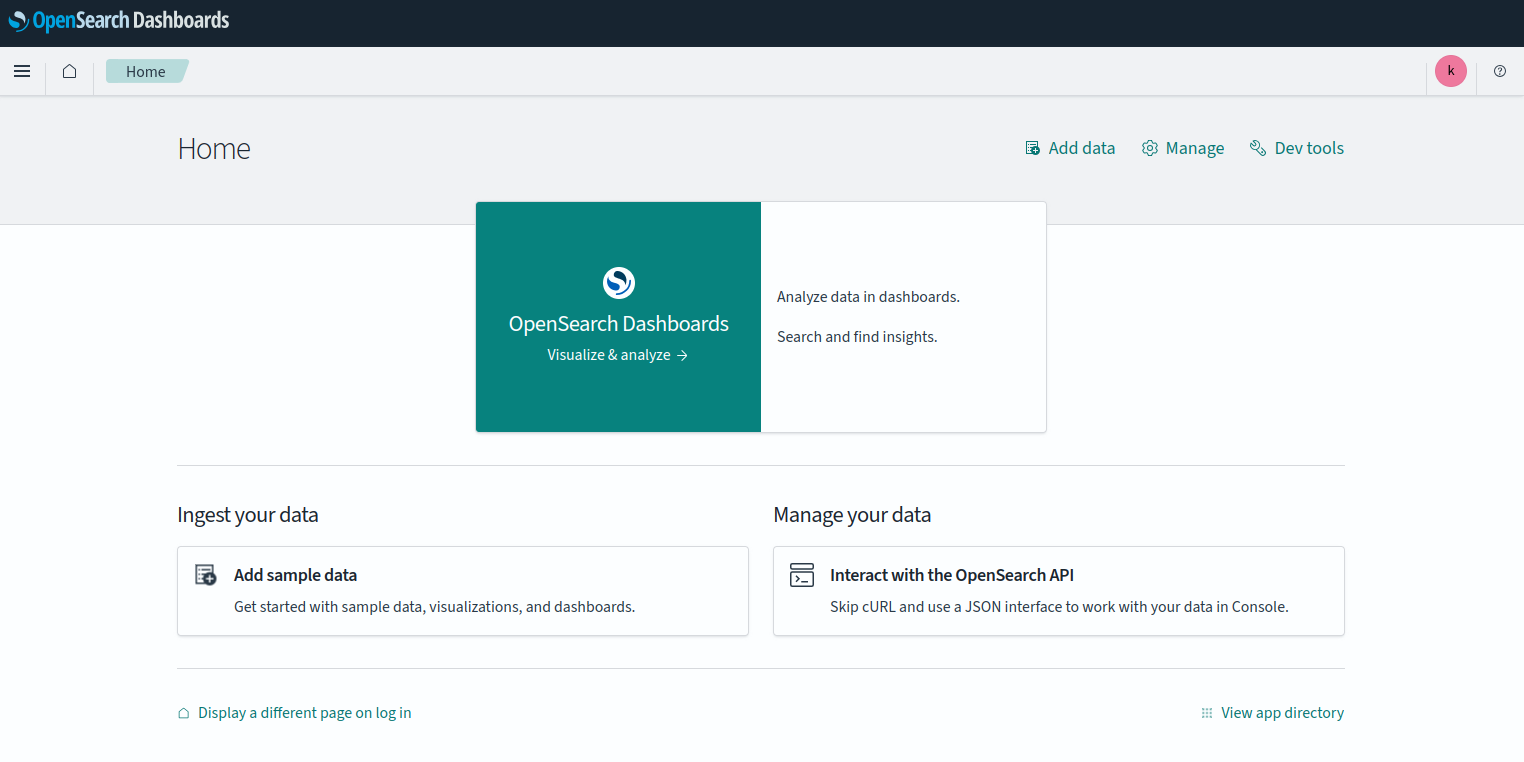
Select your tenant and click on Confirm. You will see the following page:
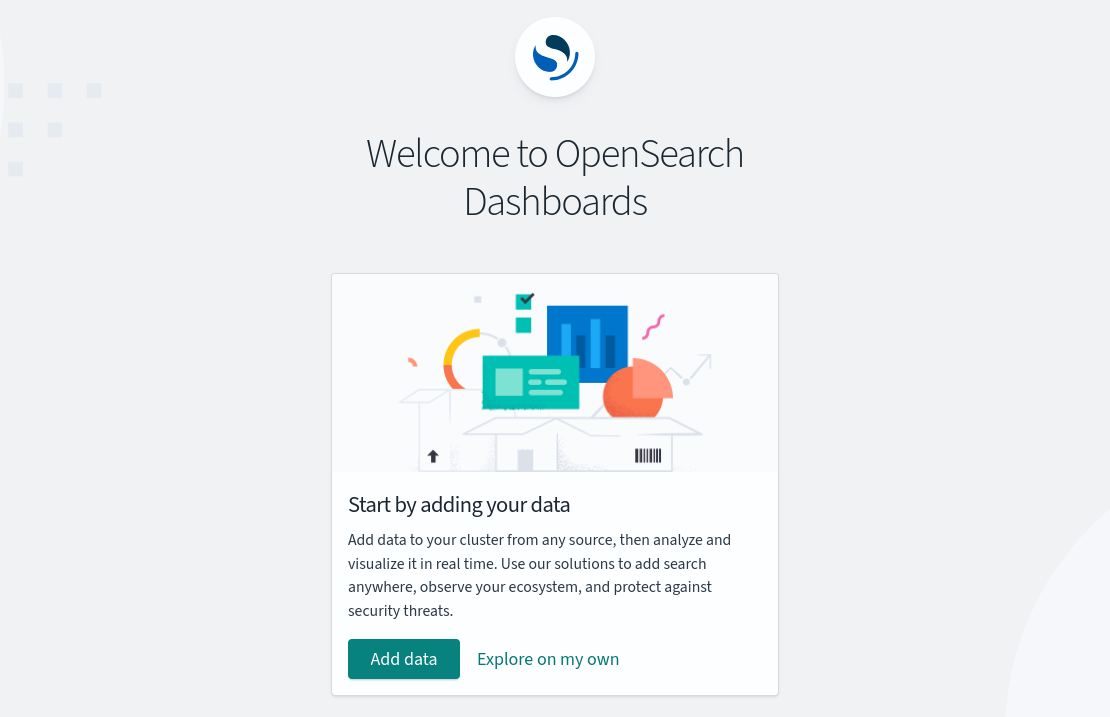
Click on Explore on my own. You will see the OpenSearch Dashboard on the following page.
Conclusion
Through the step-by-step installation process outlined in this guide, you’ve gained the necessary knowledge to set up OpenSearch on your Ubuntu system efficiently. With OpenSearch, you can harness the capabilities of a robust search and analytics engine, enabling you to index, search, and visualize data effectively. Whether you’re managing log data, monitoring system metrics, or conducting complex data analysis tasks, OpenSearch offers the flexibility and scalability to meet your needs. Try to deploy OpenSearch on dedicated server hosting from Atlantic.Net!