pgAdmin is an advanced open-source database management tool that allows you to manage PostgreSQL databases via a web browser. It provides a Graphical User Interface to interact with remote and local PostgreSQL and perform database operations. pgAdmin is written in Python and jQuery and supports all the features found in PostgreSQL.
In this guide, we will show you how to install pgAdmin on Fedora Linux.
Step 1 – Install PostgreSQL
First, list all available PostgreSQL versions using the following command.
dnf module list postgresql
You will see the following output.
Last metadata expiration check: 0:05:00 ago on Thu 13 Jul 2023 06:28:07 AM EDT.
Fedora Modular 34 - x86_64
Name                                    Stream                              Profiles                                       Summary
postgresql                              9.6                                 client, server [d]                             PostgreSQL module
postgresql                              10                                  client, server [d]                             PostgreSQL module
postgresql                              11                                  client, server [d]                             PostgreSQL module
postgresql                              12                                  client, server                                 PostgreSQL module
postgresql                              13                                  client, server                                 PostgreSQL module

Fedora Modular 34 - x86_64 - Updates
Name                                    Stream                              Profiles                                       Summary
postgresql                              9.6                                 client, server [d]                             PostgreSQL module
postgresql                              10                                  client, server [d]                             PostgreSQL module
postgresql                              11                                  client, server [d]                             PostgreSQL module
postgresql                              12                                  client, server                                 PostgreSQL module
postgresql                              13                                  client, server                                 PostgreSQL module
postgresql                              14                                  client, server                                 PostgreSQL module

Hint: [d]efault, [e]nabled, [x]disabled, [i]nstalled
Next, enable the latest PostgreSQL version with the following command.
dnf module enable postgresql:14
Next, install PostgreSQL 14 on your server.
dnf install postgresql-server -y
After the successful installation, initialize the PostgreSQL database.
postgresql-setup --initdb
Output:
 * Initializing database in '/var/lib/pgsql/data'
 * Initialized, logs are in /var/lib/pgsql/initdb_postgresql.log
Next, start and enable the PostgreSQL service.
systemctl enable postgresql
systemctl start postgresql
To verify the PostgreSQL status, run the following command.
systemctl status postgresql
You will see the following output.
● postgresql.service - PostgreSQL database server
     Loaded: loaded (/usr/lib/systemd/system/postgresql.service; disabled; vendor preset: disabled)
     Active: active (running) since Thu 2023-07-13 06:34:19 EDT; 6s ago
    Process: 2277 ExecStartPre=/usr/libexec/postgresql-check-db-dir postgresql (code=exited, status=0/SUCCESS)
   Main PID: 2279 (postmaster)
      Tasks: 8 (limit: 4666)
     Memory: 15.9M
        CPU: 53ms
     CGroup: /system.slice/postgresql.service
             ├─2279 /usr/bin/postmaster -D /var/lib/pgsql/data
             ├─2280 postgres: logger
             ├─2282 postgres: checkpointer
             ├─2283 postgres: background writer
             ├─2284 postgres: walwriter
             ├─2285 postgres: autovacuum launcher
             ├─2286 postgres: stats collector
             └─2287 postgres: logical replication launcher
Step 2 – Install pgAdmin
By default, pgAdmin is not included in the Fedora default repo, so you will need to install the pgAdmin repo to your server.
rpm -Uvh https://ftp.postgresql.org/pub/pgadmin/pgadmin4/yum/pgadmin4-fedora-repo-2-1.noarch.rpm
Once the repo is created, install the pgAdmin with the following command.
dnf install pgadmin4-web -y
Next, install other required packages with the following command.
dnf install policycoreutils-python-utils -y
Step 3 – Configure the pgAdmin User Account
To access the pgAdmin web interface, you will need to set up a user and password for pgAdmin. Run the following script to set up an admin account.
/usr/pgadmin4/bin/setup-web.sh
You will be asked to provide your email and password as shown below.
Setting up pgAdmin 4 in web mode on a Redhat based platform...
Creating configuration database...
NOTE: Configuring authentication for SERVER mode.

Enter the email address and password to use for the initial pgAdmin user account:

Email address: [email protected]
Password:
Retype password:
pgAdmin 4 - Application Initialisation
======================================

Creating storage and log directories...
Configuring SELinux...
/usr/pgadmin4/bin/setup-web.sh: line 100: semanage: command not found
/usr/pgadmin4/bin/setup-web.sh: line 102: semanage: command not found
The Apache web server is not running. We can enable and start the web server for you to finish pgAdmin 4 installation. Continue (y/n)? y
Created symlink /etc/systemd/system/multi-user.target.wants/httpd.service → /usr/lib/systemd/system/httpd.service.
Apache successfully enabled.
Apache successfully started.
You can now start using pgAdmin 4 in web mode at http://127.0.0.1/pgadmin4
The above command will start the Apache server automatically. You can verify it with the following command.
systemctl status httpd
Output:
● httpd.service - The Apache HTTP Server
     Loaded: loaded (/usr/lib/systemd/system/httpd.service; enabled; vendor preset: disabled)
     Active: active (running) since Thu 2023-07-13 06:36:50 EDT; 19s ago
       Docs: man:httpd.service(8)
   Main PID: 3297 (httpd)
     Status: "Total requests: 0; Idle/Busy workers 100/0;Requests/sec: 0; Bytes served/sec:   0 B/sec"
      Tasks: 205 (limit: 4666)
     Memory: 35.0M
        CPU: 305ms
     CGroup: /system.slice/httpd.service
             ├─3297 /usr/sbin/httpd -DFOREGROUND
             ├─3298 /usr/sbin/httpd -DFOREGROUND
             ├─3299 /usr/sbin/httpd -DFOREGROUND
             ├─3300 /usr/sbin/httpd -DFOREGROUND
             ├─3301 /usr/sbin/httpd -DFOREGROUND
             └─3302 /usr/sbin/httpd -DFOREGROUND

Jul 13 06:36:50 fedora systemd[1]: Starting The Apache HTTP Server...
Step 4 – Access pgAdmin Web Interface
At this point, pgAdmin is installed and listens on port 80. You can access it using the URL http://your-server-ip/pgadmin4. You should see the pgAdmin login screen.

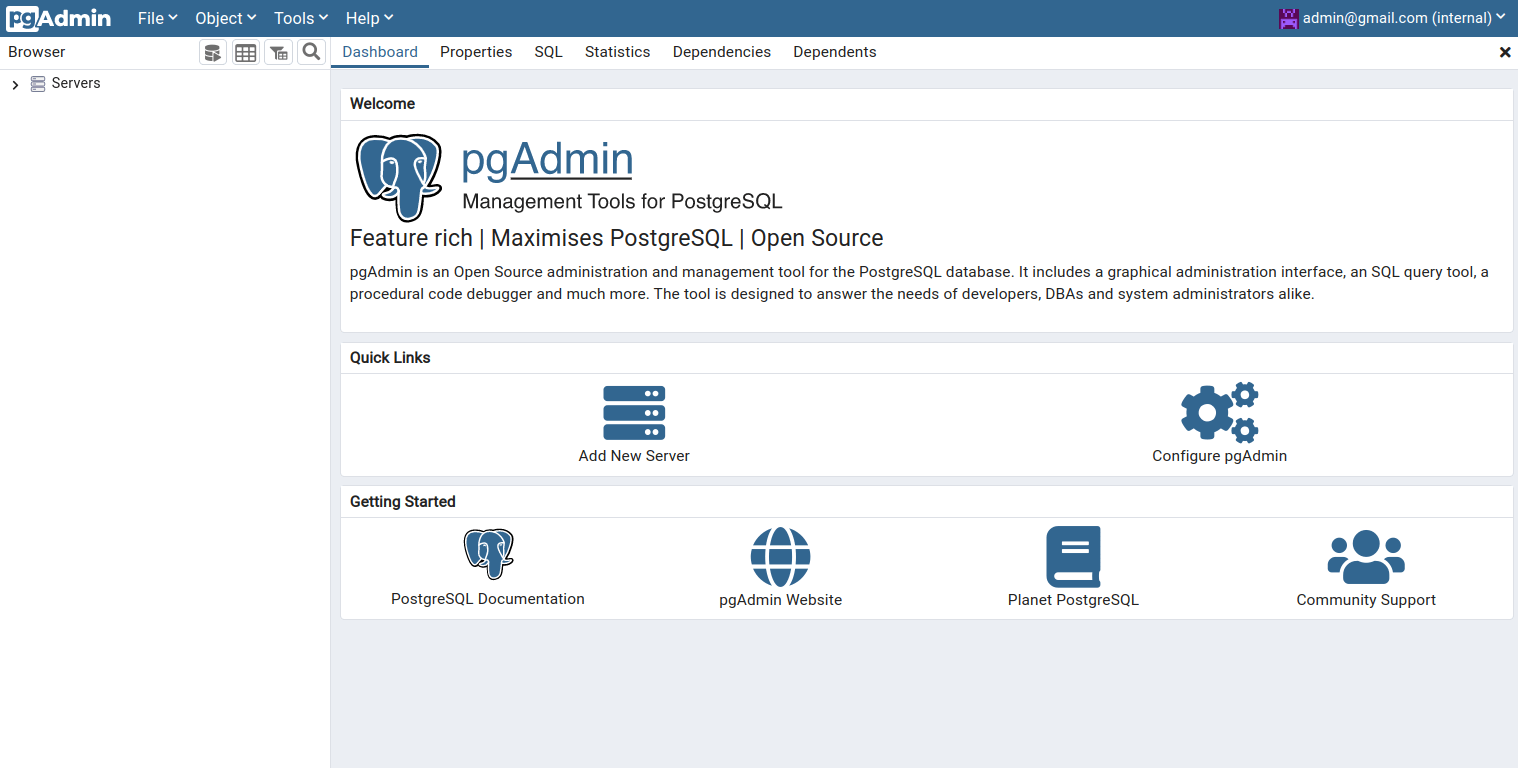
Provide your email address and password and click on Login. You will see the pgAdmin dashboard on the following screen.
Conclusion
In this tutorial, we explained how to install pgAdmin on Fedora Linux. You can now add your remote PostgreSQL server to pgAdmin and start managing them via the central dashboard. You can now use pgAdmin to monitor a PostgreSQL server on dedicated server hosting from Atlantic.Net!
* This post is for informational purposes only and does not constitute professional, legal, financial, or technical advice. Each situation is unique and may require guidance from a qualified professional.
Readers should conduct their own due diligence before making any decisions.