React is an open-source JavaScript front-end library developed by Facebook and a large community of developers. It is lightweight, which makes your application faster to load. React can be integrated into various projects, which makes it a preferred choice for diverse applications. If you are looking to design interactive user interfaces for single-page applications, then React is the best option for you.
Step 1 – Install Node.js
First, install the necessary dependencies using the following command.
apt-get install -y ca-certificates curl gnupg
Next, download the Node.js GPG key.
mkdir -p /etc/apt/keyrings
curl -fsSL https://deb.nodesource.com/gpgkey/nodesource-repo.gpg.key | gpg --dearmor -o /etc/apt/keyrings/nodesource.gpg
Next, add the NodeSource repo to the APT source list.
echo "deb [signed-by=/etc/apt/keyrings/nodesource.gpg] https://deb.nodesource.com/node_22.x nodistro main" | tee /etc/apt/sources.list.d/nodesource.list
Then, update the repository index and install Node.js with the following command.
apt update
apt-get install -y nodejs
Next, verify the Node.js version using the following command.
node -v
Output.
v22.15.1
Step 2 – Create a React App
First, install the create-react app using the NPM command.
npm install -g create-react-app
Next, create a new project for your application.
create-react-app test-project
You can verify all files of your project using the following command.
ls test-project/
Output.
node_modules package.json package-lock.json public README.md src
Step 3 – Create a Systemd Service File
Next, create a systemd service file to manage React application.
nano /lib/systemd/system/reactjs.service
Add the following configuration.
[Service]
Type=simple
User=root
Restart=on-failure
WorkingDirectory=/root/test-project
ExecStart=npm start -- --port=3000
Save and close the file, then reload the systemd daemon.
systemctl daemon-reload
Next, start and enable the React service.
systemctl start reactjs
systemctl enable reactjs
You can now verify the React service status using the following command.
systemctl status reactjs
Output.
● reactjs.service
     Loaded: loaded (/usr/lib/systemd/system/reactjs.service; static)
     Active: active (running) since Fri 2025-05-16 07:03:34 UTC; 4s ago
   Main PID: 79062 (npm start --por)
      Tasks: 29 (limit: 629145)
     Memory: 189.8M (peak: 190.0M)
        CPU: 5.129s
     CGroup: /system.slice/reactjs.service
             ├─79062 "npm start --port=3000"
             ├─79073 node /root/test-project/node_modules/.bin/react-scripts start --port=3000
             └─79080 /usr/bin/node /root/test-project/node_modules/react-scripts/scripts/start.js --port=3000
Step 4 – Configure Apache as a Reverse Proxy
First, install the Apache package with the following command.
apt install apache2 -y
Next, create an Apache virtual host configuration file.
nano /etc/apache2/sites-available/reactjs.conf
Add the following configuration.
<VirtualHost *:80>
  ServerName react.example.com
  ProxyRequests off
  ProxyPass / http://127.0.0.1:3000/
  ProxyPassReverse / http://127.0.0.1:3000/
</VirtualHost>
Save and close the file, then activate the Apache virtual host and other required modules using the following commands.
a2ensite reactjs.conf
a2enmod proxy
a2enmod proxy_http
Finally, reload the Apache service to apply the changes.
systemctl reload apache2
Step 5 – Access React Web UI
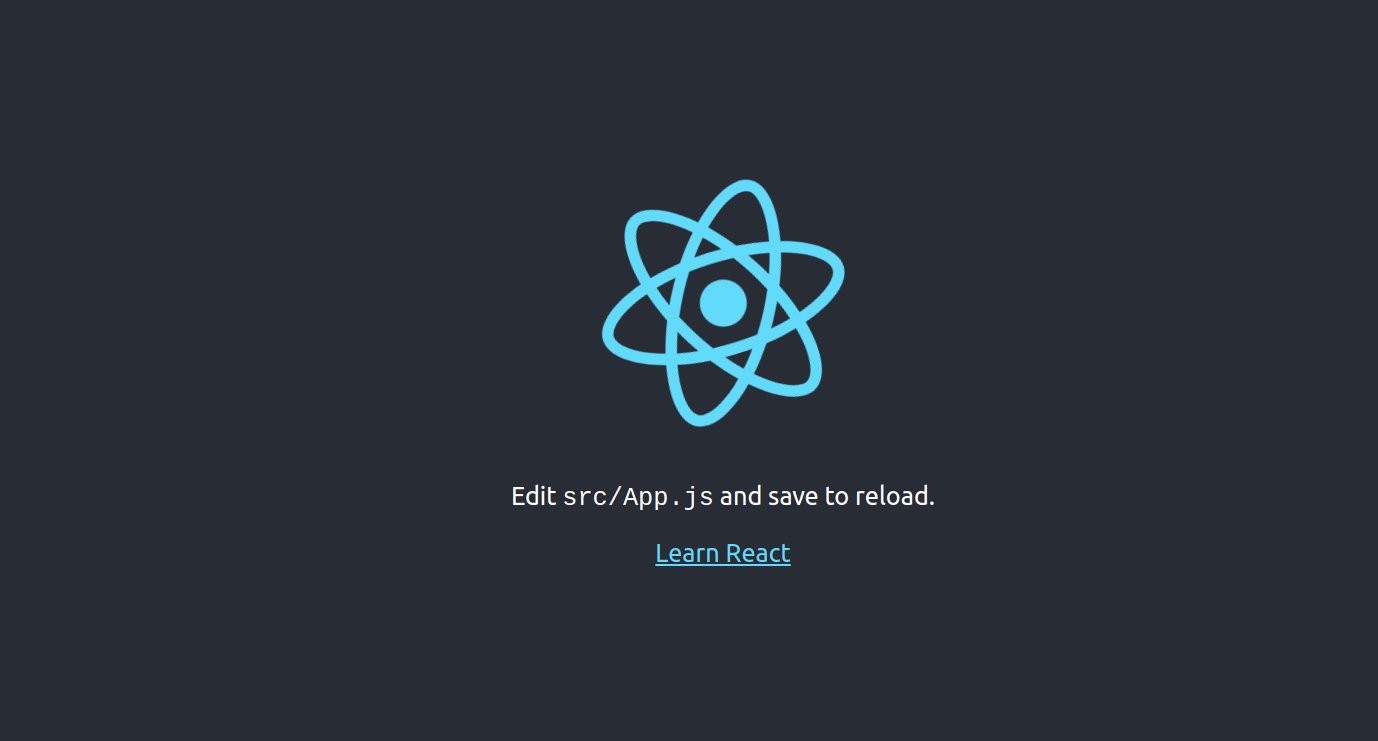
Now, open your web browser and access the React web interface using the URL http://react.example.com. You will see the React web UI on the following screen.
Conclusion
Congratulations! You have successfully installed React.js on Ubuntu 24.04. You can now start creating your React application and deploy it to the production server. Build your React application and deploy it on dedicated server hosting from Atlantic.Net!
* This post is for informational purposes only and does not constitute professional, legal, financial, or technical advice. Each situation is unique and may require guidance from a qualified professional.
Readers should conduct their own due diligence before making any decisions.