Ruby on Rails, commonly referred to as Rails, is a popular open-source web application framework written in Ruby, a dynamic, object-oriented programming language. Rails follows the Model-View-Controller (MVC) architectural pattern, which separates an application into three main logical components: models for handling data and business logic, views for rendering user interfaces, and controllers for handling user requests and coordinating interactions between the model and view.
In this tutorial, we will show you how to install Ruby on Rails on Ubuntu 22.04.
Step 1 – Install Required Dependencies
First, we need to install the necessary dependencies. Open your terminal and run the following command:
apt install -y git curl libssl-dev libreadline-dev zlib1g-dev autoconf bison build-essential libyaml-dev libreadline-dev libncurses5-dev libffi-dev libgdbm-dev
Step 2 – Install rbenv
Rbenv is a lightweight Ruby version management tool that allows you to easily install and switch between different versions of Ruby. Install rbenv by running the following command:
curl -fsSL https://github.com/rbenv/rbenv-installer/raw/HEAD/bin/rbenv-installer | bash
Next, add rbenv to your PATH and initialize it by adding the following lines to your ~/.bashrc file:
echo 'export PATH="$HOME/.rbenv/bin:$PATH"' >> ~/.bashrc
echo 'eval "$(rbenv init -)"' >> ~/.bashrc
source ~/.bashrc
Step 3 – Install Ruby
Now that rbenv is set up, we can install the desired version of Ruby. In this example, we’ll install Ruby version 3.2.0:
rbenv install 3.2.0
Make Ruby available globally.
rbenv global 3.2.0
Verify that Ruby has been successfully installed by running:
ruby -v
You should see output similar to:
ruby 3.2.0 (2022-12-25 revision a528908271) [x86_64-linux]
Step 4 – Install Node.js
Rails requires a JavaScript runtime for compiling assets. Install Node.js using the following commands:
curl -fsSL https://deb.nodesource.com/setup_lts.x | sudo -E bash -
apt-get install -y nodejs
Step 5 – Update RubyGems
Ensure that RubyGems, the package manager for Ruby, is up to date:
gem update --system
Check the version of RubyGems:
gem -v
You should see the version number, for example:
3.5.11
Step 6 – Install Rails
Finally, let’s install Ruby on Rails using the following command:
gem install rails -v 7.0.4
Verify that Rails has been installed correctly:
rails -v
You should see output similar to:
Rails 7.0.4
Step 7 – Create a New Rails Application
You’re now ready to create your first Rails application. Navigate to the directory where you want to create the application and run:
rails new my_app
Replace my_app with the desired name for your application.
Navigate into your newly created Rails application directory:
cd my_app
Start the Rails server:
rails server --binding=0.0.0.0
You should see the following output indicating that the server is running:
=> Booting Puma
=> Rails 7.1.3.4 application starting in development
=> Run `bin/rails server --help` for more startup options
Puma starting in single mode...
* Puma version: 6.4.2 (ruby 3.2.0-p0) ("The Eagle of Durango")
*  Min threads: 5
*  Max threads: 5
*  Environment: development
*          PID: 50188
* Listening on http://0.0.0.0:3000
Use Ctrl-C to stop
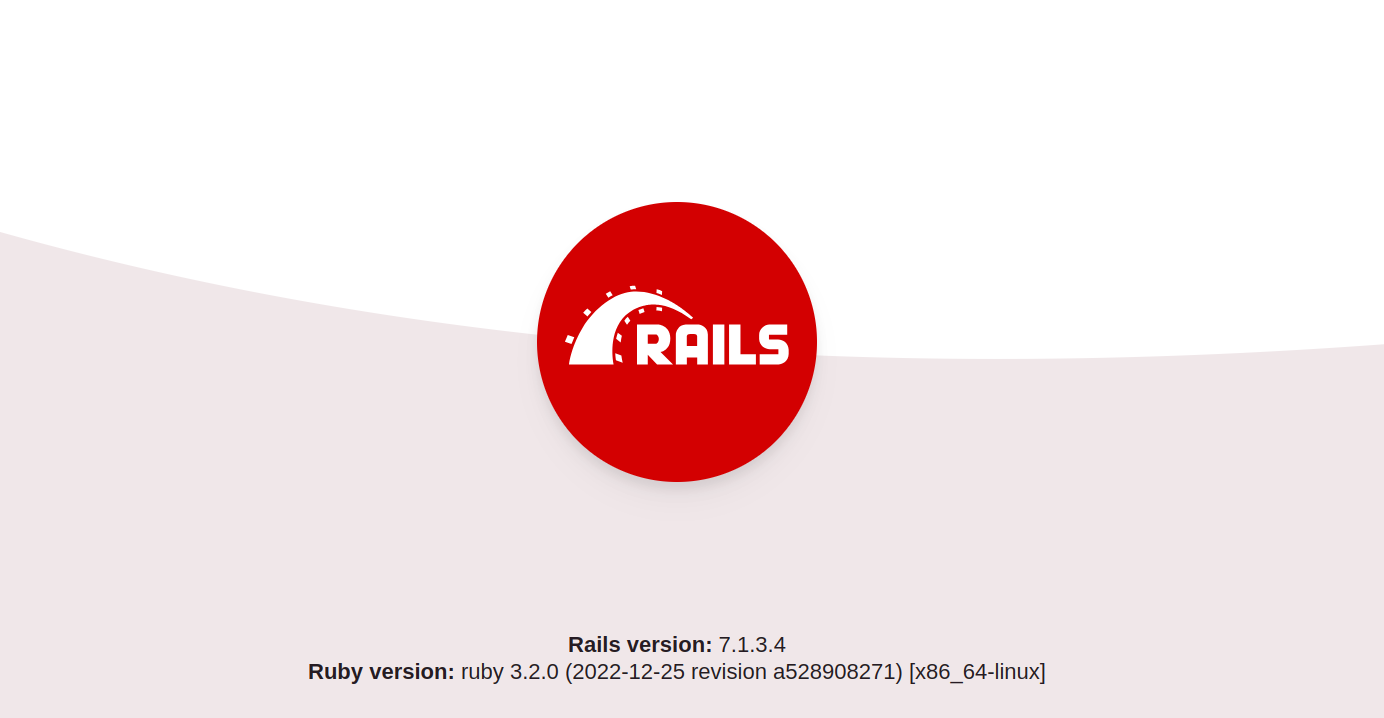
Step 8 – Access Rails Application
Now, open your web browser and access your Rails application using the URL http://your-server-ip:3000.
Conclusion
In this guide, we’ve covered the step-by-step process of installing Ruby on Rails on Ubuntu 22.04. By following these instructions, you should now have a fully functional Rails development environment ready to use. Whether you’re a beginner or an experienced developer, Rails offers a powerful and efficient framework for building modern web applications. Try to install Ruby on Rails on dedicated server hosting from Atlantic.Net!
* This post is for informational purposes only and does not constitute professional, legal, financial, or technical advice. Each situation is unique and may require guidance from a qualified professional.
Readers should conduct their own due diligence before making any decisions.