Seafile is a self-hosted cloud storage platform for secure file synchronization, sharing, and collaboration. It provides users with a robust and flexible solution to manage their files and data while maintaining full control over their infrastructure. Here are some key features and benefits of Seafile:
- Secure File Storage
- File Synchronization
- Version Control
- File Sharing and Collaboration
- Customization and Extensibility
- Scalability and Performance
In this tutorial, we will show you how to install Seafile Self-Hosted Cloud Storage with Nginx on Ubuntu 24.04.
Step 1 – Install Required Dependency
Seafile is a Python-based application. To install it on your server, you will need to install Python and other required dependencies. You can do this using the following command:
apt-get install -y python3 sqlite3 python3-dev python3-setuptools python3-pip libmysqlclient-dev ldap-utils libldap2-dev python3-venv libsasl2-dev libssl-dev libmemcached-dev build-essential libffi-dev
Step 2 – Install and Configure Database
First, install the MySQL database server using the following command:
apt install -y mysql-server
Next, connect to the MySQL shell.
mysql
Then, set the MySQL root password using the following command:
mysql> ALTER USER 'root'@'localhost' IDENTIFIED WITH mysql_native_password BY 'password';
Next, create a database for Seafile.
mysql> CREATE DATABASE ccnet_db CHARACTER SET utf8;
mysql> CREATE DATABASE seafile_db CHARACTER SET utf8;
mysql> CREATE DATABASE seahub_db CHARACTER SET utf8;
Then, create a user for Seafile.
mysql> CREATE USER 'seafile'@'localhost' IDENTIFIED WITH mysql_native_password BY 'password';
Then, the user will be granted all privileges on the three databases.
mysql> GRANT ALL PRIVILEGES ON `ccnet_db`.* to `seafile`@localhost;
mysql> GRANT ALL PRIVILEGES ON `seafile_db`.* to `seafile`@localhost;
mysql> GRANT ALL PRIVILEGES ON `seahub_db`.* to `seafile`@localhost;
Finally, flush the privileges and exit from the MySQL shell.
mysql> FLUSH PRIVILEGES;
mysql> exit
Step 3 – Install Seafile
First, create a user and directory for Seafile.
mkdir /opt/seafile
adduser --home /opt/seafile --shell /bin/bash seafile
Then, change the ownership of the seafile directory.
chown -R seafile: /opt/seafile
Next, log in to the Seafile user .
su - seafile
Next, create and activate a Python virtual environment.
python3 -m venv python-venv
source python-venv/bin/activate
Next, install other required packages using the PIP command:
pip3 install --timeout=3600 wheel django==4.2.* future==0.18.* mysqlclient==2.1.* pymysql pillow==10.2.* pylibmc captcha==0.5.* markupsafe==2.0.1 jinja2 sqlalchemy==2.0.18 psd-tools django-pylibmc django_simple_captcha==0.6.* djangosaml2==1.5.* pysaml2==7.2.* pycryptodome==3.16.* cffi==1.16.0 lxml python-ldap==3.4.3
Download the latest version of the Seafile server.
wget https://s3.eu-central-1.amazonaws.com/download.seadrive.org/seafile-server_12.0.11_x86-64.tar.gz
Next, extract the downloaded file.
tar -xvf seafile-server_12.0.11_x86-64.tar.gz
Then, navigate to the extracted directory and configure Seafile.
cd seafile-server-12.0.11
./setup-seafile-mysql.sh
Answer all the questions as shown below:
Press ENTER to continue
-----------------------------------------------------------------

What is the name of the server? It will be displayed on the client.
3 - 15 letters or digits
[ server name ] seafile-server

What is the ip or domain of the server?
For example: www.mycompany.com, 192.168.1.101
[ This server's ip or domain ] seafile.example.com

Which port do you want to use for the seafile fileserver?
[ default "8082" ]

-------------------------------------------------------
Please choose a way to initialize seafile databases:
-------------------------------------------------------

[1] Create new ccnet/seafile/seahub databases
[2] Use existing ccnet/seafile/seahub databases

[ 1 or 2 ] 2

What is the host of mysql server?
[ default "localhost" ]

What is the port of mysql server?
[ default "3306" ]

Which mysql user to use for seafile?
[ mysql user for seafile ] seafile

What is the password for mysql user "seafile"?
[ password for seafile ]

verifying password of user seafile ...  done

Enter the existing database name for ccnet:
[ ccnet database ] ccnet_db

verifying user "seafile" access to database ccnet_db ...  done

Enter the existing database name for seafile:
[ seafile database ] seafile_db

verifying user "seafile" access to database seafile_db ...  done

Enter the existing database name for seahub:
[ seahub database ] seahub_db

verifying user "seafile" access to database seahub_db ...  done

---------------------------------
This is your configuration
---------------------------------

    server name:            seafile-server
    server ip/domain:       seafile.example.com

    seafile data dir:       /opt/seafile/seafile-data
    fileserver port:        8082

    database:               use existing
    ccnet database:         ccnet_db
    seafile database:       seafile_db
    seahub database:        seahub_db
    database user:          seafile
Next, create an environment file.
nano /opt/seafile/conf/.env
Add the below line:
JWT_PRIVATE_KEY=8d3d93aeaf95fddf34aa0e47bcb8fc19d2cb2d92a4f4e3cb6d4dd8e302e93014
Step 4 – Start Seafile Server
Now, please navigate to the seafile server directory and start it using the following command:
cd /opt/seafile/seafile-server-latest
./seafile.sh start
Then, start the SeaHub server using the following command:
./seahub.sh start
You will be asked to set up your admin username and password as shown below.
LC_ALL is not set in ENV, set to en_US.UTF-8
Starting seahub at port 8000 ...

----------------------------------------
It's the first time you start the seafile server. Now let's create the admin account
----------------------------------------

What is the email for the admin account?
[ admin email ] [email protected]

What is the password for the admin account?
[ admin password ]

Enter the password again:
[ admin password again ]


----------------------------------------
Successfully created seafile admin
----------------------------------------


Seahub is started

Done.
Step 5 – Configure Nginx for Seafile
First, install the Nginx server using the following command:
apt install nginx
Next, create an Nginx virtual host configuration file.
nano /etc/nginx/conf.d/seafile.conf
Add the following configuration:
log_format seafileformat '$http_x_forwarded_for $remote_addr [$time_local] "$request" $status $body_bytes_sent "$http_referer" "$http_user_agent" $upstream_response_time';

server {
    listen       80;
    server_name  seafile.example.com;
    server_tokens off;      # Prevents the Nginx version from being displayed in the HTTP response header

    location / {
        proxy_pass         http://127.0.0.1:8000;
        proxy_set_header   Host $host;
        proxy_set_header   X-Real-IP $remote_addr;
        proxy_set_header   X-Forwarded-For $proxy_add_x_forwarded_for;
        proxy_set_header   X-Forwarded-Host $server_name;
        proxy_read_timeout 1200s;

        proxy_set_header   X-Forwarded-Proto http;
        # used for view/edit office file via Office Online Server
        client_max_body_size 0;

        access_log      /var/log/nginx/seahub.access.log seafileformat;
        error_log       /var/log/nginx/seahub.error.log;
    }

    location /seafhttp {
        rewrite ^/seafhttp(.*)$ $1 break;
        proxy_pass http://127.0.0.1:8082;
        client_max_body_size 0;
        proxy_set_header   X-Forwarded-For $proxy_add_x_forwarded_for;

        proxy_connect_timeout  36000s;
        proxy_read_timeout  36000s;
        proxy_send_timeout  36000s;

        send_timeout  36000s;

        # Uncomment the following line if you want to support uploads > 4GB
        # proxy_request_buffering off;

        access_log      /var/log/nginx/seafhttp.access.log seafileformat;
        error_log       /var/log/nginx/seafhttp.error.log;
    }

    location /media {
        root /opt/seafile/seafile-server-latest/seahub;
    }
}
Then, edit the Nginx main configuration file.
nano /etc/nginx/nginx.conf
Add the following line after the line http{:
server_names_hash_bucket_size 64;
Save the file, then restart the Nginx to apply the changes.
systemctl restart nginx
Step 6 – Access Seafile Web Interface
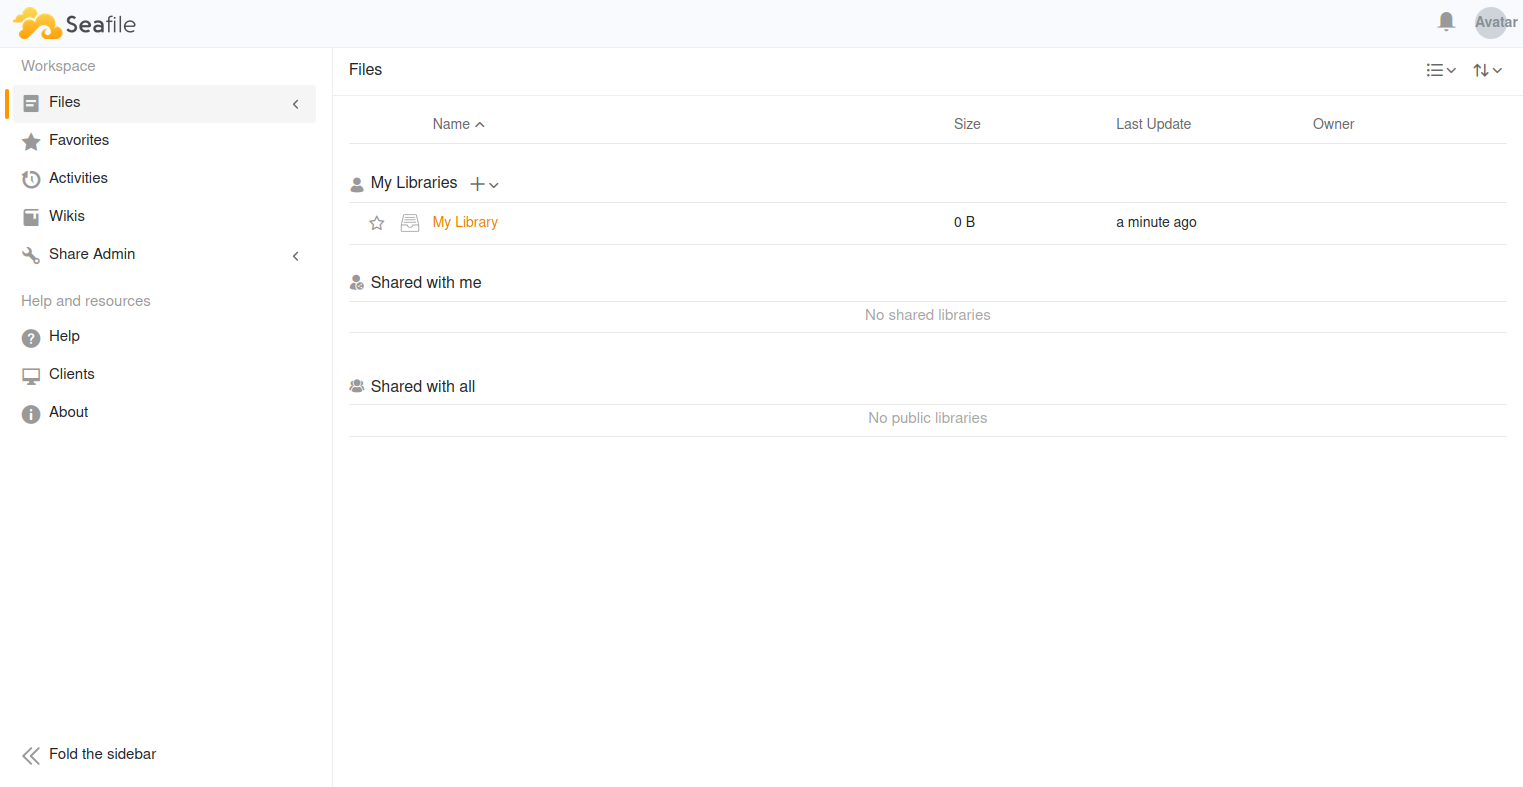
Now, open your web browser and access the Seafile web UI using the URL http://seafile.example.com. You will see the Seafile login page.
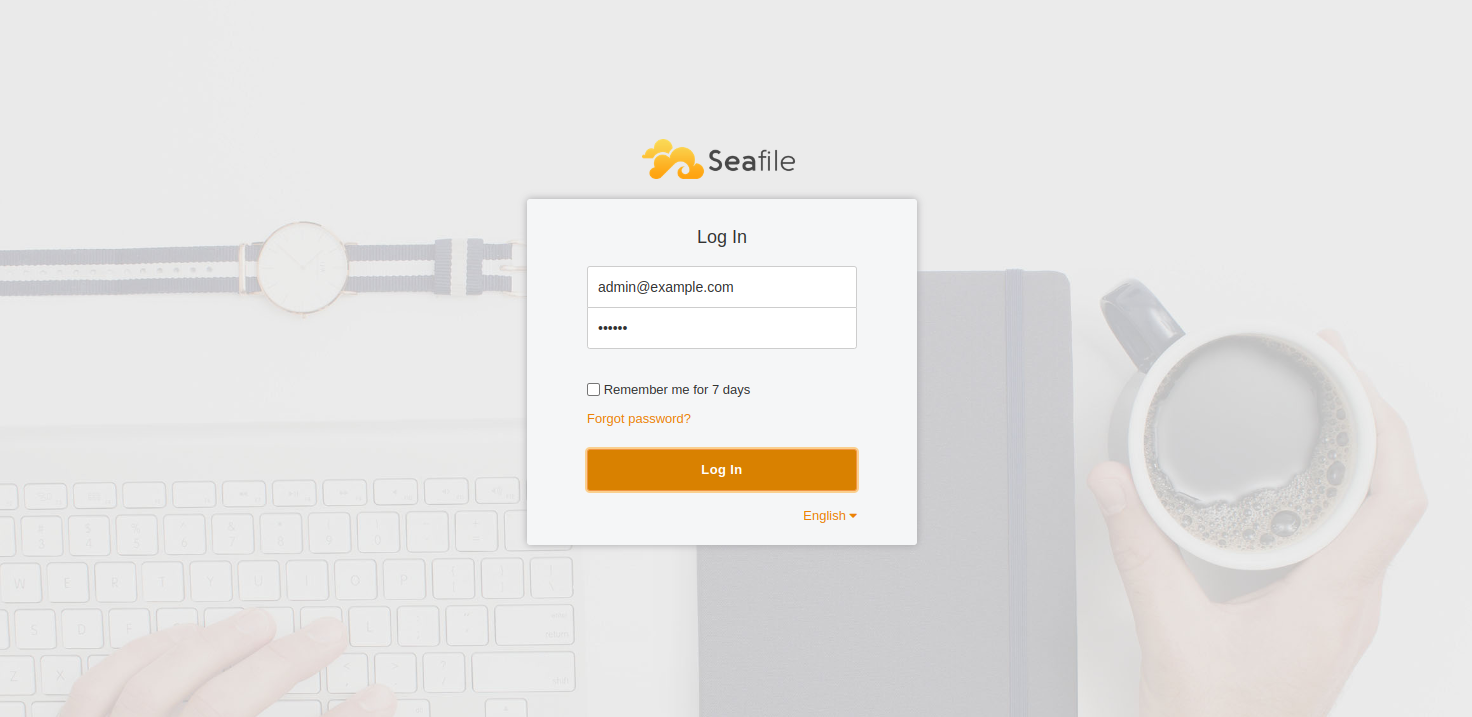
Provide your admin username and password and click on Log In. You will see the Seafile dashboard on the following page.
Conclusion
Overall, Seafile provides a comprehensive solution for organizations seeking secure and flexible cloud storage and collaboration capabilities. Its self-hosted nature, robust security features, and extensive customization options make it a popular choice for businesses and individuals looking to take control of their data and workflows. You can now implement secure cloud storage using Seafile on dedicated server hosting from Atlantic.Net!