SolidInvoice is an open-source invoicing application designed for small to medium-sized businesses. It is a robust invoicing application that helps businesses streamline their invoicing and billing processes. It offers features such as client management, quote creation, payment tracking, and more, making it an ideal choice for businesses looking to improve their financial management.
In this tutorial, we will explain how to install and configure SolidInvoice on Ubuntu 22.04.
Step 1 – Install LAMP Server
SolidInvoice requires a web server, a database server, and PHP with various extensions. We’ll use Apache as our web server and MariaDB as our database server.
Install Apache, MariaDB, PHP, and the necessary PHP extensions with the following command:
apt install apache2 mariadb-server mariadb-client php php-curl php-common php-mbstring php-json php-mysql php-opcache php-bcmath php-intl php-gd php-xml php-soap php-zip php-apcu unzipVerify the PHP installation:
php -vYou should see output similar to this:
PHP 8.1.2-1ubuntu2.18 (cli) (built: Jun 14 2024 15:52:55) (NTS)
Copyright (c) The PHP Group
Zend Engine v4.1.2, Copyright (c) Zend Technologies
    with Zend OPcache v8.1.2-1ubuntu2.18, Copyright (c), by Zend Technologies
Open the PHP configuration file for Apache:
nano /etc/php/8.1/apache2/php.iniModify the following settings:
date.timezone = UTC
memory_limit=512M
upload_max_filesize=64M
post_max_size=120M
max_execution_time=120
Save and close the file, then restart Apache to apply the changes:
systemctl restart apache2Step 2 – Configure MariaDB Database
Log in to the MariaDB shell.
mysqlCreate a database and user for SolidInvoice:
CREATE DATABASE solidinvoice;
CREATE USER solidinvoice@localhost IDENTIFIED BY 'securepassword';
Grant all the privileges to the SolidInvoice database.
GRANT ALL PRIVILEGES ON solidinvoice.* TO solidinvoice@localhost;Flush the privileges and exit from the MariaDB shell.
FLUSH PRIVILEGES;
EXIT;
Step 3 – Download and Install SolidInvoice
Download the latest version of SolidInvoice from the Sourceforge website.
wget https://master.dl.sourceforge.net/project/solidinvoice.mirror/2.2.6/SolidInvoice-2.2.6.zipUnzip the downloaded file to the web root directory:
unzip SolidInvoice-2.2.6.zip -d /var/www/html/solidinvoiceSet the appropriate permissions:
chown -R www-data:www-data /var/www/html/solidinvoice
chmod -R 775 /var/www/html/solidinvoice
Step 4 – Configure Apache
Create a new virtual host configuration for SolidInvoice:
nano /etc/apache2/sites-available/solidinvoice.confAdd the following content:
<VirtualHost *:80>
 ServerName invoice.example.com
 DocumentRoot /var/www/html/solidinvoice/public
 <Directory //var/www/html/solidinvoice/public>
 AllowOverride All
 Order allow,deny
 Allow from All
 </Directory>
 ErrorLog /var/log/apache2/solidinvoice.error.log
 CustomLog /var/log/apache2/solidinvoice.access.log combined
</VirtualHost>
Save and close the file, then activate the new virtual host and enable the Apache rewrite module.
a2ensite solidinvoice.conf
a2enmod rewrite
Restart Apache to apply the changes:
systemctl restart apache2Step 5 – Set Up Cron Job
SolidInvoice requires a cron job to handle background tasks. Open the crontab file:
nano /etc/crontabAdd the following line:
* * * * * php /var/www/html/solidinvoice/bin/console cron:run -e prod -nThis cron job runs every minute and executes SolidInvoice’s background tasks.
Step 6 – Complete the Installation Through the Web Interface
Open your web browser and navigate to http://invoice.example.com. You should see the SolidInvoice PHP requirement page.

Make sure all dependencies are installed, then click on Next. You will see the database setup page.
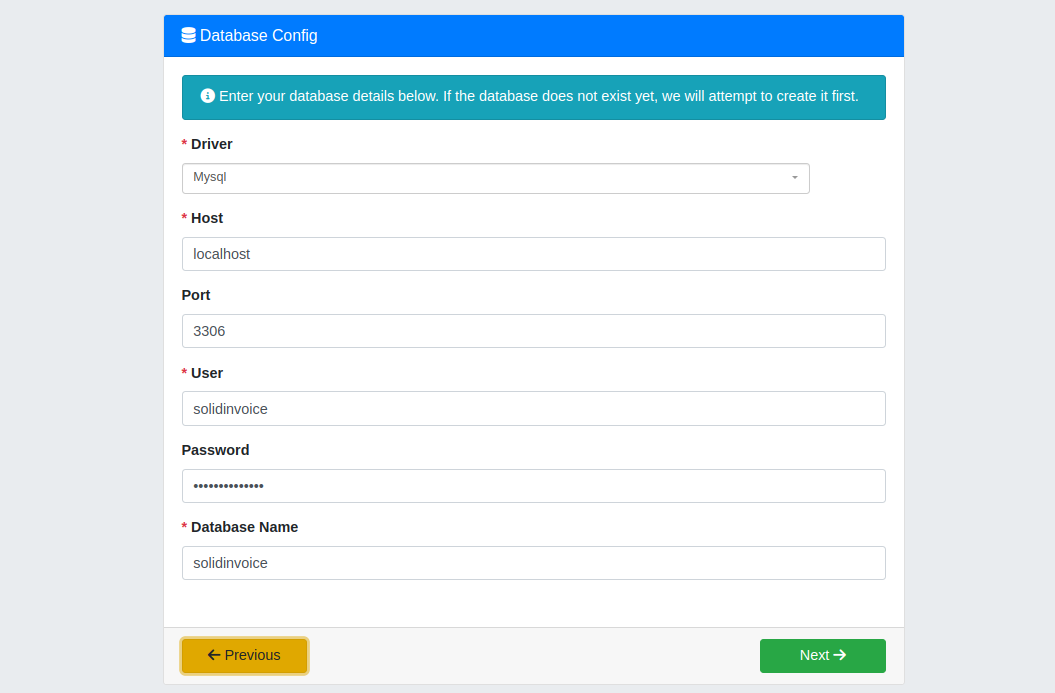
Define your database and click on Next. You will see the following page.
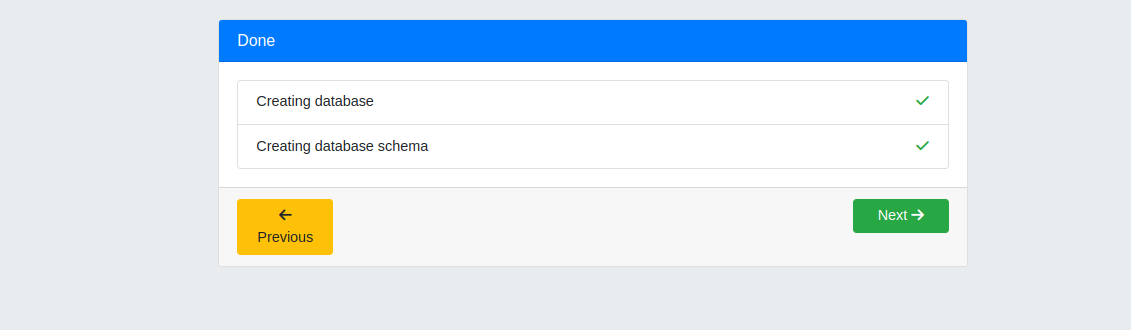
Click on Next. You will see the system settings page.
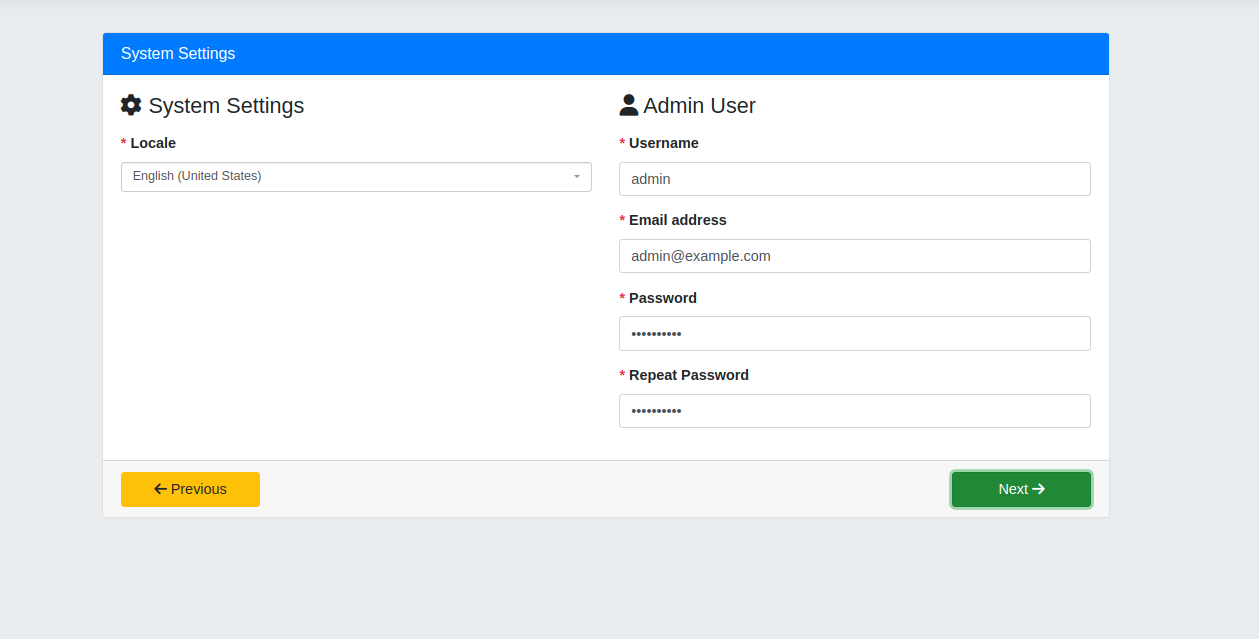
Define your admin user and password and click on Next. You will see the following page.
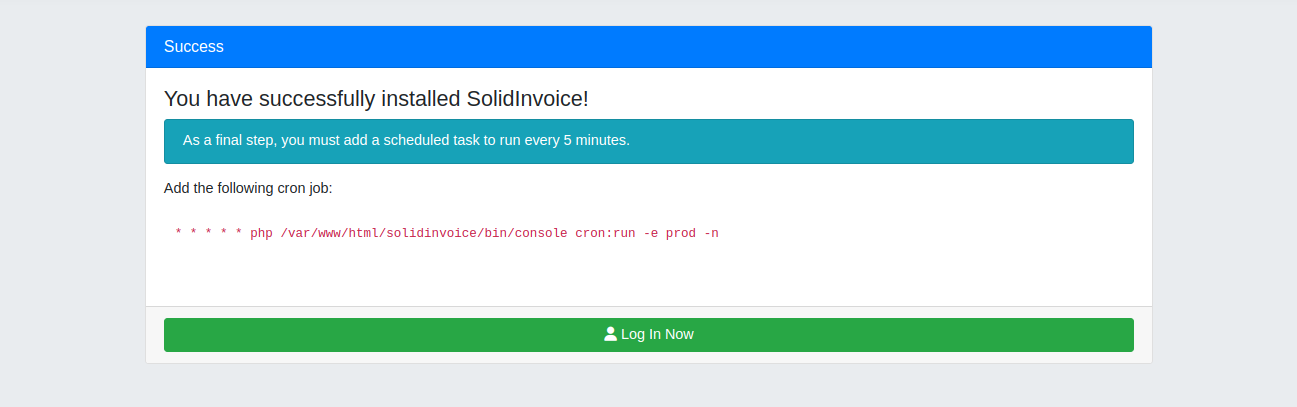
Click on Log in now. You will see the Solidinvoice login page.
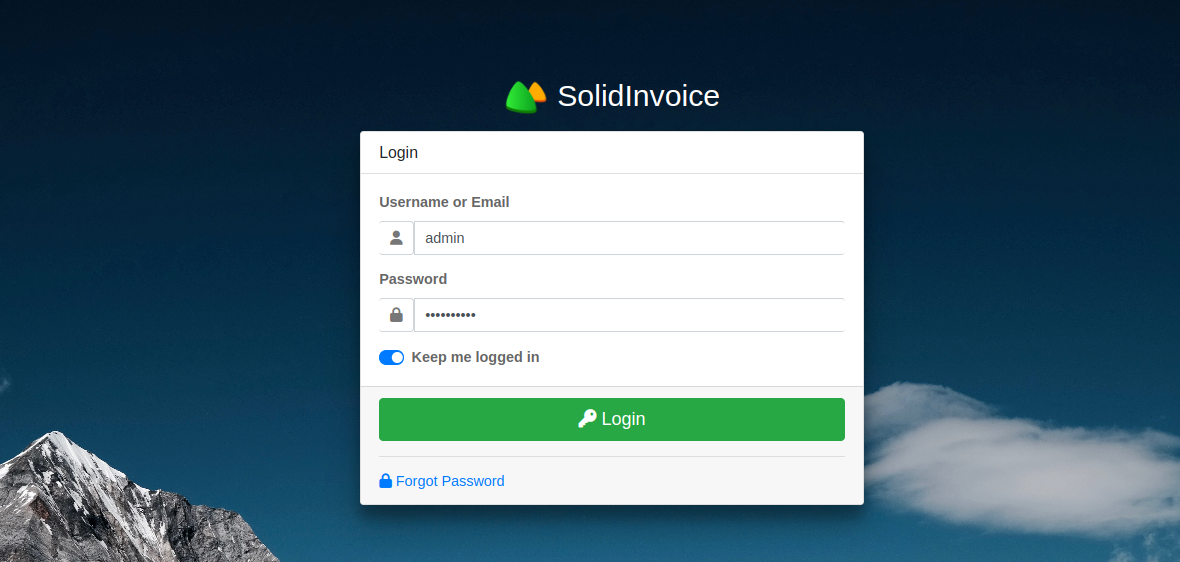
Provide your admin credential and click on Login. You will see the following page.
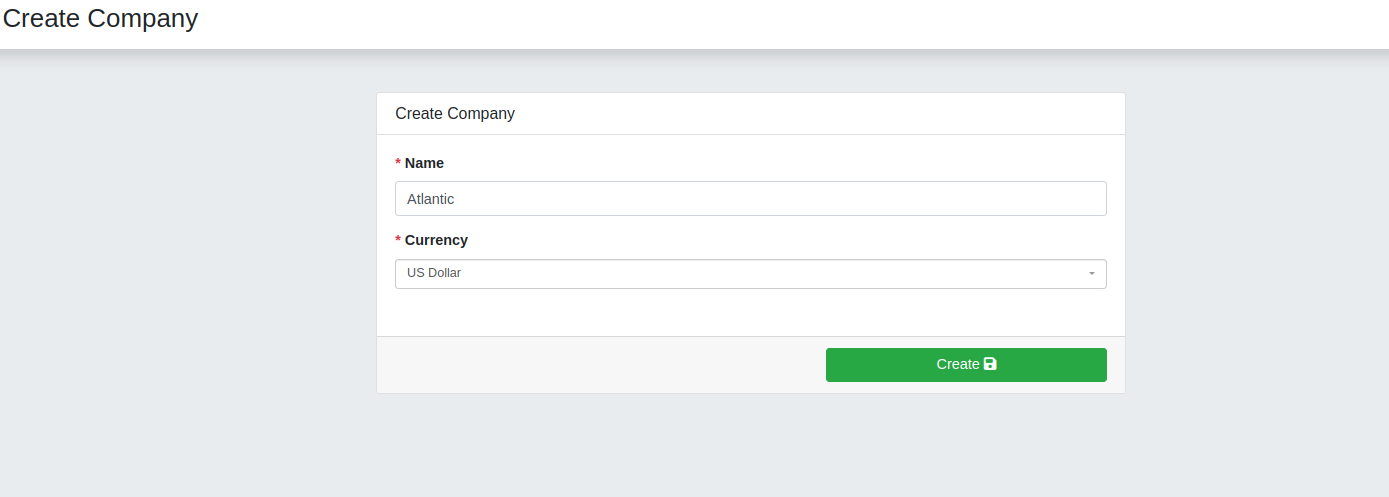
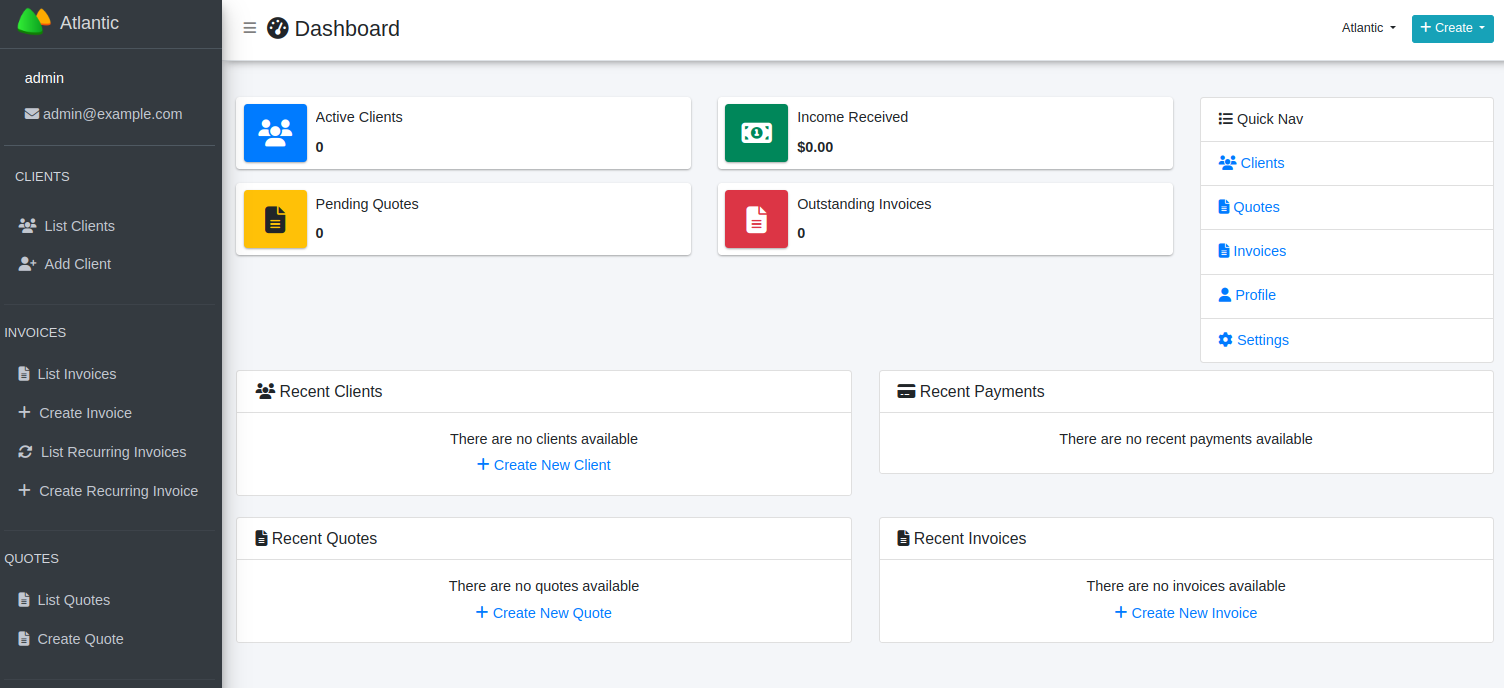
Define your company name and click on Create. You will see the Solidinvoice dashboard.
Conclusion
Congratulations! You have successfully installed SolidInvoice on your Ubuntu 22.04 server. With SolidInvoice, you can efficiently manage your invoicing and billing processes, helping you to keep track of clients, quotes, and payments seamlessly. This installation provides a solid foundation for your business operations, ensuring you have a reliable and efficient system in place. Let’s try to deploy SolidInvoice on dedicated server hosting from Atlantic.Net!
* This post is for informational purposes only and does not constitute professional, legal, financial, or technical advice. Each situation is unique and may require guidance from a qualified professional.
Readers should conduct their own due diligence before making any decisions.