Textpattern is a flexible, open-source content management system (CMS) designed for web developers, designers, and content creators. It is known for its simplicity, ease of use, and powerful features that enable users to manage content efficiently. Whether you are building a simple blog or a complex business website, Textpattern provides the tools and features to manage your content effectively.
In this tutorial, we will show you how to install Textpattern CMS on Ubuntu 22.04.
Step 1 – Install LEMP Stack
Textpattern requires a LEMP stack to be installed on your server. If not installed, you can install it using the following command.
apt install -y nginx mariadb-server php php-fpm php-xml php-mysql php-json php-mbstring php-zip unzipOnce the LEMP stack is installed, start and enable the Nginx and MariaDB services.
systemctl start mariadb nginx
systemctl enable mariadb nginx
Step 2 – Create a Database and User
Textpattern uses MariaDB/MySQL as a database backend. First, connect to the MariaDB console.
mysqlOnce you are connected to the MariaDB shell, create a database and user for Textpattern.
CREATE DATABASE textpattern_db;
CREATE USER textpattern_user IDENTIFIED BY 'password';
Next, grant all the privileges to the Textpattern database.
GRANT ALL PRIVILEGES ON textpattern_db.* TO textpattern_user;Next, flush the privileges and exit from the MariaDB console.
FLUSH PRIVILEGES;
EXIT;
Step 3 – Download Textpattern
Next, visit the Textpattern official website and download the latest version of Textpattern using the following command.
wget https://textpattern.com/file_download/118/textpattern-4.8.8.zipOnce Textpattern is downloaded, unzip it using the following command.
unzip textpattern-4.8.8.zipNext, move the extracted directory to Nginx web root.
mv textpattern-4.8.8 /var/www/html/textpatternNext, change the ownership of the Textpattern directory.
chown -R www-data:www-data /var/www/html/textpatternStep 4 – Configure Nginx
To configure Nginx for Textpattern, you’ll need to set up Nginx as your web server, create a new server block for your Textpattern site, and adjust the configuration to ensure it works correctly with Textpattern.
nano /etc/nginx/conf.d/textpattern.confAdd the following configuration:
server {
  listen 80;
  server_name textpattern.example.com;
  root /var/www/html/textpattern;
  index index.php;
  location ~* \.php$ {
    fastcgi_pass unix:/run/php/php8.1-fpm.sock;
    include         fastcgi_params;
    fastcgi_param   SCRIPT_FILENAME    $document_root$fastcgi_script_name;
    fastcgi_param   SCRIPT_NAME        $fastcgi_script_name;
  }
}
Save and close the file, then edit the Nginx main configuration file.
nano /etc/nginx/nginx.confAdd the following line after the line http {:
server_names_hash_bucket_size 64;
Now, verify the Nginx for any syntax configuration error.
nginx -tOutput:
nginx: the configuration file /etc/nginx/nginx.conf syntax is ok
nginx: configuration file /etc/nginx/nginx.conf test is successful
Finally, restart the Nginx service to apply the changes.
systemctl restart nginx
Step 5 – Access Textpattern Web UI
Now, open your web browser and access the Textpattern web interface using the URL http://textpattern.example.com/textpattern/setup/. You will see the following page:
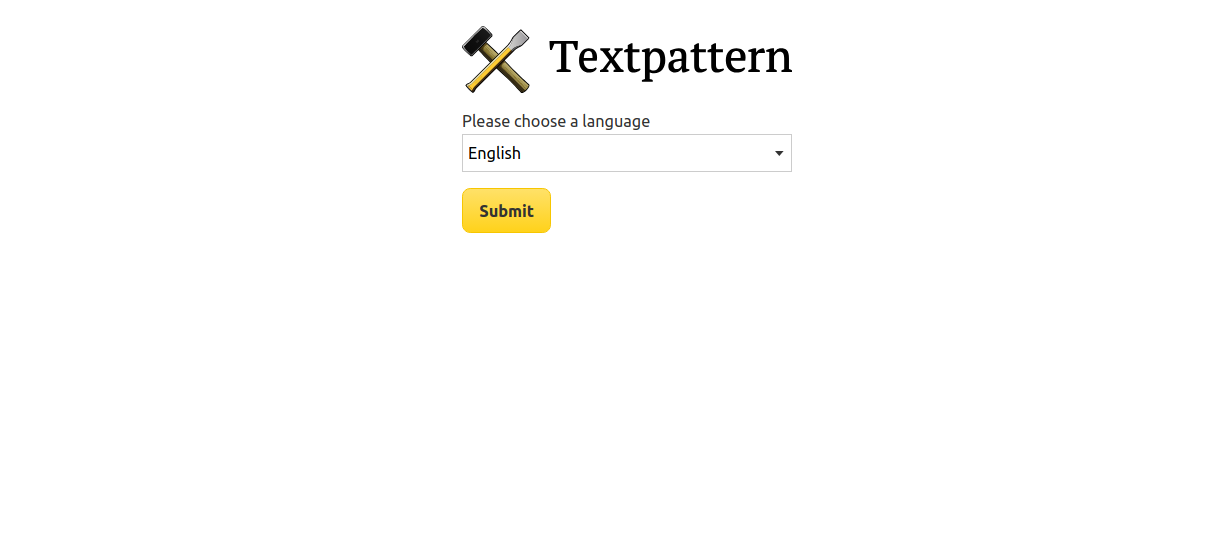
Select your language and click on Submit. You will see the database configuration page:
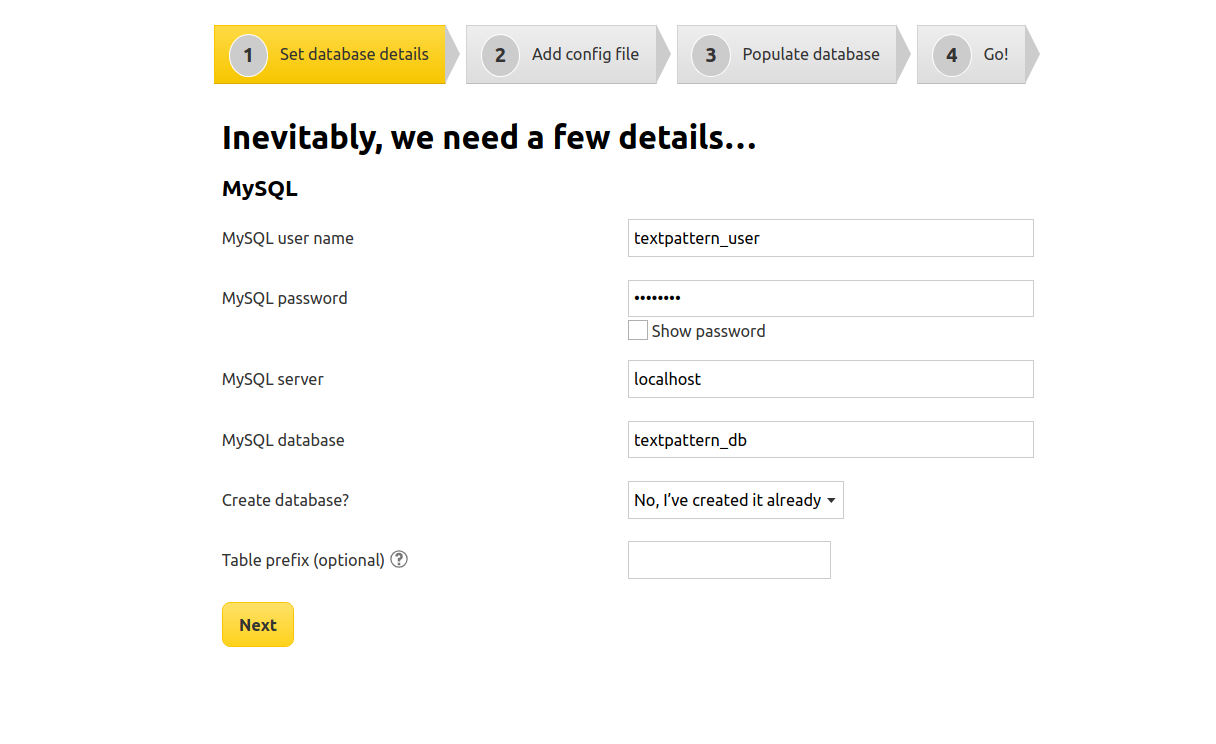
Define your database details and click on the Next. You will see the following page:
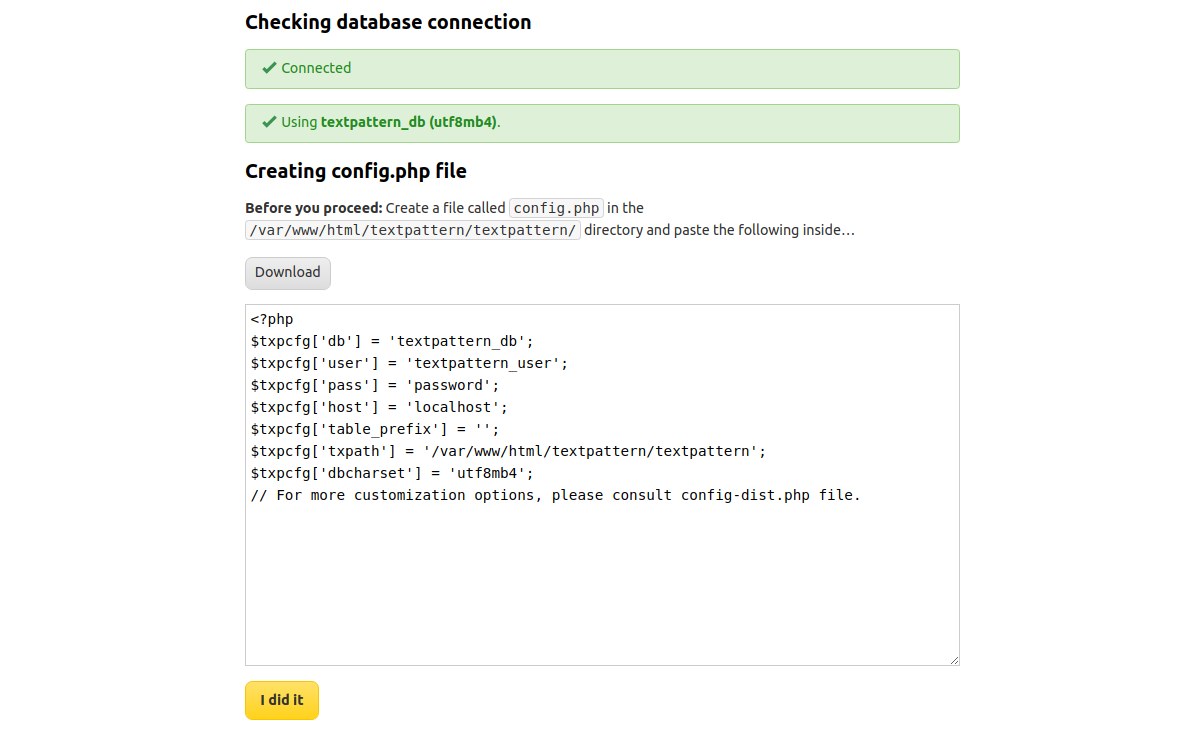
Now, copy the content from the above page, create a new configuration file at /var/www/html/textpattern/textpattern/config.php, and paste this content to this file.
Next, go back to your web browser and click on I did it. You will see the following page.
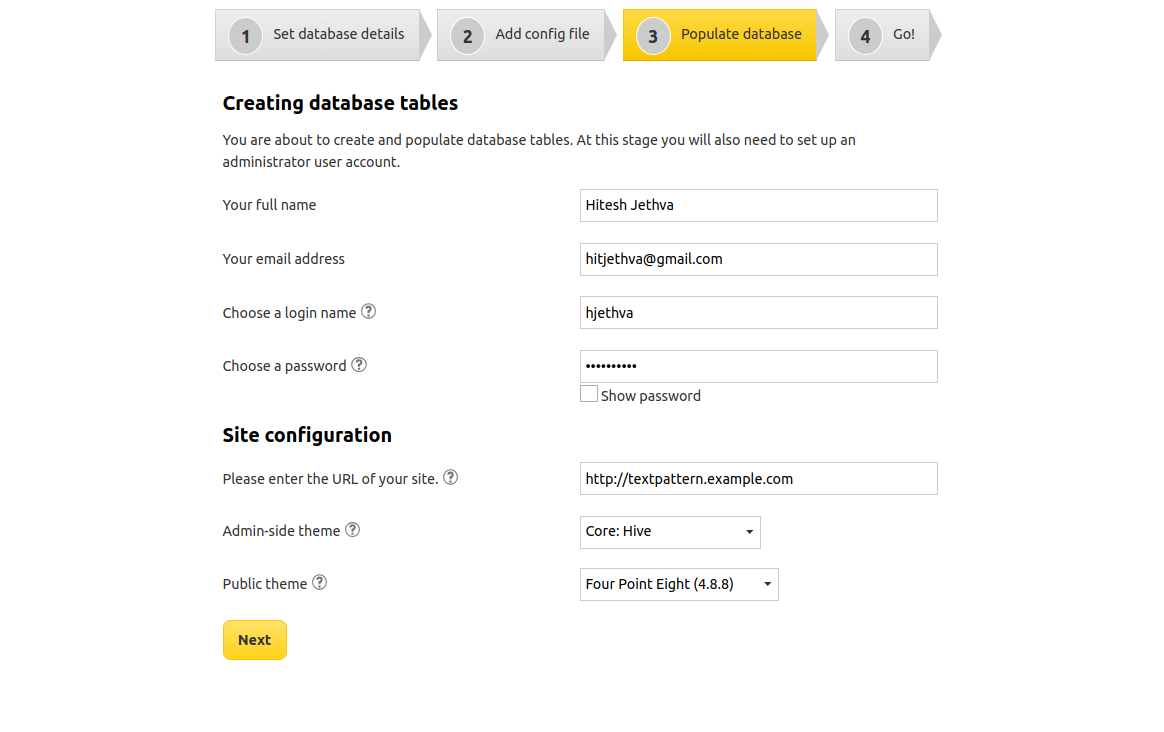
Set your admin username, email, and password, and click on Next. You will see the following page.
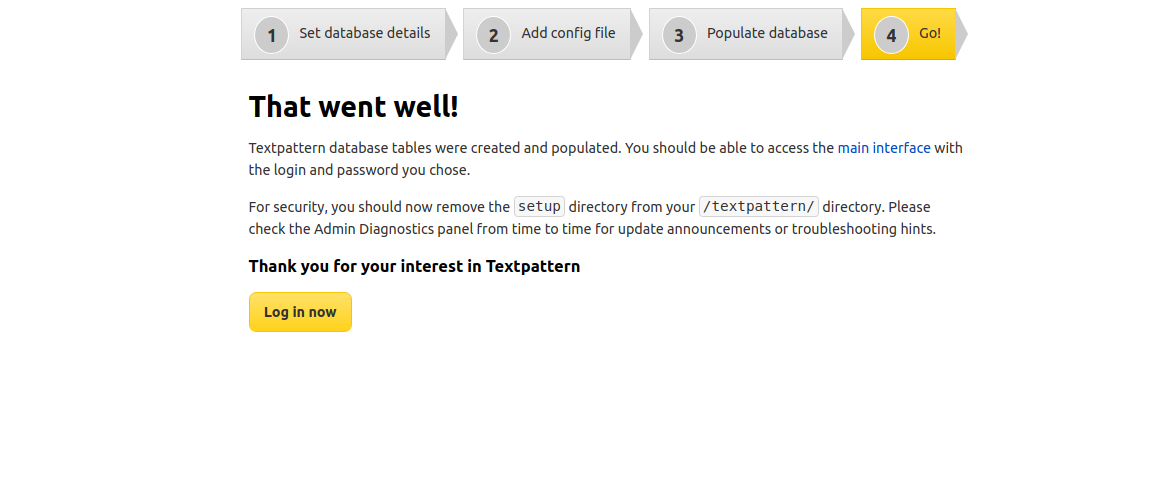
Click on Log in now. You will see the Textpattern login page.
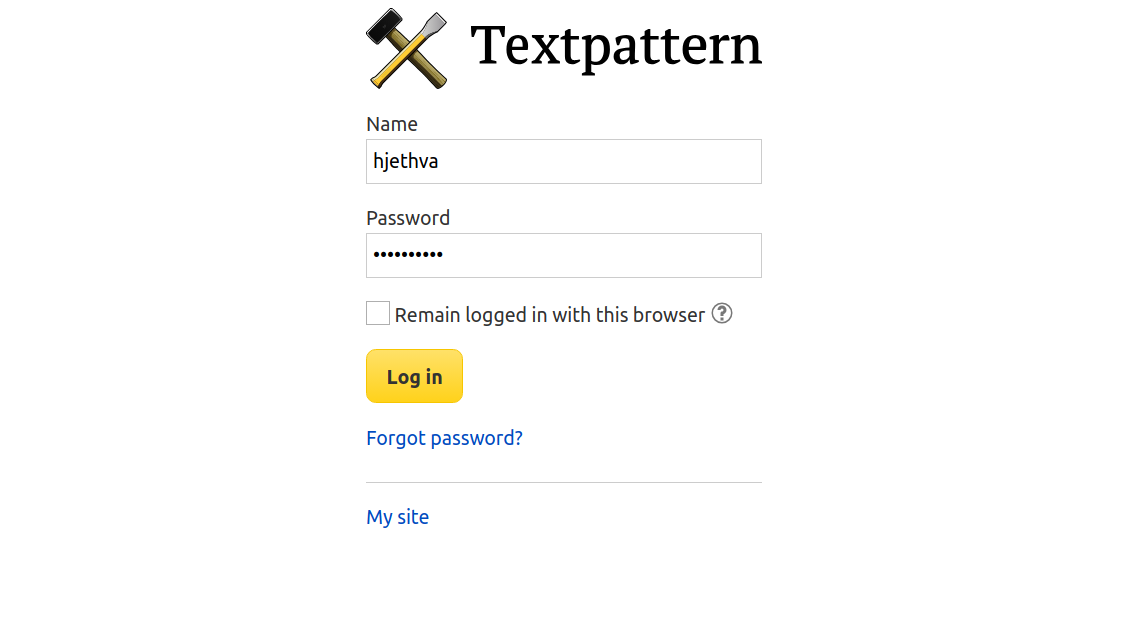
Provide your admin username and password and click on Log in. You will see the following page:
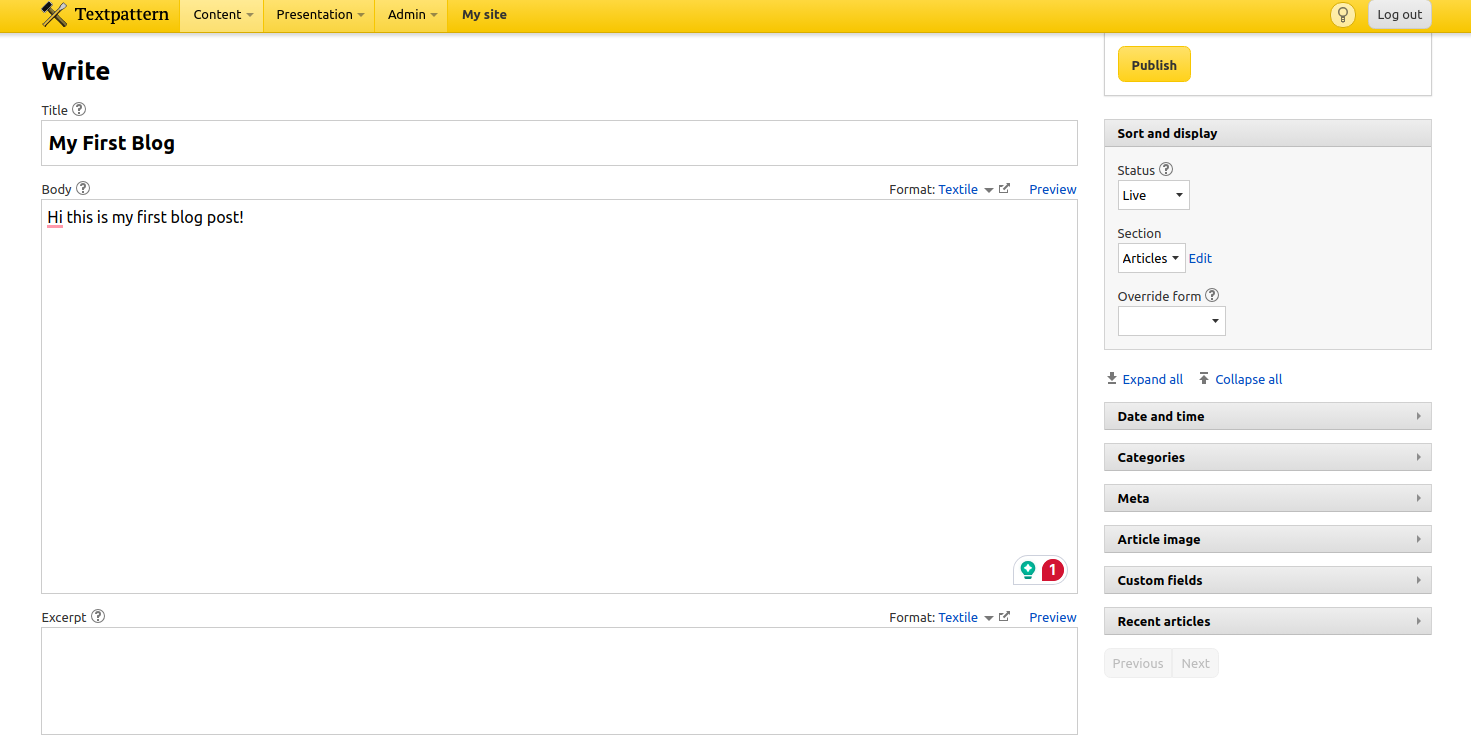
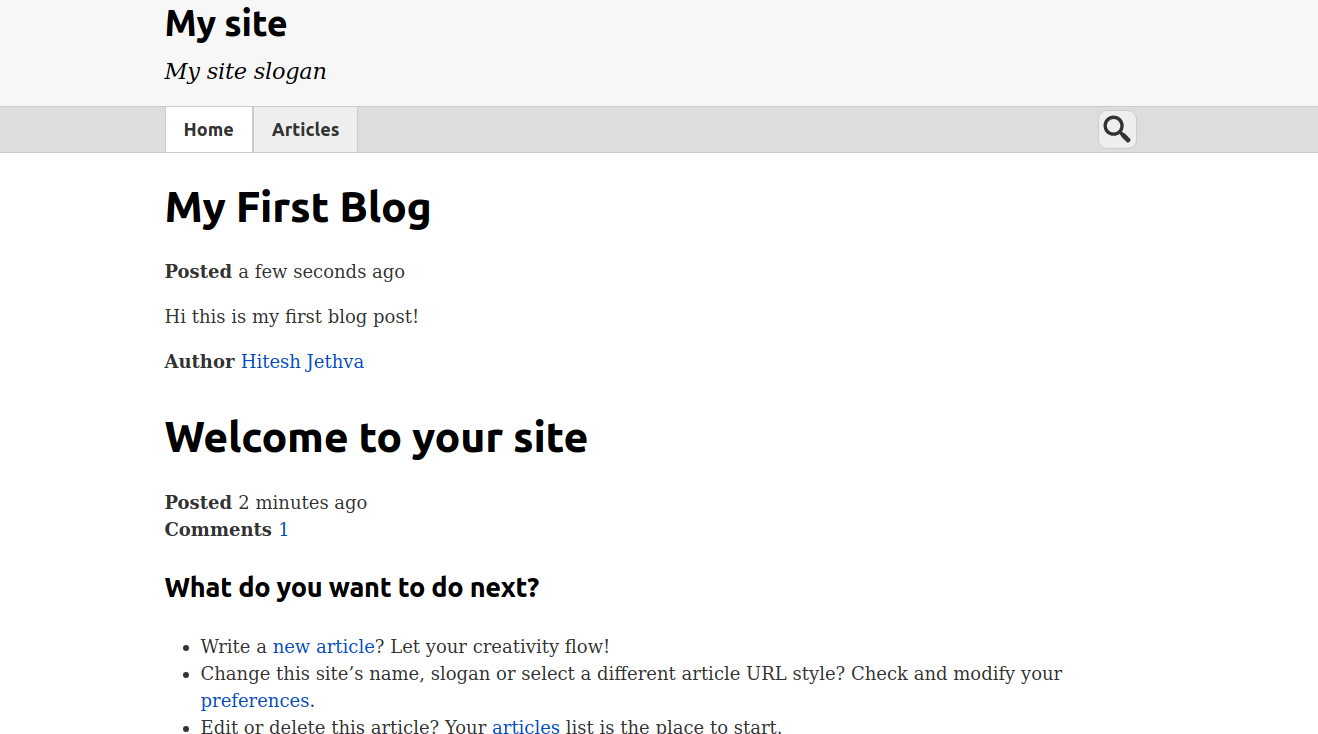
Enter your blog title and description and click on the Publish button. Then, click on My Site to see your newly published blog post.
Conclusion
Textpattern is a powerful yet user-friendly CMS that caters to a wide range of website needs. Its flexibility, extensibility, and adherence to web standards make it a solid choice for developers and content creators looking for a robust content management solution. You can try Textpattern CMS on dedicated server hosting from Atlantic.Net!
* This post is for informational purposes only and does not constitute professional, legal, financial, or technical advice. Each situation is unique and may require guidance from a qualified professional.
Readers should conduct their own due diligence before making any decisions.