Rudder is a multi-platform, open-source, professional solution for continuous auditing, deployment, and remediation of configurations within critical systems. It can be likened to a control tower that offers real-time visibility over how compliant your systems are with security and reliability parameters.
Rudder manages the following issues:
- Continuous growth: The IT industry increasingly demands an ever greater number of machines to maintain business services. Ensuring that all of these machines are functioning properly can be a major challenge.
- Continuous availability: When IT infrastructure is reliable and continuously reachable, it ensures high availability for IT services.
- Continuous threat: Systems that are constantly exposed to threats require continuous audits. Audits help detect and correct the threats.
In this tutorial, we will learn how to install the Rudder system auditing tool on CentOS 8.
Step 1 – Install Rudder
By default, Rudder is not available in the CentOS 8 standard repository, so you will need to create a repo for Rudder.
First, import the Rudder key with the following command:
rpm --import https://repository.rudder.io/rpm/rudder_rpm_key.pub
Next, create a Rudder repo file using the following command:
nano /etc/yum.repos.d/rudder.repo
Add the following lines:
[Rudder_6.1]
name=Rudder 6.1
baseurl=http://repository.rudder.io/rpm/6.1/RHEL_$releasever/
gpgcheck=1
gpgkey=https://repository.rudder.io/rpm/rudder_rpm_key.pub
Save and close the file when you are finished, then install the Rudder server with the following command:
dnf install rudder-server-root -y
Once the Rudder is installed, you can verify the status of the Rudder service with the following command:
systemctl status rudder-jetty
You should get the following output:
-
rudder-jetty.service - Jetty Web Application Server
Loaded: loaded (/usr/lib/systemd/system/rudder-jetty.service; enabled; vendor preset: disabled)
Active: active (running) since Fri 2020-10-02 04:56:08 EDT; 3min 59s ago
Main PID: 5155 (java)
Tasks: 84 (limit: 12523)
Memory: 630.7M
CGroup: /system.slice/rudder-jetty.service
└─5155 /bin/java -server -Xms1024m -Xmx1024m -XX:+UseConcMarkSweepGC -
XX:+CMSClassUnloadingEnabled -Dfile.encoding=UTF-8 -Drudder.c>

Oct 02 04:55:50 centos8 systemd[1]: Starting Jetty Web Application Server...
Oct 02 04:55:50 centos8 rudder-jetty.sh[5081]: Setting umask to 0007
Oct 02 04:56:08 centos8 rudder-jetty.sh[5081]: Starting Jetty: . . . OK Fri Oct  2 04:56:08 EDT 2020
Oct 02 04:56:08 centos8 systemd[1]: Started Jetty Web Application Server.
Step 2 – Create an Admin User for Rudder
Next, you will need to create a Rudder admin user and set the password. You can create it with the following command:
rudder server create-user -u admin
You will be asked to set admin password, as shown below:
New password:

Re-type new password:
User 'admin' added, restarting the Rudder server
Next, restart the Rudder service to apply the changes:
systemctl restart rudder-server
Next, you will need to allow the network that you want to monitor. You can allow it with the following command:
/opt/rudder/bin/rudder-init LDAPReset 0.0.0.0/0
You should get the following output:
SUMMARY OF OPTIONS:

Allowed networks: 0.0.0.0/0
Force LDAP reset: LDAPReset

done.

Updating Rudder password file with random passwords...  done.
Cleaning up temporary directories... done.
Restarting jetty... done.

Reinitialization complete, Rudder is currently reloading.

You can access it via https://centos8/rudder
Step 3 – Access Rudder Web Interface
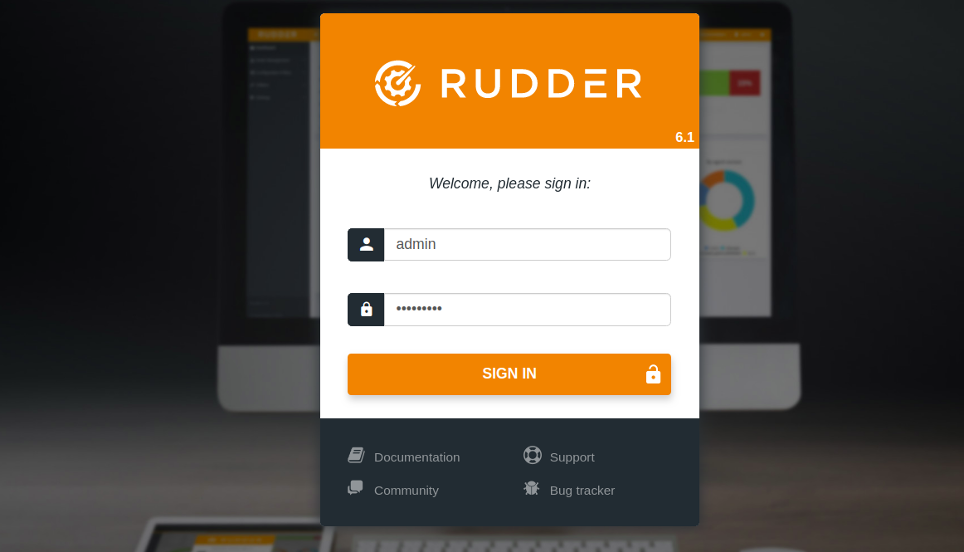
You can now access the Rudder web interface using the URL https://your-server-ip/rudder. You should see the Rudder login page:
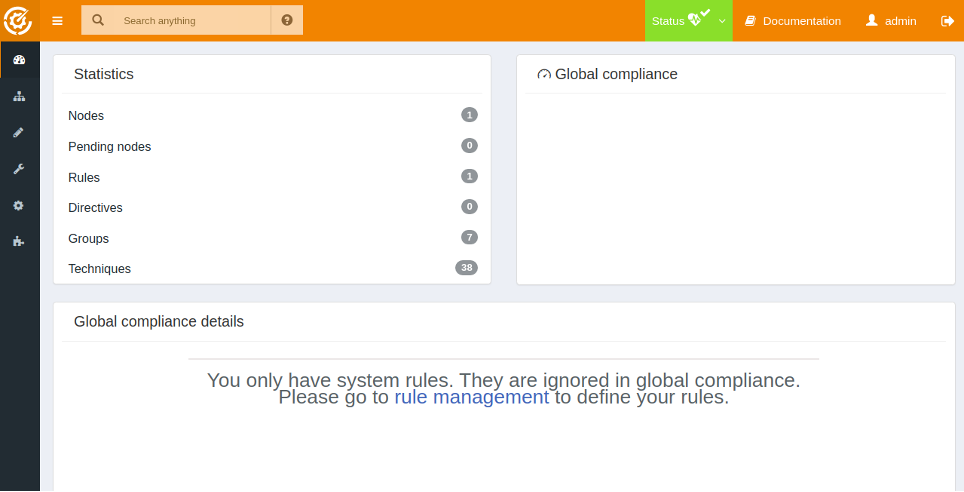
Provide your admin username and password and click on the SIGN IN button. You should see the Rudder dashboard on the following page:
Conclusion
Congratulations! You have successfully installed and configured Rudder on CentOS 8. You can now install Rudder clients on the remote nodes, add them to the Rudder server, and start managing them from the Rudder dashboard. Install Rudder on your Atlantic.Net dedicated server today.

