Apache Tomcat is an open-source web server for hosting a Java-based application online. Tomcat offers a user-friendly web interface where users can easily deploy and manage Java applications. Apache Tomcat is written in Java and contributed to by developers worldwide. It is designed to handle dynamic Java-based web content using the HTTP protocol.
This post will show you how to install Apache Tomcat on Fedora.
Step 1 – Install Java JDK
Apache Tomcat is based on Java, so you will require Java to be installed on your server. You can install Java OpenJDK 11 with the following command.
dnf update -y
dnf install java-11-openjdk -y
After the installation, verify the Java version with the following command.
java --version
Output:
openjdk 11.0.15 2022-04-19
OpenJDK Runtime Environment 18.9 (build 11.0.15+10)
OpenJDK 64-Bit Server VM 18.9 (build 11.0.15+10, mixed mode, sharing)
Step 2 – Install Apache Tomcat
First, visit the Apache Tomcat official website and download the latest version of Tomcat using the following command.
wget https://dlcdn.apache.org/tomcat/tomcat-10/v10.1.8/bin/apache-tomcat-10.1.8.tar.gz
Once the download is finished, extract the downloaded file with the following command.
tar -xvzf apache-tomcat-10.1.8.tar.gz
Next, move the extracted directory to /opt with the following command.
mv apache-tomcat-10.1.8 /opt/tomcat
Next, create a group and user for Tomcat using the following command.
groupadd --system tomcat
useradd -M -d /opt/tomcat -g tomcat tomcat
Next, change the ownership of Apache Tomcat:
chown -R tomcat:tomcat /opt/tomcat
Step 3 – Create a Systemd Service File for Tomcat
Next, you must create a systemd service file to manage Tomcat via systemd.
nano /etc/systemd/system/tomcat.service
Add the following configurations.
[Unit]
Description=Apache Tomcat 10
After=network.target syslog.target

[Service]
User=tomcat
Group=tomcat
Type=oneshot
ExecStart=/opt/tomcat/bin/startup.sh
ExecStop=/opt/tomcat/bin/shutdown.sh
RemainAfterExit=yes
[Install]
WantedBy=multi-user.target
Save and close the file, then reload the systemd daemon to implement the changes.
systemctl daemon-reload
Next, start and enable the Tomcat service.
systemctl start tomcat
systemctl enable tomcat
You can now check the Tomcat status using the following command.
systemctl status tomcat
Output.
● tomcat.service - Apache Tomcat 10
     Loaded: loaded (/etc/systemd/system/tomcat.service; disabled; vendor preset: disabled)
     Active: active (exited) since Sat 2023-04-22 03:28:40 EDT; 4s ago
    Process: 8379 ExecStart=/opt/tomcat/bin/startup.sh (code=exited, status=0/SUCCESS)
   Main PID: 8379 (code=exited, status=0/SUCCESS)
      Tasks: 34 (limit: 4666)
     Memory: 101.6M
        CPU: 5.147s
     CGroup: /system.slice/tomcat.service
             └─8393 /usr/bin/java -Djava.util.logging.config.file=/opt/tomcat/conf/logging.properties -Djava.util.logging.manager=org.apache.juli.ClassLoaderLogManager>

Apr 22 03:28:40 fedora systemd[1]: Starting Apache Tomcat 10...
Apr 22 03:28:40 fedora startup.sh[8379]: Tomcat started.
Apr 22 03:28:40 fedora systemd[1]: Finished Apache Tomcat 10.
Step 4 – Create an Administrative User for Tomcat
Next, you must create an admin user to access the Tomcat management interface.
nano /opt/tomcat//onf/tomcat-users.xml
Add the following lines above the last line:
<role rolename="admin-gui" />
<user username="admin" password="password" roles="manager-gui,admin-gui">
Save and close the file when you are finished.
Step 5 – Allow Tomcat Remote Login
By default, Tomcat is accessible only from the local host. You will need to enable remote access by editing the Tomcat configuration file.
To allow remote access to the Manager app, edit the context.xml file.
nano /opt/tomcat/webapps/manager/META-INF/context.xml
Remove the following lines.
  <Valve className="org.apache.catalina.valves.RemoteAddrValve"
         allow="127\.\d+\.\d+\.\d+|::1|0:0:0:0:0:0:0:1" />
To allow remote access to the Host Manager app, edit the context.xml file.
nano /opt/tomcat/webapps/host-manager/META-INF/context.xml
Remove the following lines.
  <Valve className="org.apache.catalina.valves.RemoteAddrValve"
         allow="127\.\d+\.\d+\.\d+|::1|0:0:0:0:0:0:0:1" />
Save and close the file, then restart the Tomcat service to apply the changes.
systemctl restart tomcat
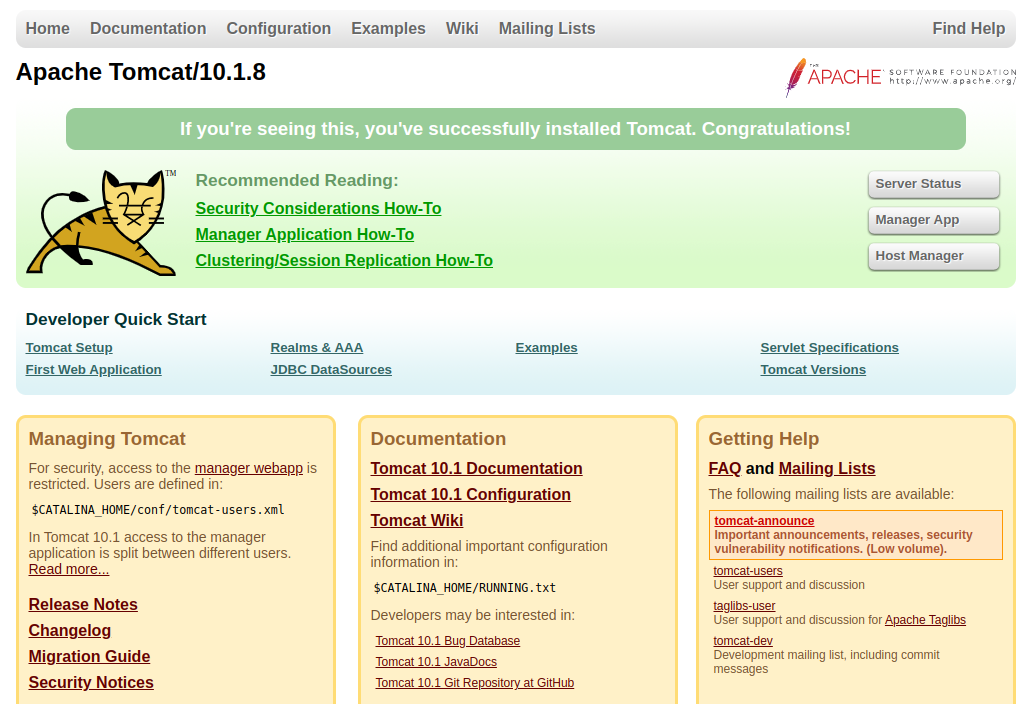
Step 6 – Access Tomcat Web Interface
Now, open your web browser and access the Tomcat administrative interface using the URL http://your-server-ip:8080. You should see the following screen.
Click on the Manager App. You will be asked for authentication.
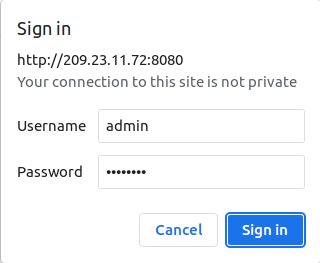
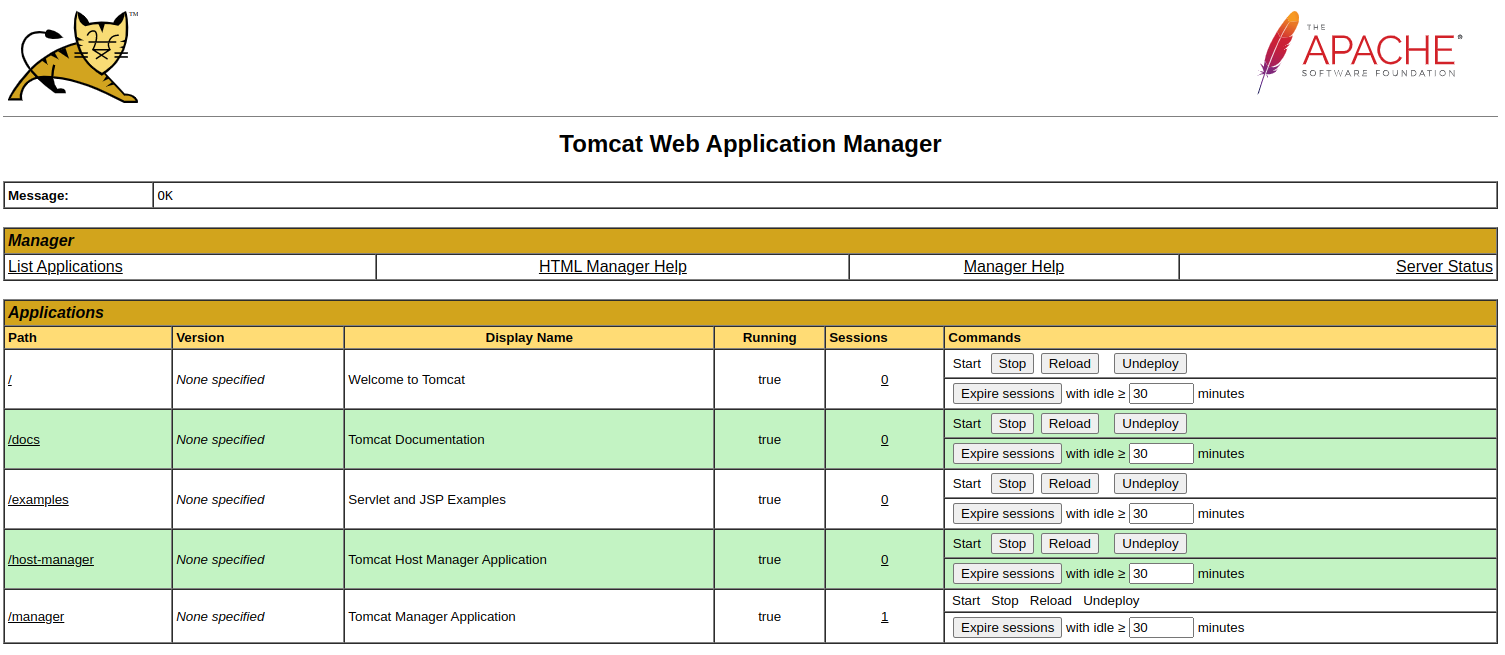
Provide a Tomcat admin username and password and click on the Sign in button. You should see the Manager App dashboard.
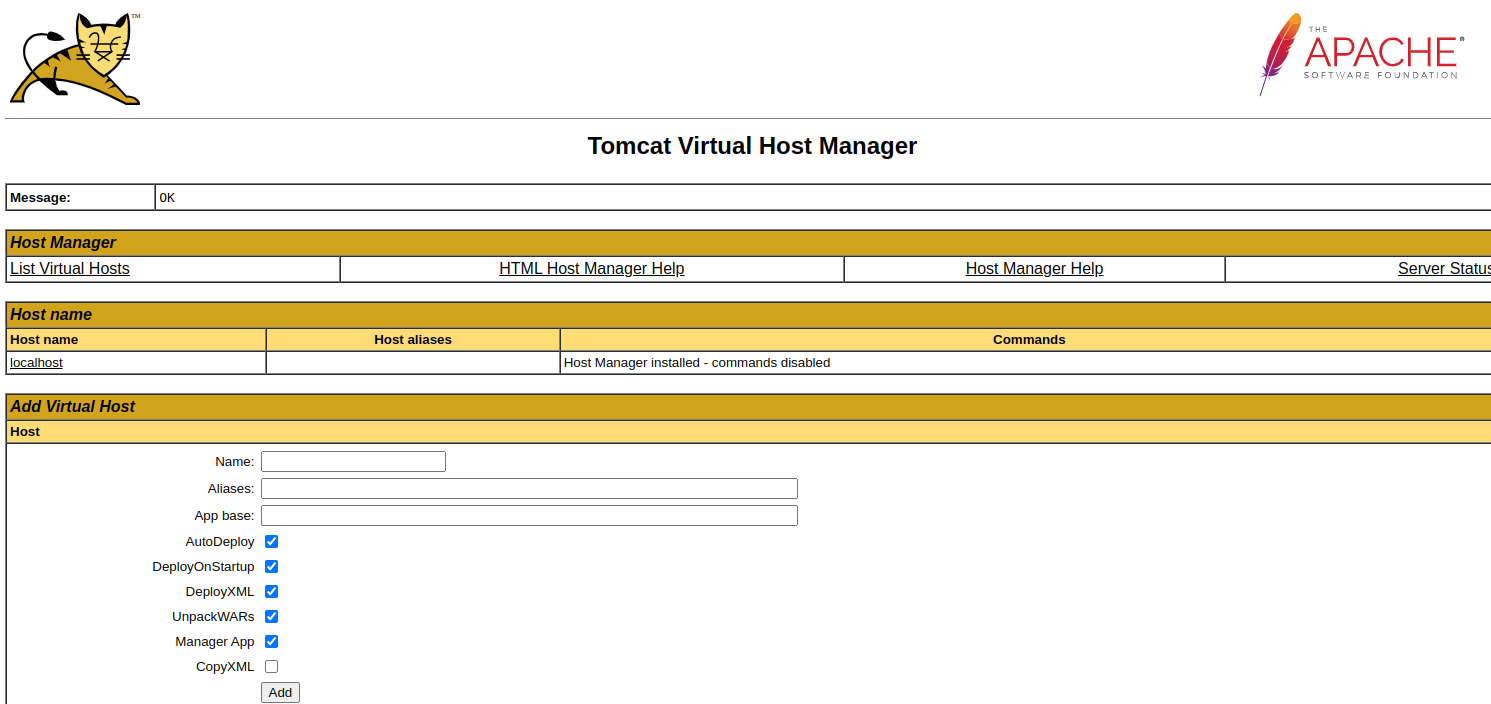
Click on the Host Manager. You should see the Host Manager dashboard on the following screen.
Conclusion
In this tutorial, we explained how to install Tomcat 10 on Fedora. We also showed you how to enable Tomcat remote access. You can now easily create and deploy Java-based applications via the Tomcat web dashboard. You can try Tomcat on dedicated server hosting from Atlantic.Net!
* This post is for informational purposes only and does not constitute professional, legal, financial, or technical advice. Each situation is unique and may require guidance from a qualified professional.
Readers should conduct their own due diligence before making any decisions.