Wiki.js is a powerful, flexible, and modern open-source wiki application designed to help you manage your documentation and knowledge base effectively. Built on Node.js, it offers a sleek user interface, extensive customization options, and seamless integration with various authentication systems and data sources.
This guide will walk you through the steps to install Wiki.js on Ubuntu 22.04.
Step 1 – Install Required Dependencies
Wiki.js requires Node.js. You can install the latest LTS version using the NodeSource repository.
First, add the NodeSource repository.
curl -sL https://deb.nodesource.com/setup_lts.x | bash -Next, update the package index.
apt update -yNext, install Node.js.
apt install nodejs -yStep 2 – Install and Configure MariaDB Database
Wiki.js uses MariaDB as its database. You can install the MariaDB server with the following commands:
apt install mariadb-server -yOnce the MariaDB is installed, connect to the MariaDB shell using the following command.
mysqlNext, create a database and user for Wiki.js.
CREATE DATABASE wikijs;
GRANT ALL on wikijs.* to wikijs@localhost identified by 'password';
Next, flush the privileges and exit from the MariaDB shell.
FLUSH PRIVILEGES;
EXIT;
Step 3 – Install Wiki.js
First, create a dedicated user for Wiki.js.
useradd -m -d /opt/wikijs -U -r -s /bin/bash wikijsLog in to your wikijs user:
su - wikijsDownload the latest version of Wiki.js:
wget https://github.com/Requarks/wiki/releases/latest/download/wiki-js.tar.gzExtract the downloaded file.
tar -xzvf wiki-js.tar.gzCopy the sample configuration file.
cp -a config.sample.yml config.ymlEdit the sample configuration file.
nano config.ymlDefine your database settings:
db:
  type: mariadb

  # PostgreSQL / MySQL / MariaDB / MS SQL Server only:
  host: localhost
  port: 3306
  user: wikijs
  pass: password
  db: wikijs
Save and close the file then exit from the Wiki.js user.
exitStep 4 – Create a Systemd Service
To ensure Wiki.js runs as a service and starts on boot, create a systemd service file:
nano /etc/systemd/system/wikijs.serviceAdd the following content to the file:
[Unit]
Description=Wiki.js
After=network.target

[Service]
Type=simple
ExecStart=/usr/bin/node server
Restart=always

User=wikijs
Environment=NODE_ENV=production
WorkingDirectory=/opt/wikijs

[Install]
WantedBy=multi-user.target
Reload the systemd daemon to apply the new service file:
systemctl daemon-reloadEnable and start the Wiki.js service:
systemctl enable --now wikijsStep 4 – Configure Nginx as a Reverse Proxy
If you want to serve Wiki.js through a domain and use Nginx as a reverse proxy, install Nginx first:
apt install nginxCreate a new Nginx configuration file:
nano /etc/nginx/conf.d/wiki.confAdd the following configuration:
server {
  listen 80;
  server_name  wikijs.example.com;
  root   /opt/wikijs;

    location / {
    proxy_pass          http://127.0.0.1:3000;
    proxy_http_version  1.1;
    proxy_set_header    Upgrade $http_upgrade;
    proxy_set_header    Connection "upgrade";
    proxy_set_header    Host $host;
    proxy_set_header    X-Real-IP $remote_addr;
    proxy_set_header    X-Forwarded-For $proxy_add_x_forwarded_for;
    proxy_set_header    X-Forwarded-Proto $scheme;
  }
}
Edit the Nginx main configuration file:
nano /etc/nginx/nginx.confAdd the following lines after the line http {:
server_names_hash_bucket_size 64;Save the file then restart the Nginx service to apply the changes.
systemctl restart nginxStep 5 – Access Wiki.js
Open a web browser and navigate to http://wikijs.example.com. You will see the following page:
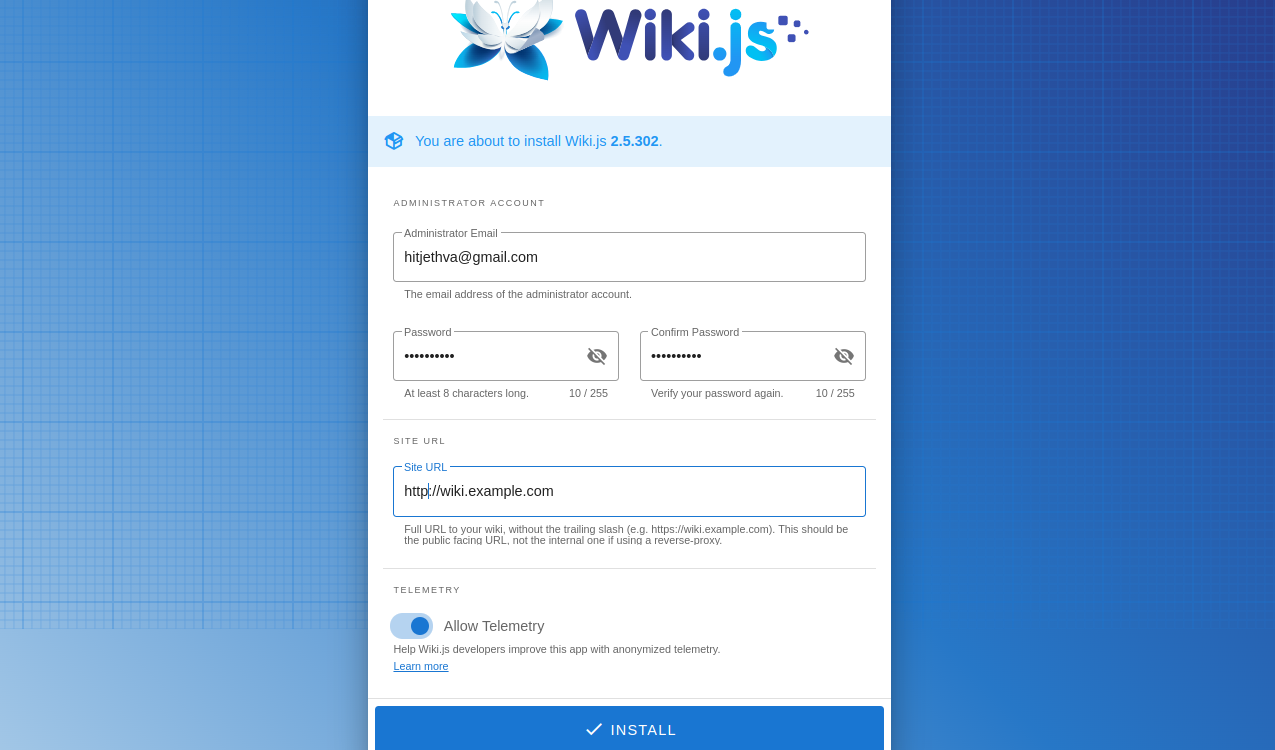
Set your email, password, and site URL, and click on INSTALL. You will be redirected to the Wiki.js login page:

Provide your email and password and click on Log in. You will see the following page:
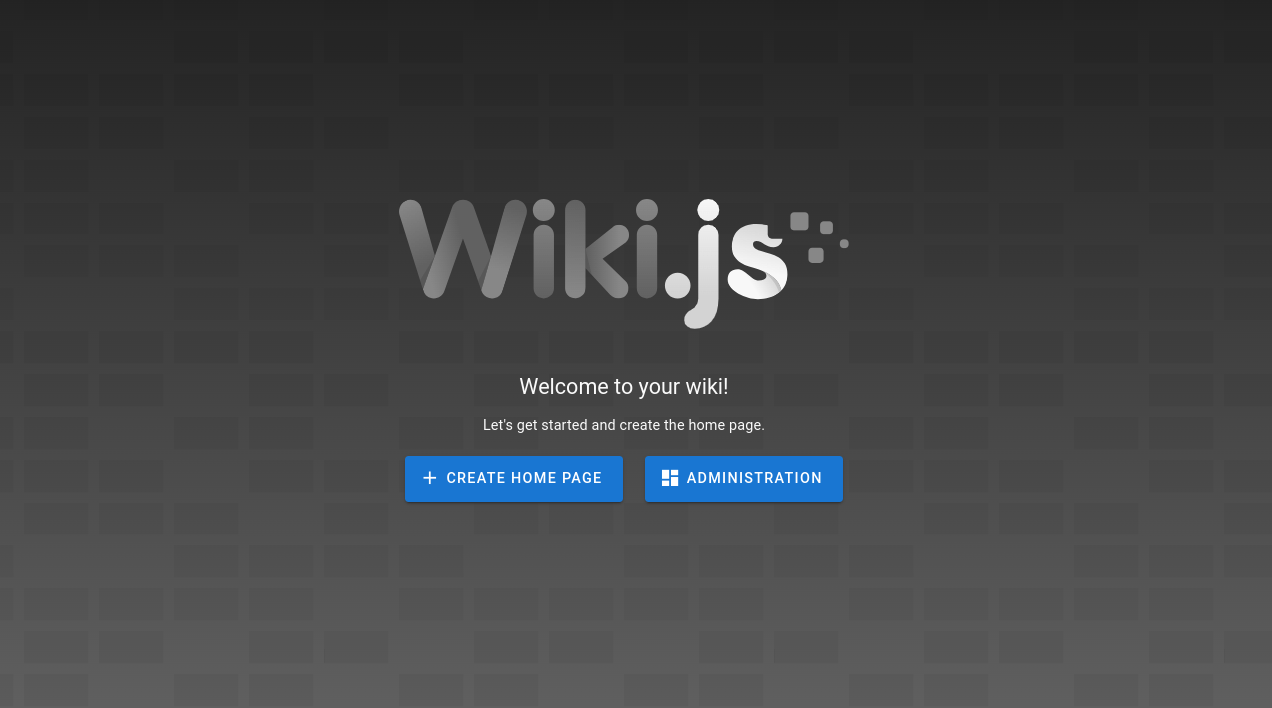
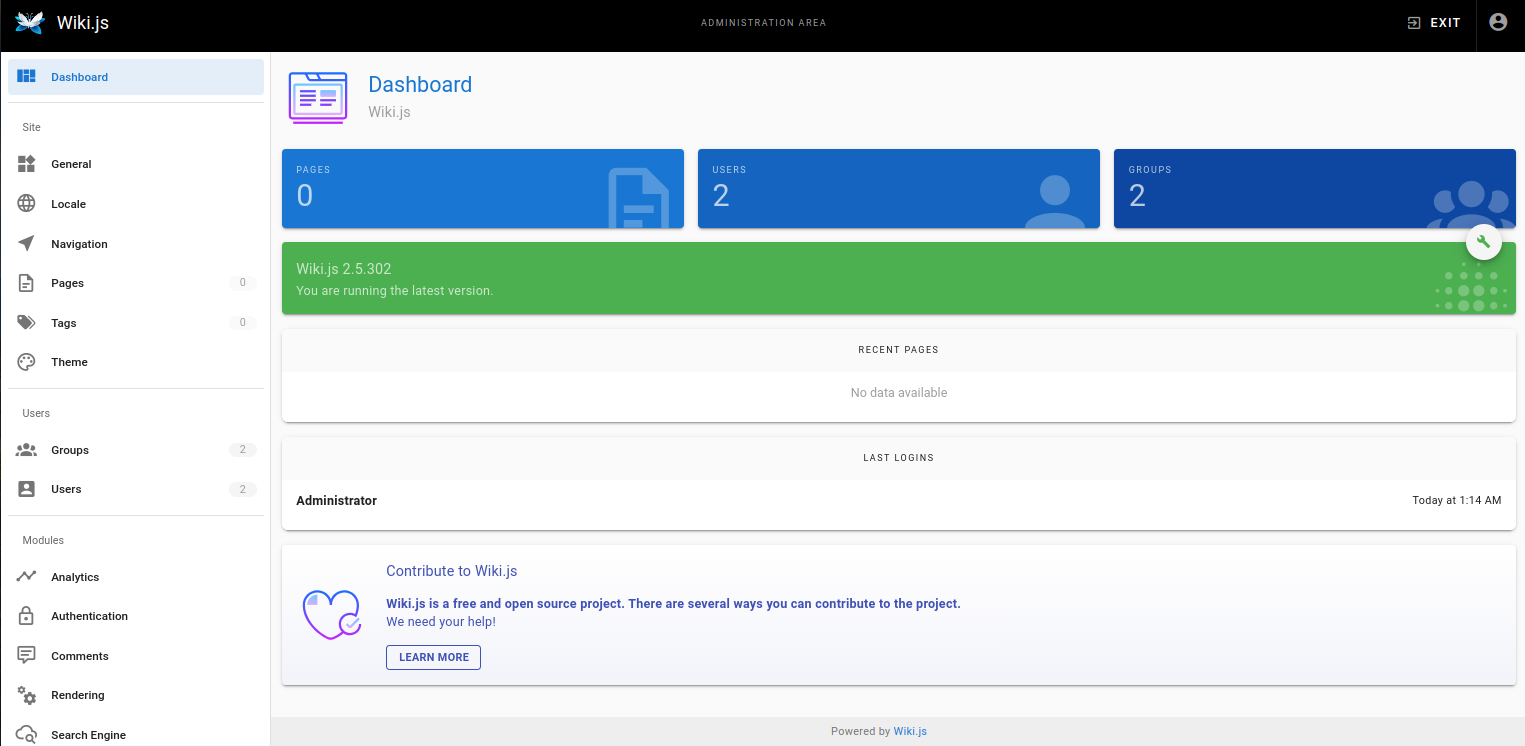
Click on ADMINISTRATION. You will see the Wiki.js dashboard.
Conclusion
Installing Wiki.js on Ubuntu 22.04 is a comprehensive process that involves setting up the necessary software stack, configuring your environment, and deploying the application. By carefully following each step, from updating your system and installing Node.js, MariaDB, and other dependencies, to configuring Wiki.js and ensuring it runs as a service, you can achieve a smooth and efficient installation. With Wiki.js up and running, you now have a modern and feature-rich platform for managing your documentation and knowledge base. This setup not only enhances collaboration and information sharing but also provides a scalable solution that can grow with your needs. Let’s deploy Wiki.js on dedicated server hosting from Atlantic.Net!