WordPress is the most popular content management system in the world. This open-source CMS offers a simple, easy-to-use web interface where users can create and manage blogs and websites. WordPress is written in PHP and uses MariaDB as a database backend. It helps beginners create a website and blog without coding knowledge. WordPress is gaining popularity due to its simplicity, flexibility, extendability, customizable and large community.
This post will show you how to install WordPress with Apache on Fedora 34.
Step 1 – Install Apache and PHP
First, install the Apache server with the following command.
dnf update -y
dnf install httpd -y
Once installed, verify the Apache version using the following command.
httpd -v
You will get the Apache version in the following output.
Server version: Apache/2.4.53 (Fedora)
Server built:   Mar 17 2022 00:00:00
Next, start and enable the Apache service with the following command.
systemctl start httpd
systemctl enable httpd
Next, install PHP with other required extensions using the following command.
dnf install php php-fpm php-mysqlnd php-opcache php-gd php-xml php-mbstring php-curl php-pecl-imagick php-pecl-zip libzip -y
Next, edit the PHP configuration file and change the default settings suitable to your needs:
nano /etc/php.ini
Change the following settings:
max_execution_time = 300
max_input_time = 300
memory_limit = 512M
post_max_size = 256M
upload_max_filesize = 256M
Save and close the file, then start and enable the PHP-FPM service with the following command.
systemctl start php-fpm
systemctl enable php-fpm
Step 2 – Install and Configure MariaDB Database
First, install the MariaDB server with the following command.
dnf install mariadb-server -y
Next, start the MariaDB service and enable it to start at system reboot.
systemctl start mariadb
systemctl enable mariadb
Next, log in to the MariaDB shell with the following command.
mysql
Once you are connected to MariaDB, create a database and user for WordPress:
MariaDB [(none)]> CREATE DATABASE wpdb;
MariaDB [(none)]> GRANT ALL PRIVILEGES ON wpdb.* TO 'wpuser'@'localhost' IDENTIFIED BY 'password';
Next, flush the privileges and exit from the MariaDB shell with the following command.
MariaDB [(none)]> FLUSH PRIVILEGES;
MariaDB [(none)]> EXIT;
Step 3 – Download WordPress
First, navigate to the Apache web root directory and download the latest version of WordPress with the following command.
cd /var/www/html/
wget https://www.wordpress.org/latest.tar.gz
Next, extract the downloaded file using the tar command.
tar -xvf latest.tar.gz
Next, rename the default WordPress configuration file.
cd wordpress
cp wp-config-sample.php wp-config.php
Next, edit the WordPress configuration file:
nano wp-config.php
Define your database settings as shown below:
/** The name of the database for WordPress */
define( 'DB_NAME', 'wpdb' );

/** Database username */
define ('DB_USER', 'wpuser');

/** Database password */
define( 'DB_PASSWORD', 'password' );

/** Database hostname */
define( 'DB_HOST', 'localhost' );
Save and close the file, then change the permission and ownership of the WordPress directory.
chown -R apache:apache /var/www/html/wordpress
chmod -R 755 /var/www/html/wordpress
Step 4 – Create an Apache Virtual Host for WordPress
Next, you will need to create an Apache virtual host to define your WordPress directory and domain.
nano /etc/httpd/conf.d/wp.conf
Add the following configurations:
<VirtualHost *:80>
    ServerAdmin [email protected]
    ServerName wp.example.com
    DocumentRoot /var/www/html/wordpress
    <Directory /var/www/html/wordpress>
        Allowoverride all
    </Directory>
</VirtualHost>
Save and close the file, then restart the Apache service to apply the changes.
systemctl restart httpd
Step 5 – Perform WordPress Web-based Installation
Now, open your web browser and access the WordPress installation wizard using the URL http://wp.example.com. You should see the following screen:
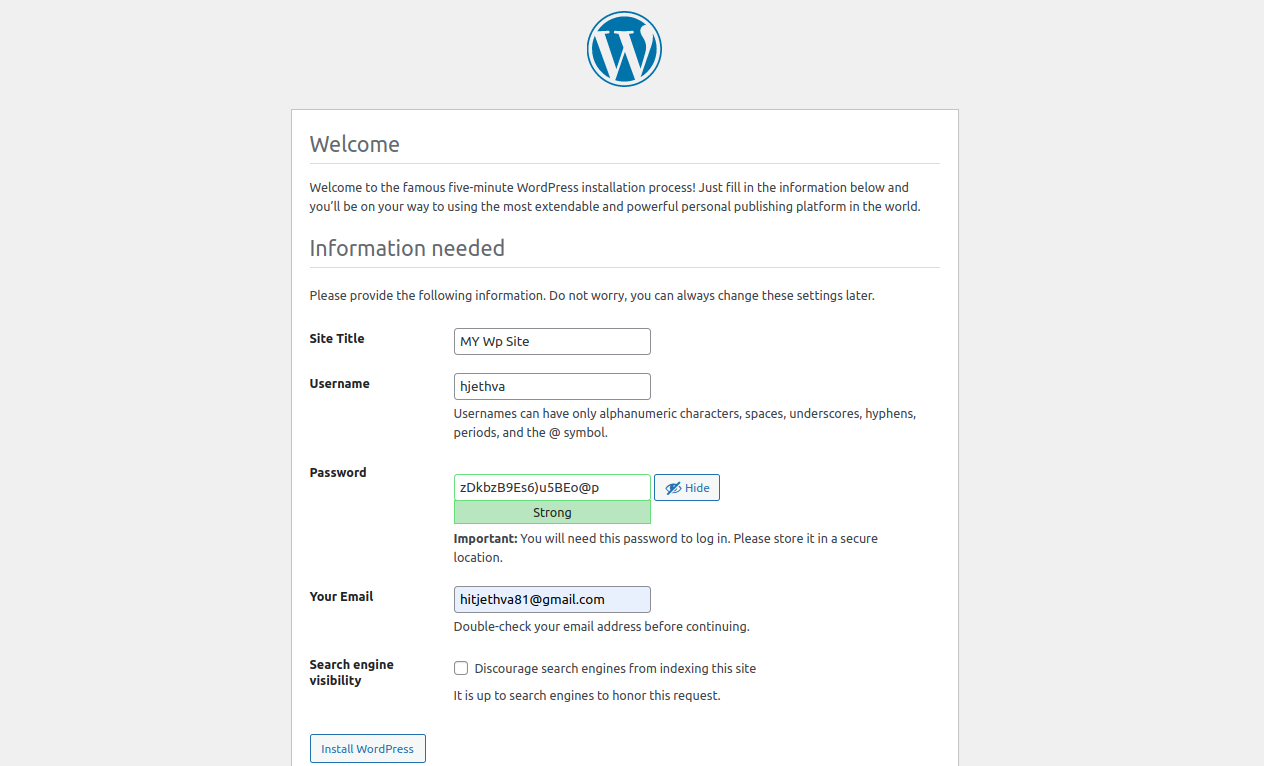
Provide your WordPress site name, admin username, and password, and click the Install button. You should see the following screen.
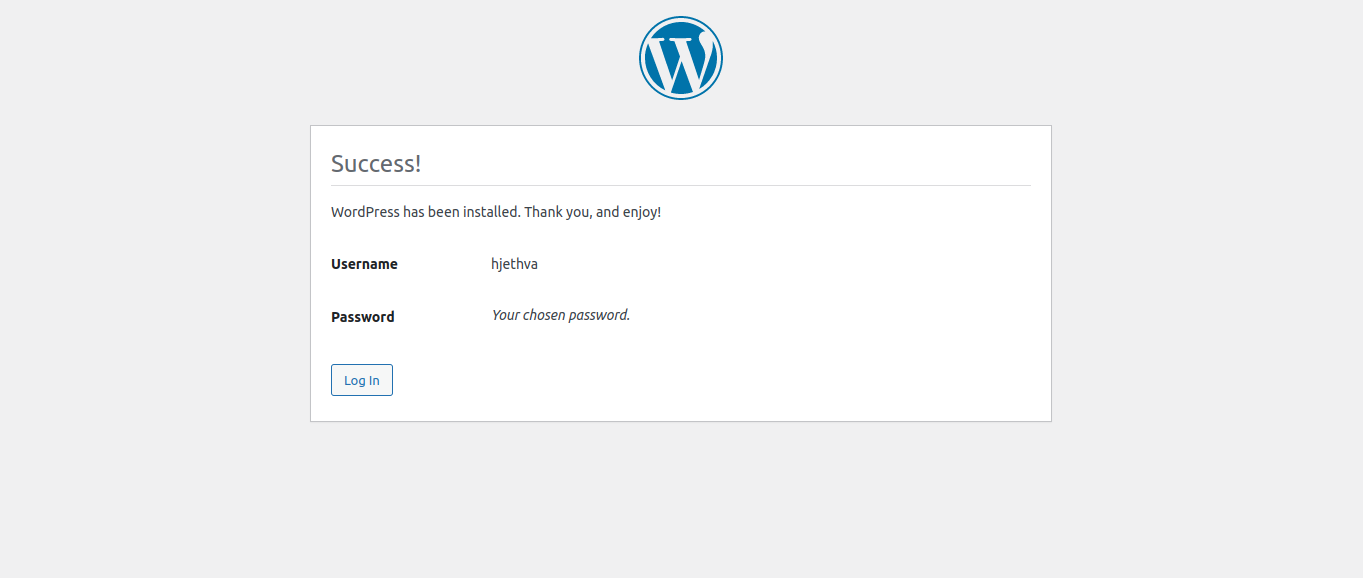
Click on the Login button. You should see the WordPress administrative login page:
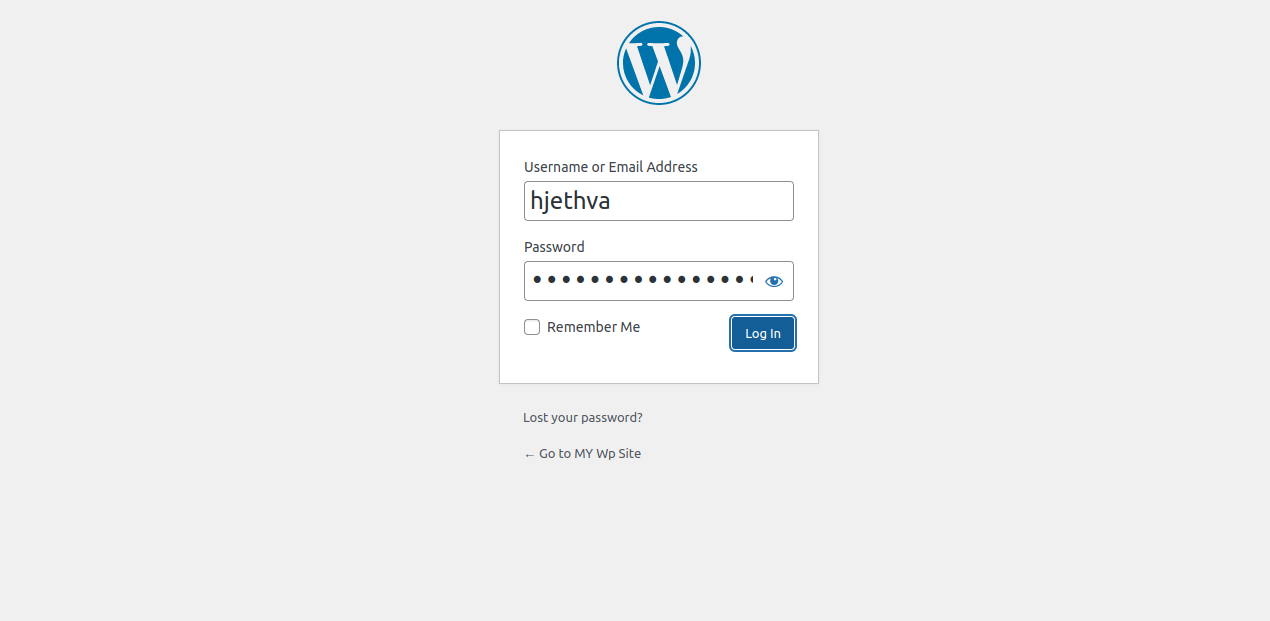
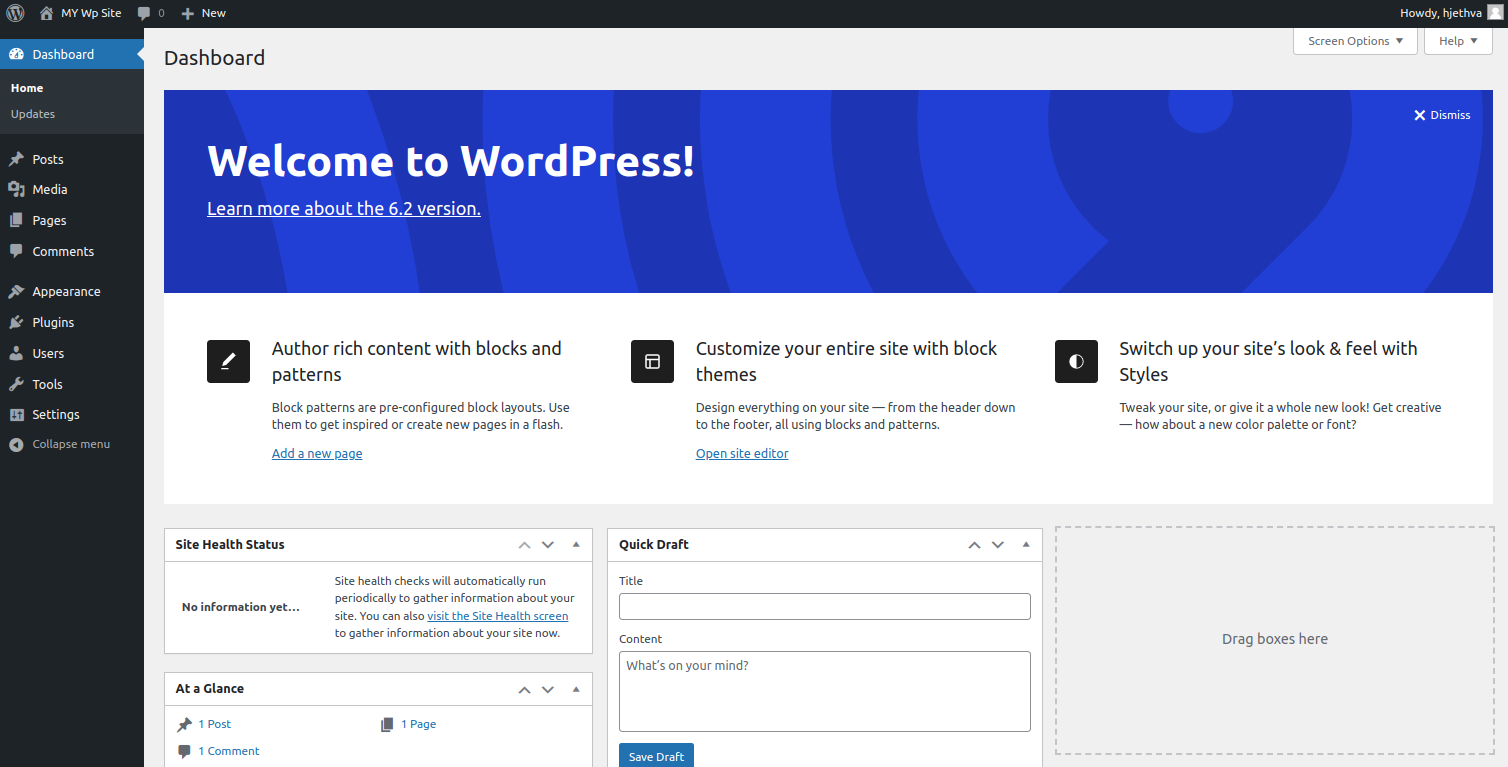
Provide your admin username and password and click on the Login button. You should see the WordPress dashboard on the following screen.
Conclusion
This post showed you how to install WordPress with Apache on Fedora 34. You can now explore WordPress and start creating your own website from the WordPress dashboard. You can also try to deploy WordPress on dedicated server hosting from Atlantic.Net!