Zabbix is an open-source monitoring solution that allows system administrators to monitor networks, servers, virtual machines, and cloud services via a web-based interface. It offers prebuilt official and community-developed templates for integrating with networks, applications, and endpoints and can automate some monitoring processes. Zabbix also offers automation capabilities such as packet loss rate, memory utilization, predictive bandwidth trends, and downtime trends.
This post will show you how to install a Zabbix server on Fedora Linux.
Step 1 – Install LAMP Server
First, update the server, and install the Apache and MariaDB servers with the following commands.
dnf update -y
dnf -y install httpd mariadb-server
Next, add the PHP remi repository and install the PHP 7.4 remi module.
dnf install -y http://rpms.remirepo.net/fedora/remi-release-34.rpm
dnf module install php:remi-7.4
Next, install PHP with other required extensions.
dnf install php php-fpm php-gd php-mysqlnd
Next, edit the PHP-FPM configuration file.
nano /etc/php-fpm.d/www.conf
Modify the following lines.
listen = /run/php-fpm/zabbix.sock
listen.allowed_clients = 0.0.0.0
Save and close the file, then create a new Zabbix file.
nano /etc/php-fpm.d/zabbix.conf
Define your date and time zone.
php_value[date.timezone] = UTC
Next, edit the PHP configuration file.
nano /etc/php.ini
Change the following values.
post_max_size = 16M
max_execution_time = 300
max_input_time = 300
Save the file, then enable Apache, MariaDB, and PHP-FPM services.
systemctl start httpd mariadb php-fpm
systemctl enable httpd mariadb php-fpm
Step 2 – Create a Zabbix Database
Next, you will need to create a database and user for Zabbix.
First, connect to the MariaDB shell.
mysql
Once you are connected, create a database and user for Zabbix.
CREATE DATABASE zabbix CHARACTER SET utf8 COLLATE utf8_bin;
CREATE USER 'zabbix'@'localhost' IDENTIFIED BY 'password';
Next, grant all the privileges to the Zabbix database.
GRANT ALL PRIVILEGES ON zabbix.* TO 'zabbix'@'localhost' IDENTIFIED BY 'password';
Next, flush the privileges and exit from the MariaDB shell.
FLUSH PRIVILEGES;
EXIT;
Step 3 – Install Zabbix Server
The Zabbix server package is unavailable in the Fedora default repo by default, so you will need to install the Zabbix repo to your server. You can install it with the following command.
rpm -Uvh https://repo.zabbix.com/zabbix/5.5/rhel/8/x86_64/zabbix-release-5.5-1.el8.noarch.rpm
Next, install the Zabbix server with other packages.
dnf install zabbix-server-mysql zabbix-web-mysql zabbix-apache-conf zabbix-sql-scripts zabbix-selinux-policy zabbix-agent
Next, download the Zabbix source.
wget https://cdn.zabbix.com/zabbix/sources/stable/5.0/zabbix-5.0.37.tar.gz
Next, extract the downloaded file.
tar zxvf zabbix-5.0.37.tar.gz
Next, change the directory to the extracted directory:
cd zabbix-5.0.37/database/mysql/
Next, import the database schema, images, and data with the following commands.
mysql -uzabbix -p zabbix < schema.sql
mysql -uzabbix -p zabbix < images.sql
mysql -uzabbix -p zabbix < data.sql
Next, edit the Zabbix configuration.
nano /etc/zabbix_server.conf
Change the following lines to define your database.
DBHost=localhost
DBName=zabbix
DBUser=zabbix
DBPassword=password
Save and close the file, then restart all required services with the following command.
systemctl restart zabbix-server zabbix-agent httpd php-fpm
systemctl enable zabbix-server zabbix-agent httpd php-fpm
Step 4 – Access Zabbix Web Installation
Now, open your web browser and access the Zabbix web installation using the URL http://your-server-ip/zabbix. You will see the Zabbix welcome screen.
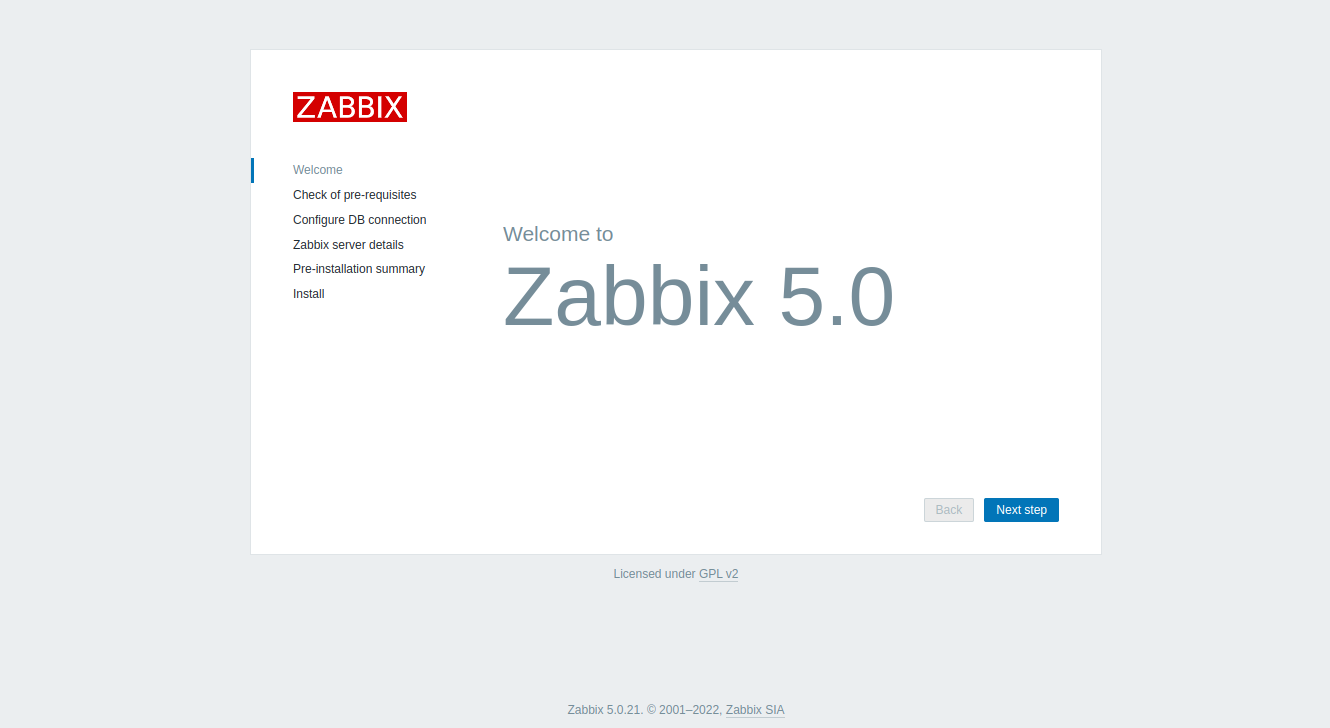
Click on Next step. You will see the pre-requisites check screen.
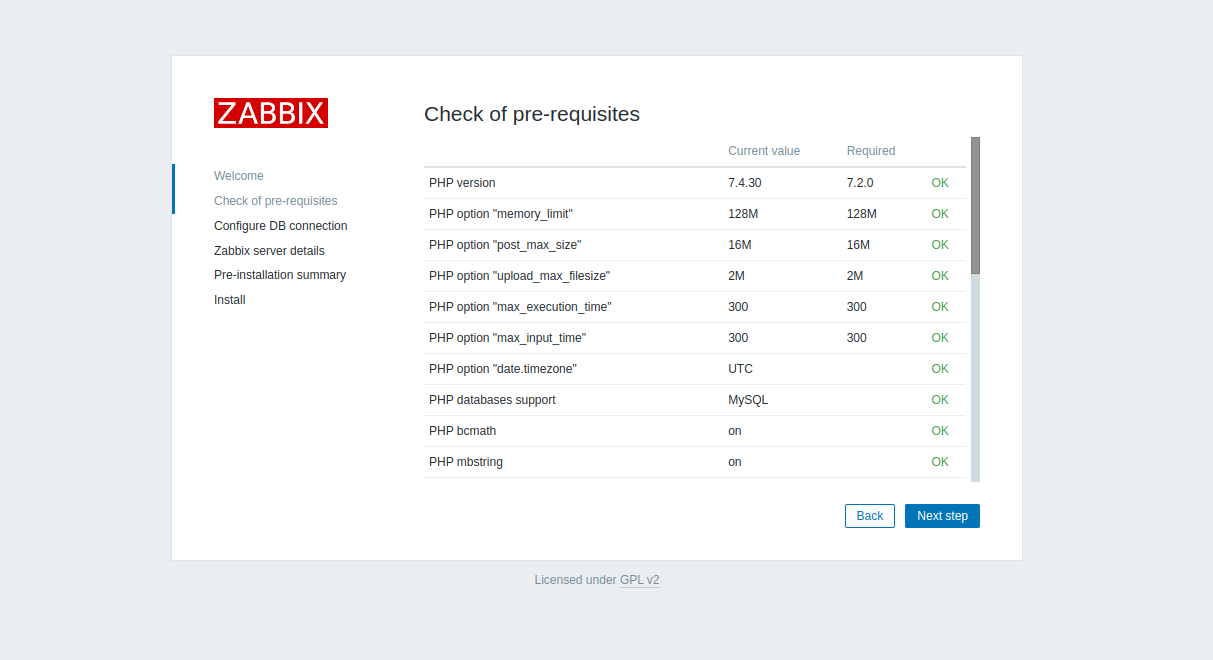
Click on Next step. You will see the database configuration screen.
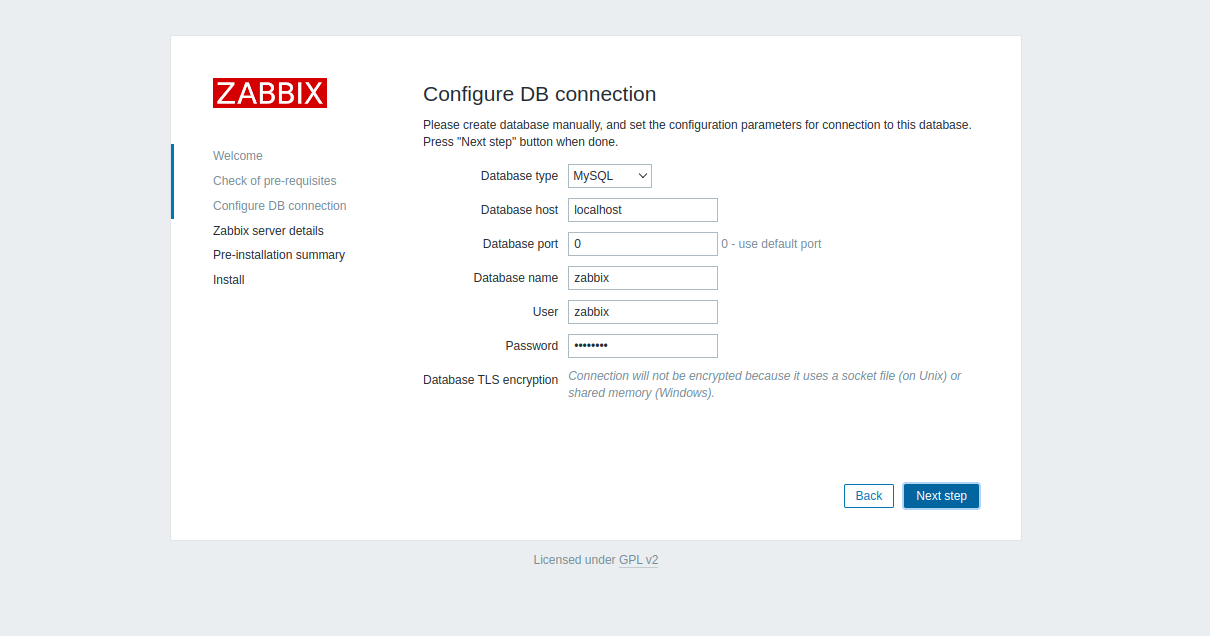
Define your database settings and click on Next step. You will see the Zabbix server details screen.
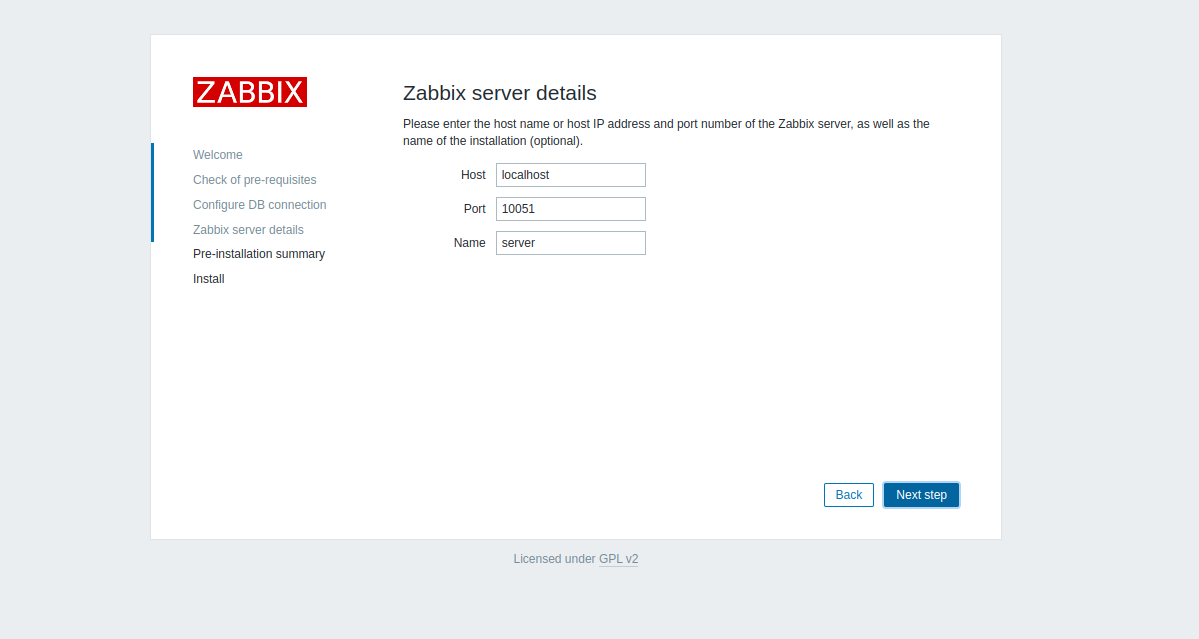
Provide your Zabbix host, port, name, and click on Next step. You will see the installation summary screen.
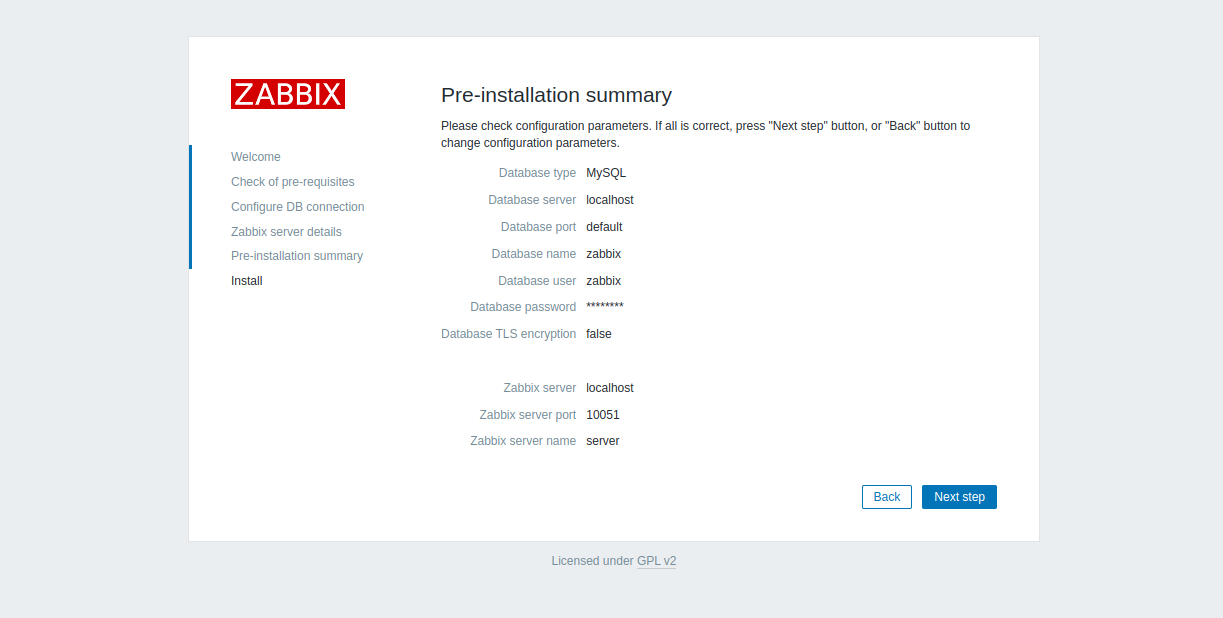
Click on Next step. You will see the following screen.

Click on Download the configuration file to download the zabbix.conf.php file to your local machine.
Next, create a new directory in your server with the following command.
mkdir -p /usr/share/zabbix/etc/zabbix/web/
Next, copy zabbix.conf.php file to /usr/share/zabbix/etc/zabbix/web/.
Next, go back to the web installation screen and click on the Finish button. You will see the Zabbix login screen.
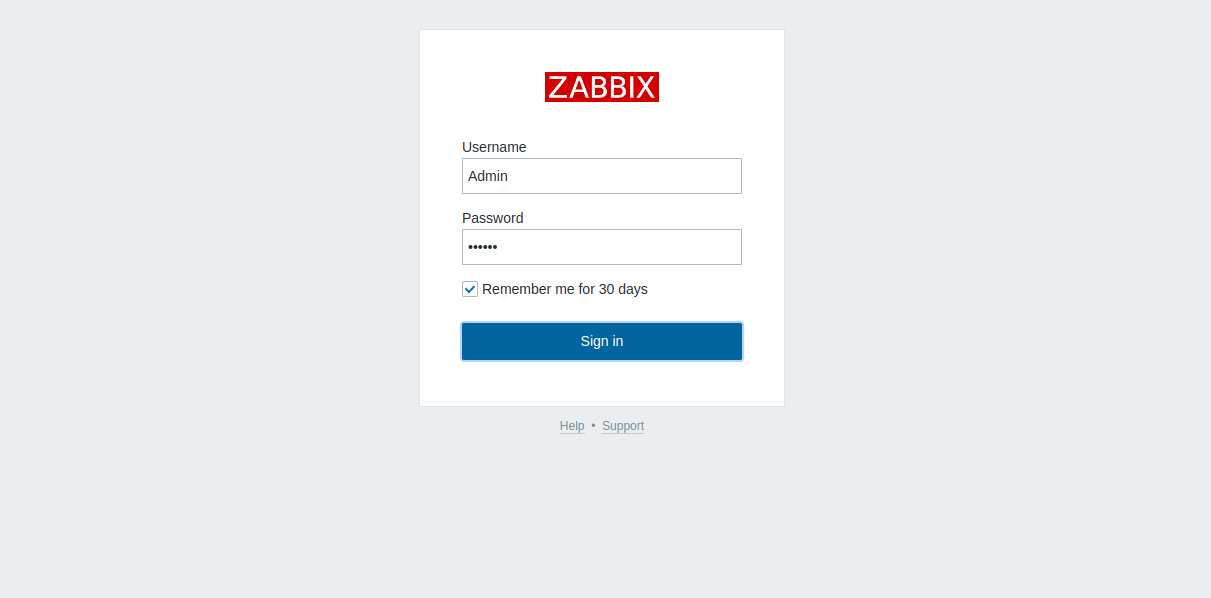
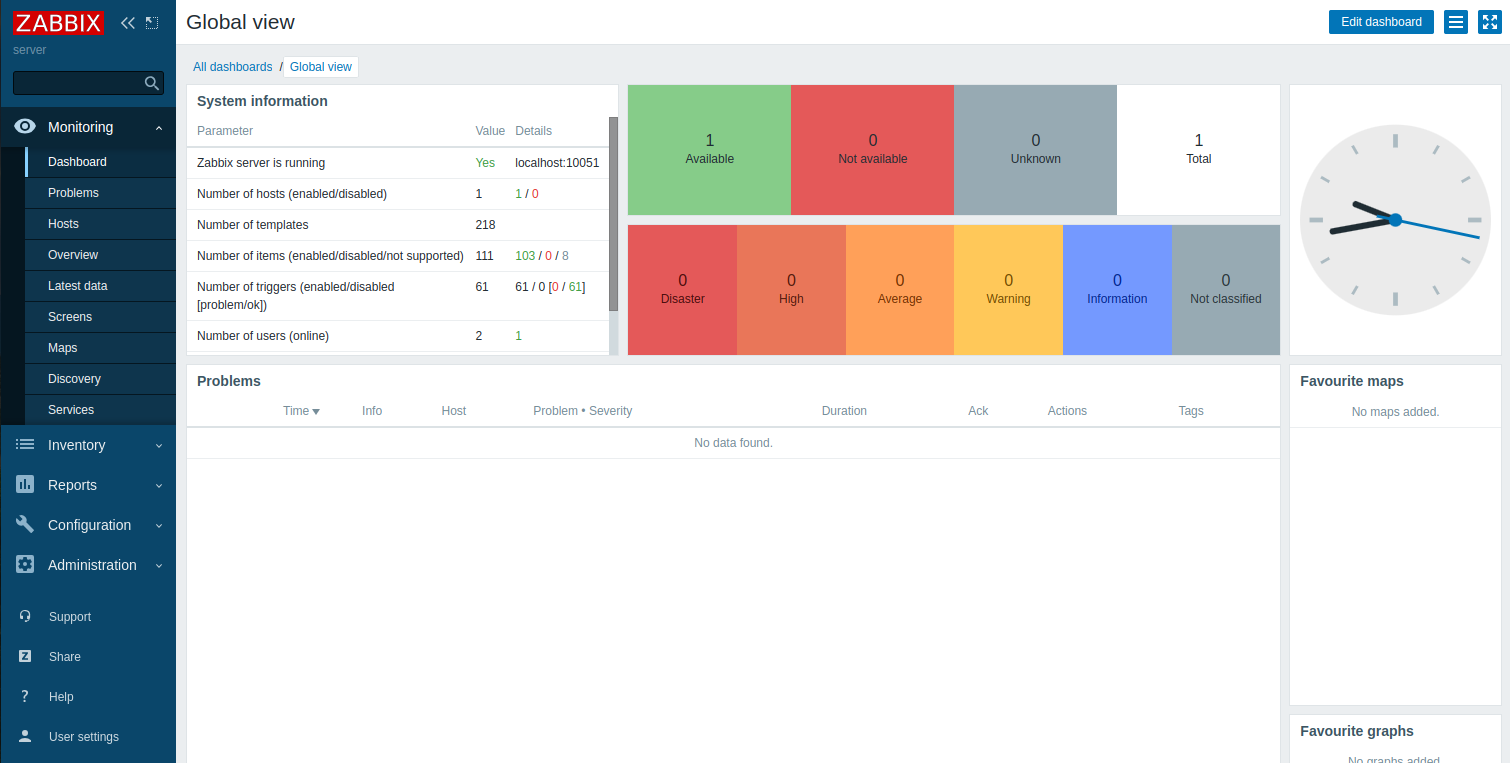
Provide the default username and password as Admin / zabbix, then click the Sign in button. You will see the Zabbix dashboard on the following screen.
Conclusion
In this post, we showed you how to install the Zabbix monitoring server on Fedora. You can now add your remote servers to the Zabbix and monitor them via the Zabbix web interface. You can now deploy the Zabbix monitoring server on dedicated server hosting from Atlantic.Net!
* This post is for informational purposes only and does not constitute professional, legal, financial, or technical advice. Each situation is unique and may require guidance from a qualified professional.
Readers should conduct their own due diligence before making any decisions.