When working in the local environment, each system is assigned an IP address to distinguish them from one another on the LAN. However, it is very difficult to remember each host by their IP address, especially in a large environment. In this case, we can assign a unique hostname to each machine to remember them easily. Hostname also allows each machine to communicate using the device name rather than the IP address.
This post will show you how to set and change the hostname in Rocky Linux. This procedure is compatible with Rocky Linux 9 and Rocky Linux 10.
Step 1 – Check Your Current Hostname
Before setting up a hostname, it is important to check the current hostname of your system.
You can check it using the following command:
hostnamectl
You should see the current hostname of your system in the following output:
     Static hostname: rocky
           Icon name: computer-vm
             Chassis: vm 🖴
          Machine ID: c0b9710ec77a40fd91a1887844dc0166
             Boot ID: af19459c03a44f9383ba620f61dd6f44
        Product UUID: c0b9710e-c77a-40fd-91a1-887844dc0166
      Virtualization: kvm
    Operating System: Rocky Linux 10.0 (Red Quartz)
         CPE OS Name: cpe:/o:rocky:rocky:10::baseos
      OS Support End: Thu 2035-05-31
OS Support Remaining: 9y 7month 2w
              Kernel: Linux 6.12.0-55.21.1.el10_0.x86_64
        Architecture: x86-64
     Hardware Vendor: QEMU
      Hardware Model: Standard PC _i440FX + PIIX, 1996_
    Firmware Version: 1.15.0-1
       Firmware Date: Tue 2014-04-01
        Firmware Age: 11y 6month 2w
As you can see, the current hostname of your system is vyompc.
Also Read
Step 2 – Change the Hostname Temporarily
If you want to change the hostname of your system temporarily, you can use the following syntax:
hostname new-hostname
After a system restart or logging out, the set hostname will return to the previous one.
For example, to change the hostname to newpc, run the following command:
hostname newpc
Step 3 – Change the Hostname Permanently
You can use the hostnamectl command to change your system hostname permanently. Use the following syntax to change the hostname permanently:
hostnamectl set-hostname new-hostname
For example, to change the hostname of your system to newpc, run the following command:
hostnamectl set-hostname newpc
After running the above command, you can confirm the new hostname using the following command:
hostnamectl
Step 4 – Change the Hostname Using /etc/hostname File
You can also change the hostname by editing the hostname configuration file. In this case, you will need to restart your system to apply the changes.
To change the hostname, edit the /etc/hostname file:
nano /etc/hostname
Replace the old hostname with a new hostname:
newpc
Save and close the file, then restart your system to apply the changes:
reboot
Also Read
How to Change or Set User Password in Linux
Step 5 – Change the Hostname Using NMTUI Tool
You can also change the system hostname using the NMTUI tool.
To change the system hostname, open the command line interface and run the following command:
nmtui
You should see the following dialog box:
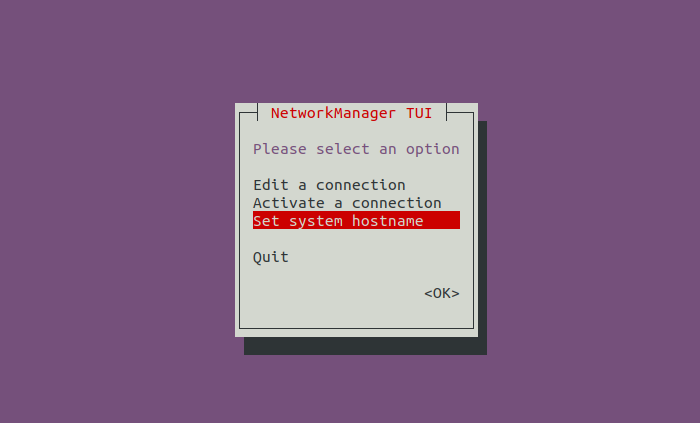
Select Set system hostname and press the Enter key. You should see the following dialog box:
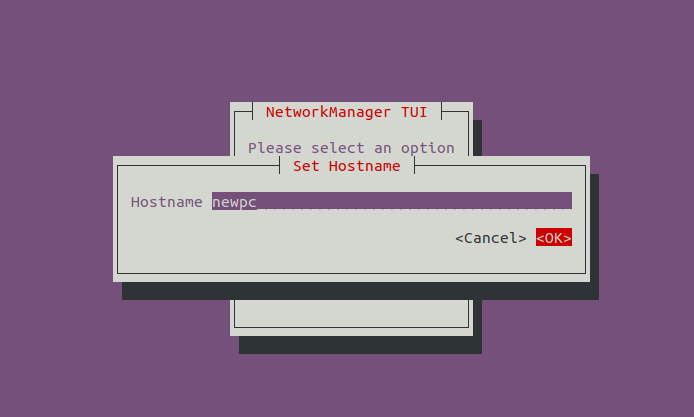
Type your new hostname and click on the OK. You should see the following dialog box:
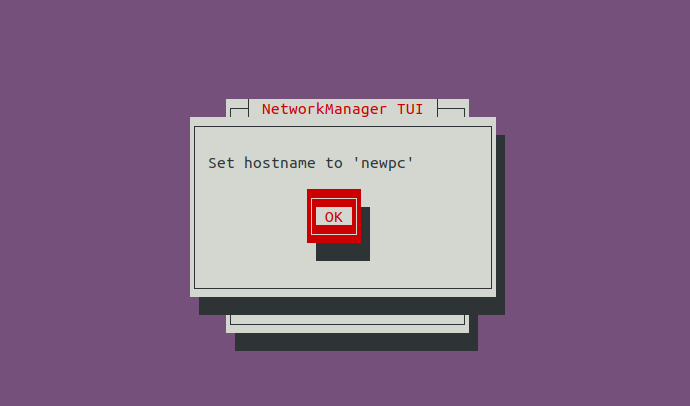
Click on the OK button to change the hostname.
Conclusion
In this guide, we explained several methods to change the hostname of your Rocky Linux 10. You can now use your preferred method to change your system hostname. Try it on dedicated hosting from Atlantic.Net!
* This post is for informational purposes only and does not constitute professional, legal, financial, or technical advice. Each situation is unique and may require guidance from a qualified professional.
Readers should conduct their own due diligence before making any decisions.