In collaborative software development, having a robust version control system is paramount. GitLab, a web-based Git repository manager, provides a comprehensive platform for managing source code repositories, CI/CD pipelines, and collaboration among development teams.
In this guide, we will walk through the process of installing GitLab on Debian 12, empowering you to enhance your team’s productivity and code management.
Step 1 – Add GitLab Repository
By default, GitLab is not included in the Debian default repository, so you will need to install it from the GitLab official repository.
First, install all the required dependencies using the following command.
apt install curl debian-archive-keyring lsb-release ca-certificates apt-transport-https software-properties-common -y
Next, run the following script to add the GitLab repository.
curl -s https://packages.gitlab.com/install/repositories/gitlab/gitlab-ce/script.deb.sh | bash
Now, update the repository with the following command:
apt-get update -y
Step 2 – Install GitLab CE
You can install the GitLab CE using the following command.
apt install gitlab-ce
Once the installation is finished, you will see the following output.
It looks like GitLab has not been configured yet; skipping the upgrade script.

       *.                  *.
      ***                 ***
     *****               *****
    .******             *******
    ********            ********
   ,,,,,,,,,***********,,,,,,,,,
  ,,,,,,,,,,,*********,,,,,,,,,,,
  .,,,,,,,,,,,*******,,,,,,,,,,,,
      ,,,,,,,,,*****,,,,,,,,,.
         ,,,,,,,****,,,,,,
            .,,,***,,,,
                ,*,.


     _______ __  __          __
    / ____(_) /_/ /   ____ _/ /_
   / / __/ / __/ /   / __ `/ __ \
  / /_/ / / /_/ /___/ /_/ / /_/ /
  \____/_/\__/_____/\__,_/_.___/


Thank you for installing GitLab!
GitLab was unable to detect a valid hostname for your instance.
Please configure a URL for your GitLab instance by setting `external_url`
configuration in /etc/gitlab/gitlab.rb file.
Then, you can start your GitLab instance by running the following command:
  sudo gitlab-ctl reconfigure
Step 3 – Configure GitLab CE
You can edit the GitLab default configuration file with the following command.
nano /etc/gitlab/gitlab.rb
Define your domain name as shown below:
external_url 'http://gitlab.mydomain.com'
Save and close the file and reconfigure GitLab using the following command.
gitlab-ctl reconfigure
You will see the following output.
Notes:
Default admin account has been configured with following details:
Username: root
Password: You didn't opt-in to print initial root password to STDOUT.
Password stored to /etc/gitlab/initial_root_password. This file will be cleaned up in first reconfigure run after 24 hours.

NOTE: Because these credentials might be present in your log files in plain text, it is highly recommended to reset the password following https://docs.gitlab.com/ee/security/reset_user_password.html#reset-your-root-password.

gitlab Reconfigured!
Step 4 – Access GitLab CE
Before accessing GitLab, you will need a root password to log into the GitLab interface. You can retrieve the GitLab root password with the following command.
cat /etc/gitlab/initial_root_password
You will see the following output.
# WARNING: This value is valid only in the following conditions
#          1. If provided manually (either via `GITLAB_ROOT_PASSWORD` environment variable or via `gitlab_rails['initial_root_password']` setting in `gitlab.rb`, it was provided before database was seeded for the first time (usually, the first reconfigure run).
#          2. Password hasn't been changed manually, either via UI or via command line.
#
#          If the password shown here doesn't work, you must reset the admin password following https://docs.gitlab.com/ee/security/reset_user_password.html#reset-your-root-password.

Password: 6MRtx/5pk7r7PqF3Ss8+EGu+Ihn8UQT8tt+vyHY/TVg=

# NOTE: This file will be automatically deleted in the first reconfigure run after 24 hours.
Now, open your web browser and access GitLab CE using the URL http://gitlab.mydomain.com. You will see the GitLab login screen.

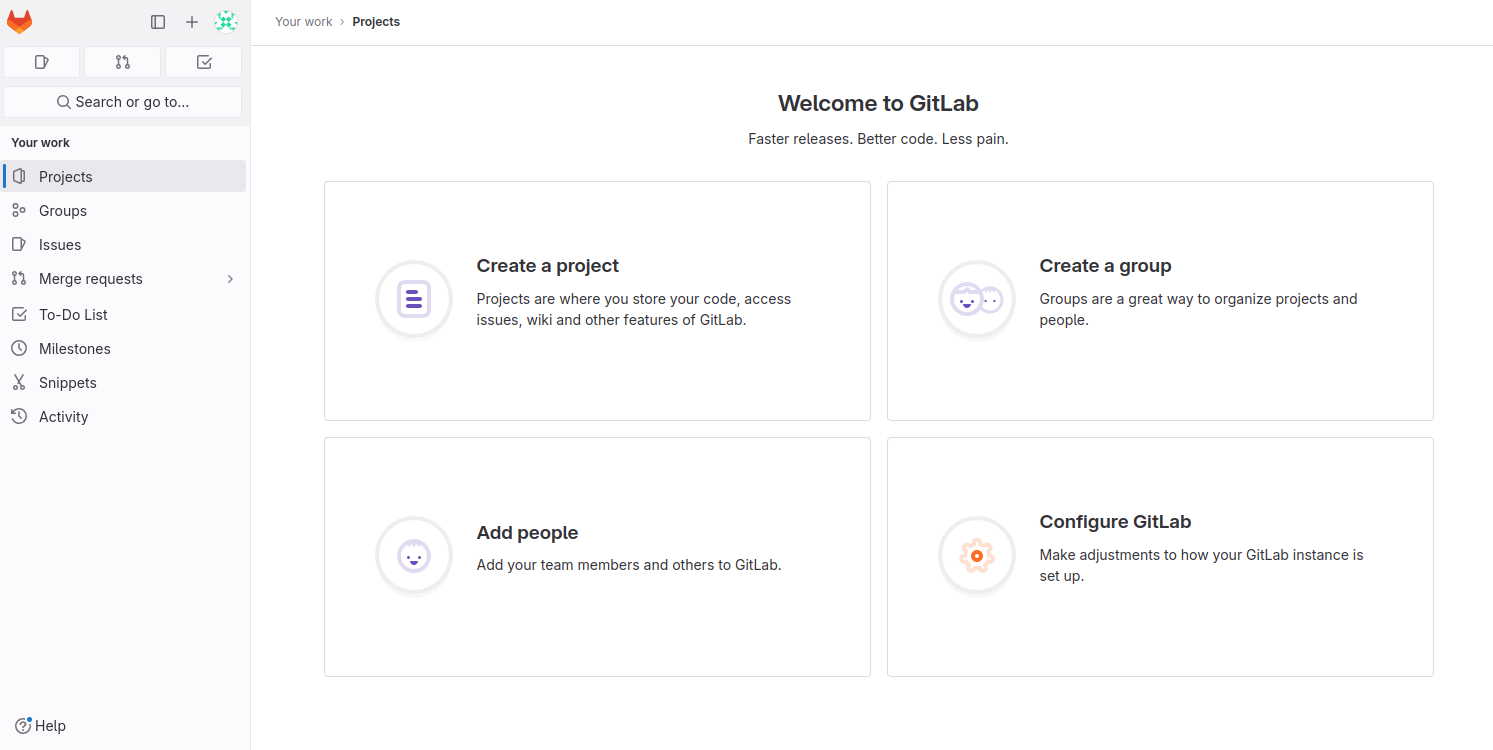
Provide your admin username as root and the password from the above output, then click on Sign In. You will see the GitLab CE dashboard on the following screen.
Step 5 – Secure GitLab CE with Let’s Encrypt SSL
For security reasons, it is always recommended to secure GitLab with SSL. To do so, edit the GitLab configuration file.
nano /etc/gitlab/gitlab.rb
Define your secure URL and change the following lines:
external_url 'https://gitlab.mydomain.com'

letsencrypt['enable'] = true
letsencrypt['contact_emails'] = ['[email protected]']
letsencrypt['auto_renew'] = true
letsencrypt['auto_renew_hour'] = 3
letsencrypt['auto_renew_day_of_month'] = "*/7"
Save and close the file, then reconfigure GitLab using the following command.
gitlab-ctl reconfigure
You can now access GitLab securely using the URL https://gitlab.mydomain.com.
Step 6 – Manage GitLab CE
If you want to change the GitLab root password, run the following command.
gitlab-rake 'gitlab:password:reset[root]'
Define your new password as shown below:
Enter password:
Confirm password:
Password successfully updated for user with username root.
To check the status of GitLab, run the following command.
gitlab-ctl status
To stop GitLab, run the following command.
gitlab-ctl stop
To restart GitLab, run:
gitlab-ctl restart
Conclusion
Congratulations! You have successfully installed GitLab on Debian 12. GitLab provides a powerful and user-friendly version control and collaboration platform, offering features like code repositories, issue tracking, and continuous integration. Explore GitLab further to optimize your team’s workflow and streamline development. You can not implement the CI/CD pipeline using GitLab CE on dedicated server hosting from Atlantic.Net!
* This post is for informational purposes only and does not constitute professional, legal, financial, or technical advice. Each situation is unique and may require guidance from a qualified professional.
Readers should conduct their own due diligence before making any decisions.