Ansible is an open-source automation tool that simplifies configuring and managing servers. It uses simple, human-readable YAML scripts, making them accessible to beginners and seasoned sysadmins.
In web development, having a reliable and efficient server setup is crucial. The combination of Linux, Apache, MySQL, and PHP, commonly known as LAMP, forms a powerful stack for hosting dynamic web applications.
In this blog post, we will explore installing and configuring a LAMP stack on Ubuntu 22.04 using Ansible, a powerful automation tool.
Prerequisites
- An Ubuntu 22.04 server for Ansible Management Node.
- An Ubuntu 22.04 server for Ansible Target Node.
- A valid, fully qualified domain name is pointed to the Target node’s IP address.
Step 1 – Install Ansible on the Management Node
By default, the latest version of Ansible is not available in Ubuntu’s default repository, so you will need to add it manually.
First, install the required packages using the following command.
apt update -y
apt install gnupg2 software-properties-common -y
Next, add the Ansible repository with the following command.
apt-add-repository ppa:ansible/ansible
Once the repository is updated, you can install Ansible using the following command.
apt install ansible -y
Step 2 – Setting Up SSH Password Less Authentication
Next, you will need to set up SSH passwordless authentication on the Ansible management node to connect to the target node without providing an SSH password.
First, generate an SSH key pair using the following command.
ssh-keygen -t rsa
You will see the following output:
Generating public/private rsa key pair.
Enter file in which to save the key (/root/.ssh/id_rsa):
Enter passphrase (empty for no passphrase):
Enter same passphrase again:
Your identification has been saved in /root/.ssh/id_rsa
Your public key has been saved in /root/.ssh/id_rsa.pub
The key fingerprint is:
SHA256:5AcJyNZCKPRb9US/wZz/5OWGBE9PcArZj+hd9P9fCuY root@ubuntu22
The key's randomart image is:
+---[RSA 3072]----+
|.. +.o...o  .o. .|
|. o = o.o.+ o..+.|
| . o o  +. *..o+o|
|    o  o .  =+.o+|
|   .    S .o ooo+|
|         .  ..=oo|
|            o .o=|
|           o . oo|
|            E . o|
+----[SHA256]-----+
Next, copy the generated key to the target node.
ssh-copy-id root@target-server-ip
Next, try to SSH into the target server without entering a password:
ssh root@target-server-ip
You should be able to log in without being prompted for a password.
Step 3 – Configure Ansible Inventory and Roles
Next, you must create an Ansible inventory file and roles on the management machine.
First, create a directory for your project.
mkdir lamp
Next, navigate inside the lamp directory.
cd lamp
Next, create an inventory file.
nano inventory
Add the following lines:
[lamp-server]
target-server-ip

ansible_python_interpreter = /usr/bin/python3
Note: Replace target-server-ip with your target server IP.
Next, create directories to store Ansible variables and other configuration files.
mkdir files vars
Next, create a variable file inside the vars directory.
nano vars/default.yml
Define your MySQL root password, Apache user, domain name, and port as shown below:
mysql_root_password: "secure-password"
app_user: "www-data"
http_host: "lamp.example.com"
http_conf: "lamp.example.conf"
http_port: "80"
disable_default: true
Then, create an Apache virtual host configuration file.
nano files/apache.conf
Add the following content:
<VirtualHost *:{{ http_port }}>
    ServerAdmin webmaster@localhost
    ServerName {{ http_host }}
    DocumentRoot /var/www/html
    ErrorLog /var/log/apache2/error.log
    CustomLog /var/log/apache2/access.log combined

    <Directory /var/www/html>
          Options -Indexes
    </Directory>

    <IfModule mod_dir.c>
        DirectoryIndex index.php index.html index.cgi index.pl  index.xhtml index.htm
    </IfModule>

</VirtualHost>
Next, create a info.php file:
nano files/info.php
Add the following PHP code:
<?php
phpinfo();
?>
Save and close the file when you are done.
Step 4 – Configure Ansible Playbook
Next, you will need to create an Ansible playbook to define all tasks to deploy the LAMP server on the target server.
First, create a playbook file:
nano playbook.yml
Add the following configuration:
- hosts: all
  become: true
  vars_files:
    - vars/default.yml

  tasks:
    - name: Install prerequisites
      apt: name={{ item }} update_cache=yes state=latest force_apt_get=yes
      loop: [ 'aptitude' ]

  #Apache Configuration
    - name: Install LAMP Packages
      apt: name={{ item }} update_cache=yes state=latest
      loop: [ 'apache2', 'mariadb-server', 'python3-pymysql' 'php', 'mysql-python', 'libapache2-mod-php' ]

    - name: Create document root
      file:
        path: "/var/www/html/"
        state: directory
        owner: "{{ app_user }}"
        mode: '0755'

    - name: Set up Apache virtualhost
      template:
        src: "files/apache.conf"
        dest: "/etc/apache2/sites-available/{{ http_conf }}"
      notify: Reload Apache

    - name: Enable new site
      shell: /usr/sbin/a2ensite {{ http_conf }}
      notify: Reload Apache

    - name: Disable default Apache site
      shell: /usr/sbin/a2dissite 000-default.conf
      when: disable_default
      notify: Reload Apache

  # MySQL Configuration
    - name: Sets the root password
      mysql_user:
        name: root
        password: "{{ mysql_root_password }}"
        login_user: root
        login_password: ""
        login_unix_socket: /var/run/mysqld/mysqld.sock

    - name: Removes all anonymous user accounts
      mysql_user:
        name: ''
        host_all: yes
        state: absent
        login_user: root
        login_password: "{{ mysql_root_password }}"

    - name: Removes the MySQL test database
      mysql_db:
        name: test
        state: absent
        login_user: root
        login_password: "{{ mysql_root_password }}"

  # PHP Info Page
    - name: Sets Up PHP Info Page
      template:
        src: "files/info.php"
        dest: "/var/www/html/info.php"

  handlers:
    - name: Reload Apache
      service:
        name: apache2
        state: reloaded

    - name: Restart Apache
      service:
        name: apache2
        state: restarted
Save and close the file, then run the above playbook using the following command.
ansible-playbook -i inventory playbook.yml -u root
After the successful playbook execution, you will see the following output:
PLAY [all] *************************************************************************************************************************************************************

TASK [Gathering Facts] *************************************************************************************************************************************************
ok: [69.28.84.246]

TASK [Install prerequisites] *******************************************************************************************************************************************
ok: [69.28.84.246] => (item=aptitude)

TASK [Install LAMP Packages] *******************************************************************************************************************************************
ok: [69.28.84.246] => (item=apache2)
changed: [69.28.84.246] => (item=mariadb-server)
ok: [69.28.84.246] => (item=php)
ok: [69.28.84.246] => (item=python3-pymysql)
ok: [69.28.84.246] => (item=php-mysql)
ok: [69.28.84.246] => (item=libapache2-mod-php)

TASK [Create document root] ********************************************************************************************************************************************
ok: [69.28.84.246]

TASK [Set up Apache virtualhost] ***************************************************************************************************************************************
ok: [69.28.84.246]

TASK [Enable new site] *************************************************************************************************************************************************
changed: [69.28.84.246]

TASK [Disable default Apache site] *************************************************************************************************************************************
changed: [69.28.84.246]

TASK [Sets the root password] ******************************************************************************************************************************************
[WARNING]: Option column_case_sensitive is not provided. The default is now false, so the column's name will be uppercased. The default will be changed to true in
community.mysql 4.0.0.
changed: [69.28.84.246]

TASK [Removes all anonymous user accounts] *****************************************************************************************************************************
ok: [69.28.84.246]

TASK [Removes the MySQL test database] *********************************************************************************************************************************
ok: [69.28.84.246]

TASK [Sets Up PHP Info Page] *******************************************************************************************************************************************
ok: [69.28.84.246]

RUNNING HANDLER [Reload Apache] ****************************************************************************************************************************************
changed: [69.28.84.246]

PLAY RECAP *************************************************************************************************************************************************************
69.28.84.246               : ok=12   changed=5    unreachable=0    failed=0    skipped=0    rescued=0    ignored=0
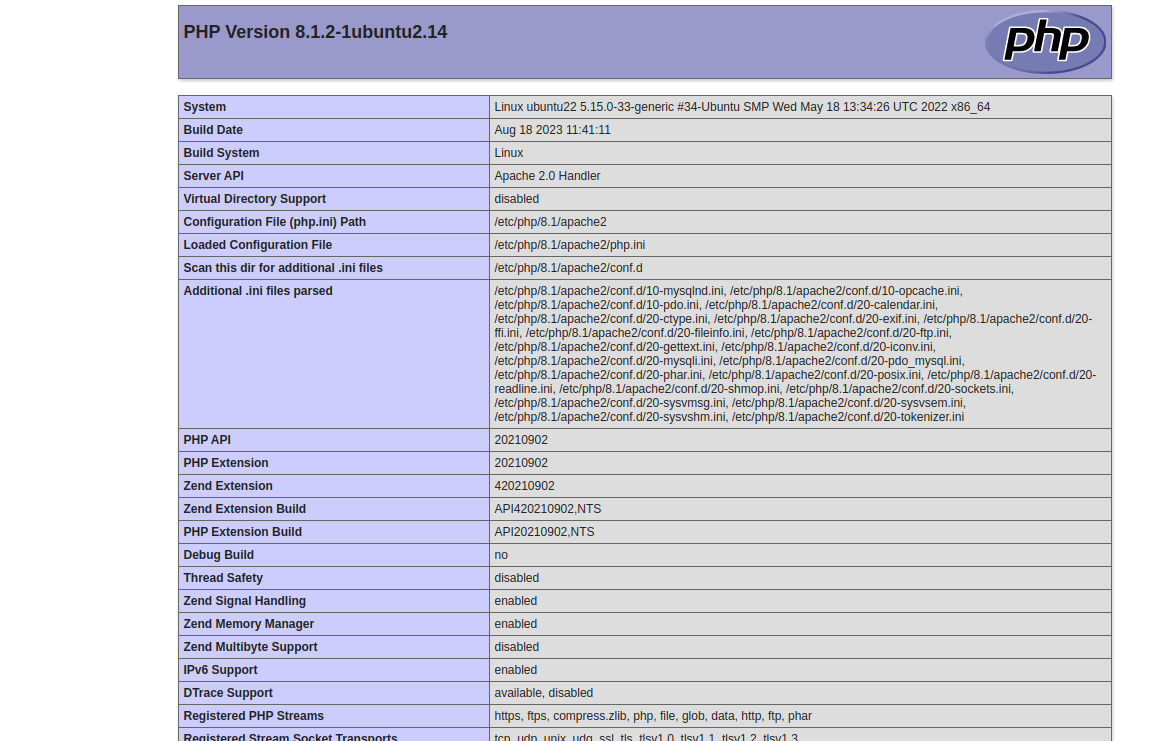
Step 5 – Verify LAMP Deployment
At this point, the LAMP server is deployed on the target server. You can now verify it using the URL http://lamp.example.com/info.php. You will see the output of info.php on the following screen.
Conclusion
Congratulations! You’ve successfully installed and configured a LAMP stack on Ubuntu 22.04 using Ansible. Automating the setup process with Ansible saves time and ensures consistency across multiple servers. As you continue exploring Ansible, you can adapt and expand your playbooks to suit the specific requirements of your web applications. This automation approach empowers developers to focus more on coding and less on manual server configurations. You can now use Ansible to automate LAMP server deployment on dedicated server hosting from Atlantic.Net!